REVIEW · TOKYO
Tokyo Photography Masterclass – Private Photography Lesson
Book on Viator →Operated by Aperture Tours · Bookable on Viator
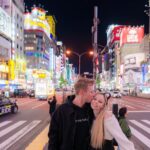
Tokyo teaches photography fast. A private 3-hour lesson in Shibuya style streets and Tokyo at night helps you turn what you see into sharper photos. You’ll work with a pro photographer who guides your choices on the spot, whether you want classic crowds at Hachiko Crossing or quieter nighttime scenes.
I especially like how the coaching mixes composition with real camera settings, not just theory. You practice with guidance on lines, repetition, texture, angles, and lighting, then you learn how aperture, shutter speed, ISO, and focusing actually change the outcome. In the same spirit, the teaching is clear and upbeat, and the experience often feels like learning from someone who’s done this a lot. One instructor named Karl stands out in the way he explains steps and helps you improve quickly.
One possible drawback: you need to bring your own camera (and a tripod is not included). If you’re hoping to use a tripod for night shots, plan on renting one ahead through the activity provider, and also note that 3 hours goes fast—so you’ll want to arrive with a few goals in mind for the best results.
In This Review
- Key takeaways
- Getting Oriented: Meeting at Hachiko and How the Lesson Works
- Shibuya and Harajuku: Shooting Street Scenes with Composition in Mind
- Night Photography Options: Shinjuku Neon vs Asakusa Quiet and Senso-ji
- The Skills That Make the Photos Better, Not Just Different
- What It Feels Like to Shoot with a Pro Photographer Guide
- Logistics That Matter on Photo Walks
- Price and Value: Is $190 for 3 Hours Worth It?
- Who This Tokyo Photography Lesson Is Best For
- Should You Book This Tokyo Photography Masterclass?
- FAQ
- What is the duration of the Tokyo Photography Masterclass?
- Where does the tour start?
- Is this a private tour?
- Who provides the instruction?
- Do I need to bring a camera?
- Is a tripod included?
- What photography topics are covered?
- Can the route be tailored to what I want to shoot?
- Is free cancellation available?
Key takeaways
- Shibuya starting point at Hachiko gives you immediate photo energy and easy landmark context
- Composition coaching in-the-wild focuses on lines, repetition, texture, and angles you can apply right away
- Exposure skills with aperture, shutter, ISO, and focusing are taught as practical tools, not lectures
- Private, tailored route options let you aim for street scenes or night neon, based on your interests
- Photo review time helps you understand what worked and what to adjust next
Getting Oriented: Meeting at Hachiko and How the Lesson Works
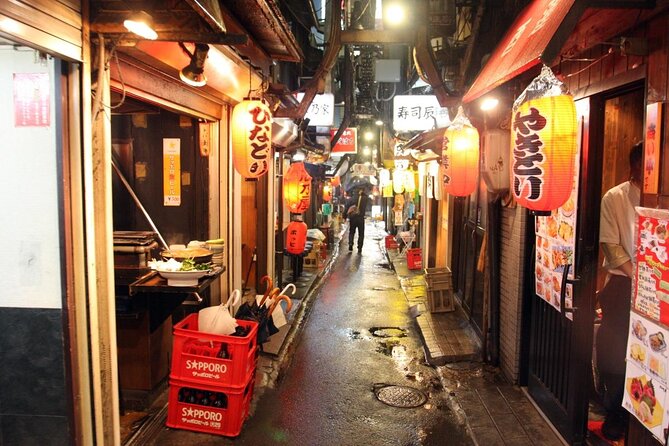
Your session starts at the Hachiko Statue in Shibuya, near public transportation and easy to find. That matters, because in Tokyo, the quickest way to waste time is to be stuck hunting for your meeting spot while the best light disappears.
From there, the lesson is designed to feel like a guided photo walk with real instruction built in. You’re not just following someone to nice views. You’re learning how to see: what to include, what to cut, how to frame, and how to set exposure so your image matches your intent.
Because it’s private, the photographer can shift gears. If you’re a complete beginner, you’ll get basics you can use immediately. If you’re semi-advanced, you’ll spend time tightening technique—like controlling focus and choosing settings that keep moving subjects sharp or create intentional blur.
You can also read our reviews of more tours and experiences in Tokyo.
Shibuya and Harajuku: Shooting Street Scenes with Composition in Mind
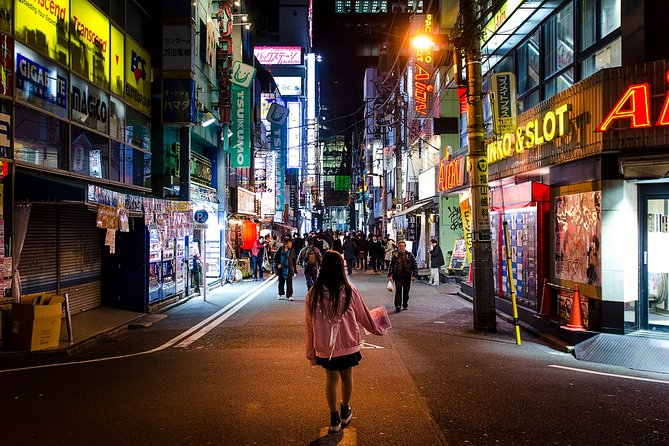
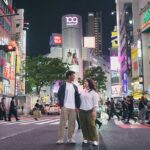
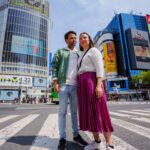
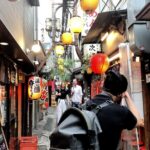
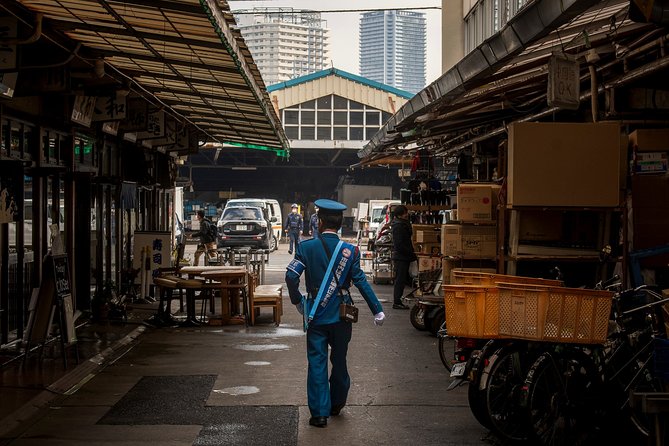
A street-focused Tokyo session often centers on Shibuya first, including the major crossing area and then the back streets where the atmosphere feels more local. This is a smart pairing. The big, recognizable spot gives you strong compositions right away, and the quieter streets help you practice without getting overwhelmed by crowds.
Here’s how the instruction tends to pay off while you shoot:
- Lines and leading shapes: You’ll look for pavement lines, building edges, and crowd direction that pull the eye through the frame.
- Repetition and patterns: Think of repeating signage, railings, windows, and shop fronts. Repetition is one of the easiest ways to create order in busy scenes.
- Texture and surface detail: Tokyo has plenty of materials—metal, stone, paper, screens—so you can practice texture even when the scene feels chaotic.
- Angles and viewpoint changes: Instead of always shooting at eye level, you’ll be nudged to shift perspective to make the same street scene look new.
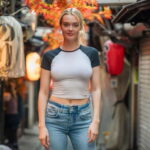
From Shibuya, the route often connects to Harajuku for the more eclectic youth fashion and street style energy. This is where you can practice a practical skill: photographing people respectfully while still composing like a photographer. You’ll spend time thinking about subject placement, background simplification, and how lighting changes between shop fronts and open sidewalks.
One helpful mindset shift you’ll likely leave with: don’t chase the most interesting scene first. Chase the best composition inside the scene you’re already in.
Night Photography Options: Shinjuku Neon vs Asakusa Quiet and Senso-ji
Night in Tokyo can be intimidating until someone gives you a path. This masterclass offers two distinct directions, and your choice can match your temperament.
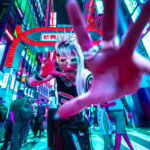
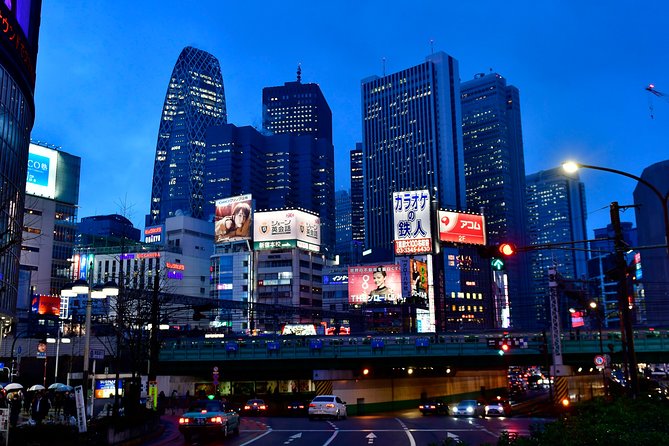
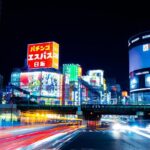
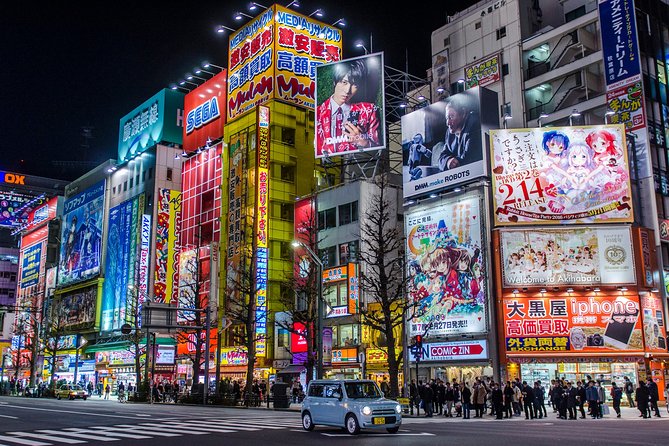
If you want energy and neon, the Shinjuku option focuses on neon lights, skyscrapers, and nighttime street life no matter the hour. This is a great place to practice:
- exposure control under bright signage
- managing contrast (dark areas and bright lights in the same frame)
- using camera settings intentionally instead of guessing
If you want a calmer pace, the Asakusa option steers you toward Senso-ji and nearby quieter paths after dark. Low-light temple scenes help you learn steadier framing and more deliberate focusing. It’s also a different kind of composition challenge: you’re often balancing architecture, incense-and-night atmosphere, and human scale.
There’s also room for playful creativity. The lesson may include practice ideas like car light trails—streaks of motion against a futuristic Tokyo backdrop—so you can try longer exposures and see how shutter speed changes the feel of the photo.
Either way, the private coaching matters most at night. You get immediate feedback on focus choices, exposure problems, and what to adjust when the lighting mix stops behaving.
The Skills That Make the Photos Better, Not Just Different
The best part of this masterclass is that it teaches the reasons behind the look. You’re not just told what to set. You learn how to use settings to get outcomes.
You’ll cover the practical camera tools:
- Aperture: how it affects depth of field and subject separation
- Shutter speed: how it freezes motion or creates blur
- ISO: how it handles low light and grain risk
- Focusing: how to keep subjects sharp, especially when scenes move
You’ll also learn how to “sharpen your eye,” which is photographer-speak for: train your attention. The focus isn’t only on subject choice. It’s also on lighting and composition so you can predict how a scene will photograph before pressing the shutter.
A key technique you’ll likely practice is learning to read the frame quickly—then making one change at a time. For example: if your image is too dark, you won’t randomly flip settings. You’ll learn to identify whether you need shutter speed adjustment, aperture tradeoffs, or ISO changes for your specific scene.
And you’ll get photo reviewing built into the session. That’s huge. You see your own results, spot what went right, and fix what didn’t—so you improve in real time instead of guessing when you get home.
What It Feels Like to Shoot with a Pro Photographer Guide
You’ll be working with a professional photographer guide plus a local guide. That combo is practical. The photographer helps you improve your technique. The local guide helps with navigating the real city and finding the kinds of streets that make photos feel lived-in rather than staged.
In feedback patterns from people who loved this experience, one point repeats: the instruction is friendly and easy to follow, and it leads to visible improvement. Karl in particular is praised for experience and for sharing knowledge in a way that clicks. That’s the difference between an okay walk and a lesson that actually changes how you shoot.
Because it’s private, you can also ask direct questions. If you’re stuck on focusing, you can slow down. If you want to prioritize portraits, street fashion, or landmarks, you can steer the session toward your interests rather than following a fixed group route.
Logistics That Matter on Photo Walks
This kind of lesson lives or dies by your timing and your readiness. The session lasts about 3 hours, and it’s easy to underestimate how much ground you can cover while also stopping to shoot and adjust settings.
The tour includes:
- a professional photographer guide
- a private tour
- a local guide
- a mobile ticket
You’ll need to plan for what’s not included:
- camera is not provided
- tripod is not provided, though renting is available
Also, the meeting point is clearly set at the Hachiko Statue, and the activity ends back there. That helps you avoid awkward “where do we meet after” confusion in a city as big and fast as Tokyo.
Price and Value: Is $190 for 3 Hours Worth It?
At $190 per person for roughly 3 hours, this sits in the category of paid instruction, not a casual sightseeing add-on. The value comes from three things you can’t easily replicate on your own.
First: you’re getting private coaching. If you’ve ever tried to learn settings from YouTube while walking around Tokyo, you know how quickly it turns into frustration. Here, you can apply changes immediately and get feedback while the same lighting and streets are still in front of you.
Second: you get guided composition practice. Tokyo is visually loud. A pro helps you simplify. If you leave knowing how to build a frame using lines, repetition, texture, and angles, that skill travels with you long after the session ends.
Third: you get photo review and technique correction. That reduces the trial-and-error cost. Even a few adjustments—like tightening focusing choices or picking shutter speed for your subject—can upgrade your results quickly.
A final note on timing: this experience is commonly booked around 24 days in advance on average. If you’re going for a specific day and you want the route direction you prefer, don’t wait too long.
Who This Tokyo Photography Lesson Is Best For
This works for all levels, including people just starting with a camera and people with more shooting experience. That flexibility is useful because you don’t have to pretend you know everything.
You should especially consider it if:
- you want to learn settings (aperture, shutter speed, ISO, focusing) with real examples
- you feel stuck on composition and want a method you can reuse
- you want to photograph Tokyo day-to-night and need guidance for both
- you prefer a guided experience over wandering with a half-working plan
If you’re only interested in copying a checklist of famous spots, this might feel more instructional than you expect. But if you want better photos and faster learning, it’s a strong fit.
Should You Book This Tokyo Photography Masterclass?
If your goal is to come away with better photos and a clearer process, I’d say yes. The private format, the mix of composition plus exposure skills, and the chance to review your photos in real time make this feel like actual progress, not just a nice walk.
Book it sooner if you can. The route can shift between Shibuya/Harajuku and night options like Shinjuku or Asakusa/Senso-ji, and getting the timing right makes a big difference for lighting and motion.
Skip it only if you’re set on purely free-roaming sightseeing or you don’t want to apply camera settings during the session.
FAQ
What is the duration of the Tokyo Photography Masterclass?
It lasts about 3 hours.
Where does the tour start?
You meet at the Hachiko Statue in Shibuya (2 Chome-1 Dogenzaka, Tokyo).
Is this a private tour?
Yes. Only your group participates.
Who provides the instruction?
A professional photographer guide leads the session, and there is also a local guide.
Do I need to bring a camera?
Yes. A camera is not included.
Is a tripod included?
No. Tripods are available to rent.
What photography topics are covered?
You’ll work on composition (lines, repetition, texture, angles), sharpening your eye for composition and lighting, camera settings (aperture, shutter speed, ISO, focusing), and reviewing your photography.
Can the route be tailored to what I want to shoot?
Yes. Each tour can be crafted to your interests, including different Tokyo areas and photo styles.
Is free cancellation available?
Yes. You can cancel up to 24 hours in advance for a full refund.