REVIEW · TOKYO
Tokyo: Photography Masterclass – Private Photo Lesson
Book on GetYourGuide →Operated by Aperture Tours · Bookable on GetYourGuide
Tokyo teaches your camera to see. This private street photography masterclass puts a local instructor beside you so you can find the right angles at the right moments, from Shibuya’s crossings to calmer side streets. I like how much the route feels built around actually photographing the city, not just walking through it.
What I really enjoy is the start-of-tour reset: a coffee check to figure out your level, then quick technical coaching so you can use your camera with more intention. You’ll practice as you go, and the one-on-one setup means the lesson can steer toward what you care about—street scenes, landmarks, or the look you’re chasing.
One consideration: this is not a portrait session. You’re learning how to take better photos of Tokyo, and the guide is not there to shoot you or pose you like a model shoot.
In This Review
- Key things to know before you book
- A private Tokyo street photo lesson that starts exactly where the action is
- Coffee first: how the tour gets your camera on the same page
- Shibuya’s crossing and the skill of photographing crowds
- Back streets of Shibuya: where your photos stop looking generic
- Harajuku street style: photographing youth fashion without a portrait session
- Iconic sights plus your custom targets: what makes the route feel personal
- Day vs. night: choosing the Tokyo look you want
- What’s included, what to bring, and how to get the most from the lesson
- Price and value: $323 per group up to 2
- Who this works best for (and who should look elsewhere)
- Should you book this Tokyo photography masterclass?
- FAQ
- What is the duration of the Tokyo photography masterclass?
- Where do I meet the guide?
- Is the tour day, night, or both?
- Is a camera included?
- Is a tripod included?
- What language is the guide?
- Is this a portrait session?
Key things to know before you book
- Private group up to 2 means you get more time per shot idea, not a rushed scramble with a crowd.
- Shibuya’s Hachiko Memorial Statue meeting point makes it easy to anchor your day right in the busiest photo zone.
- Coffee + camera check early helps you get practical settings advice fast, even if you’re brand new.
- Day and night options trade midday clarity for neon glow and night-style exposure practice.
- Tripod rental by request can help if you plan to try slower shutter speeds or steadier frames.
- English-speaking instructor with strong spot knowledge is the whole point of the experience.
A private Tokyo street photo lesson that starts exactly where the action is
If you want Tokyo photos that look like you understood what you were seeing, this is the kind of tour that helps. The whole experience centers on Shibuya and the surrounding neighborhoods—especially the Shibuya crossing area—and it’s built as a hands-on lesson, not a sightseeing checklist.
You’ll meet at the Hachiko Memorial Statue in Shibuya, the bronze statue honoring the famous loyal Akita dog. It’s a landmark in itself, easy to find, and it puts you in the right mindset immediately: Tokyo photography starts in the thick of things.
And because it’s a private photo lesson for a small group (up to 2), you’re not stuck following a pace that ignores your camera questions. Your instructor can help you with the exact problem you’re having, whether that’s focus, exposure, framing, or choosing the right focal length.
You can also read our reviews of more tours and experiences in Tokyo.
Coffee first: how the tour gets your camera on the same page
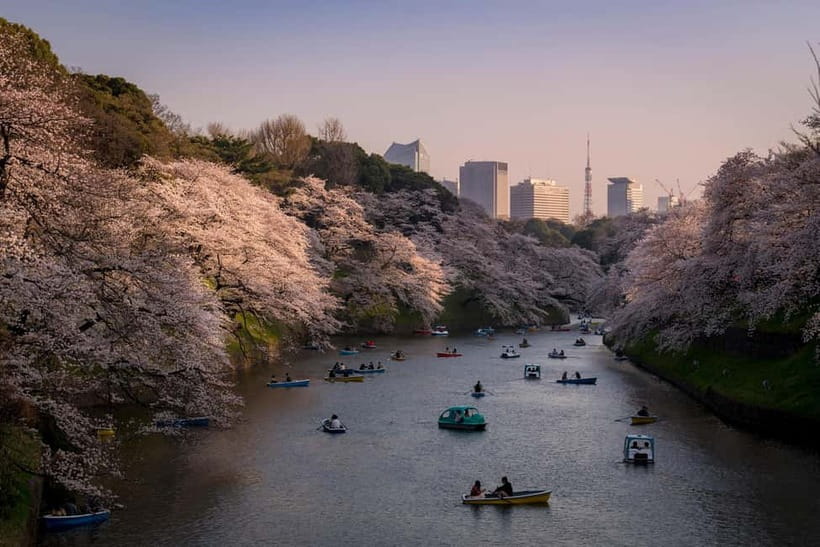
Right at the start, the tour uses a simple structure that I think makes a big difference: a coffee stop to establish your level, then technical sheets to get your gear and approach aligned.
This matters because Tokyo street photography can turn into trial-and-error fast. Without guidance, you might take hundreds of shots and still wonder why they don’t look sharp, why motion looks messy, or why neon looks blown out. Here, you’ll get a calmer setup early so you can focus on what you’re trying to capture.
Your guide will also use the early conversation to tailor the route. The goal is that your lesson fits your interests, whether you want the classic angles around iconic spots or you’d rather spend more time with the street atmosphere and side-street scenes.
From past guide experiences shared by other guests, names like Karl, Tim, and Ivan come up for a reason: people appreciated how closely the instructor matched the plan to what they wanted and how precisely they guided them to the right spots. You should expect that same focus on practical results—where to stand, what to aim for, and what settings make sense there.
Shibuya’s crossing and the skill of photographing crowds
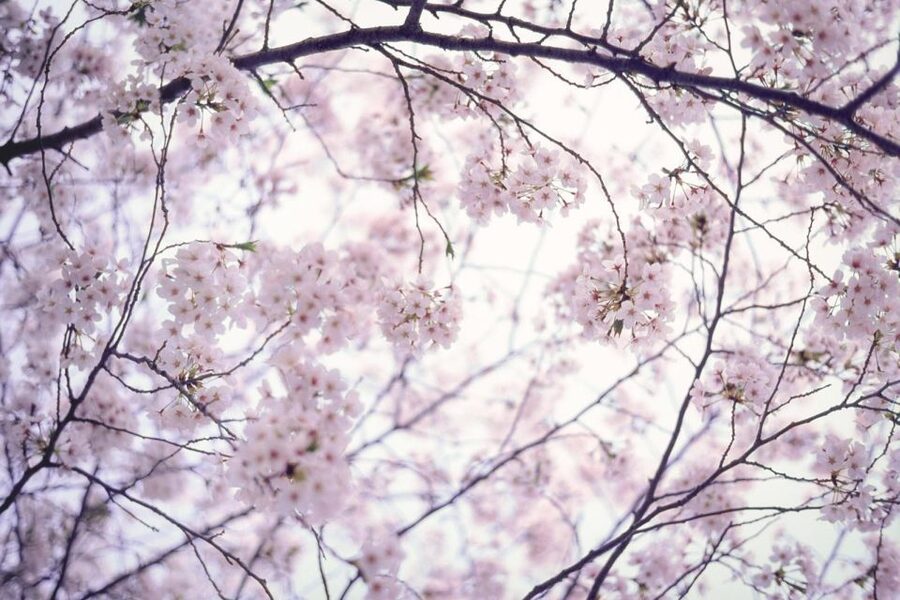
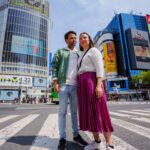
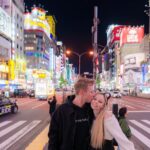
Shibuya is famous for a crossing that can feel unreal when you’re standing at street level. This tour takes you into that world and helps you shoot it with more control than you’d get on your own.
Here’s the key idea: the crossing is chaotic, but it’s also predictable in composition. Your instructor can help you time the flow of people, position yourself for the angle you want, and choose settings that handle both foot traffic and bright signage.
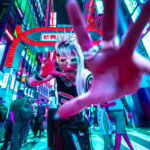
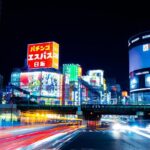
On a night tour, Shibuya becomes a neon playground. Based on instructor-style tips described by other guests, you might get advice like using a slow shutter for motion effects or planning for techniques such as time lapse when the lighting and crowd rhythm line up. The point isn’t to memorize a technique—it’s to learn what to try and when.
On a day tour, the same crossing zone can teach you other fundamentals: sharpness, contrast, managing dynamic range under bright skies, and finding compositions where the people create texture rather than a blur problem.
Either way, you’re learning the skill that matters most for street work: how to handle busy environments without freezing up. You’re not just capturing one iconic frame. You’re practicing decisions.
Back streets of Shibuya: where your photos stop looking generic
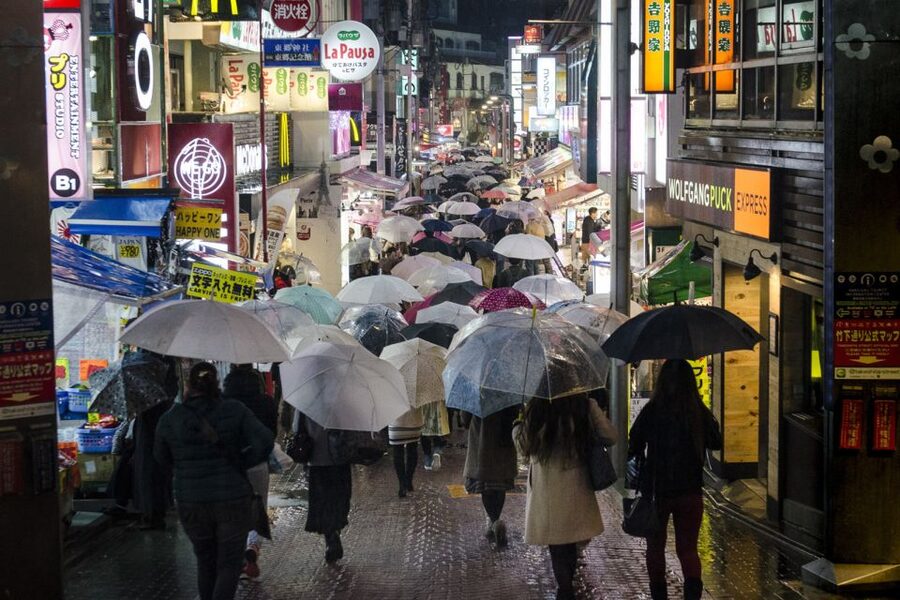
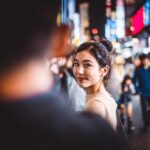
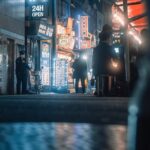
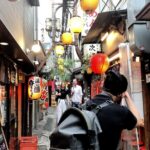
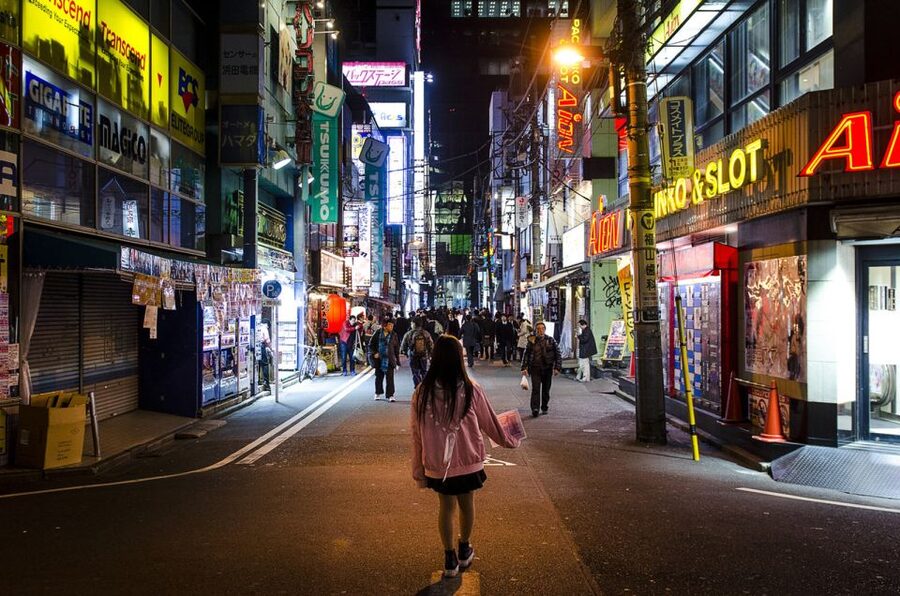
After the big Shibuya moment, the tour moves into the back streets. This is where Tokyo photography often gets more interesting, because the streets narrow, details multiply, and you can slow your approach.
These side streets help you do two useful things:
- build a visual story beyond one postcard shot
- practice framing choices that don’t rely on perfect signage or famous backdrops
Your instructor can guide you toward spots that suit what your camera can do—like when to look for leading lines, how to align storefronts and street elements, and how to anticipate moments before they happen. In one shared experience, Ivan was praised for knowing locations down to fine detail and also for planning what each shot likely required in terms of focal length and exposure approach. That kind of thinking is what turns street photos from luck into craft.
Even if you’re new, this part of the tour helps. You’ll likely start to notice how many street photos fail because the photographer didn’t establish a clean subject. In back streets, you can fix that fast by choosing one thing to emphasize and letting the rest frame it.
Harajuku street style: photographing youth fashion without a portrait session
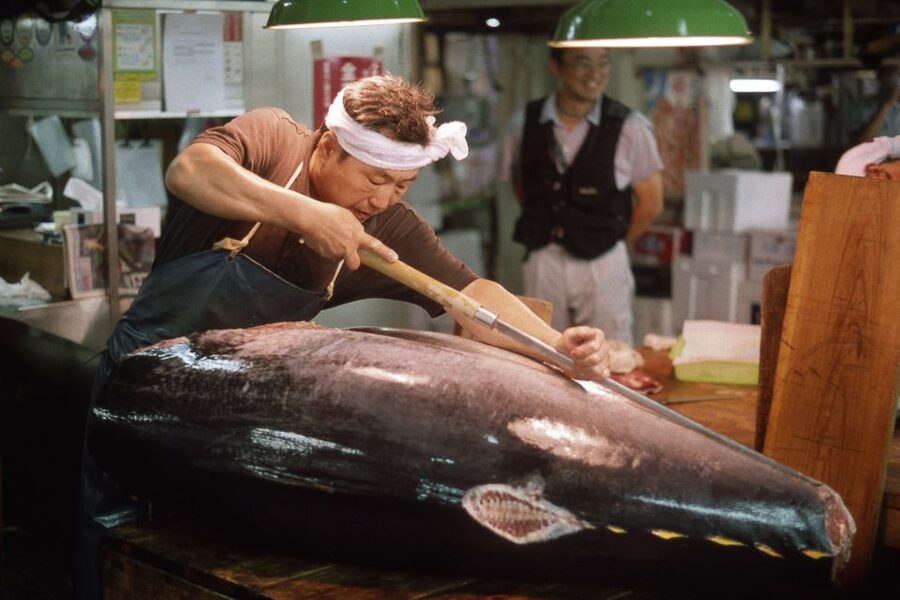
Next up is Harajuku, where youth fashion becomes part of the street scene. This is a fun zone for photography because the clothing, colors, and styling give you strong subject material even when the background is busy.
One important reality check: this is still a photography lesson, not a portrait session. The guide is not there to direct you into posed photos of people the way a formal shoot would. You’re learning how to observe and photograph what’s happening around you—street style as part of the urban environment.
That actually helps you. Instead of staging a shoot, you can work on street-photography fundamentals:
- timing shots as outfits move through the frame
- watching for faces and expressions while keeping your camera settings ready
- choosing a composition that respects the moment
If you enjoy street scenes and want your photos to feel more like Tokyo and less like a generic travel collage, Harajuku is a great place to practice. Your instructor can also steer you toward angles that keep the image readable—less clutter, clearer focus, and a stronger sense of story.
Iconic sights plus your custom targets: what makes the route feel personal
A big value of a private tour is that you can spend time where you actually want it. This tour is built to work that way. You can talk with your instructor after the initial camera-level check and shape the balance of your session.
Some people want time to perfect the most iconic frame—think the Hachiko Crossing area—while others want more time shooting the streets around it. That flexibility is one reason the tour tends to work for both first-timers and semi-professional photographers.
You may find you get help with details that usually stay invisible when you’re alone. In one example, Tim was described as knowing strong spots for night images and giving helpful camera setting tips. Another experience praised Ivan for his planning and for anticipating what to do based on the situation, such as exposure strategies for motion and low light.
The overall approach is straightforward:
- the guide helps you pick the right spot
- you shoot and refine settings
- you learn why a certain approach works better there
If your camera skills are rusty, that logic is a lifesaver. If your skills are stronger, you’ll still benefit from someone else spotting angles and exposure opportunities that you might miss while trying to focus on your own framing.
Day vs. night: choosing the Tokyo look you want
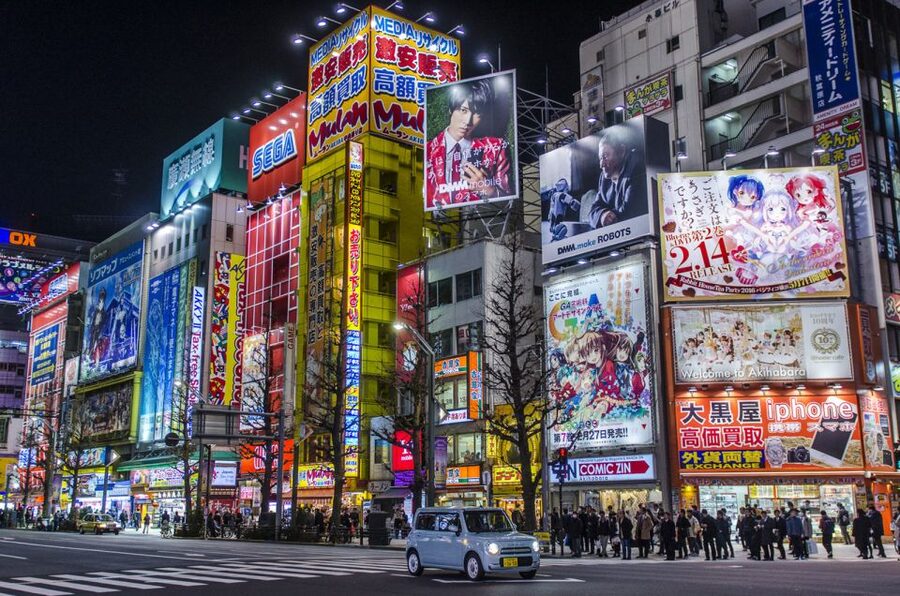
You have options: a 3-hour day tour, a 3-hour night tour, or a 6-hour combined day and night tour. Choosing between them is basically choosing your photo mood.
A day session is often best if you want:
- clean street details
- easier-to-control exposure
- time to focus on composition and framing without fighting low light
A night session is best if you want:
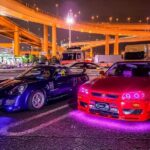
- neon signs and reflective street surfaces
- higher contrast scenes that teach exposure discipline
- a chance to practice creative motion techniques
A combined session gives you something rare: you can shoot the same city zones in two lighting worlds and compare results. That teaches you how your settings change with light, and it helps you build a repeatable approach for future Tokyo shoots.
If you’re unsure, pick the option that matches your camera comfort. If you’re still learning how your camera responds, day is a friendly start. If you already shoot manually or understand shutter speed and ISO, night will reward you quickly.
What’s included, what to bring, and how to get the most from the lesson
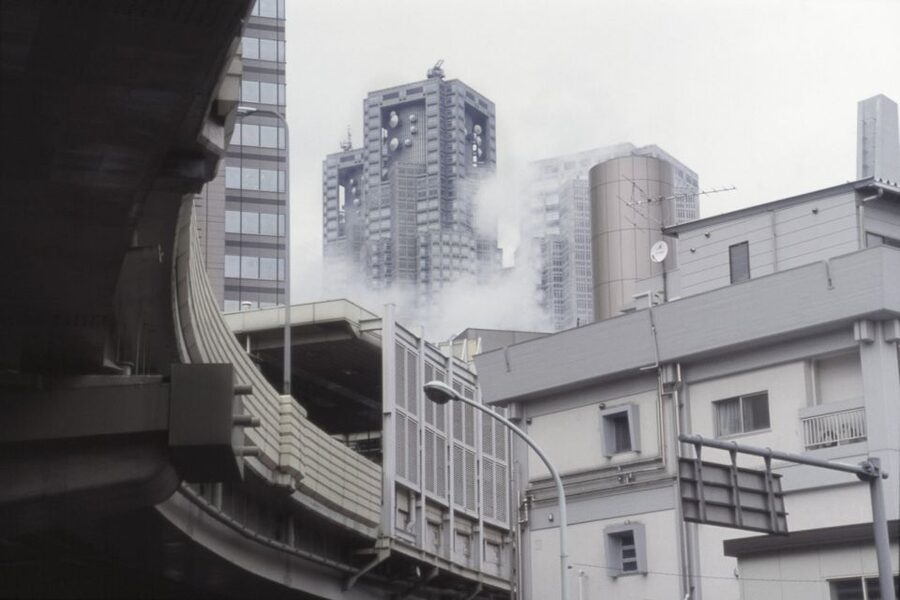
The tour includes a local guide and a professional personal photography instructor. Your camera and tripod are not included—though a tripod can be rented by request.
So bring your own camera if you can. If you only have a smartphone, you might still learn framing and exposure ideas, but the tour is designed for using your camera. Plan to bring what you’re actually traveling with.
Also, consider renting or bringing support if you like slow exposures. Night photography can benefit from steadier setups, and if you want to try slower shutter speeds or longer exposures, a tripod (or some kind of steadiness) can help.
During the walk, you’ll get guided shooting opportunities rather than just lecture time. The lesson format helps you get answers while your camera is in your hand.
Price and value: $323 per group up to 2
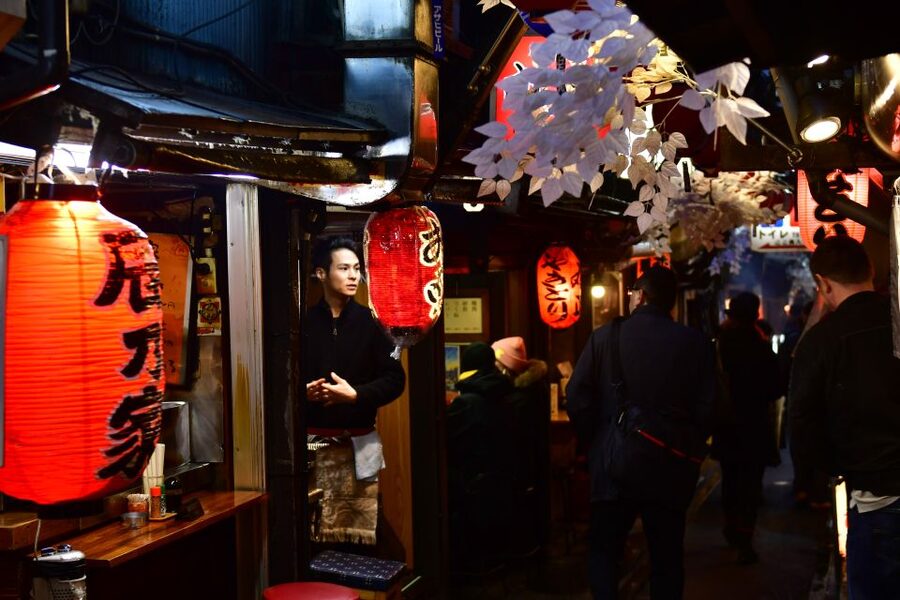
The price is $323 per group for a 3-hour session, capped at up to 2 people. That can sound like a lot until you translate it into what you’re buying.
You’re paying for:
- local spot knowledge in a photo-heavy area
- real-time camera instruction geared to your level
- a private format so you can slow down when a shot matters
If you’re traveling as a pair, the per-person value becomes much easier to justify. Even solo, it can be worth it if you know you’ll struggle to plan your own route for street photography or if you want someone to explain settings in practical terms.
The biggest “value test” for this tour is your goal. If you want photos that improve in a single afternoon with clear guidance and a plan, this is a strong use of money. If you only want casual walking photos with no technical help, you might not use enough of the instruction to feel satisfied.
Who this works best for (and who should look elsewhere)
This is a great fit if you’re:
- learning photography basics and want your camera questions answered on the spot
- already shooting but want better spot-finding and smarter settings choices
- interested in street photography in high-energy areas like Shibuya and Harajuku
It’s also useful if you want your route shaped to your interests. The instructor approach starts with a level check, then adjusts as you go.
If what you want is a portrait session where someone will photograph you in a controlled setup, this isn’t that. The tour is about taking photos of Tokyo, with the instructor coaching you on how to do it.
Should you book this Tokyo photography masterclass?
I’d book it if you want street photography that improves fast and feels intentional. This is the kind of experience that helps you move beyond random clicking by giving you a plan, a guide who knows where to stand, and camera help that fits your level.
You should also book if you like the idea of shooting both iconic Shibuya areas and the surrounding streets where your photos can pick up more personality. And if night photography is your goal, this tour’s emphasis on neon lighting and setting choices can be a smart way to get results without wasting your first Tokyo evenings guessing.
Skip it if your priority is portrait-style travel photos of yourself, or if you want to design everything independently with no instruction.
If you’re aiming for better Tokyo street photos and you like practical coaching with a real local next to you, this one is a strong bet.
FAQ
What is the duration of the Tokyo photography masterclass?
The tour lasts 3 hours.
Where do I meet the guide?
You meet at the Hachiko Memorial Statue in Shibuya.
Is the tour day, night, or both?
You can choose a 3-hour day tour, a 3-hour night tour, or a 6-hour combined day and night tour.
Is a camera included?
No. Your camera is not included.
Is a tripod included?
No. A tripod is available to rent by request.
What language is the guide?
The live tour guide is English.
Is this a portrait session?
No. It is a photography lesson to help you take better photos of Tokyo, and they will not take photos of you.