REVIEW · TOKYO
Tokyo Cyberpunk Street Photo Tour
Book on Viator →Operated by EYExplore Tokyo · Bookable on Viator
Neon lights meet smart photo coaching. This 3-hour evening walk is built for people who want Shinjuku and Shibuya after dark, with an expert instructor showing you how to shoot neon signage, street scenes, and long-exposure effects with a camera or your smartphone. I like that it keeps the focus practical, not abstract.
I love the specific photo targets you’ll work on—Kabukicho’s neon energy, Omoide Yokocho’s narrow lanes, and Shibuya Crossing’s iconic crowd moments. I also like the human side of the instruction, with guides such as Charles and Lukasz getting hands-on with camera settings and phone tips, including how to adjust things on your device so your shots come out cleaner.
One possible drawback: the pace can feel quick, especially if you’re a slower walker or you lose visual contact with the group in Shinjuku crowds. If that’s you, arrive early, communicate if you need a breather, and keep your eye on where you’re meeting next.
In This Review
- Key things that make this Tokyo night tour worth it
- Shinjuku to Shibuya after dark: what this tour really gets you
- Why the timing at 7:00 pm matters
- Stop 1: Kabukicho District and its neon photo math
- Stop 2: Omoide Yokocho Memory Lane for tight framing and “lines in the dark”
- The Shinjuku-to-Shibuya train transfer: how to plan for it
- Stop 3: Shibuya Crossing—long exposure meets human motion
- What “small group” changes in a photo tour
- Price and value: $184.99 per group for up to 2 people
- Bring the right kit: cameras, phones, and one smart accessory
- Weather reality: why “good weather” is not optional here
- Who this tour suits best (and who should consider another plan)
- A few small logistics tips that prevent big headaches
- Should you book this Tokyo Cyberpunk Street Photo Tour?
- FAQ
- How long is the Tokyo Cyberpunk Street Photo Tour?
- What time does the tour start?
- Where do I meet for the tour?
- Where does the tour end?
- What neighborhoods will we visit?
- Is the tour good for smartphone photographers?
- What’s included in the price?
- Is transportation included?
- How many people are in the group?
- What happens if the weather is bad?
Key things that make this Tokyo night tour worth it
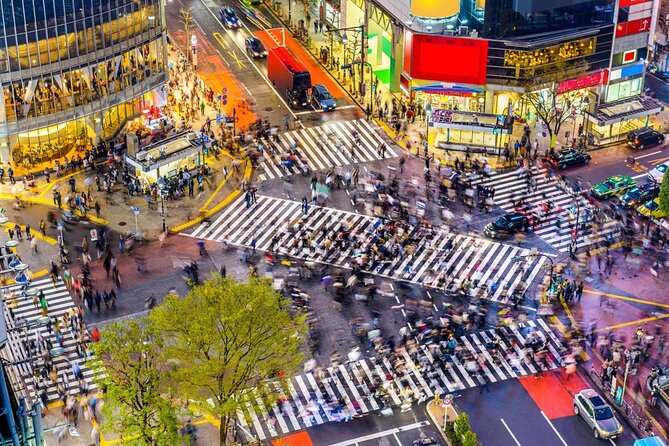
- Shibuya Crossing, Blade Runner style: practice long-exposure crowd shots at a true landmark
- Shinjuku night textures: Kabukicho streets and alley lighting for bold street compositions
- Omoide Yokocho lanes: Memory Lane angles where narrow space creates interesting frames
- Phone-friendly instruction: you’ll get tips that work even if you only shoot on a smartphone
- Max 4 travelers: small group attention means faster feedback on your settings and framing
Shinjuku to Shibuya after dark: what this tour really gets you
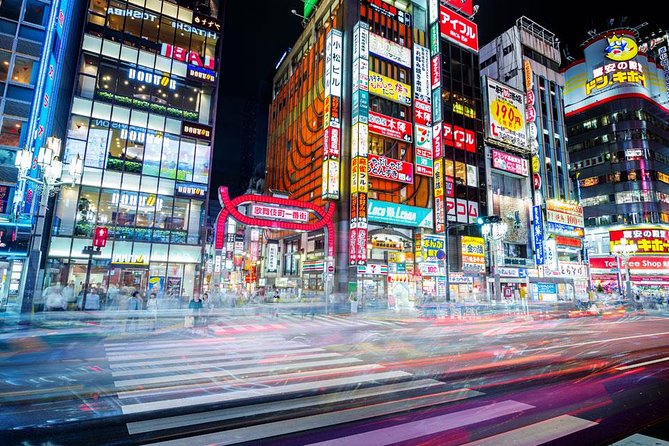
Tokyo at night is basically a live photo workshop. You get motion, neon signage, deep shadows, and high-contrast scenes all at once—and you do not waste time guessing where to stand. This tour is built around three shooting zones that make sense for street photography: Kabukicho first, Memory Lane second, and Shibuya Crossing at the end.
The other big plus is that it’s designed for both cameras and phones. You’ll get coached on how to capture illuminated details and how to handle night exposure so your images don’t come out muddy or over-bright. One guide-style you’ll hear about in the reviews is very “show, then help you fix it,” which matters because night photography is usually where people get frustrated fast.
You can also read our reviews of more tours and experiences in Tokyo.

Why the timing at 7:00 pm matters
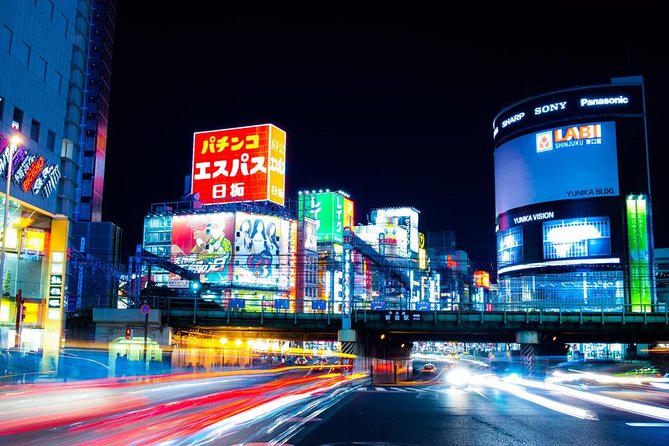
A 7:00 pm start is smart because the light is already dramatic. The sky won’t be pitch black yet, so you get a mix of ambient glow and neon color. That combo is where long exposure starts looking creative instead of just blurry.
Also, night crowds in Shinjuku and Shibuya build quickly. Starting at 7:00 pm helps you catch the streets in full motion without waiting until the night is too late and your energy is gone. You’ll finish at Shibuya Crossing, which is a good end point because it’s the kind of shot you can’t easily recreate later just by walking around.
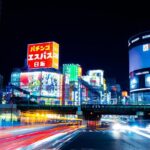
Stop 1: Kabukicho District and its neon photo math
Kabukicho is Tokyo’s night energy in physical form. The streets are bright in some pockets, dark in others, and loaded with signage. For street photos, that creates three useful problems to practice solving:
- Exposure balance: neon can blow out fast, while shadows go too dark
- Composition in chaos: too much in the frame can ruin the shot
- Candid moments: people move constantly, so your timing matters
This first stop lasts about an hour, which is a good amount of time to test settings, reframe quickly, and try different angles. If you’re using a smartphone, you may be shown phone camera controls that affect contrast and exposure. If you’re using a camera with manual or semi-manual options, expect coaching focused on how to tame night brightness while still showing that neon “glow.”
This is also where you’ll get the best early-session value. If your first frames look wrong, that’s normal—night scenes are hard. Having someone point out what to adjust early saves you from wasting the rest of the walk chasing luck.
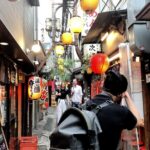
Stop 2: Omoide Yokocho Memory Lane for tight framing and “lines in the dark”
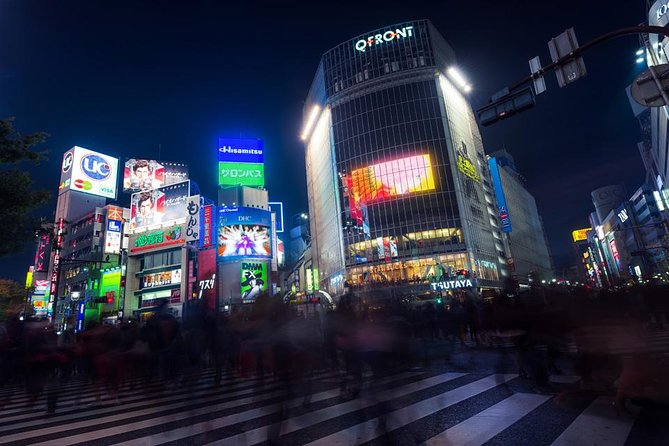
Omoide Yokocho, also called Memory Lane, is the kind of place you can’t fully appreciate until you’re standing there. The lanes feel narrow and built for atmosphere. For photography, that tight spacing helps you because you naturally get:
- Strong leading lines (the lane guides your eye)
- Layered depth (front signs, middle people, background glow)
- Textures (walls, lights, reflections, and small details)
Your time here is about 30 minutes. That’s short enough that the tour won’t turn into a wandering loop, but long enough to get several usable angles. If you’re aiming for “cyberpunk” vibes, this is where you’ll find them: compact streets, visible light sources, and candid crowd energy without the huge-scale openness you get at Shibuya.
Practical note: because this is a smaller space with crowds, you’ll want to be ready to adjust quickly. Keep your lens or phone ready and your settings consistent so you can focus on framing rather than constantly re-learning your gear.
The Shinjuku-to-Shibuya train transfer: how to plan for it
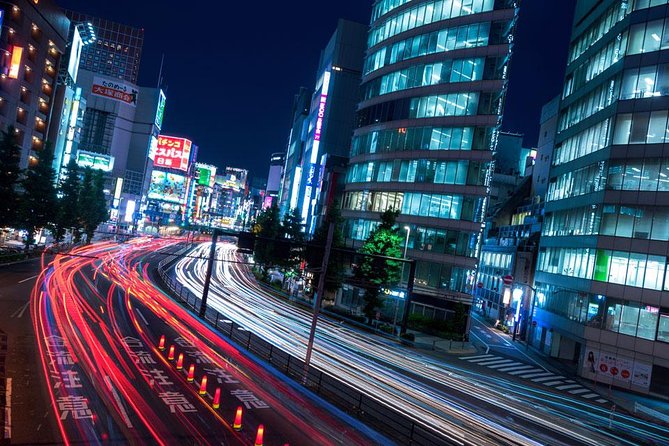
After Kabukicho and Memory Lane, you move by train to Shibuya. Train fare is not included, so you should budget a little extra. The good news is that this transfer is part of how the tour is designed: you’re not just walking in circles, you’re changing scenes.
Why this matters for your photos: night street photography often looks better when your subject changes every segment. Shinjuku gives you dense neon and alley drama. Shibuya brings larger crowds and bigger “landmark” compositions. That shift is what keeps the walk from feeling like the same frame repeated.
If you’re sensitive to time, keep an eye on the group. One review concern was that a too-fast pace can make it easy to lose track. In a busy transfer, that’s extra stressful—so treat the move between stops as your “stay close” moment.
Stop 3: Shibuya Crossing—long exposure meets human motion
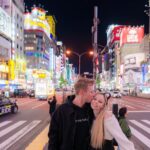
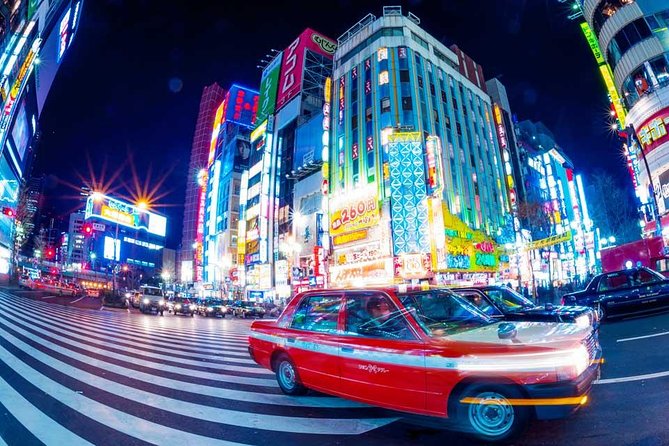
Finishing at Shibuya Crossing is the point. It’s famous for a reason: thousands of people crossing, giant signage, and a constant flow of motion. This is where long exposure can create the cinematic effect people expect, while still capturing real life.
About that experience: the intersection is built for street photography, but it also forces decisions. You need to choose what kind of image you want:
- Crisp people with sharper signs (shorter exposure, tighter control)
- Soft crowd trails (long exposure, controlled blur)
- The “grid” feeling (align the crossing and signage with your frame)
The tour gives you about 45 minutes here, which is just long enough to try more than one approach. You’ll likely get coaching on how to time your shot with the crowd flow and how to keep your exposure from turning neon into pure white.
If you’re only using your phone, this stop is still worth it because you’ll get tips tailored to phone controls—not just camera jargon. In the reviews, people specifically mention hands-on help with phone features like the location of a contrast slider and using a lock function to avoid accidental exposure changes. Those small details can be the difference between a usable shot and a washed-out one.
What “small group” changes in a photo tour
A max group size of 4 travelers is not a luxury detail. It changes how fast you improve.
With smaller groups, an instructor can:
- check your frame faster
- notice when you’re overexposing neon
- correct your angle and stance before you burn time
In the reviews, you’ll see repeated praise for patient, hands-on feedback. That’s what you want in night photography, where mistakes stack quickly. One person even noted a workshop-style approach: instruction, demonstration, then practice. That structure helps you translate advice into shots instead of just nodding along.
Price and value: $184.99 per group for up to 2 people
At $184.99 per group (up to 2), the value depends on your travel style.
If you’re coming as a couple or a friend pair, the pricing becomes more reasonable because you’re splitting the cost and still getting one-on-one style help inside a small group. If you’re solo, it’s still a solid option when you factor in what you’re buying: an expert instructor, focused shooting locations, and time-saving guidance for neon and long exposure.
The biggest value signal here is time quality. Night photography is hard to self-learn because you need the right street corners, the right exposure strategy, and feedback while you’re still at the location. This tour compresses all three into a short evening.
Also, the tour includes an instructor, not just a walk guide. Since the instruction is the core of the experience, you’re not paying primarily for “someone to lead the way.” You’re paying for coaching that helps your images improve.
Bring the right kit: cameras, phones, and one smart accessory
You can do this tour with a smartphone, but your results will depend on how much control your phone offers and whether you can stabilize it.
A few practical items that would help, based on what people said in the reviews:
- If your device supports exposure controls, be ready to use them instead of relying only on auto
- If you can, bring a camera with shutter/exposure control for more consistent long exposure results
- A tripod was mentioned as helpful by some participants, especially for night-long exposure practice
If you’re traveling light, no problem. The tour is clearly set up for phone shooting. The “upgrade” is knowing what to adjust on your phone so your images don’t fight the neon lighting.
Weather reality: why “good weather” is not optional here
This experience requires good weather. Night street photography is sensitive to rain because it can turn reflective surfaces into a light trap, and it can also make safe walking harder in crowds. If the company cancels due to poor weather, you’ll be offered a different date or a full refund.
If it’s simply uncomfortable outside rather than truly bad weather, some guides have been known to adjust the plan. The safest way to think about it is this: you’re going out to shoot illuminated streets, and if conditions ruin visibility or safety, the tour won’t force it. That’s a good sign.
Who this tour suits best (and who should consider another plan)
This tour fits you if:
- you want night street photos without spending hours planning
- you enjoy neon signage, crowd scenes, and candid energy
- you want direct coaching whether you shoot on a phone or a camera
- you like short, focused sessions at specific locations
You might want to think twice if:
- you’re uncomfortable walking briskly through dense areas
- you need a very slow pace and lots of downtime between stops
- you’re extremely new and want a long “classroom” style explanation before heading out
A practical suggestion: tell the instructor early what you shoot with and what you struggle with. That sets you up to get useful fixes right away.
A few small logistics tips that prevent big headaches
Shinjuku is large and confusing. Even when directions seem clear, stations are full of moving parts. One common frustration people had was simply finding the group at the meeting spot. You can avoid that by arriving a bit early and using your map app to pinpoint the exact location.
Also, keep an eye on the group during transitions. The tour is designed around timing, and if you fall behind in crowd areas, it can be hard to catch up.
Should you book this Tokyo Cyberpunk Street Photo Tour?
I’d book it if you want your first Tokyo night photography session to feel guided and productive. The stop mix is strong: neon drama in Kabukicho, narrow-lane atmosphere in Omoide Yokocho, then the unmistakable Shibuya Crossing finish. Add in the small group limit and the coach-focused approach (often mentioned with guide names like Charles and Lukasz), and it’s a good way to leave with images that actually look like your Tokyo memories—not blurry experiments.
I’d skip or choose another style if you hate fast walking, dislike crowds, or only want a slow stroll without hands-on photo instruction. This isn’t just a tour of places. It’s a night photography practice session in real locations.
If you decide to go, show up on time, bring whatever you shoot with (camera or phone), and be ready to adjust. Tokyo night lighting doesn’t forgive hesitation, but with instruction, it rewards you fast.
FAQ
How long is the Tokyo Cyberpunk Street Photo Tour?
It runs about 3 hours (often described as a 2.5-hour photo adventure in the description).
What time does the tour start?
The start time is 7:00 pm.
Where do I meet for the tour?
Meet at Happy Lemon Keio Shinjuku Shop, 1-chōme-1-4 Nishishinjuku, Shinjuku City, Tokyo 160-0023, Japan.
Where does the tour end?
The tour ends at 2-chōme-2-1 Dōgenzaka, Shibuya, Tokyo 150-0043, Japan.
What neighborhoods will we visit?
You’ll cover Kabukicho District, Omoide Yokocho (Memory Lane), and Shibuya Crossing, moving from Shinjuku to Shibuya by train.
Is the tour good for smartphone photographers?
Yes. The experience is designed for capturing neon signs and illuminated landmarks with either a camera or your smartphone, and the guide provides phone-camera tips.
What’s included in the price?
A professional photography instructor is included.
Is transportation included?
Bus fare is not included. You’ll also take a train to reach Shibuya at your own expense.
How many people are in the group?
The maximum group size is 4 travelers.
What happens if the weather is bad?
This experience requires good weather. If it’s canceled due to poor weather, you’ll be offered a different date or a full refund.