REVIEW · NEW YORK CITY
New York Icon Photography Tour led by a Local Photographer
Book on Viator →Operated by New York City Photo Safari · Bookable on Viator
A New York photo tour that feels like coaching. This one is run by local professional photographers who build your shots around real NYC angles. You’ll move through famous landmarks, but the focus stays on how to make the photo, not just where to stand.
I especially like two things: the chance to learn technique on the fly, and the small group size that keeps the attention on you. One thing to consider: it’s a walking-heavy route for about 2.5 hours, so bring comfortable shoes and a camera you’re willing to use.
In This Review
- Small Group, Local Pro Guidance You Can Use Immediately
- Price and What $125 Buys in Real Value
- Morning or Afternoon: Two Ways to Shoot New York
- The Meeting Point at 180 Madison Ave (And Why It Matters)
- Your Photo Coaching Will Center on How to See
- Midtown Icons: Rockefeller Center, Radio City, St. Patrick’s, and the Skyline
- Rockefeller Center
- Radio City Music Hall
- St. Patrick’s Cathedral
- Manhattan Skyline
- ATLAS and the nearby Fifth Avenue energy
- Fifth Avenue Details: Saks, LEGO, Apple, Pulitzer Fountain, and The Plaza
- Saks Fifth Avenue and Bergdorf Goodman
- LEGO Store and Apple Fifth Avenue
- Pulitzer Fountain and The Plaza
- Hotel and Monument Shots: The Pierre, Grand Army Plaza, and Trump Tower
- The Pierre, A Taj Hotel, New York
- Grand Army Plaza
- Trump Tower
- Central Park Transition: Zoo, Gar Pond, and Gapstow Bridge
- Central Park Zoo
- Gar Pond
- Gapstow Bridge
- Top of the Rock and MoMA: Big Views and Big-Block Details
- Top of the Rock
- The Museum of Modern Art (MoMA)
- Bergdorf Goodman and Tiffany & Co.
- What I’d Focus on Before You Go (So You Actually Get Great Photos)
- Who This Tour Is Best For
- Should You Book This New York Icon Photography Tour?
- FAQ
- How long is the New York Icon Photography Tour?
- How many people are in the group?
- What is included in the price?
- Where do I meet for the tour?
- Is hotel pickup included?
- Is the tour available in English?
- Can I get a refund if I cancel?
Small Group, Local Pro Guidance You Can Use Immediately
This tour is built for people who want better photos without needing a photography degree. You’re guided by a LOCAL professional photographer with real photo-industry experience and a strong sense of where the light, angles, and lines will work best in the city.
What makes it feel different from a basic sightseeing walk is the coaching. You’re not left to figure things out alone. In practice, that means you get help with framing, composition, and the kind of camera settings and habits that make your photos look intentional. Several past participants also highlight the way guides adapt to your level, so you’re not stuck in the deep end if you’re newer.
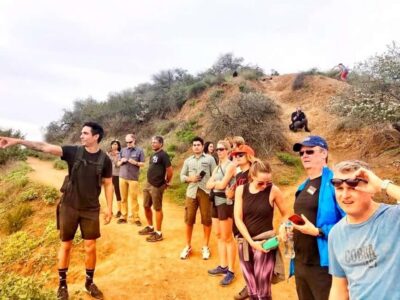
The group is capped at 8 travelers, which matters more than you might think. On crowded streets, you need time to shoot and reset without everyone staring at your spot or rushing you along.
Price and What $125 Buys in Real Value
At $125 per person for about 2 hours 30 minutes, this sits in the “worth it if you’ll actually use it” category. You’re paying for something tours often skip: hands-on instruction from someone who does photography for a living, plus an itinerary that’s geared toward recognizable NYC icons.
The included extras are straightforward and useful:
- A professional local photographer guide
- Subway fare
- Local taxes
And you’re not paying for hotel pickup or drop-off, so you’ll want to plan your own way to the meeting point. For many people, that’s a plus: you control your arrival time and you’re already in the transit rhythm of the city.
You can also read our reviews of more tours and experiences in New York City.

Morning or Afternoon: Two Ways to Shoot New York
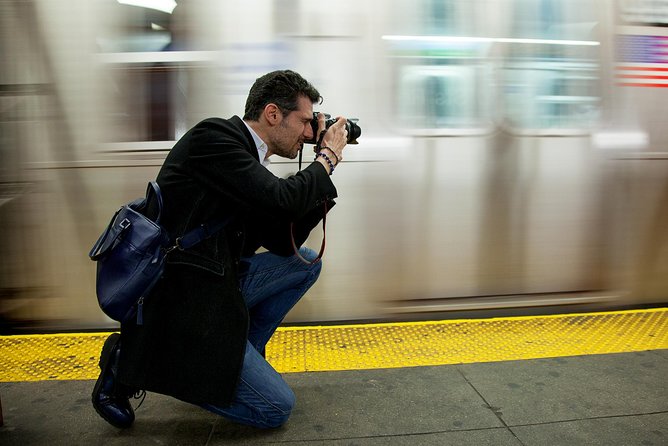
You can choose a morning or afternoon session, and that choice affects how your photos look even if you visit the same places. Morning tends to bring softer light and a calmer feel in some Midtown streets. Afternoon can give you stronger contrast and more lively energy—useful if you like dramatic shadows or brighter reflections.
The route itself is designed for nonstop photo opportunities across Midtown and into Central Park areas. So your best move is to pick the time you can stay focused for 2.5 hours with minimal stress.
The Meeting Point at 180 Madison Ave (And Why It Matters)
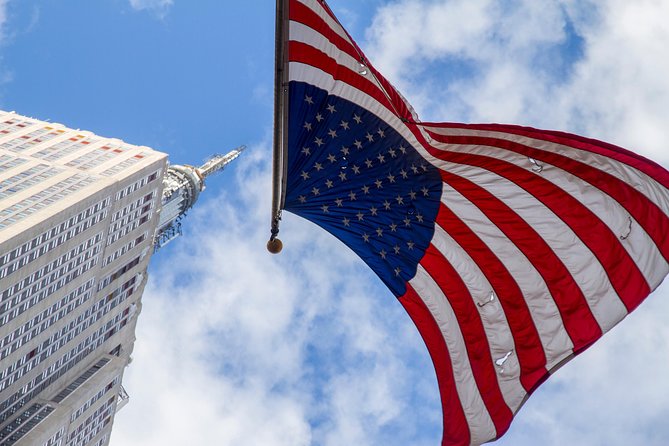
The tour starts and ends back at 180 Madison Ave. Starting here helps you get oriented quickly because it’s in a central area that’s easy to reach by public transportation.
Since hotel pickup isn’t included, plan to arrive a few minutes early so you’re not scrambling. A mobile ticket is provided, which is handy in New York because phones are your passport for everything—just make sure your battery is ready for the day.
Also note the tour is listed as having a moderate physical fitness level. You don’t need to be an athlete, but you should expect walking between iconic stops and stopping often for photos.
Your Photo Coaching Will Center on How to See
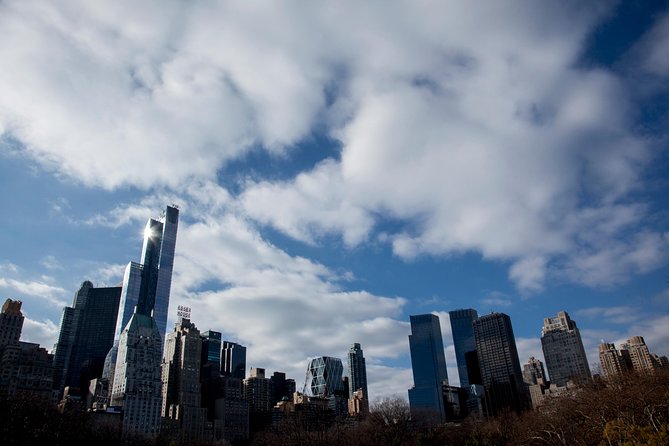
The itinerary is full of recognizable landmarks, but the real value is how the guide helps you translate what you see into a strong image. Past participants repeatedly mention two types of help:
- Technical and practical camera guidance (things like what to adjust and how)
- Composition thinking (framing, angles, and how to make buildings and streets look more dynamic)
Some guides also provide instruction that connects to editing, with one person specifically calling out help understanding Lightroom. Even if you don’t use Lightroom, the teaching style tends to focus on what to look for in your results—so you leave with better habits for your photos after the tour too.
Midtown Icons: Rockefeller Center, Radio City, St. Patrick’s, and the Skyline
This tour’s first stretch leans into classic Midtown visuals—clean lines, iconic facades, and big “New York” symbols that are perfect for practicing composition.

Rockefeller Center
This is a strong start because it offers symmetrical possibilities and lots of angles. You’ll have chances to practice:
- Straight-line framing (to keep verticals from leaning)
- Using foreground elements to add depth
- Capturing geometric detail without clutter
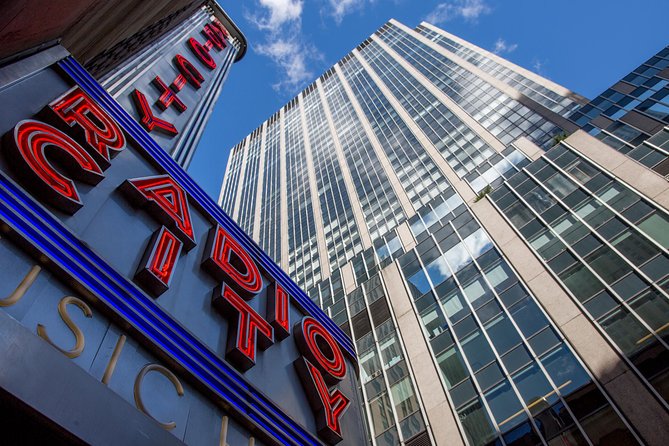
Radio City Music Hall
Here, you can work on how architecture fills the frame. It’s a good stop for practicing how to include enough to recognize the place while still making the photo feel graphic and composed.
St. Patrick’s Cathedral
With its size and stone detail, it’s ideal for slow shooting. This kind of stop is where coaching pays off, because it’s easy to over-aim or cut off important parts when you’re excited. You’ll likely spend time getting the framing right so the image looks intentional, not accidental.
Manhattan Skyline
This is where the tour shifts toward bigger views and the problem of “too much city in one frame.” A local photographer guide can help you decide what to emphasize—skyline shape, building edges, or the feel of depth—so your shot doesn’t turn into a busy blur.
ATLAS and the nearby Fifth Avenue energy
ATLAS is the kind of subject that rewards attention to detail. If your camera has features like grid lines or if you like using burst shooting, this is the moment to test how you compose and refine quickly.
Fifth Avenue Details: Saks, LEGO, Apple, Pulitzer Fountain, and The Plaza
Then the tour starts stacking recognizable “shopping and landmark” stops. This is where you learn that a great photo in New York isn’t just about famous buildings—it’s about what you choose to include.
Saks Fifth Avenue and Bergdorf Goodman
These stops are great for practicing how luxury storefronts reflect the city around them. Bright surfaces can be tricky, so you’ll get practical guidance that helps you handle highlights and avoid washing out the image.
LEGO Store and Apple Fifth Avenue
With bright colors and clear branding, these are strong subjects for creative framing. You can focus on pattern, signage, and the way the street turns your subject into a story. If you like street photography energy, these stops are a fun way to make something iconic feel playful.
Pulitzer Fountain and The Plaza
These areas work well for practicing “place storytelling.” The coaching helps you figure out how to show the location while keeping your subject clear. Fountain areas also give you reflective possibilities depending on the conditions and how you frame the scene.
Hotel and Monument Shots: The Pierre, Grand Army Plaza, and Trump Tower
This portion of the route is about bigger statements and city texture—places where New York looks grand and polished.
The Pierre, A Taj Hotel, New York
A hotel exterior can be a goldmine for practicing composition. You can treat it like architecture photography: verticals, symmetry, and framing that makes the building look upright and confident.
Grand Army Plaza
Monuments and plaza layouts often challenge you to include enough context without making the photo feel empty. Your guide’s job here is to help you find the photo that feels balanced.
Trump Tower
This stop is perfect for practicing contrasts: glossy surfaces, strong branding shapes, and the reality that a lot of famous buildings are photo-friendly but visually complex. Coaching helps you simplify the frame so the iconic identity shows up cleanly.
Central Park Transition: Zoo, Gar Pond, and Gapstow Bridge
Then you shift from hard-edged Midtown into Central Park territory. Even if you’ve seen Central Park photos a thousand times, shooting inside it is different because the light and reflections change quickly with every angle.
Central Park Zoo
This is a distinct change of pace. The key photographic advantage here is that you can work on subject isolation—helping your camera focus attention on what matters rather than letting the background take over.
Gar Pond
Water subjects are always about control: composition, reflections, and the timing of how the scene looks at the moment you press the shutter. This stop is where coaching really helps because it’s easy to miss the cleanest reflection if you’re not paying attention to angles.
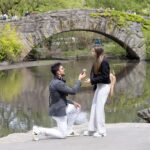
Gapstow Bridge
Bridges give you strong leading lines. A good bridge photo usually has a balance of structure and surroundings, and a local photographer can help you decide what to keep crisp and what to soften so the image feels intentional.
Top of the Rock and MoMA: Big Views and Big-Block Details
After Central Park’s quieter scenes, the tour returns to “look up” and “look close” territory.
Top of the Rock
This is a major chance to practice skyline photography. Your guide can help you handle composition when the view is wide: how to choose a portion of the skyline to make the photo feel strong rather than overly broad.
The Museum of Modern Art (MoMA)
A museum stop can be great for visual design: clean lines, controlled spaces, and architecture you can treat like a geometric subject. It’s also a useful moment to slow down and focus on craft.
Bergdorf Goodman and Tiffany & Co.
These are your final big “iconic storefront” moments. If you like photography that feels like a snapshot of New York’s visual identity, these stops are built for that. With coaching, you’ll learn how to shoot shiny surfaces and signage in a way that doesn’t drown in glare.
What I’d Focus on Before You Go (So You Actually Get Great Photos)
If you want this tour to change your photos in a real way, show up ready to practice. I’d do three things:
- Bring a camera you know how to use at least a little. If you only know one mode, that’s fine; just be ready to learn tweaks.
- Wear comfortable shoes. The route mixes Midtown and park areas, and you’ll be stopping often but still moving.
- Decide what you want from the day: sharper skills, better composition, or cleaner results you can recreate later.
Because the tour is guided by working photographers, you’ll likely leave with a more repeatable method—ways to frame buildings, use reflections, and choose angles that make New York look like more than a postcard.
Who This Tour Is Best For
This is a great fit if:
- You want camera coaching during a sightseeing day
- You’re traveling with someone who wants activities but you also want to grow your photo skills
- You like iconic New York sights but want to photograph them from smarter angles
- You’re comfortable walking for about 2.5 hours with moderate effort
It can also work for mixed skill levels. Past participants mention guides tailoring help to the group’s experience—so beginners get practical direction and more experienced shooters can still get new angles and better technique.
Should You Book This New York Icon Photography Tour?
Book it if you want a guided photo day where the goal is better images, not just check-the-box landmarks. The small group size and professional local photographer coaching make the $125 feel more like instruction than admission. You’ll also get a clear, structured route that takes you through the kinds of places that reward photography practice.
Skip it if you only want casual sightseeing with no interest in improving your shots. The tour will be more satisfying if you’re willing to stop, frame, adjust, and shoot more than once.
If your dream souvenir is a set of New York photos you’re proud of, this is the kind of experience that usually pays off fast.
FAQ
How long is the New York Icon Photography Tour?
It’s about 2 hours 30 minutes.
How many people are in the group?
The tour has a maximum of 8 travelers.
What is included in the price?
A professional local photographer guide, subway fare, and local taxes are included.
Where do I meet for the tour?
You meet at 180 Madison Ave, New York, NY 10016, USA, and the tour ends back at the meeting point.
Is hotel pickup included?
No. Hotel pickup and drop-off are not included.
Is the tour available in English?
Yes, it’s offered in English.
Can I get a refund if I cancel?
Yes. You can cancel for free up to 24 hours in advance of the experience for a full refund.