REVIEW · TOKYO
Tokyo: Evening Photography Tour
Book on GetYourGuide →Operated by MagicalTrip · Bookable on GetYourGuide
Tokyo at night turns you into a photographer. This Shinjuku and Shibuya Evening Photography Tour pairs a Blade Runner-style cyberpunk bar intro with a guided walk through the neon maze, ending in iconic shots and practical posing help. I especially liked the cyberpunk bar start (it sets the mood fast) and the fact you leave with 20 professionally edited photos of you, not just scenery.
One thing to keep in mind: it’s a photo-focused, walking-heavy evening, and the timing can flex based on crowds and conditions, so you’ll want to be ready for a brisk trek in extreme weather. Also, guides can include photographers like Gota-San (and others noted such as Rai and Charlie), so the vibe can vary a bit day to day, even though the goal stays the same: great shots.
In This Review
- Key things I’d bookmark before you go
- Shinjuku at Night: Why This Route Works for Real Photos
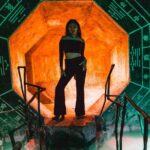
- Starting at a Blade Runner-Style Cyberpunk Bar (Your Shoot Prep, Done Right)
- Meeting at Shinjuku Station: A Simple Start That Saves Time
- Shinjuku Warm-Up Stops: Street-Level Photos Without the Stress
- Kabukicho at Night: Neon Drama and Pose Coaching
- Shibuya Scramble Crossing vs. Tokyo Met Gov View: Pick Your Night Mood
- Getting 20 Edited Photos: What “Professionally Edited” Means for You
- Price and Value: Why $103 Can Make Sense in Tokyo
- What the Tour Day Is Like in Motion (So You Can Plan Your Energy)
- Who This Tour Fits Best (and Who Should Skip It)
- Should You Book This Evening Photo Tour?
- FAQ
- Where do I meet the tour guide?
- How long is the tour?
- How many photos will I receive?
- When will I get the photos?
- Is a DSLR camera used?
- What does the tour include besides the photos?
- Is there a choice for the big night photo spot?
- What’s not included?
- Is it okay for solo travelers?
- What happens if I’m late?
Key things I’d bookmark before you go
- Blade Runner-style bar interview to match your photo goals to real shooting spots
- DSLR photos plus posing guidance, so you don’t spend the night hiding behind your phone
- Shinjuku-to-Shibuya route with multiple urban and local-feeling stops, not just one postcard landmark
- Two options for your big night moment: Scramble Crossing or the Tokyo Met Gov Building viewpoint
- Small-group feel possible, and solo travelers often get extra attention
- Edited delivery: you get your 20 photos within 3 days (some guests report very fast turnaround)
Shinjuku at Night: Why This Route Works for Real Photos
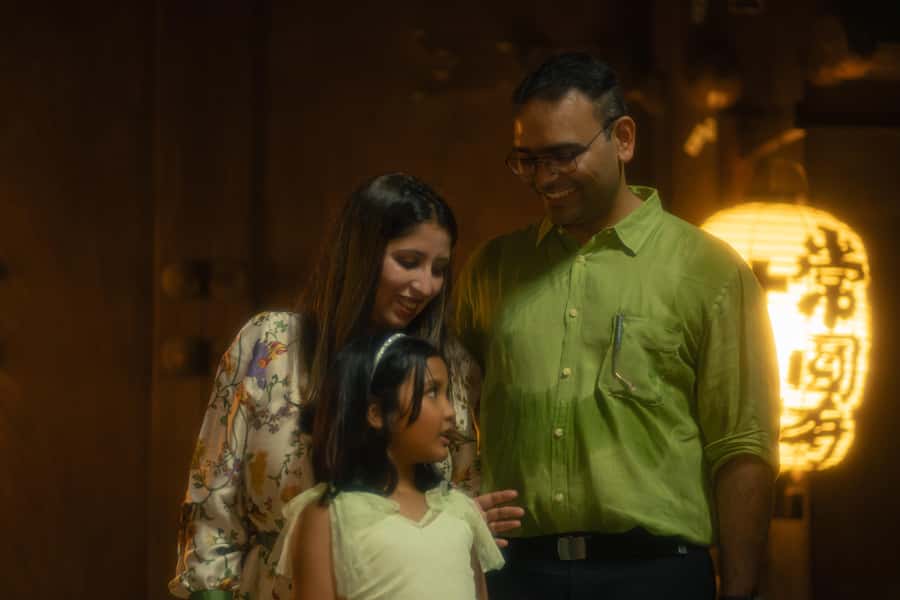
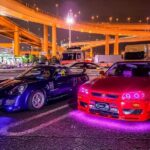
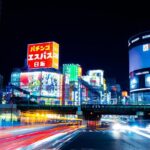
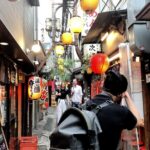
Tokyo’s night lighting is the cheat code. In Shinjuku and Shibuya, you get layers—neon signs, train-yard echoes, alley reflections, and those hard-edged crosswalk lights that make a photo look like it took hours. The tour’s strength is that it doesn’t treat this area like one long tourist line. Instead, it strings together different textures: street corners for mood, wider openings for impact, and a few “this is why we’re here” spots.
What I like for you: you’ll get coached on how to be photographed. That matters in Japan, where perfect timing is everything and there’s no time to keep asking strangers to take your picture. The guide is also working as your photographer, so you’re not doing the awkward shuffle of trading phones with friends every minute.
And yes, the area can feel like sensory overload. That’s exactly why a guide helps. You’ll know where to stand, when to move, and how to keep your face relaxed while the city does its fast, flashing thing behind you.
You can also read our reviews of more tours and experiences in Tokyo.
Starting at a Blade Runner-Style Cyberpunk Bar (Your Shoot Prep, Done Right)
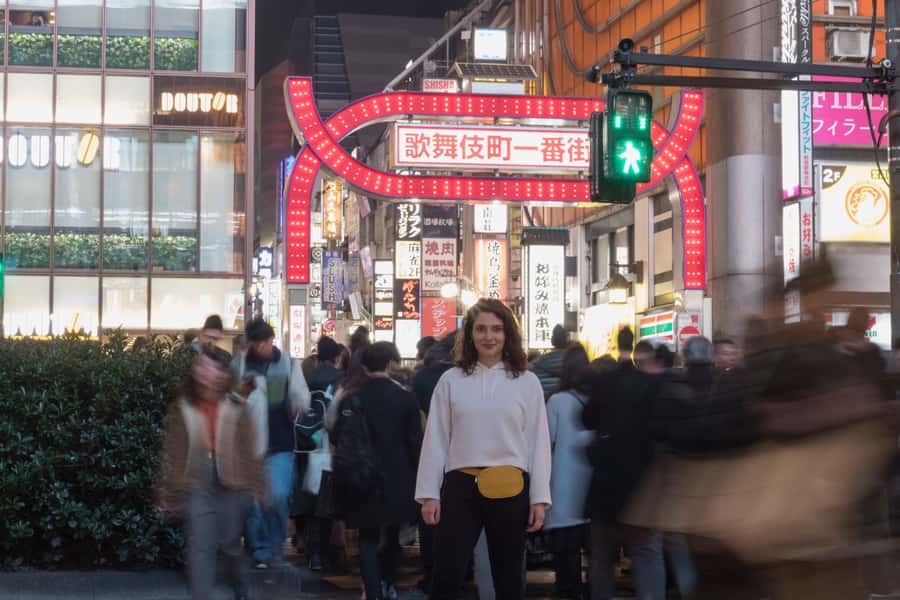
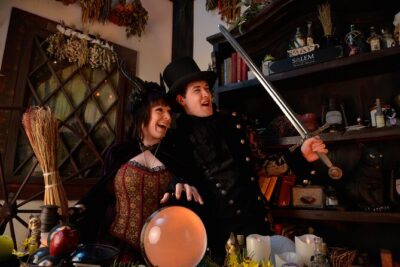
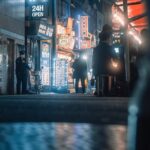
The tour begins at a chartered cyberpunk-style bar near your first big photo mood shift. Think Blade Runner vibes—dark, dramatic, and built for photos. You won’t just order and wait. There’s an interview over your drink to figure out the kind of pictures you want, then the guide helps choose the photo spots and mood that fit you.
This is smart because it’s not guesswork. If you want moody and cinematic, you’ll be steered toward the right corners. If you want playful, the guide will adjust posing and timing. One guest (solo) specifically called out how Gota-San made them comfortable and gave posing ideas, which is the point of this early conversation: you should feel in control before you step outside.
Also, one drink is included. What counts most is that you’re warmed up for the walk—lighter stress, better posture, more energy when the lights get serious.
Meeting at Shinjuku Station: A Simple Start That Saves Time
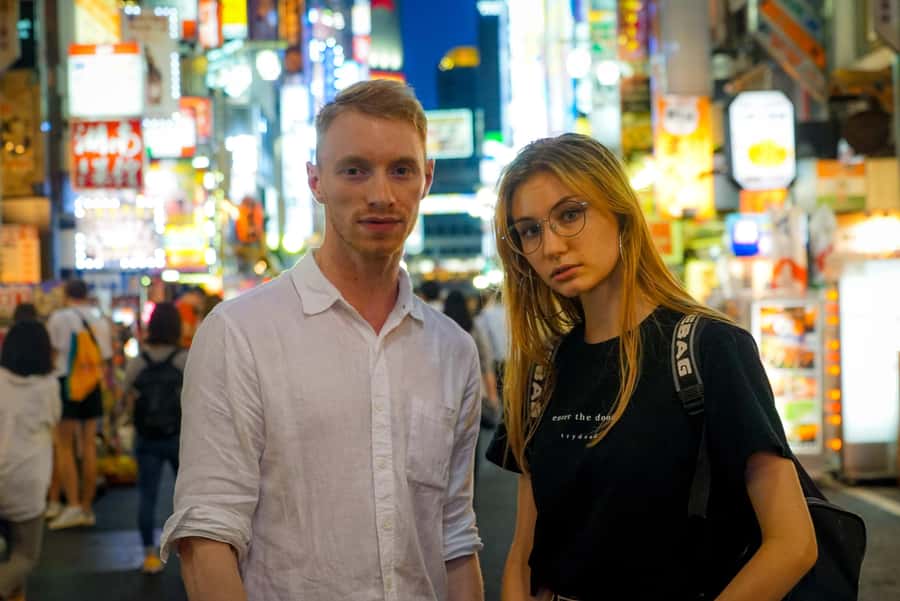
You meet at the Lion Statue right in front of the East exit of Shinjuku Station—about a one-minute walk from the JR station East Exit. Your guide holds a red/orange sign that says MagicalTrip.
This part matters because Shinjuku station can swallow people. A clear meeting point means you’ll start the evening on time and avoid the “where are you?” panic that ruins a photo night. The tour is also strict about timing: it starts on time, and arriving more than 15 minutes late means you can’t join, and there’s no refund or reschedule.
If you’re coming from elsewhere in Tokyo, I’d plan to arrive a bit early, then do one quick pass outside the gates so you don’t walk around while your camera strap is doing cardio.
Shinjuku Warm-Up Stops: Street-Level Photos Without the Stress
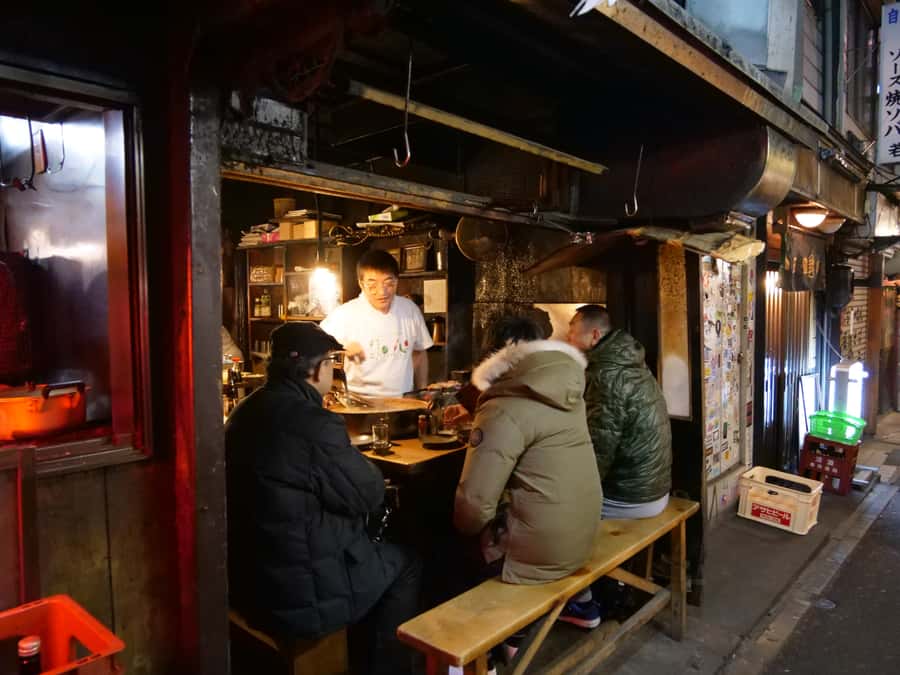
After the bar, you’ll head into Shinjuku. Expect a guided walk with short photo stops, including a “visit and walk” segment (about 30 minutes), then another Shinjuku stop that’s more explicitly photo-focused.
This stretch is where the tour turns into a real photo session, not just a casual sightseeing walk. The guide/photographer will take photos at each spot and share local info you probably won’t pick up just by wandering—things like how certain streets funnel light, where people typically stand, and what angles look best when the crowds shift.
For you, the practical benefit is pacing. Instead of one single long stop where you wait for the perfect moment, you’ll get multiple attempts in different settings. That usually leads to at least a few photos you’ll genuinely love, even if your first few poses feel awkward.
Kabukicho at Night: Neon Drama and Pose Coaching
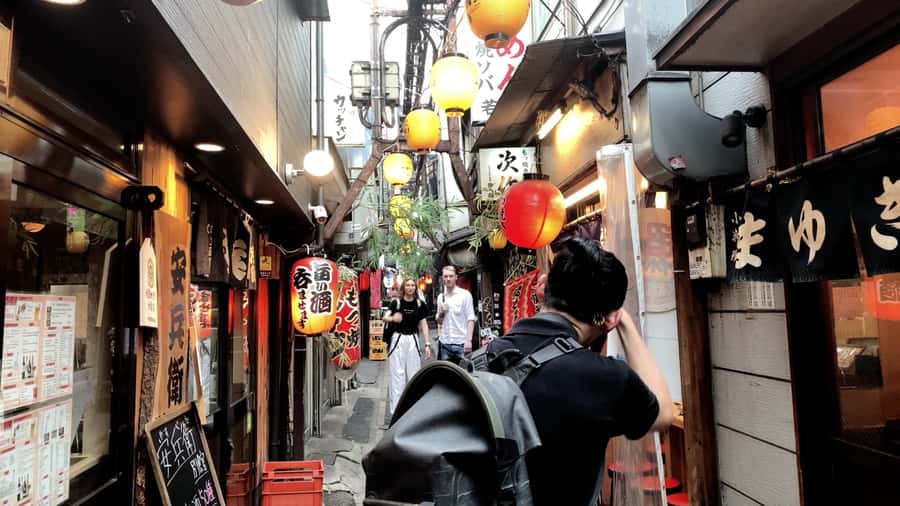
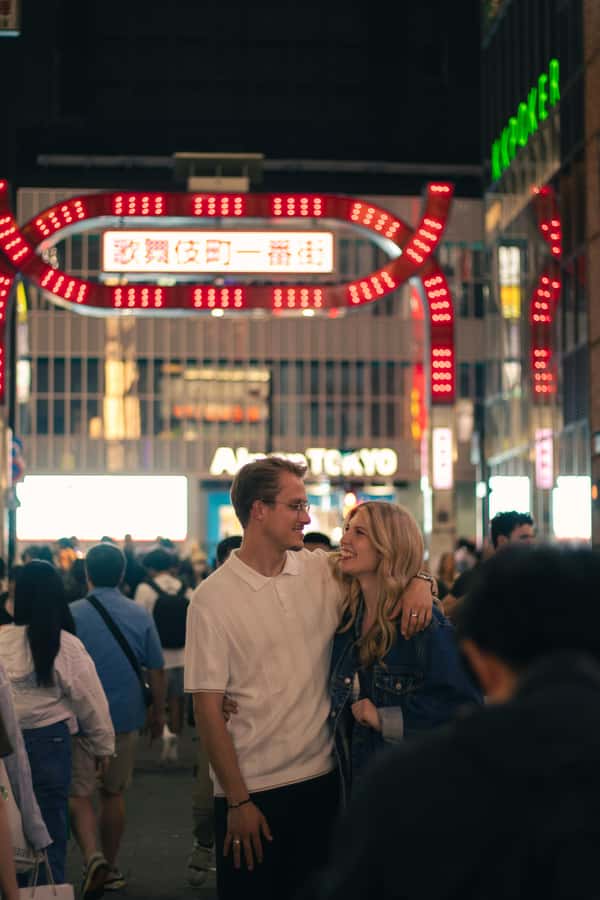
Kabukicho is one of those places where a camera makes sense. The signs are bold, the streets feel alive, and the background gives you a ready-made story. During the tour, Kabukicho is a photo stop, paired with guided walking time.
This is a strong choice for anyone who thinks they need to be “photogenic.” You don’t. The guide helps with positioning and body angles so you look natural in motion and not like you’re bracing for impact. Reviews repeatedly mention the guide’s posing ideas and comfort-making—especially for solo travelers who don’t want to feel like a one-person photo factory.
A quick reality check: Kabukicho can feel busy. That’s why having a guide matters. They can choose where to stand so you’re not stuck fighting for space every time someone turns a corner.
Shibuya Scramble Crossing vs. Tokyo Met Gov View: Pick Your Night Mood
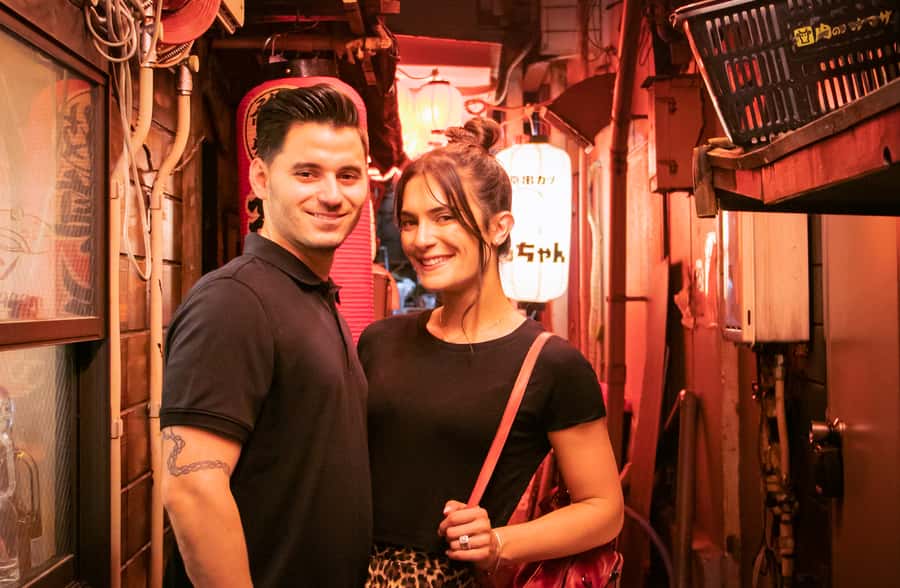
This tour includes a split concept: depending on your preference, you can choose either:
- the Shibuya Scramble Crossing for the iconic street-level energy, or
- the observation deck of the Tokyo Metropolitan Government Building for a panoramic night view.
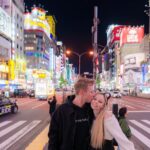
Even if your heart goes straight to Scramble Crossing, consider what you actually want from your photos. Scramble Crossing gives you the “everyone moves” look, with dramatic reflections and layered crowds. The Tokyo Met Building option shifts the story upward—more city patterns, more skyline scale, and a cleaner sense of direction.
In the itinerary you’ll see Shibuya Crossing as the final major photo stop before returning to Shinjuku Station. But the key is that you’re not locked into only one style. If you’re chasing wide, cinematic night shots, the observation deck may fit better. If you want that famous street icon in your memory album, go Scramble.
Either way, you’ll be guided as you shoot. That’s what prevents the classic problem: taking 25 blurry attempts and ending up with one okay photo.
Getting 20 Edited Photos: What “Professionally Edited” Means for You
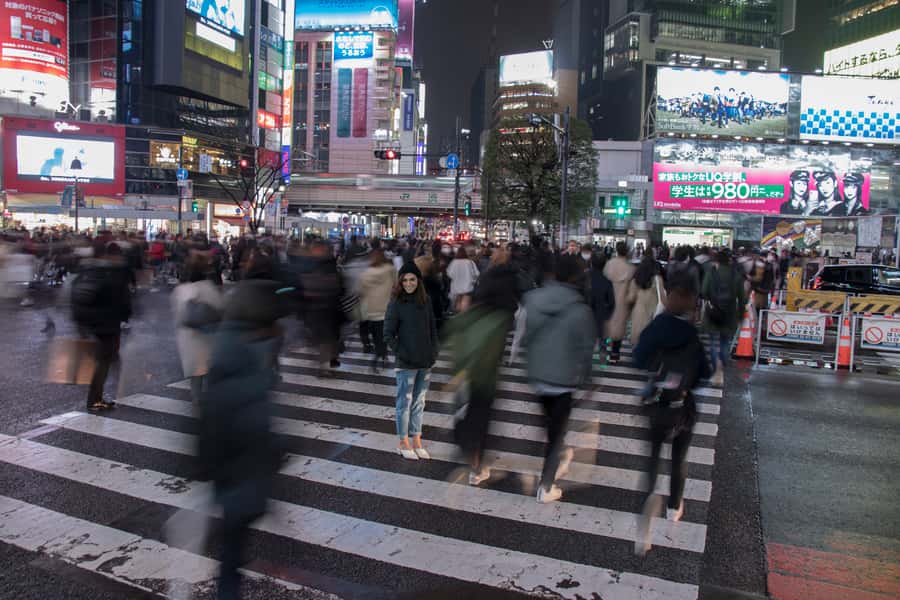
The big promise here is simple: you get 20 edited photos from the tour, and they’re taken with a DSLR camera. After the tour, the guide edits your images and sends them within 3 days.
A couple details make this more valuable than it sounds. First, you’re not just getting raw shots you’ll delete later. Editing usually means better light, better color consistency, and less of the “night chaos” that can make neon-heavy photos look harsh or washed out. Second, the guide is the one shooting, so they’re working toward your angles and mood the whole time, not capturing random moments you happen to be in.
Some guests reported fast delivery—one mentioned receiving photos within hours and even that same evening. You shouldn’t count on that as a guarantee, but it does suggest the workflow is efficient.
If you’ve ever struggled to get photos where you look good—especially when you’re solo or traveling as a couple—this is the core value. You’re paying for direction, timing, and post-production.
Price and Value: Why $103 Can Make Sense in Tokyo
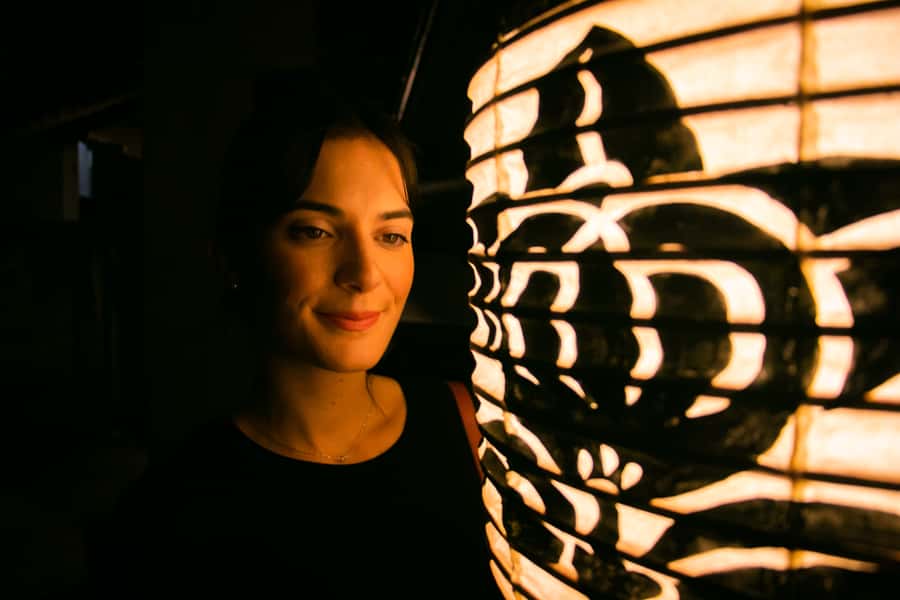
At $103 per person for about 150 minutes, this isn’t a “cheap camera accessory” situation. You’re paying for:
- a guided walk in prime photo zones
- DSLR photo capture
- posing help so you get usable shots
- editing for 20 photos
- one included drink
In a city where hiring a photographer can jump fast (and where friends may be busy photographing themselves), this hits a nice middle ground. You’re essentially buying an experience that combines local knowledge with a ready-made results package.
For couples and solo travelers, the value is even clearer. You get memories that don’t feel like you’re asking strangers for help every ten minutes. For families, it can be a great way to keep kids from turning the night into a “stand still, take picture, walk away” loop—because the guide turns it into a guided session with short stops rather than long, painful stillness.
What the Tour Day Is Like in Motion (So You Can Plan Your Energy)
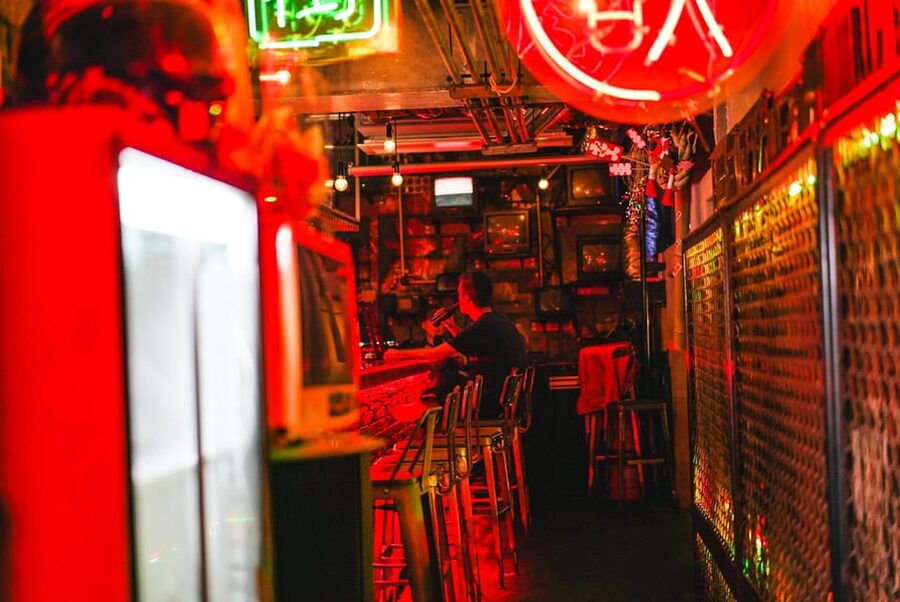
This tour is photo-focused, so the duration isn’t fixed. It’s approximately 2 to 2.5 hours, and it can vary based on photo conditions, crowd levels, and group size. That’s normal for night photography: sometimes you wait for lights, sometimes you move when a street clears.
Also, you should be ready for standing and walking. The tour isn’t built for long rest breaks. Reviews mention a walk of several kilometers even during rain, and people were still able to get great results—so the guide likely adapts to conditions rather than canceling at the first sign of weather.
Still, don’t ignore the “know before you go” warning. It lists extreme temperature ranges from -5°C to 40°C. If you go in peak heat or deep cold, bring layers and water, and treat the tour like an exercise session disguised as photography.
Who This Tour Fits Best (and Who Should Skip It)
This is a strong fit if you:
- want more than selfie-level photos
- travel solo and feel awkward getting your face into the memory mix
- love neon streets, signage, and night mood
- appreciate a guide who gives posing ideas and keeps the pace moving
It’s also ideal for people who want local context, not just a checklist. Reviews mention guides explaining history and culture, and that’s usually part of what makes the photos feel meaningful later.
It’s not suitable for people with:
- back problems
- wheelchair use
- a cold
- high blood pressure
So if you have any of those concerns, you’ll want to choose a different style of Tokyo experience—maybe something more seated or shorter walking segments.
Should You Book This Evening Photo Tour?
If you’re the type of traveler who always ends up with photos where you look like you’re “barely in the frame,” book it. This tour is built to solve that problem. The cyberpunk bar start helps you relax, the guide/photographer handles the shooting and posing, and you get 20 edited photos as a tangible souvenir.
I’d especially recommend it if you’re solo or you want strong couple photos without awkward phone-swapping. The price is reasonable for Tokyo once you factor in DSLR shooting plus editing, and the small-group feel (even when only a couple people show up) can make the experience feel more personal.
Skip it if you know you can’t handle walking and standing for around 2–2.5 hours, or if weather and temperature swings will knock you out. Otherwise, this is a fun, high-impact way to turn Tokyo’s night energy into pictures you’ll actually want to keep.
FAQ
Where do I meet the tour guide?
You meet at the Lion Statue right in front of the East exit of Shinjuku Station. The guide will be holding a red/orange sign that says MagicalTrip, about a one-minute walk from the JR Shinjuku Station East Exit.
How long is the tour?
The tour lasts about 150 minutes. The actual time can vary within roughly 2 to 2.5 hours depending on photo conditions, crowds, and group size.
How many photos will I receive?
You’ll get 20 edited photos from your tour around Shinjuku and Shibuya.
When will I get the photos?
After the tour, the guide edits the photos and sends them within 3 days.
Is a DSLR camera used?
Yes. The tour is described as using high-quality photos taken with a DSLR camera.
What does the tour include besides the photos?
The tour includes an English-speaking photographer and 1 drink at the starting cyberpunk bar.
Is there a choice for the big night photo spot?
Yes. Depending on your preference, you can choose either the Shibuya Scramble Crossing or the Tokyo Metropolitan Government Building observation deck for a panoramic night view.
What’s not included?
Additional food and drinks are not included. Train transportation fees are also not included.
Is it okay for solo travelers?
The tour is designed for solo travelers as well as couples and families, and the photos are focused on getting you in the pictures with professional guidance.
What happens if I’m late?
The tour starts on time. If you arrive more than 15 minutes late, you cannot join and you will not receive a refund or reschedule.