REVIEW · VANCOUVER
Photography, Gondola & Snowshoeing
Book on Viator →Operated by Nature PhotoHikes · Bookable on Viator
Life gets scenic fast up on this trail. The Joffre Lakes day ties together Sea to Sky views, a waterfall stop, and photo coaching for real-life stops you can actually repeat. It’s a long day in the car, but it’s built around helping you see Canada clearly, not just pass through it.
What I like most is the small group size (up to 7), which means you can actually ask questions and get hands-on help, especially for DSLR or smartphone shooting. The guides are set up for one-on-one instruction and you’ll get practical tips for shooting waterfalls, lakes, glaciers, and forests, plus context about the local Indigenous peoples of the area. The trip also encourages you to bring a picnic and enjoy the view at the top.
One consideration: this is for people in very good physical condition. You’re looking at about 6 hours of hiking time, plus a lot of transportation time from downtown Vancouver, so it’s not a casual stroll even if the area is famous for being accessible compared to some other alpine routes.
In This Review
- Key Things I’d Prioritize Before You Go
- Why This Photo-and-Hike Mix Fits Vancouver So Well
- Sea to Sky Gondola: Your First Big Views, With Time to Get Ready
- Shannon Falls Provincial Park: Waterfalls Teach You Faster Than Classes
- The Joffre Lakes Hike: The Real Payoff (Plan for Serious Time Outside)
- Picnic at the top: eat like a human, not a machine
- The lakes and the cold-water option
- How the Photo Coaching Works (and Why Small Groups Matter)
- What to Wear and Bring: Layers, Bugs, and Shoelace Reality
- Transportation and Timing: The Car Time Is Real
- Price and Value: Is $161.38 Fair for What You Get?
- Who This Tour Suits Best (and Who Should Skip It)
- Weather Reality: It Runs in All Weather, but It Still Cares About Conditions
- Should You Book This Joffre Lakes Photography Day?
- FAQ
- How long is the tour?
- Do you offer pickup in Vancouver?
- What is the group size?
- What cameras does the tour work with?
- Is food and drinks included?
- What fitness level do I need?
- Does the tour run in bad weather?
- Is swimming in the glacier lakes part of the tour?
Key Things I’d Prioritize Before You Go
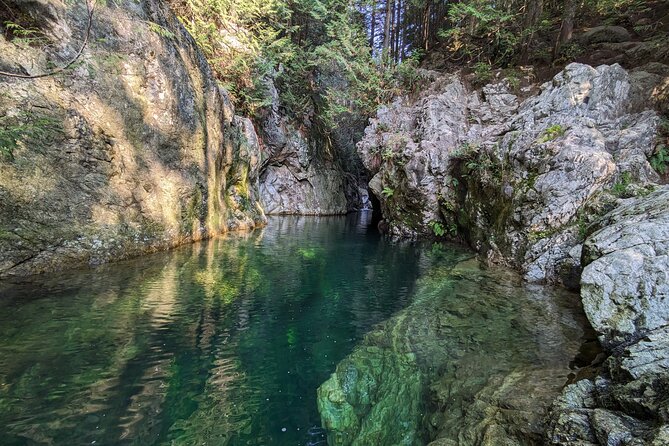
- Small group focus: Up to 7 people, so you’re not stuck watching from the back.
- Photo coaching built into the hike: You’ll learn how to frame, time shots, and handle different subjects like waterfalls and frozen-looking water.
- Picnic time at the top: Plan to eat and reset with the view, not just rush through.
- All-weather operation: It runs in all weather conditions, so you dress for wet, cold, and changing skies.
- Optional glacier-lake dip (if you’re brave): If you want the classic cold-water moment, this day may include it.
- Round-trip transport from Vancouver: Pickup options and a scenic drive help you skip the stress of logistics.
Why This Photo-and-Hike Mix Fits Vancouver So Well
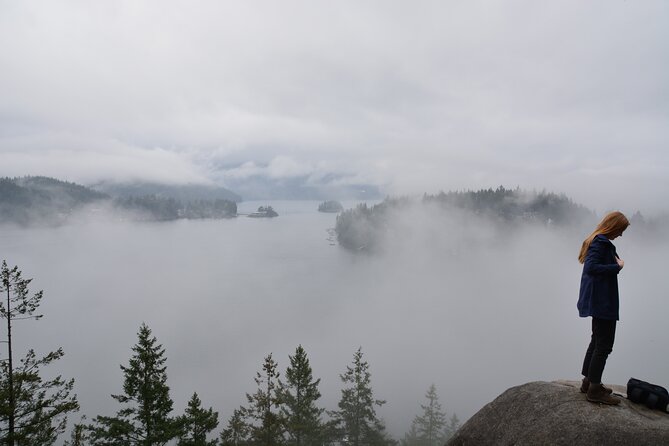
This day is designed for people who want more than scenic walking photos. You get a full outing across the Sea to Sky corridor, then you earn the big payoff with a hike to Joffre Lakes. It’s the kind of plan that makes you look up at the view and then look at your camera settings without feeling like you’re wasting daylight.
I also like that it’s built around real subjects you’ll want to photograph. Instead of teaching photography in the abstract, you’ll work on practical moments: waterfall mist, lake reflections, glacier-toned colors, and the forest edges that frame the trail. And since the group stays small, you can bring a question like What should I shoot first? or Why does my waterfall look flat? and get an answer while you still have daylight.
The other big reason this works is the guiding style. Guides here aren’t just leading a hike; they’re doing it with long experience in hiking and photography (20+ years is part of what you’re paying for). In reviews, guide names like Nafees Shams show up for the kind of attention you want on a day like this: pacing you can handle, plus encouragement to capture the scene as you go.
You can also read our reviews of more tours and experiences in Vancouver.
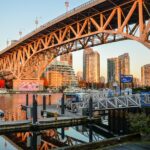
Sea to Sky Gondola: Your First Big Views, With Time to Get Ready
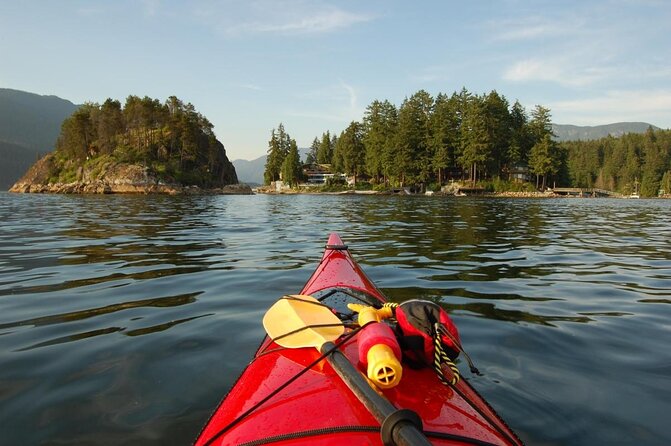
You start with Sea To Sky Gondola (Stop 1). Even if you’re not a thrill-ride person, this opening stop matters because it gets you into “mountain mode” early. You’re setting up for the later hike, and it also gives you natural photo opportunities without committing to hours of climbing right away.
This is where you can slow down and think about your gear. The tour is described as suitable for both DSLR and smartphones, so you can keep things simple: steady your hands, check focus and exposure, and practice taking one subject at a time (horizon lines, rock faces, distant water). If you’re the type who tends to overshoot—too many random shots—this gondola start is a chance to tighten your approach before the trail demands your legs.
A quick practical note: gondola areas can feel cool, and then you drop into the day with more movement. That’s why layers matter from the start.
Shannon Falls Provincial Park: Waterfalls Teach You Faster Than Classes
Stop 2 is Shannon Falls Provincial Park. Waterfalls are hard to photograph well because you’re juggling bright water, darker rocks, and misty highlights. So this stop isn’t just a scenic break. It’s a hands-on lesson in what to do when contrast jumps around.
On a practical level, you’ll want to think about shutter speed and how much blur you want in the waterfall. On a cold day, everything happens faster: your fingers get stiff, your breathing changes, and your timing matters. A guide walking alongside you helps you adjust without turning the day into a troubleshooting marathon.
This is also a good place to stretch and regroup. If the hike later feels intimidating, you’ll often feel better once you’ve already “done the hard part” in miniature—walking, stopping for photos, and learning what the camera needs under real conditions.
The Joffre Lakes Hike: The Real Payoff (Plan for Serious Time Outside)
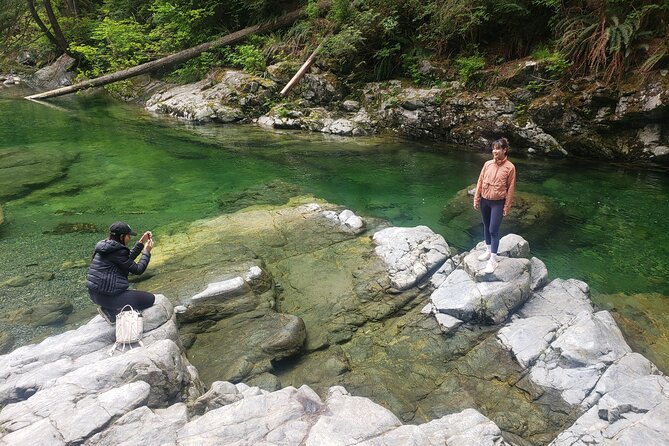
The core of the day is the hike to Joffre Lakes, and it’s not a short one. The walk back-and-forth is described as about 6 hours return, with another chunk of time spent on transportation from downtown Vancouver. Put together, it’s more like a half-day outing plus a full day of logistics—think around 12 hours in total from when you leave Vancouver to when you get back.
That time matters, because you should match your expectations. This is a hike for people who are in very good physical shape and have hiking experience. Even if you feel strong in the city, the combination of cold air, uneven ground, and long time on your feet can be a rude surprise.
The route is also described as relatively easier to access than some other alpine lakes in the region, but “easier” still means you’re outdoors for a long stretch. If you’re unsure, use your body’s honesty test: can you hike for hours at a steady pace without needing constant breaks?
Picnic at the top: eat like a human, not a machine
One highlight is the chance to bring a picnic to enjoy at the top while soaking in the view. This isn’t a throwaway suggestion. When you pause to eat, you also reset your photo attention. Your hands warm up, your energy comes back, and you stop rushing the best moments.
The lakes and the cold-water option
The day includes the possibility of a dip in the ice-cold glacier lakes if you’re brave enough. That part matters for packing: you don’t want to be unprepared for wet conditions, even if you only dip your feet.
If swimming isn’t your thing, you can still get the rewards—walking to the right angles, capturing the surfaces, and photographing the glacier-adjacent scenes without turning the day into an ice bath challenge.
How the Photo Coaching Works (and Why Small Groups Matter)
The tour is built for photography while hiking. You don’t just get the hike and then a few tips at the end. With small groups, you can get help at the moments you need it most: right before a waterfall, when the light changes over the lakes, or when your framing isn’t working.
You’ll get instruction geared toward landscape subjects like lakes and glaciers, but the important part is how it translates to your camera settings and your eye. In practice, that means thinking about:
- What your subject is before you press the shutter
- How light affects shadows and water brightness
- How to keep shots steady in cold weather
- How to get real depth in frames when everything is “pretty” but flat
Also, the tour asks about your skill level during follow-up questions testing your ability. That’s a plus because you’re not stuck in a beginner lecture if you already know the basics. You can end up with advice that’s closer to your setup and your style.
In reviews, guides like Nafees Shams are praised for tailoring the experience and helping families and individuals capture images together. That’s a subtle but big value point: if you’re traveling with a partner or kids, having someone who can direct you and still give camera guidance can save the whole trip.
What to Wear and Bring: Layers, Bugs, and Shoelace Reality
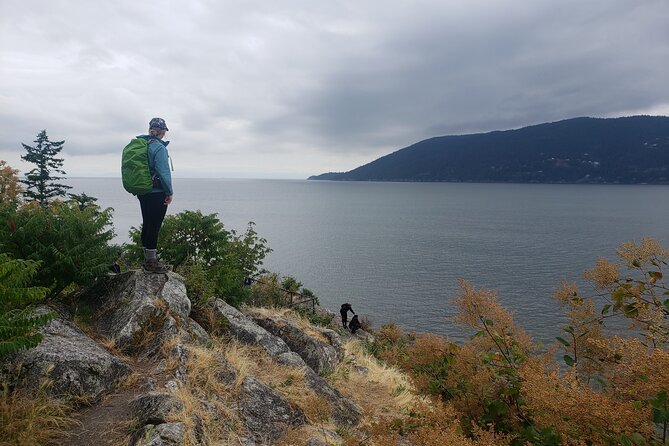
Since the tour operates in all weather conditions, you need to dress for wet cold and changing skies. The experience includes both walking and stops, which means you’ll sometimes feel cold before you warm up. Layers help you handle that rhythm.
Based on practical advice from the day’s recommendations, here’s what I’d treat as non-negotiable:
- Waterproof shoes and long socks to help with wet ground and comfort
- Bug spray (bugs can be a real issue in outdoor areas)
- A waterproof layer or rain protection for parts of the route that may get wet
- Water and lunch (the tour doesn’t include food and drinks)
And yes, bring lunch even if you think you won’t. The “picnic at the top” idea is there for a reason: you’ll likely want to eat, take in the view, and then keep moving without feeling shaky.
Camera-wise, you can go with a phone or a DSLR. The guiding approach is meant to work either way, so don’t feel pressured to bring heavy gear if you already shoot with a smartphone confidently. Just expect cold weather to make touchscreens and gloves awkward.
If you’re shooting a DSLR, protect your camera from moisture and wind. If you’re on a phone, expect batteries to drain faster when it’s cold.
Transportation and Timing: The Car Time Is Real
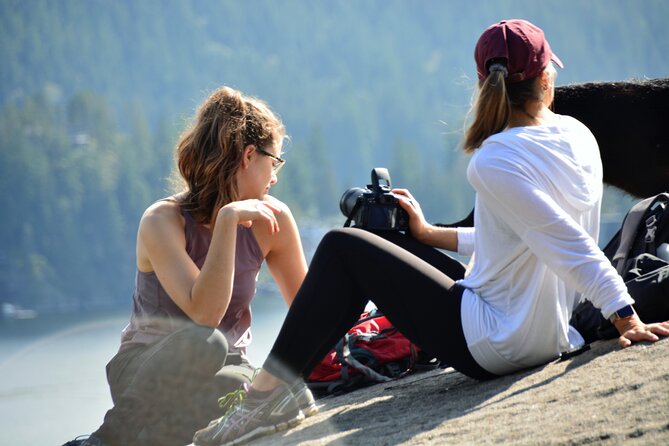
Round-trip transportation from downtown Vancouver is included, and pickup can be offered from downtown Vancouver, east Vancouver, or Burnaby. If you’re not at one of those pickup zones, you can meet at a central location and drive from there.
What you should plan for is the time split. The hiking itself is about 6 hours return, but you also have substantial driving time. That’s why this feels like a day trip, not a quick outing. You’ll start early, you’ll spend the day outside, and you’ll likely be tired enough that dinner afterwards sounds like a life goal.
If you’re someone who hates being in transit, this may feel long. If you enjoy scenic highway drives and want a structured day that connects multiple view stops, that “car time” becomes part of the experience.
Price and Value: Is $161.38 Fair for What You Get?
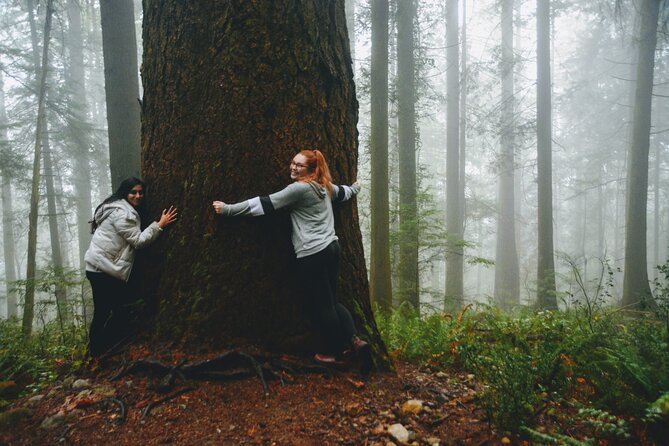
At $161.38 per person, the value comes from bundling three things that are usually separate:
1) Transportation from Vancouver
2) A guided small-group hiking experience
3) Professional photo instruction with a photographer guide
A lot of outdoor tours charge for the hike and then leave you on your own with a few general tips. Here, the promise is instruction while you’re walking. With small groups (max 7), you’re less likely to get drowned out. That’s where the price makes sense—especially if you care about photography.
Food and drinks aren’t included, so you’ll budget for that, plus water. Still, compared with booking transportation, hiring a private guide, and paying for a lesson separately, this structured format can be a good deal—particularly if you’re coming from outside the province and want the logistics handled.
Also, tours like this tend to book ahead. An average booking window of about 46 days suggests demand stays steady, so you’ll have an easier time if you lock in your date earlier rather than later.
Who This Tour Suits Best (and Who Should Skip It)
This tour fits you best if:
- You want a photo-focused day outdoors, not just a hike
- You’re comfortable with a long time outside and can handle moderate to demanding effort
- You enjoy small-group attention and don’t want to be one of many
- You want to practice with a DSLR or a phone and get direct feedback
You might want to skip or choose an easier alternative if:
- You’re not in very good physical condition
- You know long hiking days and cold/wet conditions stress you out
- You’re hoping for a short walk with plenty of sit-down time
One more fit note: the day includes context about Indigenous people of the area alongside the outdoor focus. If cultural context and learning are part of what you want from your trip, that’s a bonus.
Weather Reality: It Runs in All Weather, but It Still Cares About Conditions
The experience operates in all weather conditions, so you should expect to be outside even when skies aren’t perfect. You’re told to dress appropriately, which basically means you’re responsible for staying warm, dry enough, and safe.
There’s also an expectation that good weather is required. If the tour is canceled due to poor weather, you’ll either get offered a different date or a full refund. Translation: you won’t be forced through unsafe conditions, but you should still pack for the possibility that you’ll hike in damp cold.
Should You Book This Joffre Lakes Photography Day?
Book it if you want a structured, camera-friendly hike with real instruction, plus the added bonuses of Sea to Sky gondola views and a Shannon Falls stop. The small-group format makes the coaching feel personal, and the picnic-at-the-top idea keeps the day from turning into nonstop effort.
Skip it if you want something gentle, quick, or mostly indoors. This is a long day with a real hike, and the cold/wet factors are part of the package.
If you’re the kind of traveler who brings a camera and actually wants it to improve your trip, this is one of the more worthwhile ways to do Joffre Lakes from Vancouver—without having to figure out the whole plan yourself.
FAQ
How long is the tour?
The guided hiking portion is about 6 hours round trip, and there is additional transportation time from downtown Vancouver. The overall day is described as around 12 hours including travel time.
Do you offer pickup in Vancouver?
Yes. Pickup can be offered from downtown Vancouver, east Vancouver, or Burnaby. Otherwise, you can meet at a central location and drive to the trail.
What is the group size?
The tour has a maximum of 7 travelers.
What cameras does the tour work with?
The experience is suitable for DSLR cameras and also for smartphones.
Is food and drinks included?
No. Food and drinks are not included, so you’ll want to bring your own. A picnic is also recommended to enjoy at the top.
What fitness level do I need?
You should have a moderate physical fitness level, and the hike is described as requiring an experienced hiker who is in very good physical condition.
Does the tour run in bad weather?
It operates in all weather conditions, so you should dress appropriately. If the tour is canceled due to poor weather, you’ll be offered a different date or a full refund.
Is swimming in the glacier lakes part of the tour?
If you’re brave enough, the experience may include a dip in the ice-cold glacier lakes.