REVIEW · VANCOUVER
Art of Street Photography Guided Walk
Book on Viator →Operated by Street16 Photography · Bookable on Viator
Street scenes move fast, and this walk teaches you how to work with that. In just about two hours in Downtown Vancouver, you’ll practice spotting candid moments and turning the city’s built environment into strong photos through light and shadows.
Two things make this experience especially good value. First, the guides focus on street-level visual ideas you can use right away, like silhouettes, reflections, and the way shadows cut through the frame. Second, the group stays small (max 6), and the leaders (Chris and Jake) are known for being kind and patient while tailoring the route to what you want to shoot.
One thing to plan for: photographic equipment isn’t included, so you’ll want to bring your own camera (or a camera-capable phone) and be comfortable using it enough to follow prompts on the move.
In This Review
- Key things you’ll notice on the walk
- Why Downtown Vancouver is the right classroom
- Start point: 725 W Georgia St, then you’re rolling
- The visual training: light, shadows, silhouettes, and reflections
- Look for contrast you can frame
- Use silhouettes when the moment is fleeting
- Turn reflections into story
- Build a shot from the environment, then add the person
- Capturing candid city moments that feel real
- How Chris and Jake shape the route to your interests
- What you get included (and what you have to bring)
- Bring your own camera
- Bring comfort for walking
- Timing, weather, and public transit: the practical stuff
- How much value you’re really getting
- Who should book this street photography walk
- Should you book Art of Street Photography Guided Walk?
- FAQ
- How long is the art of street photography guided walk in Vancouver?
- Where does the tour start and where does it end?
- Is photographic equipment provided?
- What’s included in the tour?
- What language is the tour offered in?
- What happens if the weather is bad?
Key things you’ll notice on the walk
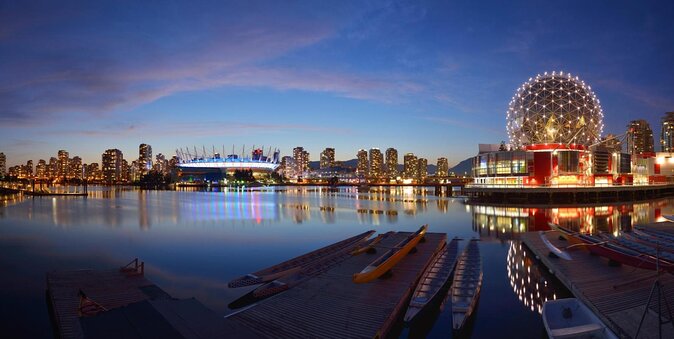
- Up to 6 people means feedback and attention stay personal
- Downtown Vancouver focus keeps you working on real street energy for the whole session
- Light, shadows, silhouettes, and reflections are the main visual themes
- Chris and Jake adjust to your interests instead of running one fixed script
- Coffee and/or tea included gives a small reset during a fast-paced activity
- Candid city moments training targets glances, gestures, and brief interactions between strangers
Why Downtown Vancouver is the right classroom
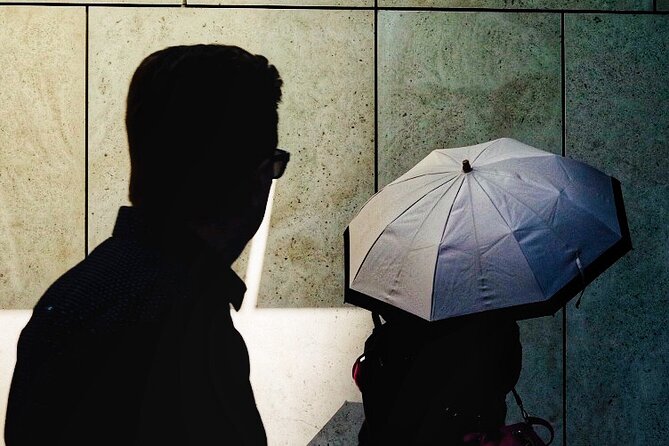
Downtown Vancouver is the kind of place where you can find photo opportunities without searching for them. The walk is built around the idea that urban life is always happening: people move, light changes, and scenes appear and vanish quickly.
That’s exactly why this works as a guided experience. Instead of treating street photography as guesswork, you get a set of targets to look for. You’ll spend time training your eye on the contrast between light and shadow, and on how everyday structures can frame silhouettes and reflections. That turns random sidewalks into an intentional photo circuit.
If you’re the type who wants your camera to tell a story, this approach helps. You’re not only photographing buildings or street corners. You’re capturing the human moment—an expression, a passing glance, a small gesture—that makes a city feel like a city.
You can also read our reviews of more tours and experiences in Vancouver.
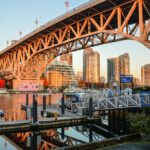
Start point: 725 W Georgia St, then you’re rolling
The experience begins at 725 W Georgia St, Vancouver, BC V7Y. It’s designed as an easy-to-join activity, with the meeting area described as near public transportation. That matters because street photography is time-sensitive. If you’re late or tired, you lose the best part: practicing quick decisions.
The total duration is about 2 hours, and the tour ends back at the meeting point. That loop is helpful. You don’t have to plan your own way back while you’re thinking about shots, settings, or timing.
You’ll also want to bring a mindset for walking. The activity calls for moderate physical fitness, which likely means you’ll be on your feet for the session. In plain terms: wear comfortable shoes and dress for the weather.
The visual training: light, shadows, silhouettes, and reflections
This is the technical heart of the walk. The guidance centers on how to use the urban environment to build images, especially through light and shadows, plus silhouettes and reflections/shadow shapes.
Here’s what that means in practice.
Look for contrast you can frame
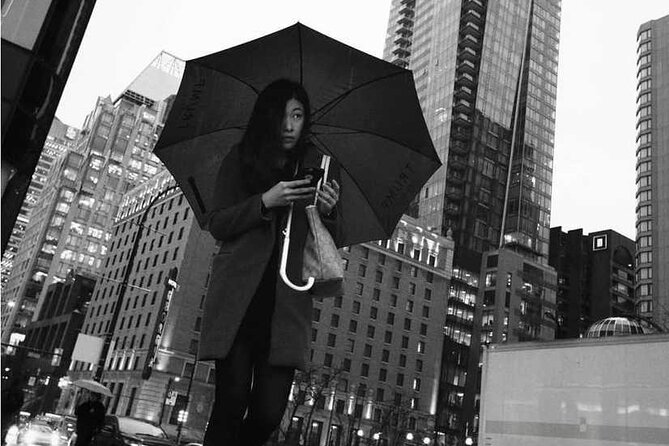
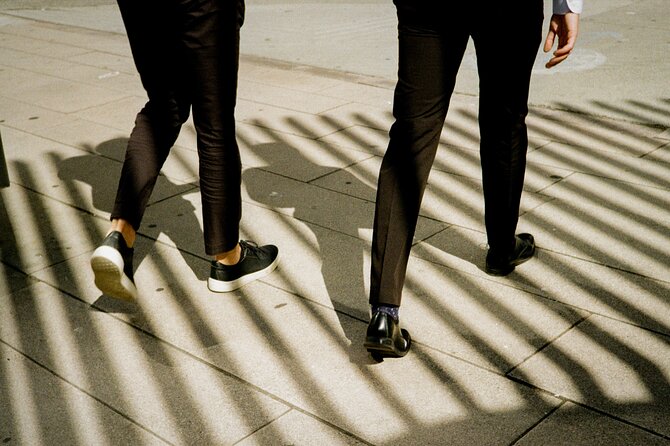
Street scenes get interesting fast when there’s clear contrast: bright areas versus darker ones. The guides encourage you to see how shadows can act like design elements—clean shapes that make the photo feel intentional even when the subject is casual.
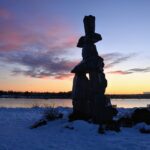
Use silhouettes when the moment is fleeting
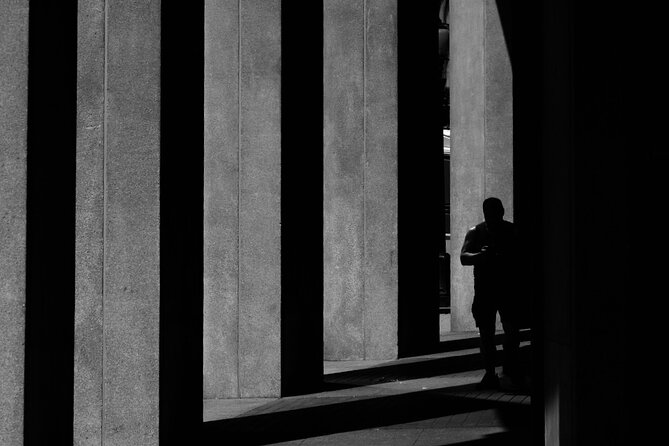
A silhouette lesson is really a lesson in speed. When you’re photographing someone in motion, you often don’t get time for details. Silhouettes let you treat the person as shape and posture. It’s a smart way to work with those quick urban beats—glances, turns, pauses—without needing a perfectly lit face.

Turn reflections into story
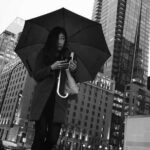
Reflections can add depth, layers, and a sense of movement. During the walk, you’ll focus on how reflections work alongside shadows rather than treating them as decoration. This helps you create images that feel like they belong to the scene, not like a separate effect.
Build a shot from the environment, then add the person
A practical way to think about street photography is: environment first, human moment second. The tour’s themes push you to compose using what’s already there—edges, light angles, and shadow shapes—then wait for the right interaction to complete the frame.
That combo is powerful because it gives you control. Even if the person you wanted disappears, your composition ideas stay usable.
Capturing candid city moments that feel real
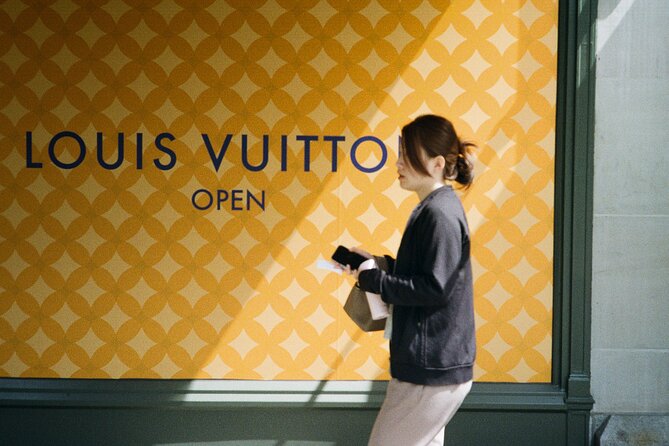
The walk doesn’t treat people like props. It’s aimed at capturing the city rhythm: strangers moving through shared space and the micro-interactions that happen when nobody thinks they’re being photographed.
You’ll be coached to look for moments such as:
- a fleeting glance that lands for a second
- a spontaneous gesture
- an interaction between strangers that feels natural
That advice matters for two reasons.
First, it gives you a clear target beyond getting a pretty street picture. You’re training for expression and timing. Second, it helps you relax. When you know what to look for, you’re less likely to freeze up and more likely to shoot.
One detail I like about this style of street photography coaching is that it works even if you’re new. You don’t need years of experience to understand the goal: capture human presence without forcing a scene.
How Chris and Jake shape the route to your interests
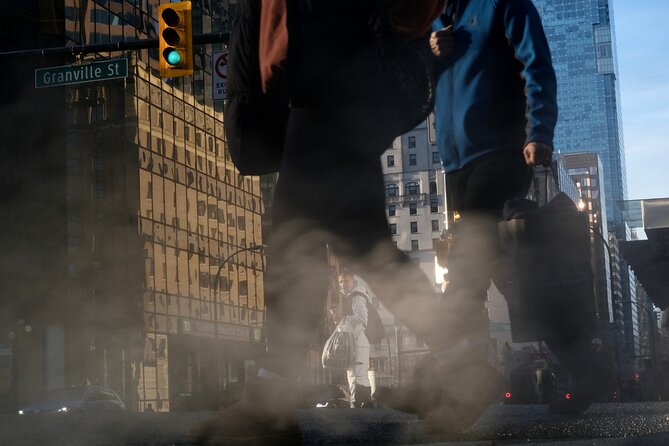
A big highlight is the way the guides start. They take your interests seriously and then plan the walk around them. That sounds simple, but it changes everything for street photography, where every photographer has a different style.
Chris and Jake are described as kind and patient, and that tone matters. Street photography can feel awkward if you’re trying to do everything at once: blend in, choose settings, watch composition, and find moments. Patient coaching keeps the process doable.
The group size (max 6) supports that coaching style. Instead of getting one-size-fits-all instructions, you’re more likely to get feedback that fits how you see.
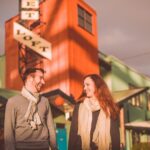
This is also where the experience becomes good for pairs. One account notes that a husband who wasn’t a photographer still enjoyed the walk and chatting about the local area. That’s a sign the guides don’t only talk technique—they keep the session friendly and grounded in the experience of being in the city, not just shooting.
What you get included (and what you have to bring)
This tour lists a few important inclusions:
- Coffee and/or tea is included
- the session is presented with an admission ticket free note
- you get a mobile ticket
- group discounts are available
Those details matter when you’re weighing value, because they reduce “extra costs” and friction. Coffee/tea is also a smart pacing tool. Two hours on foot can feel fast. A quick drink break can help you reset and keep your eye sharp for the final stretch.
Bring your own camera
The only clear “not included” item is use of photographic equipment. So you’ll want to bring whatever you plan to shoot with—camera or phone. Since the walk is about capturing quick moments, make sure your device is ready before you arrive: charged, with enough space, and with the settings you know how to use.
Bring comfort for walking
The activity is listed with moderate physical fitness. I’d treat that as a cue to wear shoes you can walk in for the full two hours and bring a layer if the weather shifts.
Timing, weather, and public transit: the practical stuff
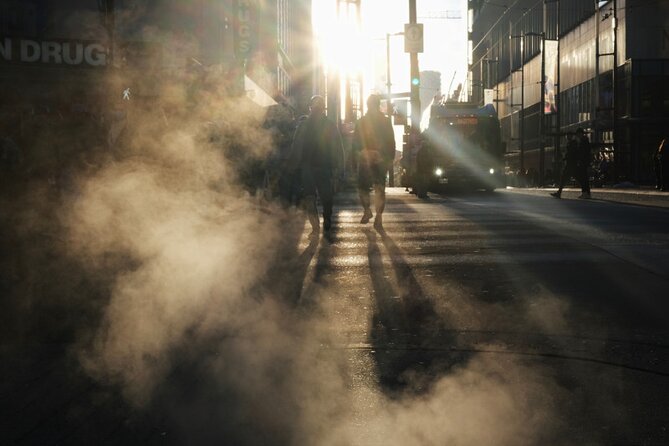
Street photography depends on conditions. This experience is marked as weather-dependent, which means it requires good weather to run.
If conditions are poor, you’ll be offered a different date or a full refund. This is worth taking seriously. Even if you enjoy shooting in less-than-ideal weather, the tour itself is designed around learning in real-world street light and shadow conditions, and that’s harder when conditions are too rainy or unstable.
On the logistics side, the tour is near public transit, so you can build an easy plan around transit time rather than worrying about parking. Since the start is at a specific address, it’s worth arriving a few minutes early so you can get settled and focused before the walk begins.
How much value you’re really getting
This is one of those experiences that feels like more than the sum of its parts.
You’re paying for:
- guided visual focus (light/shadows, silhouettes, reflections/shadows)
- live coaching from Chris and Jake
- time in a real setting that changes as you walk
- a small group structure that supports individual attention
Even with the admission listed as free, you’re still getting the real value: someone helping you see better, faster, and in a more intentional way. That’s the difference between taking random street photos and leaving with usable approaches you can apply the next day.
And at least in how the session is described, it works for more than just photographers. If someone in your group enjoys exploring and chatting while you shoot, this format supports both.
Who should book this street photography walk
I’d consider this tour if:
- you want a structured way to start street photography in Vancouver
- you’re drawn to composition themes like silhouettes, reflections, and shadows
- you like coaching that adjusts to your interests
- you prefer a small group over a crowded experience
- you’re traveling with someone who isn’t a photographer but still wants an enjoyable activity
It’s also a strong first-week-in-city choice. One comment notes it helped someone get a feel for Vancouver from a different perspective right at the start of the trip. That’s believable. When you learn a few street photography principles immediately, the city keeps “teaching” you after the tour ends.
If you’re an advanced photographer who already shoots confidently in all conditions, this may feel more like a focused practice session than a technical workshop. Still, the light/shadow themes are always worth revisiting.
Should you book Art of Street Photography Guided Walk?
If you want an efficient, friendly introduction to street photography in a compact two-hour window, I think this is a smart booking. The small group size, the emphasis on light and shadow composition, and the guide approach—starting with your interests and staying patient—are the reasons.
Book it if you can bring your own camera (or phone) and you’re okay walking around downtown for about two hours in good weather. Skip it if you’re hoping for the tour to include equipment or if you dislike being on your feet for a steady stretch.
FAQ
How long is the art of street photography guided walk in Vancouver?
It runs for about 2 hours.
Where does the tour start and where does it end?
It starts at 725 W Georgia St, Vancouver, BC V7Y, Canada, and it ends back at the meeting point.
Is photographic equipment provided?
No. Use of photographic equipment is not included, so you’ll need to bring your own.
What’s included in the tour?
Coffee and/or tea are included. The experience also uses a mobile ticket, and the admission ticket is listed as free.
What language is the tour offered in?
The tour is offered in English.
What happens if the weather is bad?
The experience requires good weather. If it’s canceled due to poor weather, you’ll be offered a different date or a full refund.