REVIEW · VANCOUVER
Photography & Advanced Hiking
Book on Viator →Operated by Nature PhotoHikes · Bookable on Viator
Hiking up Stawamus Chief feels like earning your photos. This 7-hour Vancouver day pairs a steep, technical climb with a photographer guide and hands-on shooting tips, then finishes with a classic waterfall stop at Shannon Falls. I love the way it builds in photo breaks so you do not just suffer and sprint, and I also like that your guide can adjust pacing to your ability instead of treating everyone like a training buddy.
The big consideration is fitness. The main hike is about 11 km round-trip with roughly 600 meters of elevation gain, and it is not built for true beginners, even with guidance and frequent pauses.
In This Review
- Key Highlights to Know Before You Go
- Sea-to-Sky Highway Ride and a Small-Group Day That Feels Real
- Stawamus Chief Park: The 11 km Return Climb With 600 m of Payoff
- The photography angle (and why the guide approach helps)
- Possible drawback at this stop
- Shannon Falls Provincial Park: A Short Waterfall Reset
- What to expect here
- Sea-to-Sky Highway Timing: How the Day Stays Comfortable
- Photography Coaching on the Trail: Smartphone or DSLR, Same Goal
- How it helps you, even with a phone
- A real-world tip from past hikers
- Gear, Clothing, and Pacing: What Makes This Hike Work
- Hiking poles and what that means for you
- What to bring (based on what matters here)
- Weather Reality: You Still Get Views, But Plan for Conditions
- Fitness Check: Who This Tour Is Best For
- If you are not a full advanced hiker
- Value for Money: Why $142.88 Can Make Sense Here
- Should You Book This Advanced Hiking + Photo Tour?
- FAQ
- How long is the Photography & Advanced Hiking tour?
- Where does the tour start and end?
- What hikes are included?
- Is this hike suitable for beginners?
- How many people are in the group?
- What about hiking poles and photo equipment?
- Are food and drinks included?
- What happens if the weather is bad?
- Is there pickup offered?
Key Highlights to Know Before You Go
- Small group size (max 6): You get more attention on both hiking technique and camera settings.
- Photo-focused breaks: The pace includes stops for shooting, not just moving.
- Stawamus Chief difficulty: Steep sections and technical footwork make it a serious outing.
- Photography coaching for smartphone or DSLR: You can learn shot composition without fancy gear.
- Sea-to-Sky Highway scenic drive: Two hours of return travel time that actually feels worth it.
- Poles available: Hiking poles can be borrowed if you need extra support.
Sea-to-Sky Highway Ride and a Small-Group Day That Feels Real
This is the kind of Vancouver day trip that starts by getting you out of the city fast, without the stress of driving yourself. You meet at the Hyatt Regency Vancouver (right on Burrard Street), and then the Sea-to-Sky Highway takes over as your moving appetizer. The total tour runs about 7 hours, including pickup and drop-off, plus around 2 hours of return driving.
What I like about the setup is that it is a small group experience, with a maximum of 6 travelers. That matters on a hike like this. When the trail gets steep and technical, you want the guide close enough to correct foot placement, and you want to ask questions without waiting your turn.
If you are the kind of traveler who hates wasting time—on parking, hunting for a trailhead, or trying to translate route descriptions mid-traffic—this is built for you. You show up, you hike, you shoot. The hardest part becomes the climb, not the logistics.
You can also read our reviews of more tours and experiences in Vancouver.
Stawamus Chief Park: The 11 km Return Climb With 600 m of Payoff
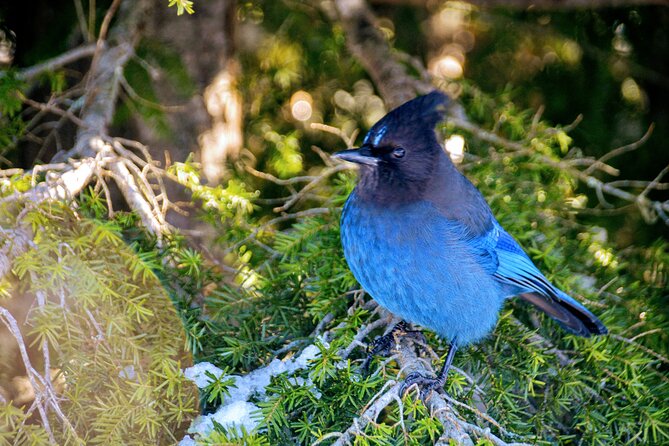
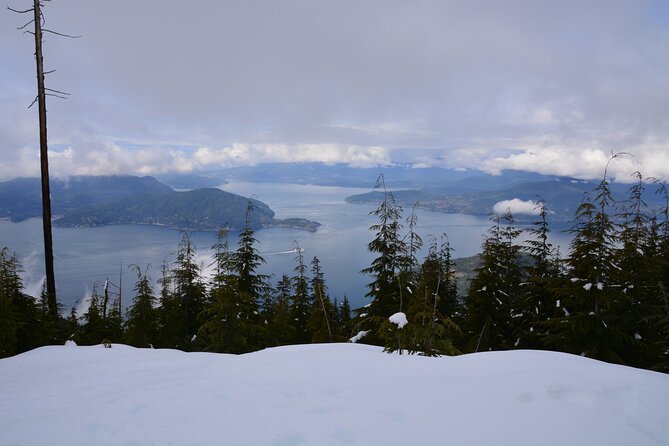
Stawamus Chief Park is the main event, and it is not shy about it. You will hike roughly 11 km round-trip and climb about 600 meters over about 4 hours, with an additional hour break at the top. That top break is more than just a rest. It gives you time to soak in the views and to work on photos without feeling rushed.
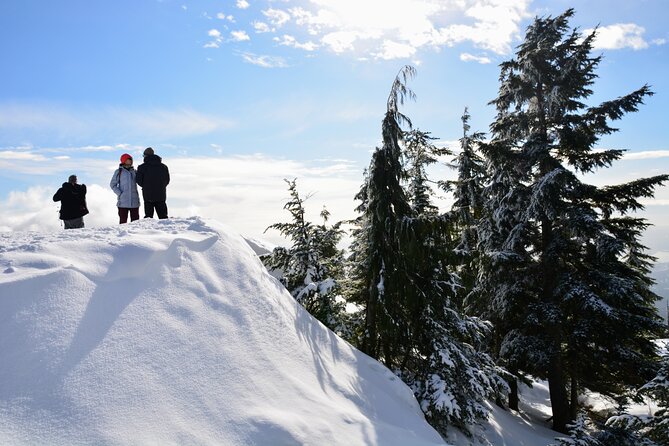
The trail atmosphere is rugged—rock faces, forest, and waterfalls along the way—then the viewpoint opens up to mountains and the ocean. On a day like this, the view is not just a reward at the end. It is also something you can shoot in layers as the angle changes when you gain elevation.
The photography angle (and why the guide approach helps)
A photographer guide does two smart things here. First, you get pacing that does not treat photos as a distraction. Second, you get guidance on what to do once you are at the right spot.
You can learn photo basics even if you carry only a phone. The coaching is designed for both smartphones and DSLR-style cameras, so you are not stuck feeling like the lesson is only for people with big gear.
Practical note: on a climb this steep, you can get so focused on finishing that you miss the shot opportunities. Here, the frequent breaks help you slow down just enough to frame scenes and catch lighting changes.
Possible drawback at this stop
This hike is described as not for beginners, and the trail can be technical. Even with a guide and breaks, you should arrive ready for sustained climbing and careful footing. If you want a gentle “walk-and-talk” day, this is probably the wrong match.
Shannon Falls Provincial Park: A Short Waterfall Reset
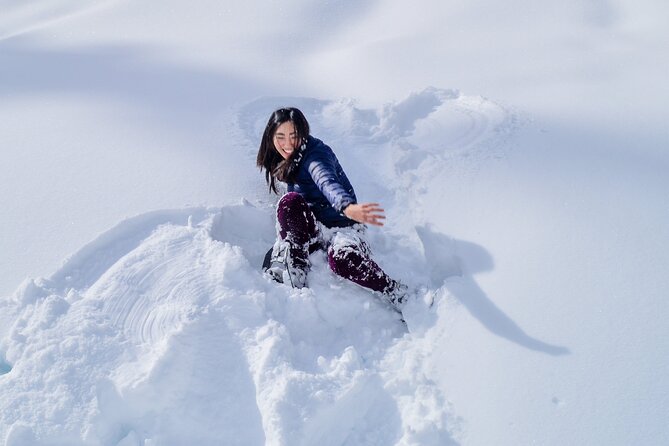
After the Chief, you get a breather with Shannon Falls Provincial Park. This stop is only about 30 minutes, but it is a meaningful one. Shannon Falls is noted as BC’s third tallest waterfall, so even in a quick stop you still get an impressive view of rushing water.
The timing also helps. By the time you reach Shannon Falls, you have done the hardest elevation work. A shorter stop keeps you from burning more energy than needed after the climb.
What to expect here
Think of Shannon Falls as your reset button: quick sightseeing, some photos, and a chance to recover before heading back. Because this is a short segment, it is also useful if you want one more “wow” moment without turning the day into a longer grind.
Sea-to-Sky Highway Timing: How the Day Stays Comfortable
A lot of Vancouver day trips look great on paper but feel exhausting in practice. The driving time matters, and this one builds it in. You spend around 2 hours of return driving as part of the 7-hour tour, which means you are not constantly changing plans.
You start at 9:00 am, and the schedule has a clear rhythm: drive, hike, waterfall break, then drive back. That flow is what makes the day feel manageable even though the hiking is challenging.
If you get motion-sick in cars or you hate long rides, you might appreciate that the tour is not a “half-day in transit.” You are in a scenic corridor (Sea-to-Sky), not stuck in stop-and-go city traffic.
Photography Coaching on the Trail: Smartphone or DSLR, Same Goal
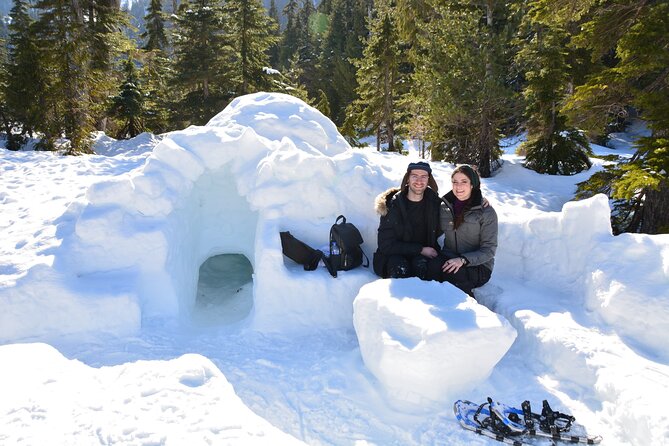
One of the most valuable parts of this experience is that the guide is not only leading hikes. He is also coaching how to take better photos out in the real world—on uneven ground, with changing light, and with limited time at key viewpoints.
The tour includes a photoshoot, plus teaching focused on outdoor scene photography skills. That is the practical difference between a photo walk and a real photo lesson. You are not just told where to stand. You learn how to look, and how to make the shot work with what you have.
How it helps you, even with a phone
Most people think photography coaching means learning camera menus. On this kind of hike, you learn shot decisions that matter more than specs:
- where to place yourself for depth and scale,
- how to manage bright sky vs. darker forest,
- how to use the environment to frame subjects,
- and how to plan your shot while still hiking safely.
Because breaks are built into the pacing, you get chances to actually apply advice instead of being rushed past your best angle.
A real-world tip from past hikers
People have highlighted that guide feedback covers both shooting and the hiking itself, especially when conditions make the trail more technical. That combo is rare. It is also the reason this experience stands out: you are not forced to choose between comfort and photos.
Gear, Clothing, and Pacing: What Makes This Hike Work
This day is built for people who are in great shape, but it still respects reality: you will not move at one speed the whole time. The tour says the guide will pace based on your ability, with plenty of breaks for photos. You also get safety help from an outdoors guide with 30+ years leading hikes.
Hiking poles and what that means for you
Hiking poles can be borrowed if needed. That is a small thing that can make a big difference on steep descents, where your knees do the heavy lifting. If you have poles at home, bring them. If not, knowing you can borrow them lowers the barrier.
What to bring (based on what matters here)
The tour notes that you will receive details on what to wear and bring, and that guidance is important for a hike like this. For planning purposes, think in terms of:
- traction for rocky, possibly wet surfaces,
- layers for changing mountain weather,
- a camera/phone you can handle safely while moving,
- and water plus snacks (since food and drinks are not included).
Weather Reality: You Still Get Views, But Plan for Conditions
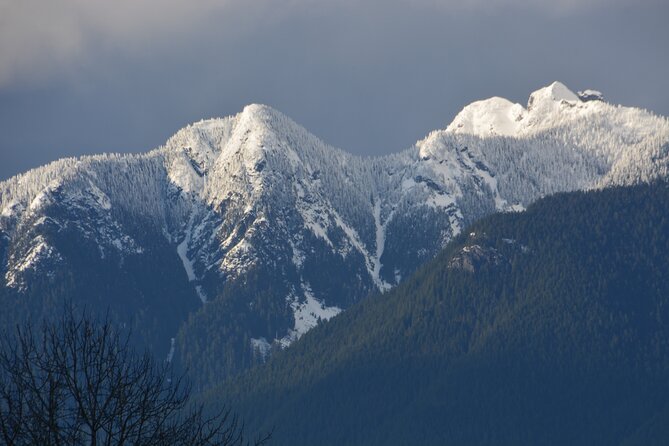
This is a weather-dependent experience. It requires good weather, and if it is canceled due to poor conditions, you will be offered a different date or a full refund.
The good news: even when the weather is not perfect, the area can still deliver strong results. Past participants have specifically noted that they got amazing views even on a rainy day, and that the guide kept things enjoyable and manageable. That points to a key truth: you do not need perfect sunshine, but you do need safe trail conditions and proper hiking readiness.
Bring a mindset for variety. Mountains near Vancouver can change quickly. If you pack for damp air and wet rocks, you will feel more confident on the more technical parts.
Fitness Check: Who This Tour Is Best For
This is labeled as advanced hiking, and the Chief route is steep and technical. It is best for people who can handle a solid climbing effort and who do not mind a demanding trek with careful footing.
If you are not a full advanced hiker
One important detail from past experiences: if someone is a beginner hiker, the operator may adjust and offer an easier option such as a long but not technical hike to Garibaldi Lake. That can work if you want the scenery and guidance without the steep technical scrambling.
So the decision is not simply advanced vs. beginner. It is about whether you are comfortable with elevation, steady hiking for hours, and safe footwork.
Value for Money: Why $142.88 Can Make Sense Here
At $142.88 per person, you are paying for more than transportation. You are getting:
- a professional photographer guide,
- a guided small-group hiking tour (max 6),
- transportation with pickup and drop-off,
- a photoshoot,
- and help with hiking essentials like borrowed poles.
For context, a DIY version of this day would still cost you gas/transport, parking, trail uncertainty, and the effort of figuring out photo spots alone while you hike. Here, your guide does the hard parts: route choice, pacing, safety, and shooting instruction.
Food and drinks are not included, so you will still want to plan snacks or money for a meal later. But for a full half-day with expert coaching and a tough hike, the pricing feels aligned with the time and the specialized guidance you get.
Should You Book This Advanced Hiking + Photo Tour?
Book it if you want a Vancouver day that mixes two things well: real hiking effort and actual photography coaching, not just scenery sightseeing. This is especially worth it if you like small groups, want someone to help you stay safe on steeper ground, and want to come away with photos you feel proud of.
Skip it if you want an easy walk, if you are not ready for a steep hike around 600 meters of elevation gain, or if technical trail footing sounds like stress rather than challenge. In that case, you would be happier picking a lower-effort hike and saving Stawamus Chief for a future time when you are more confident.
If you are on the edge, ask yourself one question: can you comfortably hike for hours, take pauses, and still feel good about the return climb? If the answer is yes, this tour can be a standout day in Vancouver.
FAQ
How long is the Photography & Advanced Hiking tour?
It runs about 7 hours total, including pickup and drop-off, plus roughly 2 hours of return driving.
Where does the tour start and end?
The tour starts at the Hyatt Regency Vancouver at 655 Burrard St. It ends back at the same meeting point.
What hikes are included?
Stawamus Chief Park is the main hike (about 11 km round-trip with around 600 meters of elevation gain and about 4 hours of hiking time), plus a shorter stop at Shannon Falls Provincial Park.
Is this hike suitable for beginners?
It is not described as a beginner hike. The operator may be able to offer an easier alternative for beginners, such as a long but not technical hike like Garibaldi Lake.
How many people are in the group?
The maximum group size is 6 travelers.
What about hiking poles and photo equipment?
Hiking poles can be borrowed if needed. The photography coaching is available whether you use a smartphone or a DSLR-style camera.
Are food and drinks included?
No. Food and drinks are not included.
What happens if the weather is bad?
The experience requires good weather. If canceled due to poor weather, you will be offered a different date or a full refund.
Is there pickup offered?
Yes, pickup is offered, and drop-off returns you to the meeting point.