REVIEW · VANCOUVER
Photography in Rainforest & Suspension Bridge
Book on Viator →Operated by Nature PhotoHikes · Bookable on Viator
Rain makes the forest glow. This half-day photo hike is interesting because you’ll shoot in an old-growth rainforest at Lynn Canyon—including a suspension bridge, waterfalls, and pool spots—while a professional photographer guide coaches you step by step. I love the fact that it’s small-group so you actually get hands-on help for both phone cameras and DSLRs, and I also like that you can borrow a DSLR with no extra charge. The main drawback to plan for is the trail’s lots of stairs and uneven wet ground, even though the overall climb is minimal.
You’re also not stuck improvising the whole time. The route runs about 30 minutes from downtown Vancouver, starts at 10:00 am, and includes pickup/drop-off options so you spend more time shooting and less time figuring out logistics. Plus, it operates in all weather conditions, so rainy days aren’t a problem—they’re the point.
In This Review
- Key Highlights You Should Know Before You Go
- Rain Makes Lynn Canyon a Photo Magnet
- How the Coaching Works for Phones and DSLRs
- Getting There Without Making It Complicated
- Stop 1: Lynn Canyon Park and the Suspension Bridge in Old-Growth Forest
- A smart note on stamina
- Stop 2: Cleveland Dam for a Change of Pace
- What You’ll Be Shooting (And Why Those Tips Matter)
- Waterfalls: Long-exposure effects you can actually understand
- Macro details: flowers and close-up texture
- Wider views and portraits: making the hike feel like a story
- Pace, Weather, and Real-World Trail Conditions
- Gear: What to Bring vs. What You Can Borrow
- Price and Value: Is This Worth $86.08?
- Who Should Book This Photo Hike (And Who Might Skip It)
- Final Call: Should You Book Nature PhotoHikes?
- FAQ
- What’s the duration of the Photography in Rainforest & Suspension Bridge tour?
- Where does the tour take place?
- What time does the tour start?
- Is pickup available?
- What’s the group size?
- Can I use a smartphone instead of a camera?
- Is a DSLR camera provided?
- What’s included in the price?
- What should I bring for this tour?
- What happens if the weather is poor?
- What’s the cancellation policy?
Key Highlights You Should Know Before You Go
- Small group (max 6) for real coaching instead of vague tips
- Phone or DSLR support, and you can borrow a DSLR at no extra charge
- Lynn Canyon suspension bridge + rainforest waterfalls in an old-growth setting
- Long-exposure waterfall practice, plus macro and portrait-style guidance
- Pickup/drop-off options that make a half-day feel easy
- Photoshoot moments so you don’t only take pictures—you also end up in them
Rain Makes Lynn Canyon a Photo Magnet
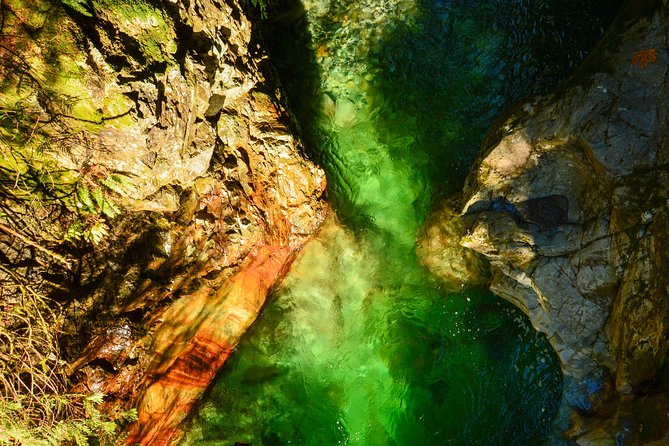
Lynn Canyon is one of those Vancouver-area places that turns a typical sightseeing walk into something more cinematic. On this tour, you’re aiming for the visuals that rainforest weather creates: softer light under the trees, slick surfaces that reflect waterfalls, and misty atmosphere around the bridge and pools.
What I like most is that the coaching matches the reality of how you’ll be photographing. You might be using a smartphone, or you might bring a DSLR. Either way, the guide’s job is to help you get better results fast—especially for the kinds of shots people struggle with most, like waterfall long exposures and close-up flower details.
The second thing I love is the “don’t worry about being alone with your camera” vibe. With a max of 6 on the outing, you’re not lost in a crowd. The guide can stop, adjust your framing, and help you fix the shot while you’re still standing there with the view in front of you.
You can also read our reviews of more tours and experiences in Vancouver.
How the Coaching Works for Phones and DSLRs
This isn’t a walking tour where someone tells you where to go and calls it a day. You’ll get photography instruction while you hike, and that matters because you can apply each tip right away.
Here’s the practical advantage: your guide can tailor advice to whatever you’re shooting with. If you’re on a phone, you’ll get phone-friendly techniques that focus on exposure, timing, and composition. If you’re on a DSLR, you’ll get camera-specific guidance. If you don’t have one, you can borrow a DSLR from your guide at no extra charge.
From what the guide emphasizes, the learning goals are clear:
- long exposures for waterfalls (so silky water replaces the harsh blur)
- macro-style shots for flowers (for texture and small color)
- wide-angle, wider-view framing for the big rainforest scenes
- portrait-style composition when you want people to be part of the environment
And there’s a nice extra: your guide also performs part of the photoshoot for your group. That’s a big deal if you’re traveling with friends or family and you want pictures that actually include you.
Getting There Without Making It Complicated
The tour starts at 10:00 am and runs about 4 hours total (with the hiking time listed as about 3 hours, or 2 hours for a private solo guest). It’s roughly 30 minutes from downtown Vancouver, which is close enough for a half-day plan but far enough that the rainforest feels like a real escape.
Transportation is included, and pickup is customizable. If your accommodation is in or near downtown/east Vancouver/Burnaby, pickup is available. If not, you’ll meet at a central location. That matters because the best photo spots are tied to where you can access the trails—so having a driver removes a layer of stress.
Also, because this is a small-group outing, the morning flow tends to feel calmer than the bigger-bus style tours. You get time to settle, check your camera settings (or phone mode choices), and get your bearings before the hike begins.
Stop 1: Lynn Canyon Park and the Suspension Bridge in Old-Growth Forest

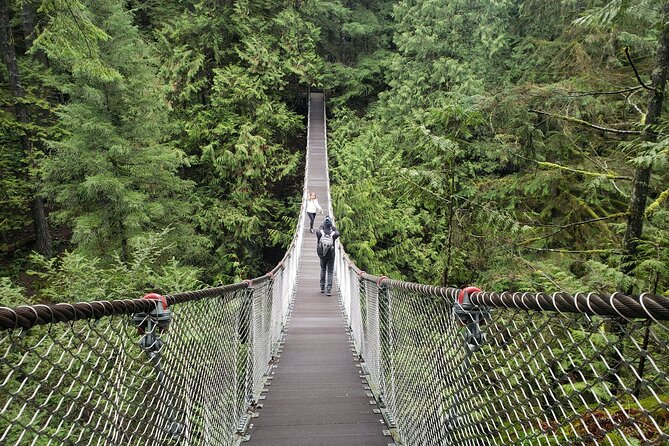
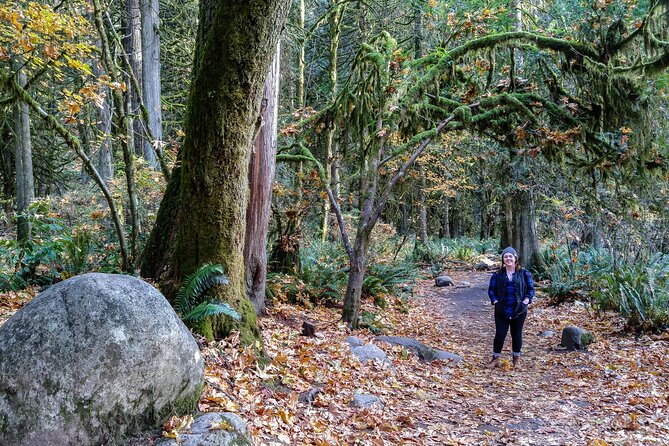
This is the star stop. Lynn Canyon Park gives you the classic Vancouver rainforest experience with a suspension bridge, waterfalls, and pools—all in an old-growth setting. Even with minimal elevation, expect a hike that keeps you moving: there are stairs along the way, plus the usual wet-forest footing you’ll want to respect.
What makes this stop work for photography is how quickly the scene changes. You get:
- bridge views that let you frame a sense of depth and motion
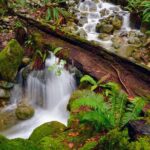
- waterfall moments where water texture is the whole show
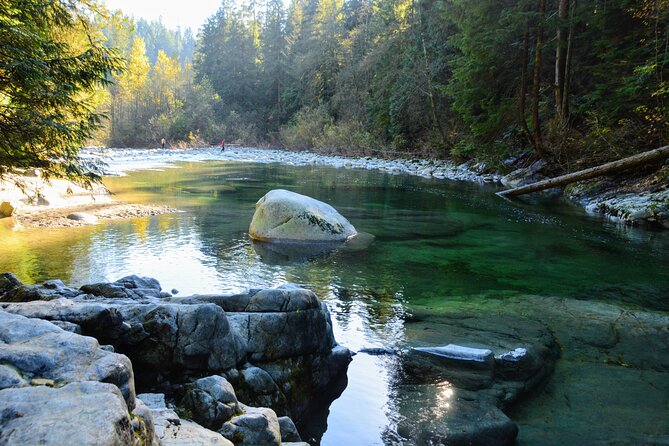
- pool areas where reflections and darker forest tones create contrast
Rain helps here. If it’s drizzling, you’ll often get more atmospheric light and better waterfall “feel.” When it’s wet, the colors deepen under the trees, and the whole area becomes a better backdrop for portraits and close-ups.
A smart note on stamina
The elevation is minimal, but the stairs matter. If stairs are hard for you, wear shoes with grip and plan slower pacing. The good news is that the instruction is built around small-group attention, so you can take breaks without feeling rushed out of the best photo moments.
Stop 2: Cleveland Dam for a Change of Pace
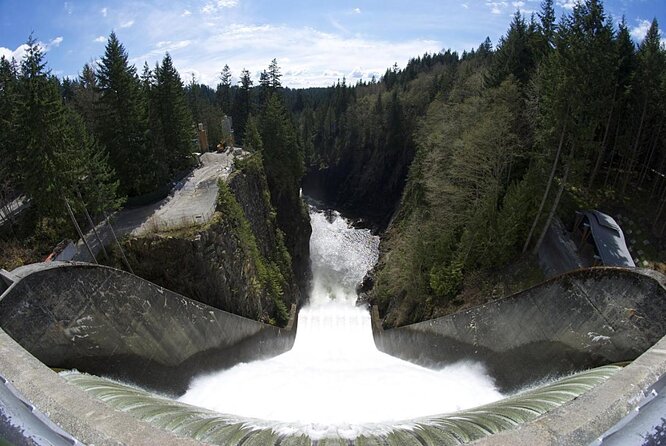
After the rainforest section, you’ll also stop at Cleveland Dam. The value of this second stop is variety: it breaks up the feel of the forest hike and gives you another setting for photos.
A dam area usually offers a different kind of framing—more structure and lines, with water and surrounding greenery creating a new visual rhythm. Even if you’re focused on rainforest shots, this stop can be useful for wider compositions and for resetting your eyes after the misty bridge/waterfall scenes.
It’s also a nice checkpoint in the overall rhythm of the tour. You’ll have time to refocus on your camera after lots of stair steps and near-water moments.
What You’ll Be Shooting (And Why Those Tips Matter)
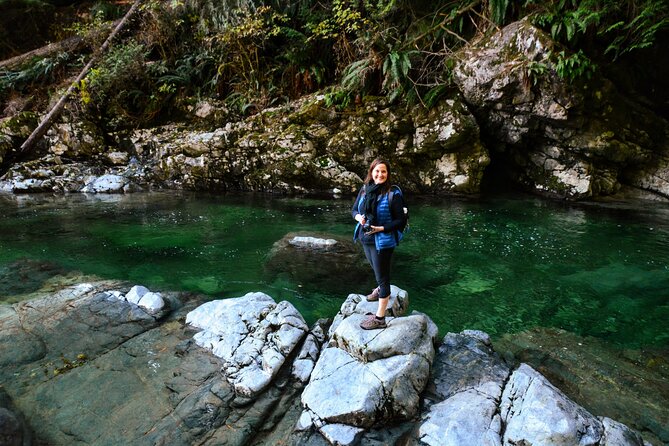
The goal isn’t just pretty photos. The goal is learning photo habits you can reuse later in Vancouver.
Waterfalls: Long-exposure effects you can actually understand
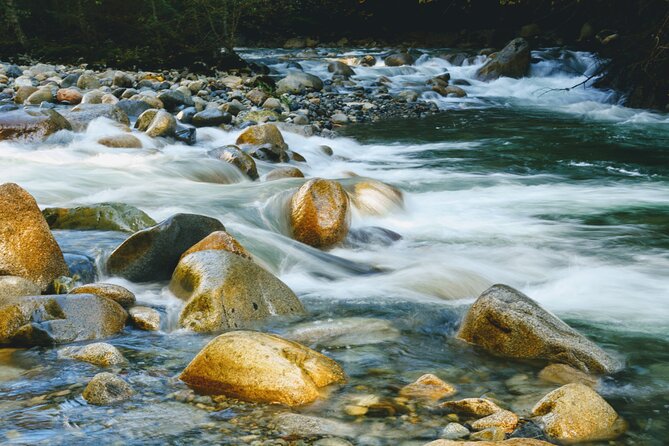
Waterfalls are tough because they move constantly. The guide’s focus on long exposures is meant to help you turn movement into an intentional look—like smoothing water texture instead of just capturing blur.
You’ll learn the timing and composition basics needed to aim for that “caught in motion” effect. If you’re using a phone, you’ll get guidance that fits how phone cameras process light. If you’re using a DSLR, you’ll get more traditional camera-side settings guidance.
Macro details: flowers and close-up texture
Macro shots matter because they give your photo set range. After lots of bridge and waterfall views, a flower close-up can be what makes your photos feel personal, not generic.
The guide includes macro shots for flowers in the focus areas, so you’ll know to slow down, look for small color and shape, and place them in a frame that feels intentional.
Wider views and portraits: making the hike feel like a story
Wide-angle scenes help you capture the scale of the bridge area and the rainforest depth. Portrait-style shots help you keep the human element in your photos, so the outing isn’t only about scenery.
One detail I especially appreciate: your guide takes time and adjusts for how people are moving and where they’re standing. That’s how you get pictures that look like you were part of the place, not just standing next to it.
Pace, Weather, and Real-World Trail Conditions
This tour runs in all weather conditions. That doesn’t mean you’ll love every footstep, but it does mean you won’t be waiting for “perfect” skies to enjoy a rainforest photo day.
Rainforest trails can be slippery, and the guide’s value is also about safety-by-practice: how you position yourself for shots, how you avoid risky footing near slick edges, and how you manage your attention so you’re not staring at a screen while stepping on wet stone.
Stairs show up along the trail, and the experience is described as easy to moderate hiking with minimal elevation but “several stairs.” That combination is common in forest parks: you don’t climb high, but your legs still do work.
For comfort:
- wear grippy shoes
- dress for rain (the tour expects you to)
- give yourself a slower pace when you’re near waterfalls and pools
Gear: What to Bring vs. What You Can Borrow
A big value point here is choice. You can show up with just a smartphone, or bring your camera equipment, and the guide still has a plan for you.
What’s included:
- a professional photographer guide
- transportation
- a DSLR camera can be borrowed
- a photoshoot element
- a guided small-group hiking portion
What’s not included:
- food and drinks
So you’ll want to bring water, and you may want a light snack depending on your hunger level. Since the tour includes a hike with stairs and wet-walking, staying hydrated helps you enjoy the later photo spots instead of flagging early.
If you do own a DSLR, bring it. If you don’t, borrowing one is a practical option that lets you try a “real camera” look without paying for rentals or bringing extra worry.
Price and Value: Is This Worth $86.08?
At $86.08 per person for about four hours, you’re paying for three things that add real value in Vancouver:
1) a pro guide who teaches you how to shoot, not just where to stand
2) transportation and pickup/drop-off options, so you don’t spend time organizing your own ride
3) a focused half-day built around one location with major photo variety (bridge, waterfalls, pools)
What makes it feel like good value is the small-group format (max 6). If you compare this to any kind of “self-guided walk plus YouTube tips,” you’re paying to compress learning time. You’ll get feedback in the moment, which is what usually changes the quality of your photos fast.
And the DSLR-borrow option is a standout for value. If you want DSLR results but don’t want the hassle of bringing your own or renting one, that alone can make the price feel reasonable.
Who Should Book This Photo Hike (And Who Might Skip It)
This is a great fit if you want:
- a rainy-day activity that actually uses the weather
- hands-on photography help for phones or DSLRs
- a smaller outing where you can stop and get one-on-one attention
- photos that include you, not only the scenery
It’s also a smart choice if you’re the kind of person who likes walking trails but wants a purpose for stopping—composition practice, framing, and exposure.
You might consider skipping if:
- stairs and wet footing are a major problem for you
- you’re expecting a flat, stroller-friendly path (this route includes several stairs)
- you’re looking for a food-focused outing (meals and drinks are not included)
Final Call: Should You Book Nature PhotoHikes?
If you’re visiting Vancouver and you want one outdoor activity that blends scenery with clear photo instruction, I’d book this. The small-group size is the big advantage, and the mix of rainforest bridge views plus waterfall/pool photography gives you a strong photo payoff even if the day is gray.
My “book it” logic is simple: you’re not just buying access to Lynn Canyon—you’re buying a plan for better photos on the trail, with support for both phones and DSLRs (including a loaner camera). Just be realistic about the stairs, wear grippy shoes, and show up ready for wet weather. You’ll get far more out of the experience.
FAQ
What’s the duration of the Photography in Rainforest & Suspension Bridge tour?
It runs about 4 hours total. The hiking time is about 3 hours, or 2 hours for a private solo guest.
Where does the tour take place?
It’s based around Vancouver, Canada, and includes stops at Lynn Canyon Park and Cleveland Dam. Lynn Canyon is about 30 minutes from downtown Vancouver.
What time does the tour start?
The start time listed is 10:00 am.
Is pickup available?
Yes. Pickup is offered if your accommodation is in or near downtown/east Vancouver/Burnaby. Otherwise, you’ll meet at a central location.
What’s the group size?
The maximum group size is 6 travelers.
Can I use a smartphone instead of a camera?
Yes. The guide provides instruction whether you’re using a smartphone or a DSLR.
Is a DSLR camera provided?
You can borrow a DSLR from your guide at no extra charge.
What’s included in the price?
Included are a professional photographer guide, transportation, DSLR camera borrowing (if needed), a photoshoot, and a guided small-group hiking tour.
What should I bring for this tour?
You should dress appropriately for weather since it operates in all weather conditions. Food and drinks are not included, so you’ll want water and any snacks you need.
What happens if the weather is poor?
The tour operates in all weather conditions, but if it’s canceled due to poor weather, you’ll be offered a different date or a full refund.
What’s the cancellation policy?
Free cancellation is available up to 24 hours in advance for a full refund. If you cancel less than 24 hours before the start time, the amount paid is not refunded.