REVIEW · NEW YORK CITY
Manhattan Architecture Photography Tour
Book on Viator →Operated by New York City Photo Safari · Bookable on Viator
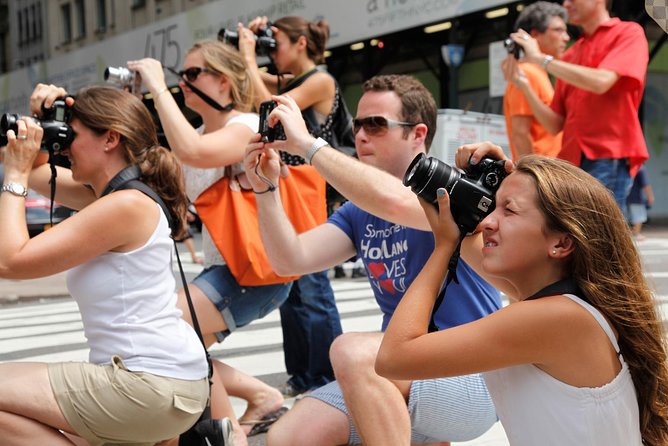
One sentence can change how you photograph a city. This 3-hour Manhattan architecture photography tour is built around stop-by-stop teaching, so you’re not just wandering for good angles—you’re learning how to see buildings and light. Two things I really like are the small group size (max 8) and the fact that you get instruction from a professional photographer guide rather than only location tips. One thing to consider: it’s a walking-focused format, so wear good shoes and be ready for a moderate pace.
You’ll be pointed toward practical composition habits—especially angle choices and cutting out dead space—so your photos start looking intentional. I also like that the tour covers both iconic interiors/exteriors and “hard” photo zones like Times Square, where you need a plan for lights and motion.
The main drawback is simple: you’ll have limited time at each stop. That’s great for momentum, but if you love lingering and shooting one subject for 45 minutes, you might feel a little rushed.
Key points to know before you go
- Pro instruction tied to each stop, not generic photography advice
- Grand Central Terminal and New York Public Library are treated as priority photo stops
- Times Square guidance focuses on capturing lights and the scene’s energy without chaos
- Chrysler Building angle time is short, so you’ll move fast and shoot smart
- Small group (max 8) means more attention for beginners and intermediate photographers
In This Review
- How the 3-Hour Photo-Teaching Format Improves Your Results
- Pershing Square Start: Where You Begin and What You’ll Cover
- Grand Central Terminal: How to Photograph the Grandest Interior Space
- Chrysler Building: Short Time for Serious Angle Work
- Times Square: Capturing Lights and Motion Without Chaos
- New York Public Library Exterior: Symmetry, Detail, and a Clean Frame
- Bryant Park: Getting Empire State Building Shots the Smart Way
- Price and What You’re Really Buying for $125
- Practical Tips: How to Get More Great Shots in Less Time
- Should You Book This Manhattan Architecture Photography Tour?
- FAQ
- How long is the Manhattan Architecture Photography Tour?
- Where does the tour start?
- How many people are in the group?
- What is included in the tour price?
- Which stops are part of the tour?
- Is a digital camera provided?
- Is the tour suitable for children?
- What should I know about booking and changes due to weather?
How the 3-Hour Photo-Teaching Format Improves Your Results
This tour is priced at $125 per person, and the value comes from the structure. Three hours is long enough to learn a few repeatable techniques, but short enough that you’re kept moving toward real photo opportunities. You’re paying for a professional photographer guide who can correct what you’re doing and recommend what to try next, rather than leaving you to figure it out city-block by city-block.
I like that the tour is designed for all skill levels. That doesn’t mean it’s vague. It means you’ll get ideas you can immediately test—like how to choose an angle that makes a building look powerful, how to handle bright scenes, and how to simplify frames so the background isn’t fighting your subject.
Another good sign: it’s capped at 8 travelers. In a big group, you might only catch the tail end of instruction. Here, the guide can likely check that your shot is moving in the right direction, especially if you’re still learning what your camera can do.
One more value point: some stops include admission/entry, so you’re not burning your time figuring out logistics when your goal is to shoot. That time-saving matters in Midtown, where lines and timing can turn into unplanned delays.
Pershing Square Start: Where You Begin and What You’ll Cover
Your tour starts at Pershing Square, at 90 E 42nd St (near Pershing Square Signature Center). This is a smart launch point because it puts you in the middle of the grid, close to major architectural landmarks and transit. If you’re meeting up with the group, being near public transportation helps you get there without extra hassle.
From the start, the vibe is “go-go with purpose.” You’re not waiting around. The tour is built around quick transitions and short photo sessions, which forces you to work like a photographer: decide what matters, frame it, and shoot.
The Pershing Square area also acts like a mental warm-up. You’re likely thinking about lines and perspective before you hit the big-ticket stops like Grand Central and Times Square. That’s useful because architecture photography is usually won in the planning stage: where you stand, where you place the building in your frame, and what you decide to exclude.
Also, the tour has a mobile ticket, which keeps the check-in quick. If you’ve ever lost time in a city because of paper tickets or awkward meeting points, you’ll appreciate this kind of simple setup.
And yes—this is a walking tour. The guidance suggests moderate physical fitness, so bring energy and assume you’ll be on your feet through multiple Midtown blocks.
You can also read our reviews of more tours and experiences in New York City.

Grand Central Terminal: How to Photograph the Grandest Interior Space
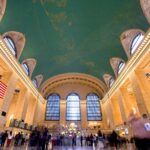
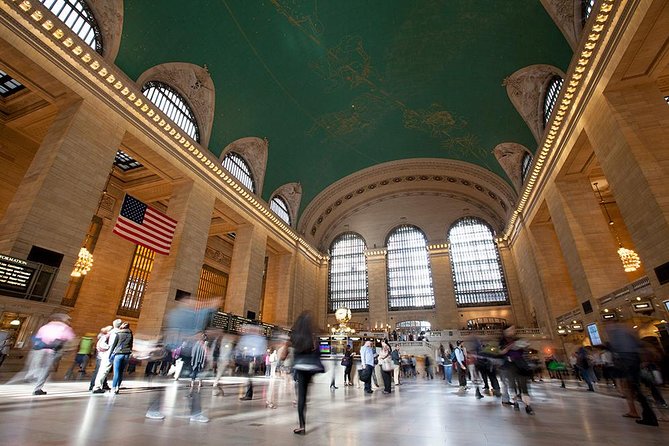
The first big stop is Grand Central Terminal, with about 20 minutes on site. Grand Central is the kind of place that can make your camera feel suddenly inadequate if you don’t know how to approach interiors. The biggest win of this tour is that you’re not just shown where to stand—you’re taught how to frame this space so it looks as impressive on camera as it does in real life.
With admission included, you can focus on shooting rather than checking entry steps. Once you’re inside, think like the guide: you’re working with scale, repeating details, and strong architectural lines. Instead of chasing every detail at once, you’ll likely be encouraged to pick a dominant view—one that sells the Terminal’s grandeur through symmetry and height.
The practical takeaway for you: you’ll get help addressing the most common interior photography problem. Many people end up with busy shots that feel flat because the composition doesn’t guide the eye. The tour’s instruction aims to fix that by teaching you to simplify the scene and use angles to pull structure forward.
Time is limited, so you’ll want to treat this like a two-pass stop:
- First pass: establish the main composition you want.
- Second pass: adjust your angle to improve the frame and reduce distractions.
If you’re a beginner, this kind of coaching is gold. One of the reviews praises learning how to use camera abilities they weren’t using—this stop is where that lesson pays off fast.
Chrysler Building: Short Time for Serious Angle Work
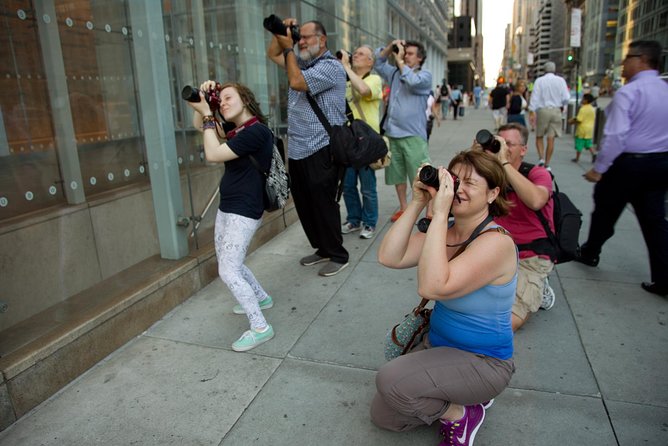
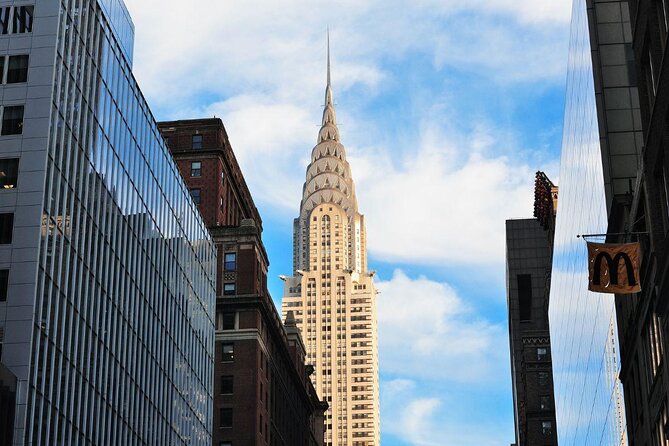
Next up is the Chrysler Building, about 10 minutes. Ten minutes sounds brief, but that’s exactly why a guided approach works. At this kind of landmark, crowds and timing can make solo shooting frustrating. A guide helps you get to the most useful viewpoints quickly and teaches you what to look for in the building’s shape and silhouette.
This stop is all about getting the framing right in a short window. A good architecture shot often depends less on “more zoom” and more on how you position the camera so the top of the building holds together and the lines feel crisp.
You’ll also benefit from the tour’s focus on angle decisions. One review specifically called out learning the use of angles and eliminating boring space. That’s a key mindset for the Chrysler Building: don’t let the background dominate. Make the building do the work.
If you’re intermediate, you might already know some composition rules. Still, you can use this time to test the guide’s suggestions against your own habits. If you’re new, don’t worry about producing a masterpiece immediately. Ten minutes is enough to learn what changes your images—and then you can apply it to the rest of the day.
Times Square: Capturing Lights and Motion Without Chaos
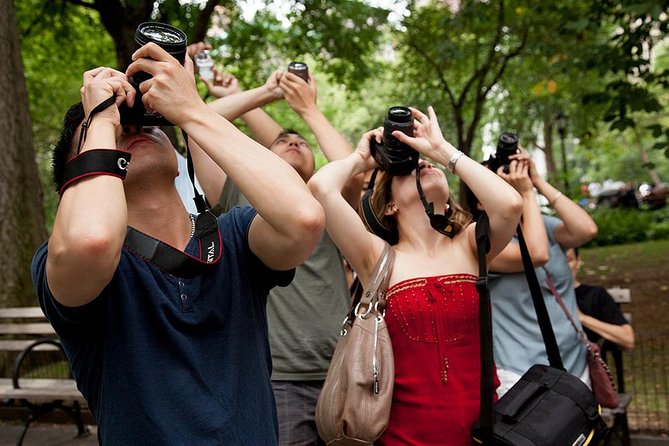
Times Square is where architecture photography stops being calm. The tour includes time there (around 15 minutes), and the teaching focus is clear: capture the lights and the hustle and bustle that define the area.
This is also a stop where many cameras struggle. Bright signs, changing light, and crowded viewpoints can turn your images into one big glare. The value of a pro guide isn’t theory—it’s immediate problem-solving. The guide can steer you toward framing choices that make the scene readable instead of just bright.
One review highlights learning to stop producing boring space in the frame. That matters here. Times Square can tempt you to include too much. You might end up with a photo that feels like random light. The coaching you get aims to help you build a frame with a clear focal point—whether that’s a building edge, a sign cluster, or a pattern of lights.
Here’s how I’d use your brain during this stop:
- Pick one visual anchor (a specific sign, façade edge, or light pattern).
- Keep the rest of the noise around it controlled with your composition.
- Shoot quickly, then adjust slightly rather than starting over.
Even if you’ve never shot city lights before, this stop helps you translate what you see into something that looks intentional. If you’re someone who always tries to “get the whole scene,” this is your chance to learn a better approach.
New York Public Library Exterior: Symmetry, Detail, and a Clean Frame
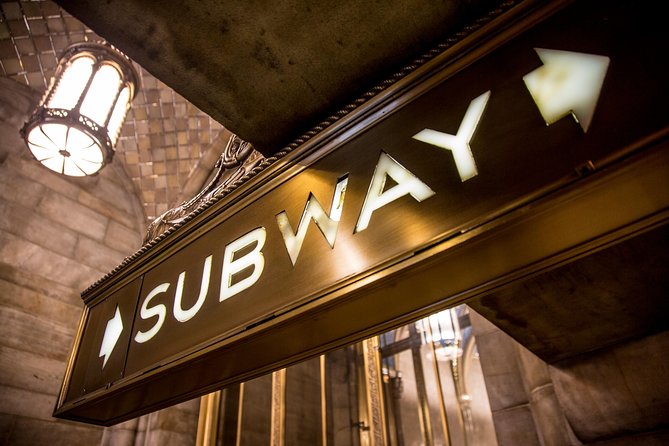
The New York Public Library is next, with about 15 minutes, and admission/entry is listed as included. The Library exterior is one of those classic architecture subjects that rewards careful framing. It’s also forgiving in a different way than Times Square: you don’t have to fight constant motion in every direction.
This stop is about capturing the building’s exterior impact. I like that it’s placed here, after Times Square. You get contrast in the teaching: first, chaos; then structure. That’s a smart learning path because it helps you see that photography technique is not a one-size trick. You need different approaches for different visual environments.
Architectural photography often benefits from balance. The NYPL façade gives you strong lines and a sense of order. If the guide helps you position the camera for symmetry or keeps you from crowding your frame with extra clutter, your images will improve fast.
Also, if you’re a beginner, this is a great stop to test what you learned earlier about angles. You don’t need complex settings to make this work—you need a clear viewpoint, and you need to avoid distractions.
Think of this as your “make it look sharp” moment. Once you lock in your stance, shoot a series of small framing tweaks. A few degrees can transform a composition here.
Bryant Park: Getting Empire State Building Shots the Smart Way
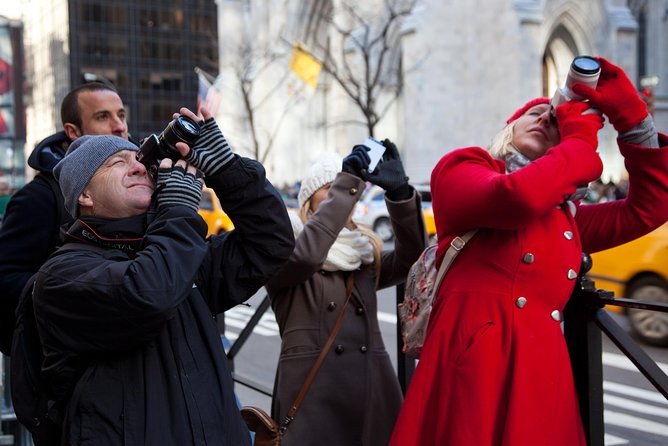
The tour then moves to Bryant Park (about 15 minutes). The idea is to help you get great shots of the Empire State Building, and the stop includes admission/entry in the tour details.
This is a practical choice because Bryant Park is one of the better places to photograph Midtown from a more controlled vantage point. You’re not only chasing the tallest building in the city—you’re learning how to place it in a frame that also has context.
What you’ll likely learn here is how to manage layers. In city photography, depth is everything. You want a photo where your subject doesn’t float alone, and you also don’t want the foreground to swallow attention. A guide can help you choose the right balance—especially if you’ve been making images that feel either too empty or too crowded.
One review called out learning camera abilities they weren’t using. Stops like Bryant Park are a good time to try again what you learned in Grand Central. If the guide taught you a method for approaching composition earlier, you can apply it to a new scene and quickly see if it actually works.
You’ll end up with shots that feel more like “photography” and less like “I took a picture in front of something.” That’s the difference you’re paying for.
Price and What You’re Really Buying for $125
At $125, you’re getting a lot more than a sightseeing walk. You’re buying:
- A professional photographer guide
- A route designed around major architectural photo stops
- Entry/admission at key points
- A format that supports both beginners and more experienced shooters
Digital cameras are not included, so you’ll need to bring your own. That’s important. If you show up without the gear you planned to use, the whole point—learning how to use your camera better—shrinks fast.
You’re also dealing with a realistic constraint: this is about 3 hours. In a short window, you won’t cover everything in Midtown. But you will cover the things that teach you the most quickly: iconic interiors, bold exterior lines, a high-light chaos zone, and a classic façade.
And because the group size is limited to 8 travelers, you’re not stuck waiting your turn. That matters when you have questions like why a shot looks flat or why your framing keeps drifting.
If you’re the kind of photographer who wants a repeatable method, this tour makes that easier. You’re not just taking photos; you’re practicing choices: where to stand, what to cut, and how to shoot with purpose.
Practical Tips: How to Get More Great Shots in Less Time
Here are the practical moves that will help you most, based on what the tour is designed to teach:
Bring a camera you know you’ll use
If you don’t regularly shoot with it, this tour can still help, but you’ll lose time. Aim to understand your basic controls before you arrive.
Expect walking and shoot in bursts
You’ll have short windows at each stop, so plan to shoot a series rather than waiting for the perfect moment. Small adjustments in position can matter more than waiting.
Use the guide’s angle habit
One review specifically mentioned learning how angles and eliminating boring space improved their images. That advice is not just aesthetic—it’s a way to make the building the hero.
Simplify the frame when things get busy
Times Square is the prime example. When there are too many lights, your job is to pick what the viewer should notice first.
Ask for recommendations based on your level
The reviews mention the guide makes recommendations matched to skill. If you tell the guide what you’re trying to photograph (and what you struggle with), you’ll get better results than if you stay quiet.
Should You Book This Manhattan Architecture Photography Tour?
Book it if you want a structured way to photograph Midtown without guessing. This tour is a strong choice if:
- You want pro tuition tied to specific architectural stops
- You like learning composition habits like angle choices and removing distractions
- You’re a beginner or intermediate shooter who wants your camera to do more than you’re currently using
Skip it or choose a different option if you:
- Hate walking in tight time blocks
- Want long, unhurried sessions at one location
- Are looking for a photography experience that replaces practice with theory—this one is hands-on and fast
For most people, $125 for a 3-hour guided photo plan with admission at major stops is a fair deal, especially with the small group size. You’ll come away with photos that look more deliberate—and that alone makes the time worth it.
FAQ
How long is the Manhattan Architecture Photography Tour?
It runs for approximately 3 hours.
Where does the tour start?
The meeting point is 90 E 42nd St, New York, NY 10017, at Pershing Square.
How many people are in the group?
The tour has a maximum of 8 travelers.
What is included in the tour price?
Included details specify a professional photographer guide plus entry/admission at Grand Central Terminal and Bryant Park, and also Times Square.
Which stops are part of the tour?
The tour includes stops at Grand Central Terminal, Chrysler Building, Times Square, New York Public Library, and Bryant Park, plus additional viewpoints in the Midtown area near Pershing Square.
Is a digital camera provided?
No. A digital camera is not included, so you’ll need to bring your own.
Is the tour suitable for children?
Children must be accompanied by an adult.
What should I know about booking and changes due to weather?
Confirmation is received at booking time, the activity requires good weather, and if it’s canceled due to poor weather you’ll be offered a different date or a full refund. Free cancellation is available up to 24 hours in advance for a full refund.