REVIEW · NEW YORK CITY
3 Hour NYC Photography Workshop
Book on Viator →Operated by New York City Photo Safari · Bookable on Viator
Three hours can change how you see a city. This hands-on NYC photography workshop turns classic Midtown photo spots into a practical lesson, with real coaching on how to frame shots and use your camera settings smarter.
I like that it’s built for learning, not just walking: you get guidance on angles, locations, and composition while you’re out shooting. I also like the teaching style—one review called out the instructor Zim as personable and professional, with clear explanations and no time wasted.
A possible consideration: it’s weather-dependent and requires a moderate physical fitness level, since you’ll be moving around central Manhattan for about three hours.
In This Review
- Key things that make this workshop worth your time
- A 3-Hour Photo Lesson on Manhattan’s Main Streets
- Meet at Pershing Square and Start With a Real Game Plan
- Times Square and Theater District: Composition in Chaos
- A Second Times Square Walk: From Cool Views to Repeatable Technique
- Bryant Park: A Break From the Sign Flood
- New York Public Library: Classic Facades, Strong Angles
- Chrysler Building: Turning Details Into a Real Photo
- Why the Max 8 Travelers Rule Makes a Difference
- Price and Value: What $125 Really Covers
- Weather, Walking Pace, and How to Get the Most Out of It
- Who This Workshop Fits Best
- Should You Book This NYC Photo Workshop?
- FAQ
- Where is the meeting point for the workshop?
- How long is the NYC Photography Workshop?
- What group size should I expect?
- What is included in the price?
- What language is the workshop offered in?
- What happens if the weather is poor?
Key things that make this workshop worth your time
- Small group size (max 8) so you can ask questions and get closer feedback
- Pro photographer instruction focused on digital camera functions you can use right away
- Midtown photo route from Times Square to the New York Public Library and the Chrysler Building
- Practice with many subject types like people, objects, scenery, and building details
- A convenient start near Grand Central at Pershing Square, not across town
- English-led coaching for straightforward learning and Q&A
A 3-Hour Photo Lesson on Manhattan’s Main Streets
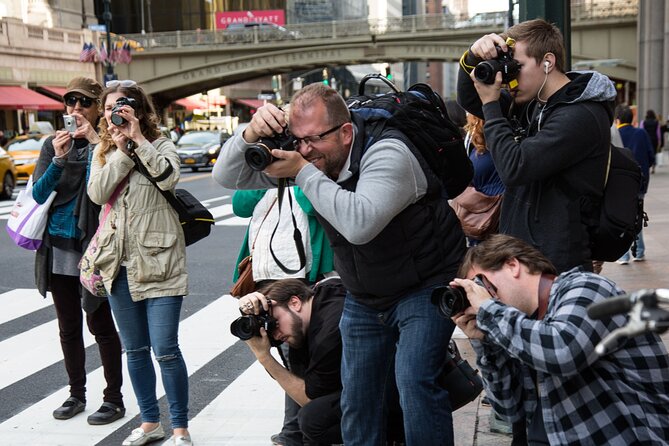
Midtown can feel like sensory overload—bright signs, tall buildings, crowds, and constant motion. That’s exactly why this format works: you’re not waiting for perfect conditions. You’re learning how to make strong photos even when the city is doing its best to distract you.
This is a 3-hour session (approx.), and the structure matters. You’ll move through several high-impact areas, and the photographer instructor keeps the focus on what you can actually control: framing, angles, composition, and using your camera features more deliberately.
You can also read our reviews of more tours and experiences in New York City.

Meet at Pershing Square and Start With a Real Game Plan
You meet at Pershing Square (90 E 42nd St, New York, NY 10017), near Grand Central Terminal. That’s a sweet spot for a short workshop because you avoid a long transit before the learning begins.
From the first stop onward, the idea is simple. The instructor helps you improve how you see—then you put it into practice immediately. It’s the difference between reading photography tips at home and using them while you’re standing in front of the shot.
You’ll also be with a maximum of 8 travelers, which is huge for a class like this. Small groups mean it’s easier to get personal attention and not get lost in the crowd when you have a question.
Times Square and Theater District: Composition in Chaos
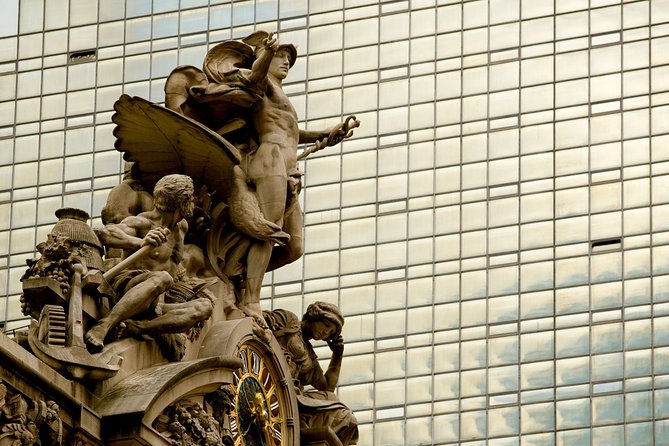
The workshop kicks off in the Times Square / Theater District area. This is a great starting point because you can find photo challenges everywhere: reflective surfaces, layered signage, bright light, and lots of vertical elements competing for attention.
Here’s the practical value. You’ll work on best angles and composition rather than just “where to stand.” When you learn how to choose a viewpoint, you stop chasing the perfect spot and start building a shot intentionally—even in a place as visually busy as this.
A drawback of starting here is that it can be visually loud. If you’re new to city photography, you’ll want to listen carefully and follow the instructor’s prompts closely so you don’t end up photographing only what’s easiest to see.
A Second Times Square Walk: From Cool Views to Repeatable Technique
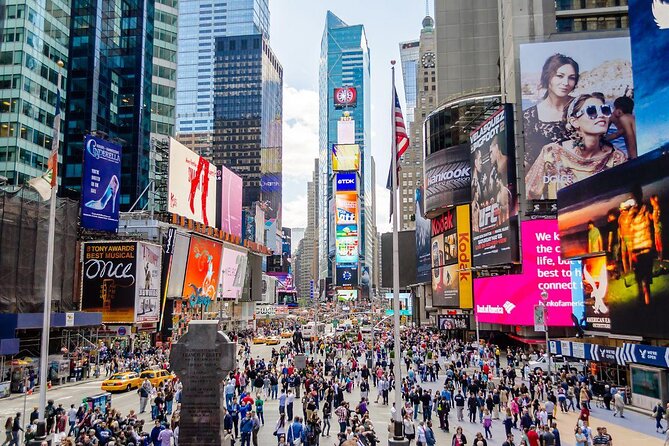
Yes, the route includes Times Square twice. That’s not redundancy—it’s repetition for learning. The second pass gives you a chance to apply what you practiced the first time and adjust on the fly.
The learning goal is about controlling outcomes. If your first images feel off—too busy, too flat, or lacking focus—you can correct it when you’re still in the same general environment. You get a chance to test composition ideas in a familiar setting without waiting for the next location.
One of the best outcomes from this workshop is that you’re not limited to one style. You’re encouraged to take photos using techniques you’re learning, covering people, objects, scenery, and buildings. Times Square makes it easy to practice all four kinds of subjects in one neighborhood.
Bryant Park: A Break From the Sign Flood
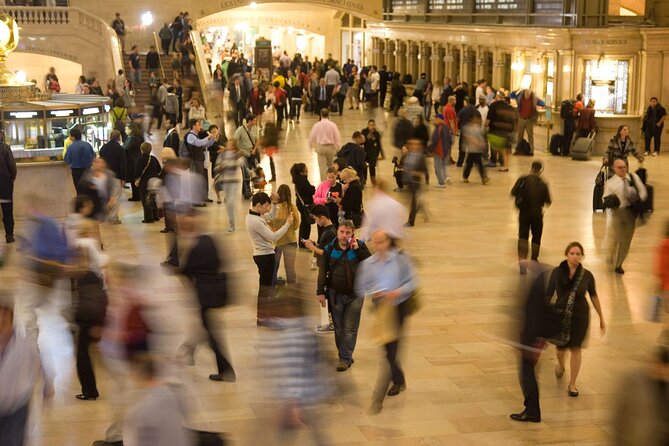
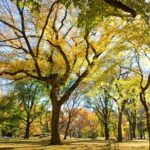
Next up is Bryant Park. This area is valuable for photographers because it often gives you more structure than Times Square. You can work with clear lines, strong building edges, and scenes that let you focus on how framing affects the final image.
In a short workshop, Bryant Park works like a visual “reset.” You can slow down, experiment with angles, and think about how foreground and background work together. Even without fancy gear, composition choices can make a huge difference here.
If you prefer photos with less noise, Bryant Park can be a relief. But it still supports the workshop’s main goal: better photography through deliberate framing, not just luck.

New York Public Library: Classic Facades, Strong Angles
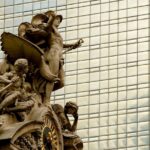
The route continues to the New York Public Library area. This stop is all about architecture and geometry—long sightlines, detailed stonework, and dramatic forms that reward thoughtful angles.
This is where the workshop’s “how to” focus really shows. When the environment is visually strong, your job is to control what the viewer notices first. The instructor’s coaching on composition and best angles helps you avoid the most common mistake: photographing the building without giving your image a clear point of view.
It also helps if you want photos that feel more timeless than trend-driven. Library-and-facade shots often look better with a composition that includes intentional leading lines or a balanced frame.
Chrysler Building: Turning Details Into a Real Photo
Finally, you’ll head to the Chrysler Building. Midtown’s skyline photos can look similar unless you get specific. This stop gives you a chance to shift from “big landmark” thinking to detail thinking—how to make the building feel three-dimensional through framing and perspective.
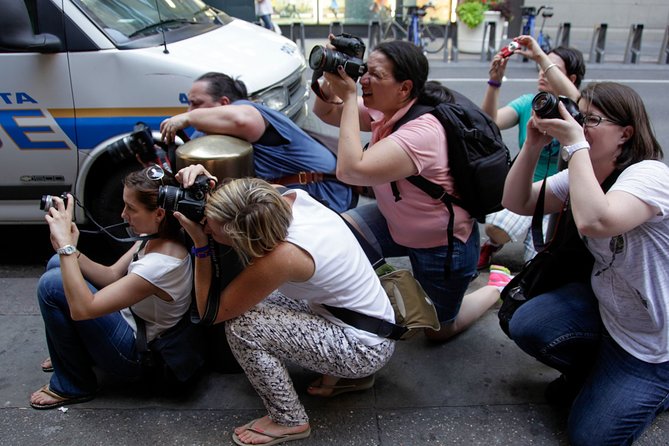
This is also a good place to practice the digital camera side of the class: using your camera features more intentionally so your images look sharper, more controlled, and less accidental. The workshop is designed to help you understand digital camera functions so you can work faster and get better results with less guesswork.
If you’re someone who loves architecture photos, you’ll likely find this stop satisfying. You’re not just seeing the landmark—you’re learning how to photograph it in a way that looks like you knew what you were doing.
Why the Max 8 Travelers Rule Makes a Difference
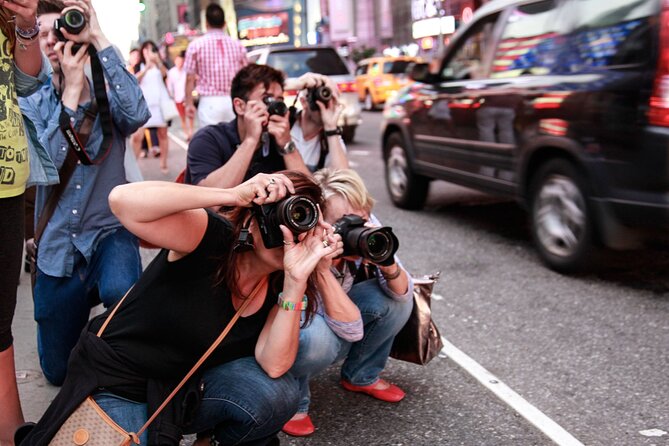
Photography workshops fail when one person gets all the attention and everyone else drifts. Here, the limit of 8 travelers is a big deal for practical learning.
With a smaller group, you’re more likely to:
- get feedback tied to your own camera and your own questions
- hear corrections that apply directly to what you’re shooting
- learn pacing—when to wait, when to move, and when to try again
It also supports the workshop’s hands-on style. This isn’t a lecture-only experience. You’re out in Manhattan practicing, and the instructor helps you adjust as you go.
Price and Value: What $125 Really Covers
At $125 per person for about three hours, this can be a smart value if you want skills, not just sightseeing.
You’re paying for three things that usually cost more when you do them separately:
- a professional photographer instructor who can guide your shooting choices
- in-the-field practice across multiple Midtown locations
- personal attention thanks to the small group size
If you’ve ever felt like you own a camera but your photos don’t match what you see in your head, this kind of workshop is often the shortest path to improvements you can use immediately. You’ll leave with techniques you can apply on your next walk, not just a memory of landmark photos.
On the other hand, if you already know advanced camera settings and composition basics, you might find the value better suited to your “refresh and practice” goals than a brand-new skill jump.
Weather, Walking Pace, and How to Get the Most Out of It
The experience requires good weather. If conditions aren’t right, you’ll be offered a different date or a full refund. Since the route covers several areas in central Manhattan, you should plan for time outside and hold the expectation that you’ll be active for much of the session.
The tour also notes a moderate physical fitness level requirement. That usually means you’ll be doing a fair amount of walking and standing for shots. Wear shoes you trust and keep your pace steady so you don’t feel rushed when you’re trying to frame.
Because it’s an instructor-led workshop with multiple stops, showing up ready to learn helps. If you’re tired or distracted, you’ll lose the benefit of the coaching moments.
Who This Workshop Fits Best
This is a strong match if:
- you want hands-on coaching instead of generic sightseeing
- you’re learning digital camera functions and how to apply them quickly
- you want a route that moves through iconic Midtown without feeling like a self-guided scavenger hunt
- you like photographing a mix of people, objects, scenery, and buildings
It may be less ideal if you dislike crowds and visual clutter, since the route includes Times Square. But if you enjoy challenging environments—or you want to learn how to tame them—this is exactly the kind of place where the lessons stick.
Should You Book This NYC Photo Workshop?
Book it if you want a small-group, practical photography class in the middle of Midtown, with a pro guiding your composition and camera choices in real time. The mix of locations—Times Square, Bryant Park, the New York Public Library, and the Chrysler Building—gives you variety without turning your day into a logistics puzzle.
Skip it only if you already have solid composition skills and camera control and you’re mainly looking for a sightseeing walk. In that case, you might prefer a self-guided photo route so you can spend time purely on what you like best.
If you’re aiming to come back with photos that look like you planned them, this format is a good bet.
FAQ
Where is the meeting point for the workshop?
The workshop meets at Pershing Square, 90 E 42nd St, New York, NY 10017, USA.
How long is the NYC Photography Workshop?
It’s approximately 3 hours.
What group size should I expect?
This experience has a maximum of 8 travelers.
What is included in the price?
The price includes a professional photographer instructor.
What language is the workshop offered in?
The workshop is offered in English.
What happens if the weather is poor?
The experience requires good weather. If it’s canceled due to poor weather, you’ll be offered a different date or a full refund.