REVIEW · NEW YORK CITY
Grand Central Photo Tour
Book on Viator →Operated by New York City Photo Safari · Bookable on Viator
Want photos that look like NYC.
This Grand Central Photo Tour turns one of the world’s most photogenic buildings into a practical photo lesson, not just a walk. In about 2.5 hours, you’ll learn how to shoot the grandeur of Grand Central Terminal while also mastering techniques like slow shutter speeds to capture movement inside the world’s largest train terminal. I love the hands-on guidance, because your pro photographer (like Rob or Zim) adjusts instruction to your level and checks your shots as you go. I also love that it stays focused on taking better pictures, from angles you might not notice to that chance for a clear, unobstructed viewpoint from up high.
One possible drawback: if you’re hoping for a casual, sightseeing-only visit, this tour is built like a workshop. You’ll be encouraged to shoot, review, and change your approach, not just wander with your camera pointed at everything.
In This Review
- Key things to know before you go
- Why a Grand Central Photo Tour Works Better Than Free-Form Wandering
- Meeting at 89 E 42nd St: A Practical Start in the Right Place
- Inside Grand Central Terminal: What You Do in the 2.5-Hour Workshop
- Slow Shutter Speed for Trains and Crowds (Without Making It a Mess)
- Shooting from About 100 Feet Up for Unobstructed Main-Floor Views
- Tripod Time and Photo Permit Included: Small Details That Save Big Frustration
- A Pro Guide Who Actually Adjusts to Your Level
- Who This Tour Suits Best (And Who Might Find It Too Structured)
- Price and Value: Is $150 Worth It?
- What to Bring for a Smooth, Camera-Ready Tour
- Quick Timing Reality Check
- Should You Book the Grand Central Photo Tour?
- FAQ
- FAQ
- What is the price of the Grand Central Photo Tour?
- How long is the tour?
- Where does the tour start and what time does it begin?
- How many people are in the group?
- What is included with the tour?
- Is the tour beginner-friendly?
Key things to know before you go
- Small group size (max 8): more time for feedback and fewer stand-around moments.
- Professional photographer guide: you get tips tailored to your gear and experience.
- Slow shutter practice inside Grand Central: perfect for train and crowd motion without losing the details.
- A special higher-level photo opportunity: an unobstructed shot of the main floor from about 100 feet above.
- Photography permit included: you’re not trying to improvise rules on the spot.
- Mobile ticket: easy entry and less to juggle on arrival.
Why a Grand Central Photo Tour Works Better Than Free-Form Wandering
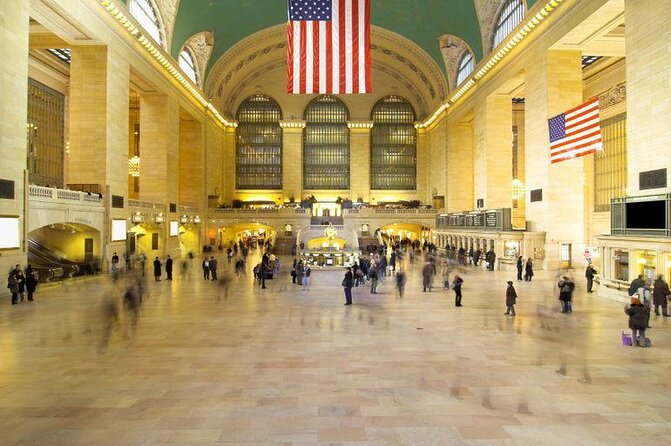
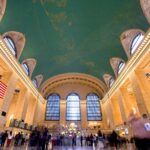
Grand Central is one of those places where the building does half the work for you. The clocks, the arches, the lighting, the polished surfaces, the ceiling details, the constant motion of people and trains. But if you arrive with no plan, it’s easy to end up with the same angles everyone shoots, and the same flat results.
This tour gives you a photo plan. I like that it doesn’t treat photography like a mystery box. You’re taught what to look for, how to frame it, and how to get movement to behave in-camera. You also learn to see the terminal as both architecture and action, which matters because Grand Central is always doing something.
The other reason it works: you’re not figuring it out alone. A professional guide is there to point you toward the next decision—what to shoot now, how to aim your camera, and what setting changes might fix the problem you’re seeing.
You can also read our reviews of more tours and experiences in New York City.

Meeting at 89 E 42nd St: A Practical Start in the Right Place
The tour starts at 10:00 am at Grand Central Terminal, 89 E 42nd St, New York, NY 10017 and ends back at the meeting point. That matters more than it sounds. Grand Central is easy to get around inside, but it’s also easy to waste time when you’re hunting for the best view. A clear start and end point keeps the workshop focused.
You’ll be around a compact group (up to 8 travelers). That size is big enough for energy and small enough for real instruction. You also don’t have to worry about showing up with the wrong kind of ticket—this experience uses a mobile ticket.
Inside Grand Central Terminal: What You Do in the 2.5-Hour Workshop
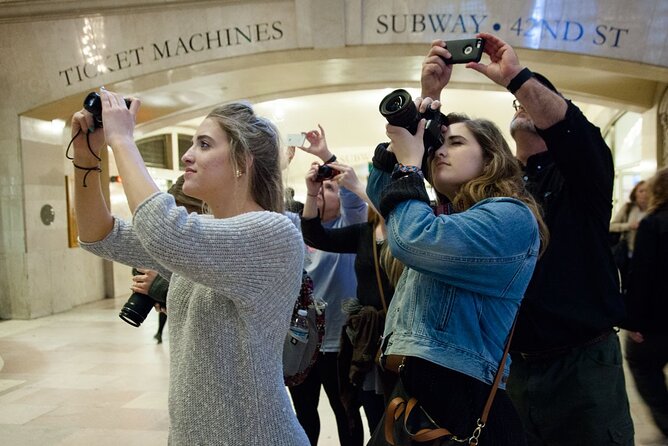
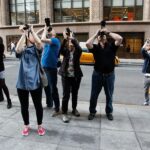
The entire experience is centered on Grand Central Terminal. Expect a guided walk and shooting session focused on photo technique and photo storytelling inside one of New York City’s most recognized landmarks.
A key part of the workshop is that you’re not only shown where to aim your camera. You’re taught how to make decisions on the spot. That’s where the experience earns its value: you learn to translate what you see into a photo that looks intentional.
During the session, you’ll work on:
- framing Grand Central’s main spaces with stronger composition
- capturing the terminal’s scale and details
- using slow shutter speeds to handle movement
- refining shots through quick review and adjustments from your guide
The tone is beginner-friendly. If you’re new, you’ll get the basics you need without being treated like a lost tourist. If you’re more experienced, you’ll still get ideas that help you push your images beyond simple documentation.
Slow Shutter Speed for Trains and Crowds (Without Making It a Mess)
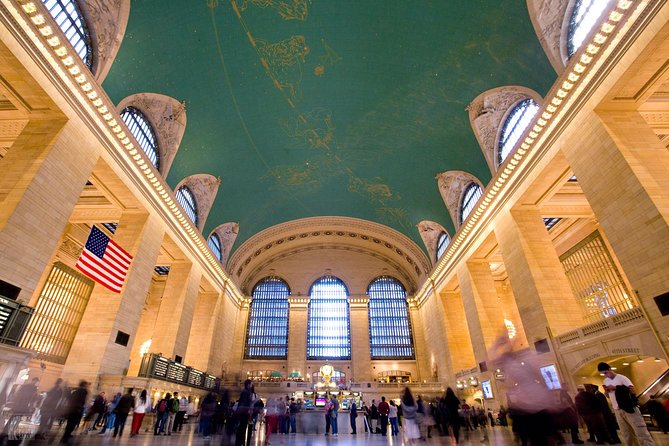
Grand Central is busy. That’s the point. The challenge is turning that constant motion into an image that feels dynamic instead of just blurry.
This tour specifically teaches you how to use slow shutter speeds to capture the hustle and bustle of a major transit hub. The technique can look magical when it’s dialed in, but it’s also easy to overdo. That’s why the guide’s role matters. You don’t just get a lecture on shutter speed—you get help applying it while you’re actually shooting.
If you’ve tried long exposures before and the results were inconsistent, expect this to feel more structured. You’ll learn how to approach movement in a place where people are constantly walking, and trains are constantly changing the scene. The goal is to keep your subject readable while still showing motion.
Shooting from About 100 Feet Up for Unobstructed Main-Floor Views
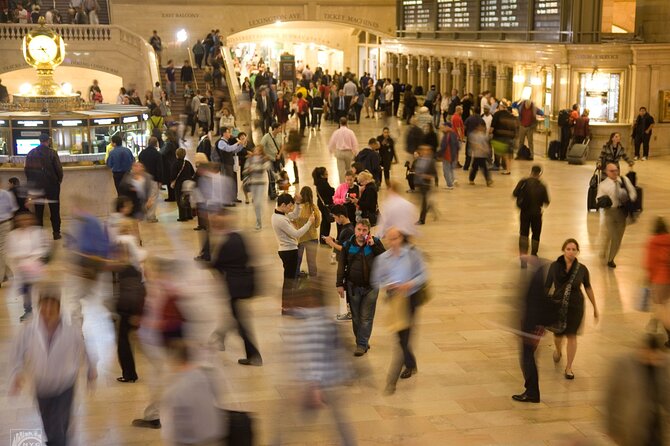
One standout moment is the opportunity to take an unobstructed photograph of Grand Central’s main floor from about 100 feet above. That’s not just a cool perk. It changes what you can do with composition.
From that height, you’re more likely to:
- capture the geometry of the main floor
- show the terminal’s scale in a single frame
- reduce distractions from the closest crowds
- create a cleaner sense of direction and symmetry
If you’ve ever shot Grand Central from street level and felt like the frame always got cluttered, this angle is exactly what you need.
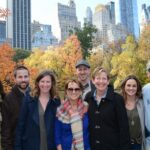
Tripod Time and Photo Permit Included: Small Details That Save Big Frustration
Photography rules and tools can make or break a photo workshop. Here, you get a photography permit included, which reduces the chance you’ll hit unexpected limits mid-session.
You’re also granted tripod use as part of the experience. That’s a big deal for a tour that focuses on slow shutter technique. Handholding can work, but it’s harder to get consistent results when you’re trying to control long exposures. A tripod makes it easier to:
- stabilize your composition
- fine-tune framing
- repeat a shot if you miss the timing
If you’re bringing your own gear, this is a reminder that technique beats luck. You’ll get more out of the lesson if you’re ready to slow down and set up.
A Pro Guide Who Actually Adjusts to Your Level
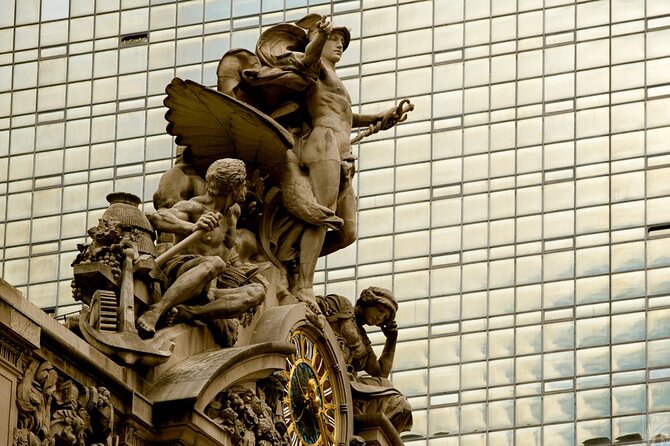
The best photography workshops don’t just teach settings. They teach you how to think like a photographer. This tour leans hard into that.
A few things you can reasonably expect from the guide’s style, based on what people highlight:
- They check your photos as you shoot and give practical tips to improve your next frame.
- They adapt to the individual, so beginners aren’t overwhelmed and more experienced shooters still have something to work on.
- They focus on how to see—finding the story you imagine when you look at the scene.
In past tours, guides such as Rob, Zim, and Bruce have been described as particularly good at this hands-on approach. The vibe is friendly and direct. If you’re stuck on a camera setting you’ve never used, you’re likely to get help that makes that setting click.
Who This Tour Suits Best (And Who Might Find It Too Structured)
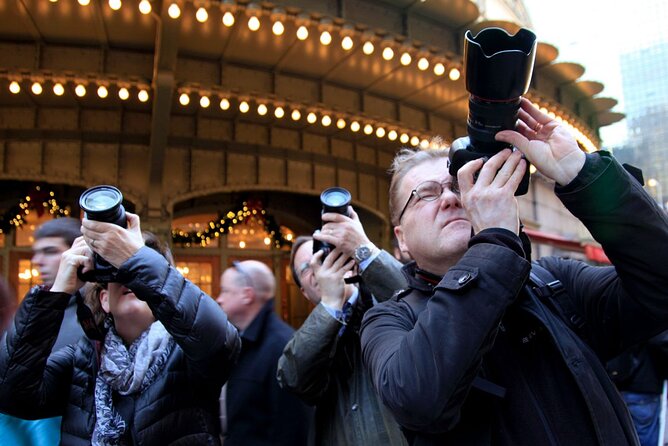
This is a beginner-friendly photography tour for photographers of all levels. If you’re bringing a phone camera, a compact, or a more advanced camera, you’ll still benefit because the core lessons are about composition, angles, and handling movement.
You’ll probably enjoy this most if you:
- want better Grand Central photos without spending weeks trial-and-error
- like learning through doing, not just reading tips
- enjoy experimenting with shutter speed and framing
- want a guided way to find strong angles inside a crowded landmark
If you’re the type who wants a laid-back walk and doesn’t want to stop, shoot, review, and adjust, the structure might feel like a lot. This isn’t just a casual photo safari around town—it’s a focused workshop built around instruction.
Price and Value: Is $150 Worth It?
At $150 per person for about 2 hours 30 minutes, the value comes from the mix of what’s included and what you learn.
Here’s the value equation that makes sense for this kind of experience:
- You’re paying for a professional photographer guide, not just a route.
- You’re getting a permit included, which supports legitimate photo activity in a high-visibility landmark.
- You’re doing targeted practice, including slow shutter technique and a high viewpoint for an unobstructed shot.
- You have a small group size (max 8), which typically means more direct feedback time.
If you were to try to copy this setup on your own, you’d need to figure out angles, rules, timing, and camera technique. This tour collapses a lot of that uncertainty into one planned session.
What to Bring for a Smooth, Camera-Ready Tour
The tour data doesn’t list a packing checklist, so I’ll keep this practical and gear-neutral. Bring what you can comfortably use for 2.5 hours of shooting.
Good general choices:
- Your camera and whatever you’ll need to operate it (battery, charger, memory space)
- A way to stabilize if you have one (though tripod use is included, it helps to know your setup)
- A charged phone for camera settings reference or the mobile ticket
Also, wear shoes you’re comfortable walking in. Grand Central is indoors, but you’ll still move around and you’ll likely stand in shooting positions.
Quick Timing Reality Check
The tour runs 2 hours 30 minutes and starts at 10:00 am. That timing is useful because you’ll be shooting during a point in the day when the terminal is active enough for motion practice, without it always feeling like peak evening overload.
If you’re planning other activities that day, don’t stack your schedule too tightly. Build in time before and after so you can review your shots and compare what you changed between frames.
Should You Book the Grand Central Photo Tour?
Book it if you want:
- better Grand Central photos with clear technique
- hands-on feedback from a professional guide
- structured practice with slow shutter speeds
- a real chance at an unobstructed view from about 100 feet up
Skip it (or at least consider it carefully) if your main goal is casual sightseeing with your camera mostly staying in “point and shoot” mode. This tour is designed to turn your camera into a tool for intentional storytelling, which means you’ll work a little and learn a lot.
FAQ
FAQ
What is the price of the Grand Central Photo Tour?
The tour costs $150.00 per person.
How long is the tour?
It runs for about 2 hours 30 minutes.
Where does the tour start and what time does it begin?
It starts at Grand Central Terminal, 89 E 42nd St, New York, NY 10017 and begins at 10:00 am. It ends back at the meeting point.
How many people are in the group?
This experience has a maximum of 8 travelers.
What is included with the tour?
You get a professional photographer guide and a photography permit included. You also have tripod use included, and the tour uses a mobile ticket.
Is the tour beginner-friendly?
Yes. It’s described as beginner-friendly, and it’s offered for photographers of all levels. The guide provides instruction suited to your level.