REVIEW · NEW YORK CITY
Central Park Photography Tour with Local Photographer
Book on Viator →Operated by New York City Photo Safari · Bookable on Viator
Central Park can look brand new through a camera lens. This 2.5-hour Central Park Photography Tour pairs you with a local professional photographer and routes you to the park’s most photogenic areas. I like that it’s a hands-on workshop built around real shooting, not just sightseeing.
Two things I especially enjoy: you get practical tips you can apply immediately, and you’re encouraged to use your own camera features. The stop-by-stop flow also helps you learn how to choose framing and settings based on what you’re actually seeing.
One consideration: there’s no hotel pickup, and the tour ends where it starts. So you’ll want to arrive on your own and be ready for a fair amount of walking while you practice.
In This Review
- Key highlights you’ll feel right away
- Why this Central Park photo workshop works for real skill-building
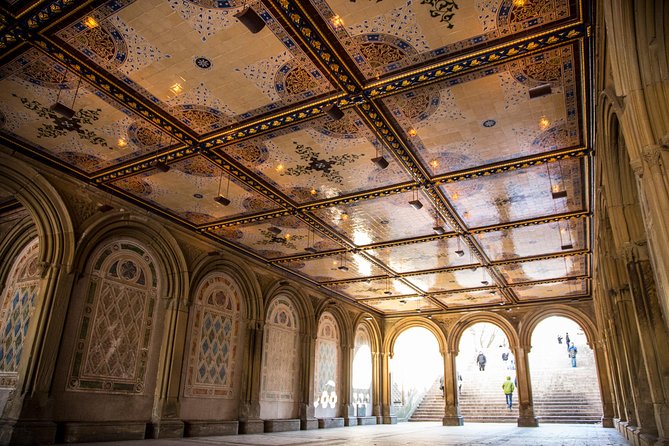
- Starting at Bethesda Terrace: your first frames set the tone
- Shakespeare Garden and Bethesda Fountain: lessons in composition and mood
- Bethesda Terrace to Swedish Cottage Theatre: textures and storytelling angles
- Naumburg Bandshell to Central Park: practicing settings on the move
- The Met and American Museum of Natural History: getting NYC scale in your photos
- Price and value: what $100 really buys you here
- What to bring (so you get more than pretty scenes)
- Who should book this Central Park Photography Tour
- Should you book it?
- FAQ
- How long is the Central Park Photography Tour?
- How much does the tour cost?
- What language is the tour offered in?
- How many people are in the group?
- Where does the tour start and end?
- What is included in the price?
- What is not included?
- Are children allowed?
- Are service animals allowed?
- Is free cancellation available?
Key highlights you’ll feel right away
- Local photographer coaching with a workshop style, not a lecture
- Max 8 travelers for more personal attention and quicker feedback
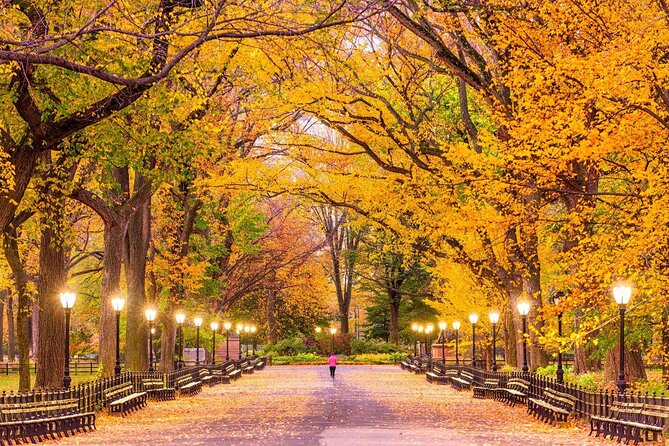
- Stop-by-stop shooting practice at classic Central Park photo locations
- Your own camera, your own settings, so improvements stick
- Near the Met and AMNH for photos with big NYC context nearby
Why this Central Park photo workshop works for real skill-building
If you’ve ever taken a great shot by accident, this kind of tour helps you make it happen on purpose. You’re not just shown where to stand. You’re guided through how to look—then you try it with your own camera right there in the park.
The biggest “value” move here is the small group size (up to 8). That matters because photo advice isn’t one-size-fits-all. If you’re still figuring out basics, you’ll get direction you can act on. If you already know your way around a few settings, you can still sharpen what you’re doing—especially around timing, composition, and focusing choices.
You’ll also notice the tour is built around being outdoors in real light. Central Park changes fast. Shade, sun, reflections, and vertical lines all show up within short distances. A guided route like this turns those conditions into a lesson plan.
And yes, bring your camera brain. You’ll get more out of the tour if you can follow along and try settings as you go. This is one of those experiences where you leave with ideas you can use again later, not just a few photos.
You can also read our reviews of more tours and experiences in New York City.

Starting at Bethesda Terrace: your first frames set the tone
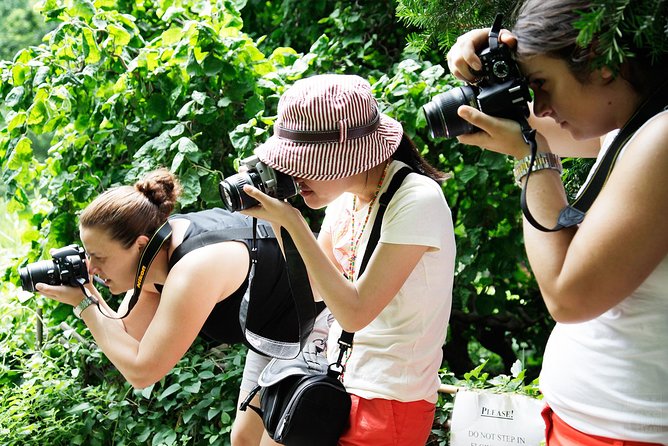
You kick things off at Bethesda Terrace (meeting point at Bethesda Terrace, New York, NY 10024). Starting here is a smart choice because it’s both visually strong and easy to turn into a photography exercise.
This is where you’ll likely begin thinking like a photographer: what lines pull your eye, how to balance foreground and background, and how to position yourself so details don’t get lost. Bethesda Terrace is also a great place to practice taking control of the scene—because you have lots of elements that can either help your image or clutter it.
From a practical standpoint, this starting location is also helpful because it gives you an immediate sense of orientation. You’re not spending half the tour trying to find the next spot. You get moving, and you start applying advice quickly.
If you’re new, you’ll get a calmer introduction than you’d get trying to figure everything out alone. If you’re more experienced, you’ll still appreciate the structure: you can test your usual approach, then adjust based on guide feedback while the light is still good.
Shakespeare Garden and Bethesda Fountain: lessons in composition and mood
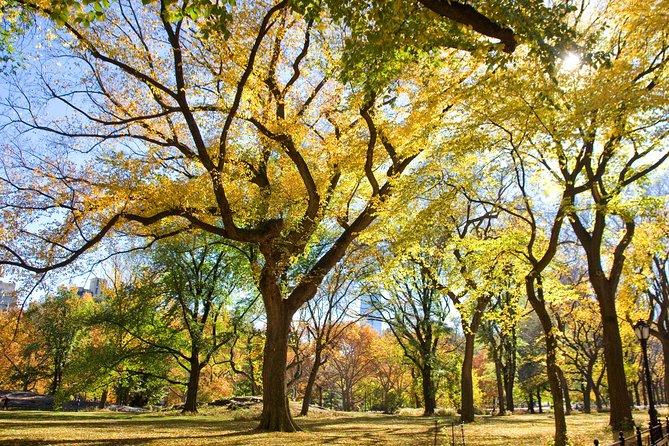
Next up, the route includes Shakespeare Garden. The tour information notes that on spring and summer safaris, you’ll stop there, so if you’re booking outside those seasons, you might find the exact moment and emphasis differs. Either way, the goal stays the same: learn how to frame a subject using the park’s natural features.
What you can practice here:
- How to use leading lines from pathways
- How to isolate a subject from a busy background
- How to work with gentle color and texture without overdoing edits later
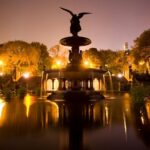
Then you move to Bethesda Fountain. This is a classic subject area, but the photo value isn’t just the fame. It’s the opportunity to practice managing contrast and detail. Water, stone, and surrounding elements all force you to think about exposure and how sharpness affects what viewers notice.
This is also where technique advice tends to click. A good photographer can talk all day, but you’ll learn fastest when you see how your camera responds in the real scene in front of you. Try a couple approaches—then choose the one that feels most intentional.
Bethesda Terrace to Swedish Cottage Theatre: textures and storytelling angles
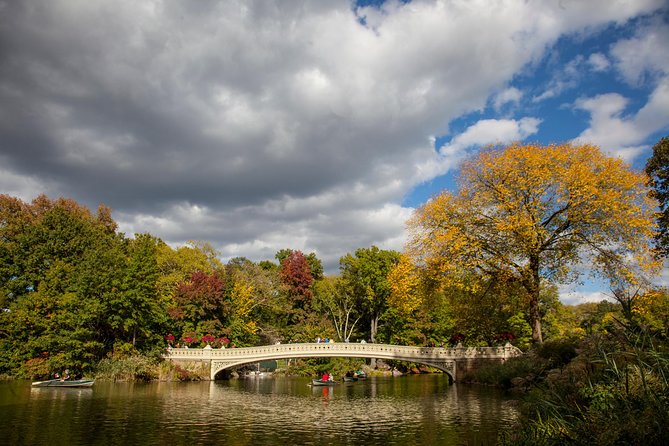
After the fountain area, the tour moves through Bethesda Terrace again and then toward Swedish Cottage Marionette Theatre. Even without getting overly technical, these stops teach different ways to “read” what you’re photographing.
Bethesda Terrace can work as a practice ground for strong architecture lines and purposeful framing. It’s a good place to experiment with:
- Where you place the horizon or major edges
- Whether you want symmetry or an off-center composition
- How you handle busy surfaces by simplifying your shot
The Swedish Cottage Marionette Theatre is a different kind of scene. Instead of thinking only about grand views, you’ll likely focus more on character details—shapes, proportions, and how people-created elements sit in a park environment.
This part of the tour also helps with storytelling. One photo might show a landmark. Another might show the feeling of the place through smaller elements. Learning when to zoom in emotionally versus when to step back for context is a skill that improves your whole photo set.
If you’re traveling with someone who likes photos but isn’t obsessive about camera settings, this segment is a nice bridge: you can still get great images while learning what makes them work.
Naumburg Bandshell to Central Park: practicing settings on the move
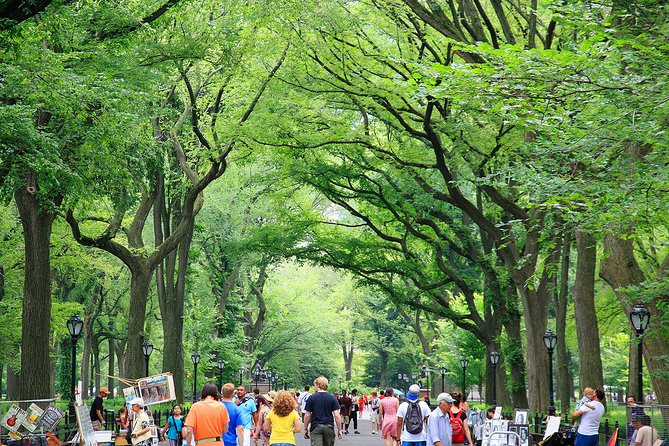
The tour continues to Naumburg Bandshell, then moves through Central Park more broadly. This stretch is where the workshop shifts into active practice. You’re likely doing more than just pointing your camera. You’re using lessons with movement: changing your angle, stepping to new positions, and adjusting composition as the scene updates.
Why this matters: photography upgrades often happen when you stop photographing the way you browse and start photographing the way you plan. A guide route forces that behavior. It also gives you a chance to get quick fixes on common issues like focus accuracy, background distractions, and framing choices.
Naumburg Bandshell is useful for that because it offers strong structure and visual lines. You can practice taking shots that feel clean and intentional, then compare them to shots that are more chaotic. That contrast is how you learn what you actually like.
By the time you reach the broader “Central Park” segment, you’re building a toolkit: you’ve seen a variety of subjects, and now you’re applying techniques across the park rather than only at the most iconic spots.
The Met and American Museum of Natural History: getting NYC scale in your photos
One of the tour details I really like is that it includes a perspective beyond Central Park itself. The information notes that Central Park is flanked by the Metropolitan Museum of Art and the American Museum of Natural History, and the tour includes both as stops.
This is valuable for a few reasons. First, it teaches you how to include the bigger city context without losing the park feeling. Second, it’s a reminder that your photos can have a sense of place, not just a pretty subject.
Practically, this area is helpful for composition because you often get contrasting textures: museum structures against greenery, and large-scale architecture against park shapes. That contrast can make your images feel more “New York” rather than generic park photos.
Just remember: the purpose isn’t to rush through museums. The tour is a photography-focused route, so treat these stops like opportunities for framing, not like a ticketed museum day. You’ll get photo time tied to the overall workshop flow.
Price and value: what $100 really buys you here
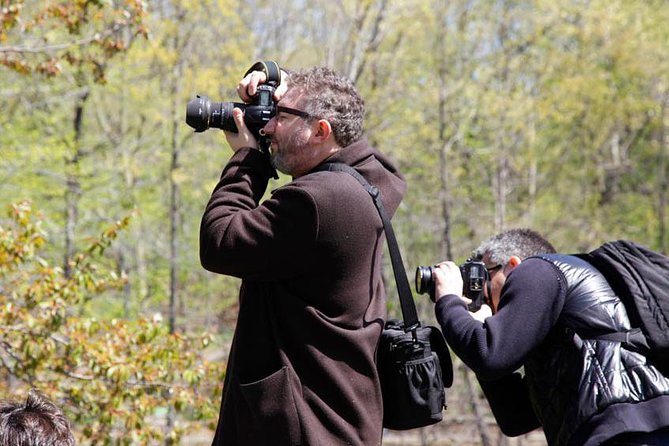
At $100 per person for about 2 hours 30 minutes, this tour can feel like a splurge until you look at what’s included. You’re paying for a professional LOCAL photographer guide, small-group attention (up to 8), and a structured route to photogenic places—plus local taxes are included.
The best value part is the coaching style. The info describes it as a workshop that teaches techniques so you can take better photos with your own camera. That’s different from tours where the guide points and you snap. Here, you’re investing in skill, and skill tends to pay you back on future trips.
Is it worth it if you only want a couple photos for your social feed? Maybe not. But if you enjoy learning how to use your camera settings, or you want a reliable way to improve quickly without getting overwhelmed, it’s a solid deal.
You also get a planning advantage: the guide has NYC knowledge and understands how to route you through strong photo areas. You avoid the trial-and-error cost of guessing locations and learning composition the hard way.
What to bring (so you get more than pretty scenes)
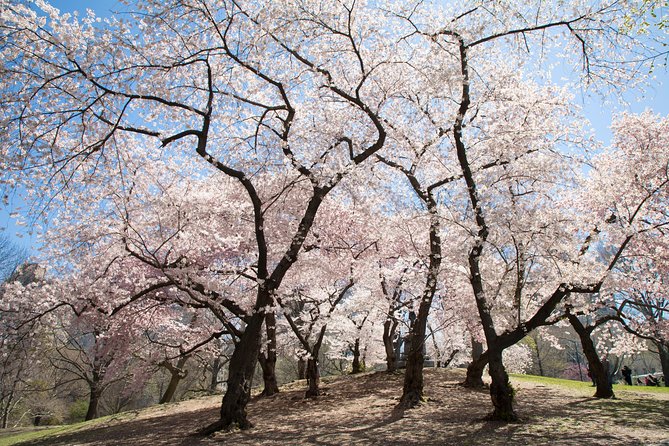
This is a camera workshop, so your comfort matters. Plan on using your own gear, and try to arrive with your camera ready to work.
Bring:
- Your camera (phone camera can work too, if that’s what you’ll use)
- Fully charged battery and enough memory space
- Something stable for you to stand and shoot comfortably (your own shoes count)
- Weather protection, because you’ll be outside for the full workshop
If you have a lens you like for portraits or landscapes, bring it. If you don’t, don’t panic. The guide can still help you make smart choices with the equipment you have.
One more practical tip: be willing to take multiple shots. Many people rush to the “perfect” frame, then lose the chance to learn. A workshop works best when you test options—then narrow down to what looks right.
Who should book this Central Park Photography Tour
This tour fits best if you:
- Want hands-on photo instruction rather than just a walking tour
- Prefer a small group and more personalized help
- Like learning through doing—trying settings and adjusting with guidance
- Want to see Central Park’s highlights in a focused way
It’s especially good if you’re traveling with a teen or friend who wants to improve quickly. The experience style described in the reviews points to strong teaching energy and one-on-one time in small groups, even when the group is very small.
You’ll likely enjoy it even if you’re not an advanced photographer. The tour’s pitch is that most travelers can participate, and the small group format helps the guide tailor attention to your level.
If you want zero walking and zero learning, this might not be your vibe. But if you’re game for a couple hours of practical practice, it’s a fun way to leave Central Park with more than souvenirs.
Should you book it?
Yes, if you want a short, structured photo lesson in one of the best places in the city for visual variety. The combination of local photographer coaching, small-group size, and a route that hits major park photo locations makes it a strong value for $100.
Skip it if you’re mainly after a casual stroll or you don’t plan to use your camera at all. A photography workshop only pays off if you’re willing to shoot, adjust, and learn along the way.
If you’re deciding between “just sights” and “skills you’ll use again,” this one leans clearly toward the skills side.
FAQ
How long is the Central Park Photography Tour?
It runs for about 2 hours 30 minutes.
How much does the tour cost?
The price is $100.00 per person.
What language is the tour offered in?
The tour is offered in English.
How many people are in the group?
The tour has a maximum of 8 travelers.
Where does the tour start and end?
It starts at Bethesda Terrace (New York, NY 10024) and ends back at the same meeting point.
What is included in the price?
Included items are a professional local photographer guide and local taxes.
What is not included?
Hotel pickup and drop-off and transportation to/from attractions are not included.
Are children allowed?
Children must be accompanied by an adult.
Are service animals allowed?
Yes, service animals are allowed.
Is free cancellation available?
Yes. You can cancel up to 24 hours in advance for a full refund. If you cancel less than 24 hours before the start time, the amount paid is not refunded.