REVIEW · NEW YORK CITY
New York City’s Iconic Sights: 3-Hour Photography Tour
Book on GetYourGuide →Operated by New York City Photo Safari · Bookable on GetYourGuide
Bring a camera and your patience. This 3-hour Manhattan photo walk, led by NYC Photo Safari photographer Zim, turns iconic landmarks into a real practice session, with coaching that helps you frame Rockefeller Center and the Central Park skyline without getting lost.
I also like the small group vibe, capped at 8 people, so you get guidance instead of standing around. One possible drawback: it’s fast-paced and uses the NYC Subway, so you’ll want to move quickly and be ready for transit time between stops.
In This Review
- Quick highlights from this NYC photo walk
- A 3-hour route built for photos, not just sightseeing
- Meeting at 34th and Madison and getting moving fast
- What you actually learn from a pro photographer (and how it shows in your photos)
- Rockefeller Center: geometry, reflections, and dramatic framing
- Radio City Music Hall: making a big facade feel sharp
- Empire State Building: perspective that actually works
- Central Park and the skyline shot you’ll actually plan for
- Using the NYC Subway during the shoot: fast, practical, and worth preparing
- Price and value: is $125 for 3 hours worth it?
- How the small-group format changes the experience
- Who should book this and who might skip it
- Should you book this NYC photography tour?
- FAQ
- How long is the New York City Iconic Sights 3-Hour Photography Tour?
- Where is the meeting point?
- How much does the tour cost?
- What sites does the tour focus on?
- Is the tour suitable for beginners?
- Is camera rental included?
- Is the tour wheelchair accessible?
Quick highlights from this NYC photo walk
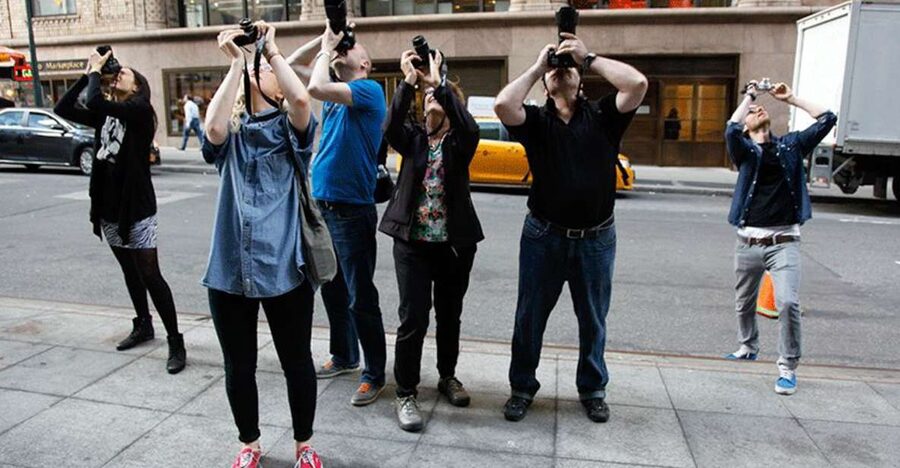
- Pro-led coaching from NYC Photo Safari photographer Zim, with practical instruction as you shoot
- Landmark photo stops focused on Rockefeller Center, Radio City Music Hall, and the Empire State Building
- Central Park skyline time where you get a chance to photograph the city from the park
- Hands-on lessons built around lines and angles, so photos look intentional
- Small group (up to 8), which keeps feedback practical and the pace manageable
- Subway-based routing, meaning you’ll see more ground than a single landmark loop
A 3-hour route built for photos, not just sightseeing
This tour is designed for one thing: helping you make better images of Manhattan’s most camera-friendly sights. You’re not just walking past buildings and hoping for a good shot. You’re learning how to see the city as shapes—straight lines, repeating patterns, and perspective shifts.
The route packs big-name landmarks into a short window. Rockefeller Center, Radio City Music Hall, and the Empire State Building each bring different photographic challenges, from wide-angle compositions to finding the right angle so the photo doesn’t look flat. Then the plan swings into Central Park, where you get an actual opportunity to photograph the skyline from inside the park.
And yes, it’s beginner-friendly. The coaching is structured so you can benefit even if you’re still figuring out your camera settings. You’ll still get value if you know your way around a DSLR or a phone camera, because the tour focuses on composition tools you can use immediately.
You can also read our reviews of more tours and experiences in New York City.

Meeting at 34th and Madison and getting moving fast
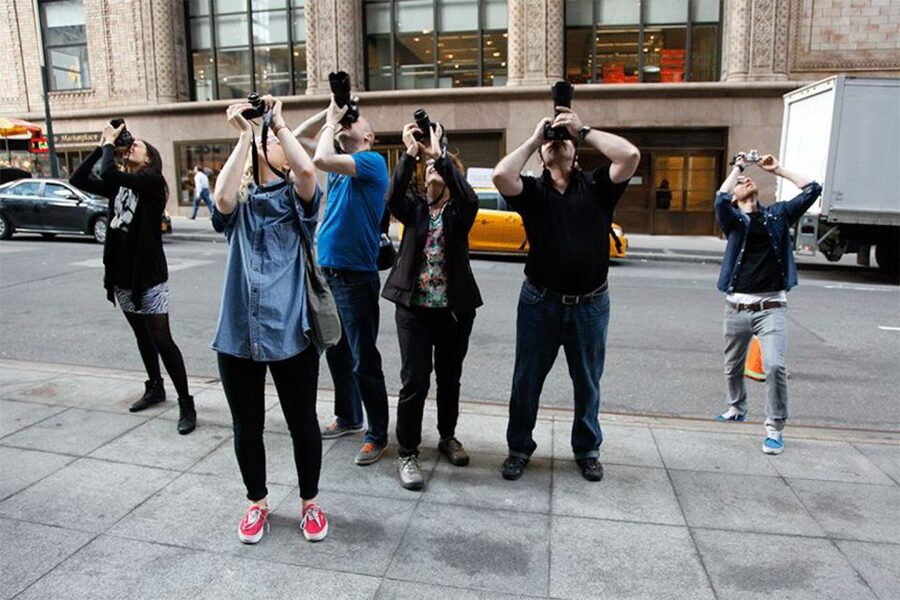
You meet at 34th and Madison, which is a practical starting point for Midtown. From the jump, the tour has that “get to the shot” energy. The schedule is built around quick stops and short coaching moments, then moving on.
That matters because the best photos often come from a mix of planning and timing. The group size cap of 8 helps here. You won’t be stuck behind a crowd that makes you wait forever for a clear position.
What to wear: keep it simple. The tour is comfortable shoes weather plus whatever the day demands. It also means you should have your camera ready before you arrive at each main photo spot, not after.
What you actually learn from a pro photographer (and how it shows in your photos)
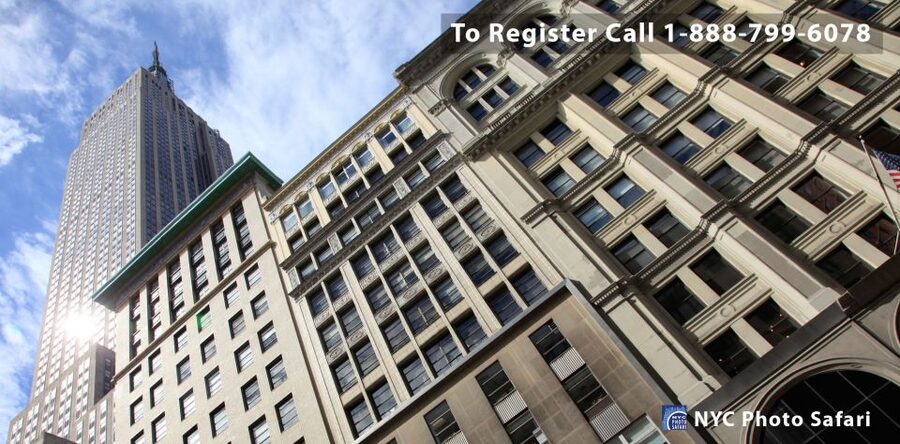
This isn’t a lecture. You get on-the-ground teaching as you move from location to location. The key is that the photo lessons are tied to what you’re seeing right now.
The tour focuses on:
- Lines and angles to give buildings shape and depth
- How to position yourself so the landmark looks strong, not squashed
- Techniques that work for different skill levels
Photographer Zim is repeatedly praised for being friendly and teaching in a way that sticks. One rider described getting way more than the few great photos they expected, and that’s usually the result of learning what to look for. When you know what to adjust—your angle, your distance, your framing—you start producing keeper images more often.
One practical bonus: you’re on a guided route where the “best spot” isn’t random. It’s based on what the camera can capture well. That saves you from spending your time walking around Midtown guessing.
Rockefeller Center: geometry, reflections, and dramatic framing
Rockefeller Center is the kind of place where photography can go two ways. You can end up with an okay postcard shot, or you can make it feel designed. This tour leans hard into the second option.
Here, the coaching around lines pays off. You’ll learn to use the edges of the architecture to lead the viewer’s eye through the frame. You’ll also get help thinking about perspective—how your position affects whether the scene looks tall, wide, or exaggerated in a good way.
If you’ve never photographed a dense architectural area before, this stop is a strong starting point. The buildings give you lots of structure to work with, and you can build confidence quickly because you can try multiple frames as you practice.
Weather also matters, and the tour goes ahead in rain. One review noted that the tour still ran despite rainy conditions, and that’s good to know if you’re planning around forecast uncertainty. Rain can even add mood and texture, especially around reflective surfaces and darker skies.
Radio City Music Hall: making a big facade feel sharp
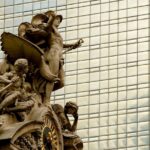
Radio City Music Hall is a different kind of subject from Rockefeller Center. The challenge is capturing a large, iconic facade in a way that feels crisp and intentional. If you shoot too close, it can feel distorted. Too far, and you risk losing the impact.
This is where angle guidance can make the difference. You don’t just aim your camera; you place yourself and build the composition. The tour’s focus on angles helps you avoid common problems like uneven verticals or a frame that looks cluttered.
You’ll likely get more out of this stop if you treat it like a mini workout: try one composition, then adjust slightly, then try again. With a small group, you have room to reposition without the shoot feeling chaotic.



Empire State Building: perspective that actually works
The Empire State Building can tempt you into the obvious approach: “point up and shoot.” Sometimes that works, but it often produces a photo that looks flatter than you hoped.
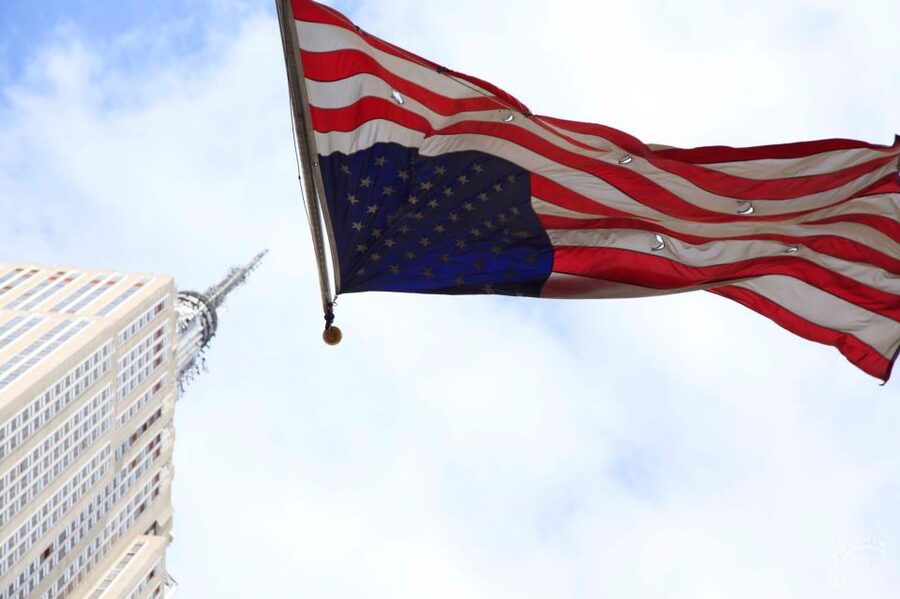
On this tour, you’ll practice a better approach by using perspective and framing. You want the landmark to dominate the scene without the photo turning into a ceiling of sky or a block of distant pixels. The coaching around lines and angles is useful here because it teaches you how to balance the vertical structure of the building with the space around it.
This stop is also where a guided photo walk can feel especially efficient. Instead of wandering for your own vantage point, you’re guided through a sequence of viewpoints that are more likely to produce strong results in a short time.
Central Park and the skyline shot you’ll actually plan for
Central Park is the payoff moment for a lot of people. It’s not just about escaping the Midtown streets; it’s about getting a different photographic angle on the city.
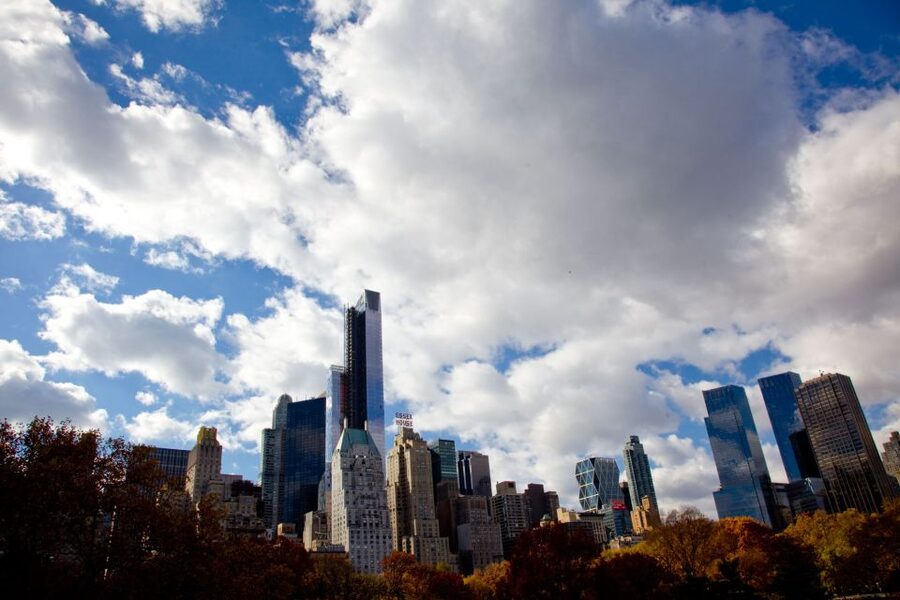
The tour includes time where you get an opportunity to photograph the skyline from Central Park. That sounds simple, but it changes your whole composition game. You’re now working with foreground elements and open sightlines, and you’re separating the skyline from the busy street-level noise.
This is also the moment where your earlier lessons click. Lines and angles aren’t only for skyscrapers. You can use them to guide how the skyline sits in your frame. You can also adjust your approach depending on where you’re standing, because the park gives you more breathing room than the hard-edged city blocks.
If you’re traveling with limited time and you still want photos that feel like New York beyond the “straight street” viewpoint, this Central Park skyline segment is a key reason to book.
Using the NYC Subway during the shoot: fast, practical, and worth preparing
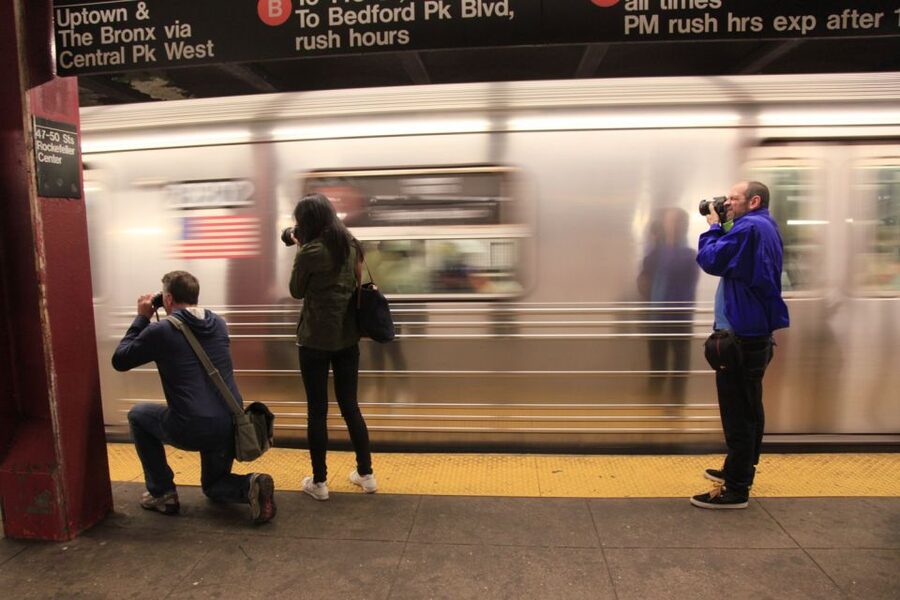
A major part of the experience is that the tour uses the NYC Subway to move between photo areas. That means this isn’t a leisurely stroll. You should plan to be flexible and quick, and treat it like part of the tour, not a separate commute.
Here’s what you should know from real-world experience:
- The tour listing says subway fare is included, but at least one rider reported the subway fee wasn’t covered and recommended having a metro card or payment method ready.
- You’ll want to keep your camera secured while moving and focus on arriving at each stop ready to shoot.
If you’re carrying a lot of gear, keep it manageable. Think “fast grab, fast shoot, fast pack.” The group is small, but the pace is designed to fit multiple landmarks into 3 hours.
Also, if you use a wheelchair: the tour involves the subway system, and the provided information indicates it’s not suitable for wheelchair users. If that matters to you, it’s worth confirming accessibility needs before booking.
Price and value: is $125 for 3 hours worth it?
At $125 per person for a 3-hour experience, this is a paid coaching tour, not a casual walk. So the question isn’t whether you’ll see famous places. You will. The value comes from what you learn and how many images you walk away with.
What you’re paying for:
- A professional photographer guiding your framing and technique
- A tight schedule that hits major Midtown landmarks and Central Park
- Instruction designed for all levels, so beginners don’t get left behind
In terms of value, this kind of tour is usually worth it when you want more than one good photo. The reviews support that: one person expected maybe 3 to 5 strong shots and got more. Another noted learning how to shoot buildings they hadn’t expected to photograph well.
If you’re the type who already takes photos seriously and you know your camera settings, this still works because the coaching is on composition—lines, angles, and positioning—not just button-pushing. If you’re brand new, the small group format helps you actually apply tips instead of watching from the sidelines.
The only financial caveat: gratuities aren’t included, and subway fare may not work like you assume, so have a little backup budget in mind for transit if needed.
How the small-group format changes the experience
A group size limited to 8 participants is more than a comfort perk. It affects your results.
With fewer people:
- You can reposition without feeling blocked
- Coaching moments are more likely to reach you
- You can ask quick questions without slowing the whole line
One review mentioned a situation with only two people signed up, and they were able to spend time learning how to set up shots while still moving efficiently in better photo areas. That’s the best-case version of what you can expect: you get guidance tailored to what you’re trying to do, even while the route stays on schedule.
Who should book this and who might skip it
This tour fits best if you:
- Want to photograph Manhattan icons and get more than a few accidental shots
- Like structured learning where you practice immediately
- Are traveling with limited time and want a concentrated route
It’s also ideal if you’re a beginner. The tour is appropriate for all levels, and the teaching is designed so you don’t need to already know the jargon.
You might skip it if you:
- Need a slow, fully accessible walking experience, since the route relies on the subway and is indicated as not suitable for wheelchair users
- Dislike fast-paced tours or short photo stops with quick transitions
If you’re comfortable with transit and you can move with the group, you’ll get a lot of coaching value for the time you spend.
Should you book this NYC photography tour?
I’d book it if you want a shortcut to better photos of Midtown without spending your whole trip chasing angles alone. The mix of Rockefeller Center, Radio City Music Hall, the Empire State Building, and a skyline shot from Central Park gives you variety, not the same “tower from one corner” look.
It’s also a good deal if you’ll actually use the lessons while you’re there. The tour is built around line-and-angle thinking, and that’s the kind of skill that keeps paying off even after you leave New York.
Just go in with two expectations: it’s 3 hours and fast, and you should be ready for subway logistics, including having payment handy since coverage can be messy in real life.
FAQ
How long is the New York City Iconic Sights 3-Hour Photography Tour?
The tour lasts 3 hours.
Where is the meeting point?
The meeting point is at 34th and Madison.
How much does the tour cost?
The price is $125 per person.
What sites does the tour focus on?
You’ll photograph Rockefeller Center, Radio City Music Hall, the Empire State Building, and sites in Central Park, including a chance to photograph the skyline from Central Park.
Is the tour suitable for beginners?
Yes. The photography workshop is appropriate for all levels.
Is camera rental included?
No. Camera rental is not included.
Is the tour wheelchair accessible?
The information provided indicates it uses the NYC Subway and is not suitable for wheelchair users.