REVIEW · KYOTO
Kyoto Photography Masterclass – Private Photography Lesson
Book on Viator →Operated by Aperture Tours · Bookable on Viator
Kyoto turns photography into storytelling fast. This private 3-hour masterclass pairs a professional photographer with local command of where the light actually lands. I especially like that you get personalized camera guidance (settings, composition, and technique) while still following a practical walking route through famous Kyoto scenes. The one drawback to think about is that you’re paying for a private lesson format, so if you only want casual sightseeing shots, this may feel a bit intense.
Two big wins: you’ll shoot both “street Kyoto” and the after-dark glow, and you’ll learn how to translate what you see into a repeatable photo approach. The night portion is a real skill-builder, including long exposure and tripod strategy. Still, since the tour doesn’t include a camera, you’ll need to be ready with your own gear and any lenses you know well.
In This Review
- Key points to know before you go
- Why Kyoto’s lighting makes this lesson worth it
- Your 3-hour plan: from Gion streets to Kiyomizu-dera at night
- Gion: textures, wood lines, and tradition vs. modern
- Pontocho District: lantern glow and reflections
- Gion Corner and Minamiza Theater: angles you can explain
- Yasaka Shrine: dramatic silhouettes and calm after people
- Hokan-ji Temple: darker textures and steady framing
- Koju Ninenzaka: storybook streets and repeating surfaces
- Kiyomizudera Temple: night light meets iconic views
- What you’ll actually learn: settings, composition, and night technique
- Value check: is $170 per person a good deal?
- Who this Kyoto photo lesson is best for
- Practical tips to get better results fast
- Should you book this Kyoto Photography Masterclass?
- FAQ
- How long is the Kyoto Photography Masterclass?
- Where do I meet for the tour?
- Is this a private tour?
- What’s included in the price?
- Do I need to bring a camera?
- Is a tripod available for night photos?
Key points to know before you go
- Private lesson, not a group shuffle: you move at your pace and get instruction tailored to your skill level.
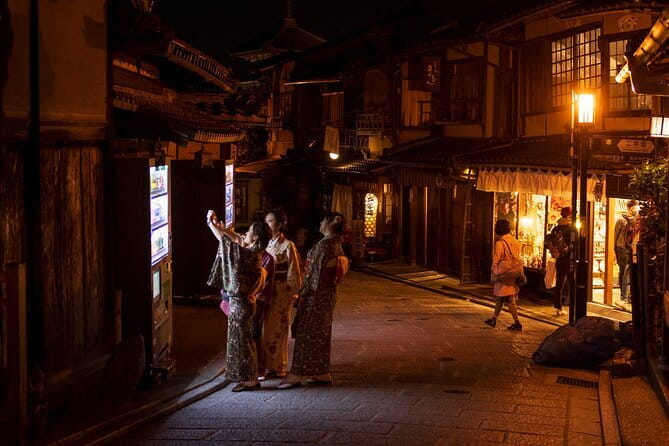
- Day-to-night focus: the route is built for daytime textures and night atmospheres.
- Night photography coaching: long exposures, steadiness, and how to make lights look intentional.
- Shot review and reset: you can expect to look at results, adjust, then try again.
- Tripod support available on request: you can plan for steadier night shots.
- Licensed English-speaking local guide: helps with both timing and on-the-ground navigation.
Why Kyoto’s lighting makes this lesson worth it
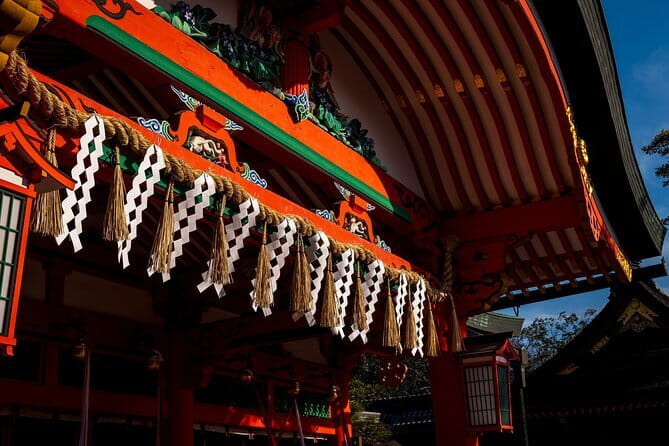
Kyoto is basically a giant photography workshop, because the city’s character shows up in details: wood grain on machiya houses, paper lantern halos, and reflections in narrow lanes. This masterclass is smart about that. It doesn’t treat photography as one “magic moment.” It teaches you how to look, then how to set up your camera so the moment holds still long enough to capture what you actually saw.
What makes this format valuable is the pairing of technique with place. You’re not just roaming and hoping you’ll get lucky. A pro photographer is directing you toward angles and lighting that match the city’s mood, whether that’s serene temple quiet or night streets lit by lanterns and storefront lights.
The practical side: a 3-hour session is short, so you’ll get the most out of it if you’re willing to try a few different compositions rather than shooting one favorite spot over and over. If you’re the type who likes to linger all day, you may feel slightly rushed.
You can also read our reviews of more tours and experiences in Kyoto.

Your 3-hour plan: from Gion streets to Kiyomizu-dera at night
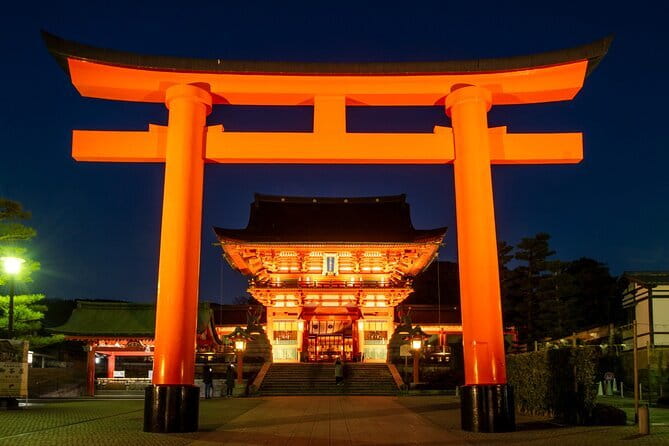
This is a private, in-person lesson in Kyoto that loops back to the starting point at the end. You’ll meet at Statue of Izumo-no-Okuni Kawabatacho, Higashiyama Ward, Kyoto 605-0076. From there, your route runs through a sequence of classic photo areas, including Gion, Pontocho District, and stops around Yasaka Shrine, Hokan-ji Temple, Koju Ninenzaka, and Kiyomizudera Temple.
Because the tour explicitly includes both street and night photography, your photographer will likely time your shooting so you can transition from brighter textures to darker, moodier scenes. That matters. Kyoto’s look changes fast after dusk, and night photos reward planning: you need steadiness, patience, and the right exposure behavior.
Below is how each stop tends to pay off for photography, plus what to watch for.
Gion: textures, wood lines, and tradition vs. modern
Gion is one of Kyoto’s most recognizable districts, and it’s also one of its most photogenic for composition. Look for repeating lines (street edges, building fronts), small depth cues (narrow lanes that pull you forward), and the contrast between older wooden facades and everyday modern movement.
Why it works for a class: early in the session, you can learn how to “see in layers.” The photographer will help with framing so you don’t just point your camera at a building—you build an image that has foreground, midground, and a meaningful background.
Possible drawback: because Gion is a popular area, you may need to adjust your shooting position and timing to avoid cluttered compositions. A guided plan helps, but you’ll still want to be flexible.
Pontocho District: lantern glow and reflections
Pontocho is where Kyoto’s night mood starts feeling real. Even before it’s fully dark, lanterns and shop lights begin to turn streets into luminous textures. This is prime territory for night technique because the light sources are “small and bright,” which is exactly what long exposure handles well.
For you, this is where learning long exposure pays off. You’ll get instruction on how to keep your image sharp while using the right shutter approach. If your hands aren’t stable yet, that’s a good moment to lean on the tour’s tripod option (available upon request).
Gion Corner and Minamiza Theater: angles you can explain
Stops around Gion Corner and Minamiza Theater are useful for practicing how to photograph culture with respect and clarity. Instead of only shooting big signs or landmark fronts, you’ll get better at documenting the feel of a place: entryways, architectural rhythm, and street-level perspective.
Photo value here is less about “one perfect shot” and more about building a visual story. When you later look at your set of images, you’ll notice whether your photos feel like a coherent walk or disconnected snapshots. Instruction helps you stay consistent with framing choices.

Yasaka Shrine: dramatic silhouettes and calm after people
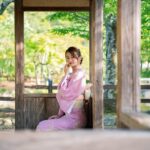
Yasaka Shrine is strong for portraits of atmosphere. Even if your main shots are not close-up, the shrine setting gives you a sense of scale and sacred calm. The light can make edges pop—especially as it darkens and highlights catch architectural elements.
Practical note: shrine areas can have changing crowd levels as the evening progresses. If you’re learning night photography, that’s actually useful, because it gives you a reason to practice composition with different crowd densities (and to time your exposure when the scene is calmer).
Hokan-ji Temple: darker textures and steady framing
At Hokan-ji Temple, the challenge becomes steadiness and control. Night scenes often come with lower light and brighter highlights. This is where a photographer’s guidance on camera settings can help you avoid the classic problems: blown highlights from lanterns, muddy shadows, or overly soft results.
If you’re bringing your own tripod, great. If not, ask about tripod availability ahead of time or bring it up during the tour—there is tripod availability upon request. One of the biggest praises about this experience is that the instructor brought support to help participants get better night results.
Koju Ninenzaka: storybook streets and repeating surfaces
Koju Ninenzaka is excellent for pattern and depth. Stone steps, slopes, and traditional surfaces give you lots of strong geometry. It’s also a place where you can practice a clean “lead-in line” composition: how to place the camera so the viewer’s eye moves through the frame toward your subject.
For this stop, your best bet is not to race. Take a few steps to adjust your angle and watch how light falls on surfaces. The whole point of the lesson is that you learn the behavior of light, not just copy a pose.
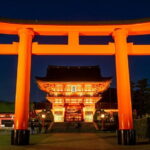
Kiyomizudera Temple: night light meets iconic views
Ending up at Kiyomizudera Temple is a payoff moment. Temple silhouettes against the dark sky can look cinematic, and the structures give you natural framing choices.
This is also a good moment for the kind of technique coaching people remember: long exposure decisions, keeping the scene readable, and avoiding the “overexposed lights” trap. The goal is to make your photo feel quiet and intentional, not just bright.
The main consideration: night conditions mean you’ll be moving and shooting in low light. If you’re unfamiliar with your camera settings, bring a simple plan for what you want to practice (like shutter speed control, steady support, or composition consistency).
What you’ll actually learn: settings, composition, and night technique
A photography masterclass only matters if it changes what you do after the tour. This one is built around practical instruction: camera settings, composition strategies, and other techniques to improve your skills while you shoot real Kyoto scenes.
Here’s what that usually means in practice:
- Camera settings explained in context: you learn what to change for different lighting conditions, not just memorize a list.
- Composition coaching: framing, angles, and how to use patterns and textures so your images look designed.
- Night photography problem-solving: long exposure challenges, including keeping images steady and managing light sources.
One theme from strong feedback about this experience is the instructor style: patient guidance, step-by-step practice, and time spent reviewing results. That matters, because night photography is where small changes make a big difference. Reviewing your shots helps you understand what happened, then you can reset and try again immediately.
Value check: is $170 per person a good deal?
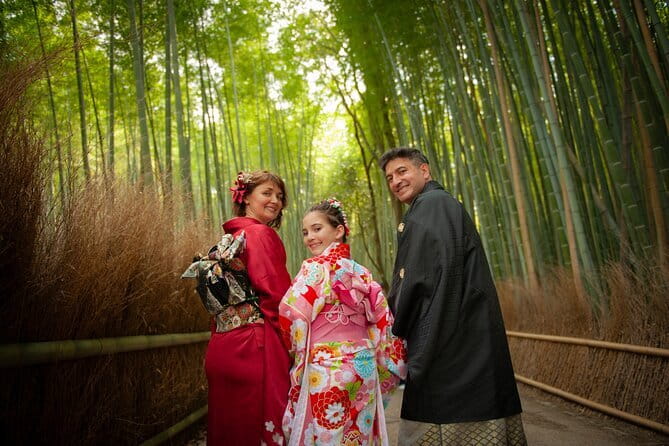
At $170 per person for about 3 hours, you’re paying for three things at once: a professional photographer guide, a licensed English-speaking local guide, and an efficient route through high-impact areas. If you’re traveling with a buddy and you’d otherwise pay for a guide plus spend time learning on your own, this format can be a time-saver.
The “value” question comes down to your goal:
- If you want to improve your photography with real feedback, this is strong value because you’re not just sightseeing.
- If you’re happy with automatic mode and only want a few souvenir images, you may not use the instruction enough to justify the cost.
Also note: a camera is not included. The tour is built around teaching with your own gear, so come with a camera you know, or at least one you can quickly operate in low light.
Who this Kyoto photo lesson is best for
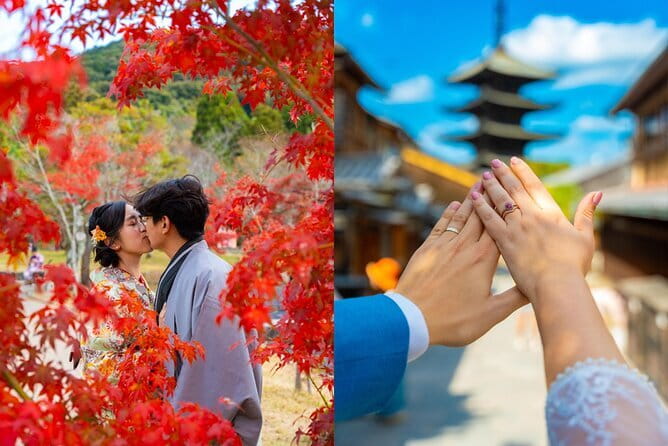
This experience fits best if you’re one of these:
- You like street photography and want your photos to look composed, not accidental.
- You want to level up your night photos and understand long exposure instead of guessing.
- You enjoy learning from a pro and having your shots reviewed so you can improve quickly.
It also works well if you’re new-ish to photography because the tour is designed around tailored instruction to your skill level, and it’s private, so you can ask questions without feeling rushed.
If you hate walking or you want a slow, wandering, no-structure day, you might find the 3-hour intensity limiting. But if you want progress and momentum, it’s a good match.
Practical tips to get better results fast
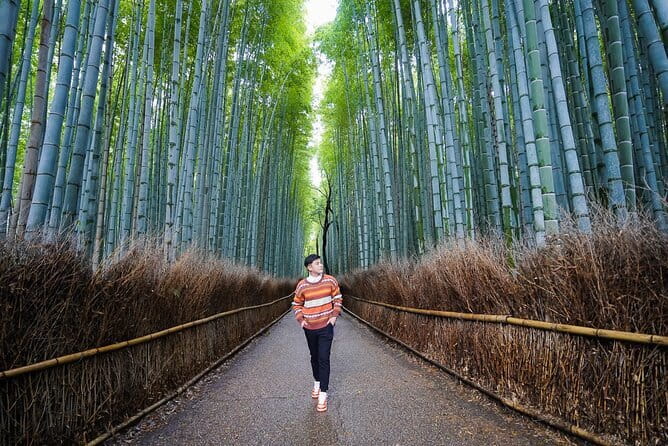
You’ll get more out of the session if you show up prepared. A few simple moves help a lot:
- Bring your camera accessories and know how to change key settings quickly.
- If you have a tripod, bring it. If you don’t, remember the tripod is available upon request.
- Wear shoes you can walk in for a compact but active evening route.
- Plan to shoot multiple compositions at each stop, not just one framing.
Also, since the tour includes a night portion focused on long exposure, treat it like practice time. Night photos reward repetition. The instructor approach here leans into that: review, adjust, and try again.
Should you book this Kyoto Photography Masterclass?
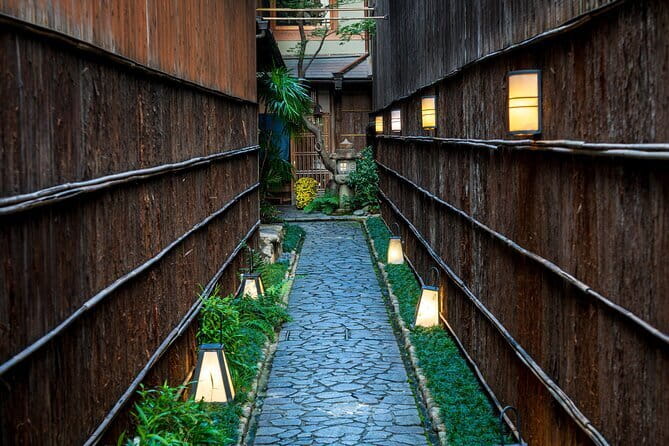
Book it if you want your Kyoto photos to look intentional—especially at night. The standout strength is the combination of night photography coaching plus hands-on guidance that helps you refine results on the spot. If you’re the type who wants to come home with images you can explain as well as admire, this is a solid use of time.
Skip it if you only need casual, low-effort snapshots, or if you don’t want to participate in camera setup and repeated tries. At $170 per person, the lesson is best for people who genuinely want to learn and improve, not just get a guided walk.
FAQ
How long is the Kyoto Photography Masterclass?
It runs for about 3 hours.
Where do I meet for the tour?
You meet at the Statue of Izumo-no-Okuni Kawabatacho, Higashiyama Ward, Kyoto 605-0076, Japan.
Is this a private tour?
Yes. It’s private, so only your group participates.
What’s included in the price?
Included are a local guide, a professional photographer guide, and a licensed English-speaking in-person local guide.
Do I need to bring a camera?
Yes. A camera is not included.
Is a tripod available for night photos?
A tripod is available upon request.