REVIEW · MOAB
Moab: The Windows Astro-Photography and Stargazing Hike
Book on GetYourGuide →Operated by Moab dark sky tours · Bookable on GetYourGuide
The sky here feels close.
This Moab, Utah night hike through Arches National Park takes you far from city light pollution, and I like two things right away: seeing the Milky Way with the naked eye and getting solid night-photo guidance you can use again later.
The main thing to consider: this is a roughly 2-mile, dark hike over uneven rock, so it is not a great match if you have mobility limits.
In This Review
- Key reasons this Moab night hike is worth your time
- Getting started: the Windows trailhead after dark
- The route through Arches: North and South Windows, Turret Arch, then Double Arch
- Why the Milky Way looks so good at this time of night
- The astrophotography lesson: from “I’m trying” to “I’m getting it”
- Optional DSLR rental: when you might want the extra gear
- Using phones vs cameras: you still get a learning curve either way
- Safety and comfort in the dark: why the small group size matters
- What you should bring (and what to leave for later)
- Price and value: is $175 per person a smart splurge?
- Who this tour fits best in your Moab trip
- Should you book this Moab Windows astro-stargazing hike?
- FAQ
- FAQ
- What is the duration of the Moab: The Windows Astro-Photography and Stargazing Hike?
- Where do I meet the guide?
- What is included in the price?
- Is the Arches National Park entry pass included?
- Can I rent a DSLR camera or lens?
- Do I need to bring my own camera?
- How much hiking is involved?
- What should I wear or bring for comfort?
- Is this tour suitable for kids?
- Are pets allowed?
- Is there free cancellation?
Key reasons this Moab night hike is worth your time
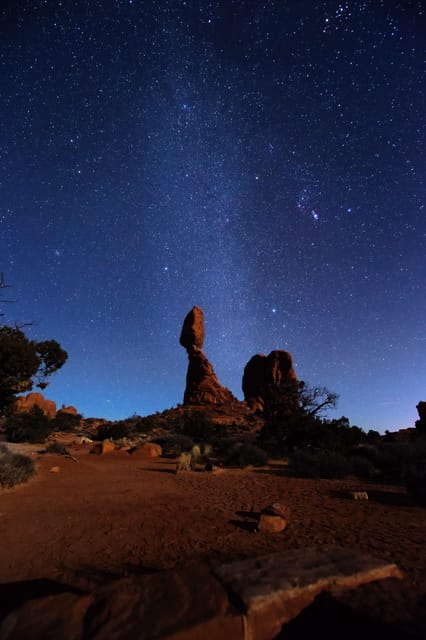
- Dark-sky location at the Windows trail area means more stars for both your eyes and your camera.
- Milky Way viewing without special gear (just you, the night, and a camera if you want it).
- Red LED headlamps + optional tripods help you stay steady and keep night vision.
- A route built around iconic arches: North and South Windows, Turret Arch, then Double Arch.
- Photo coaching that includes phones in addition to cameras, so you are not stuck if you travel light.
- Small groups (6 max), which matters when you need patience and help in the dark.
Getting started: the Windows trailhead after dark
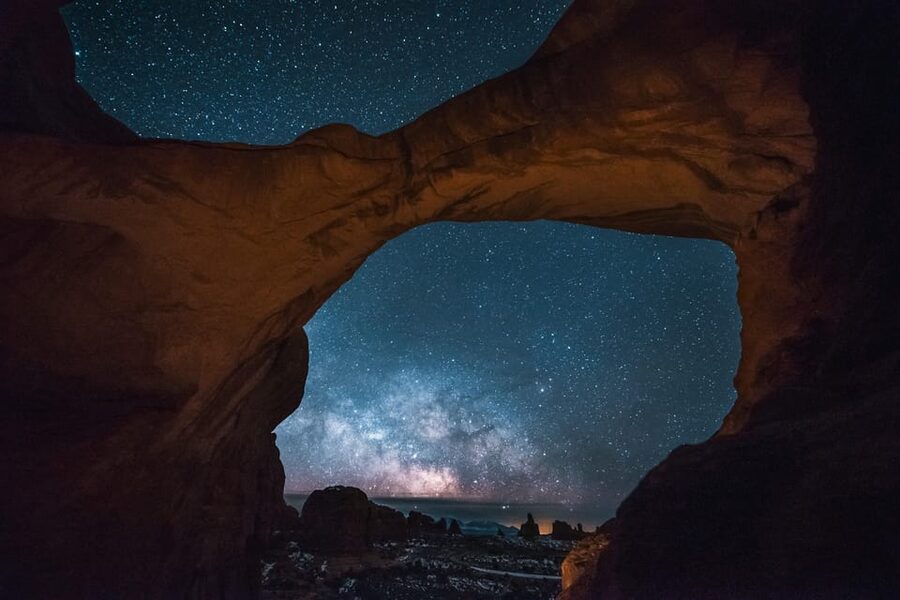
Your tour begins at the Windows parking area in the first lot on the right. Meeting after dark changes the whole vibe. It is not just a hike with a sunset backdrop—it’s a guided session where you learn how to see and photograph what most people never notice.
Once you meet your guide, you get set up with red LED headlamps (a big deal for night visibility). You may also be given tripods if needed. Red light is easier on your eyes, and that helps you actually enjoy the stars instead of squinting your way through the dark.
The tour runs about 2 hours, and it’s a small group capped at 6 people. In practice, that small size is what lets your guide spot issues fast—like someone struggling to frame a shot or moving too quickly while the rest of the group tries to compose.
You can also read our reviews of more tours and experiences in Moab.
The route through Arches: North and South Windows, Turret Arch, then Double Arch
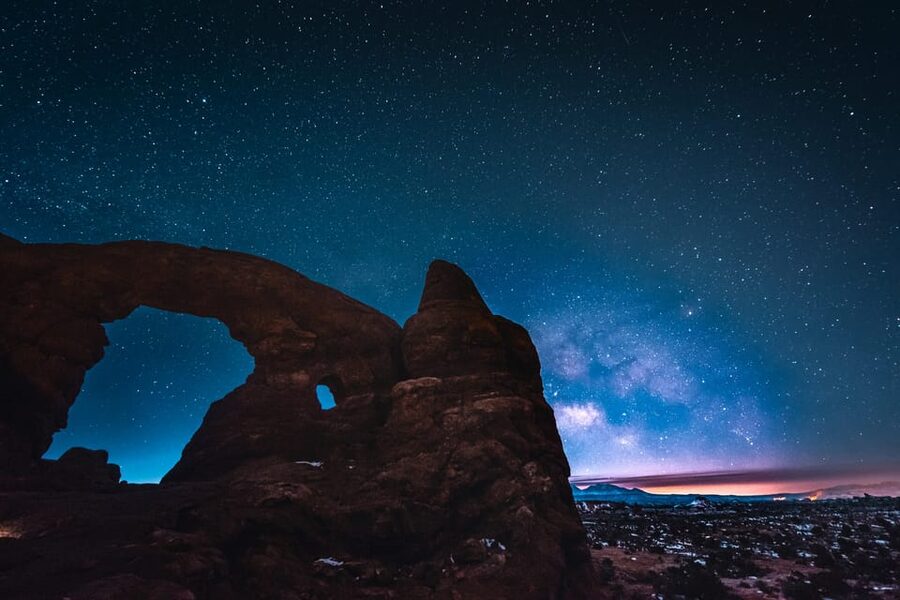
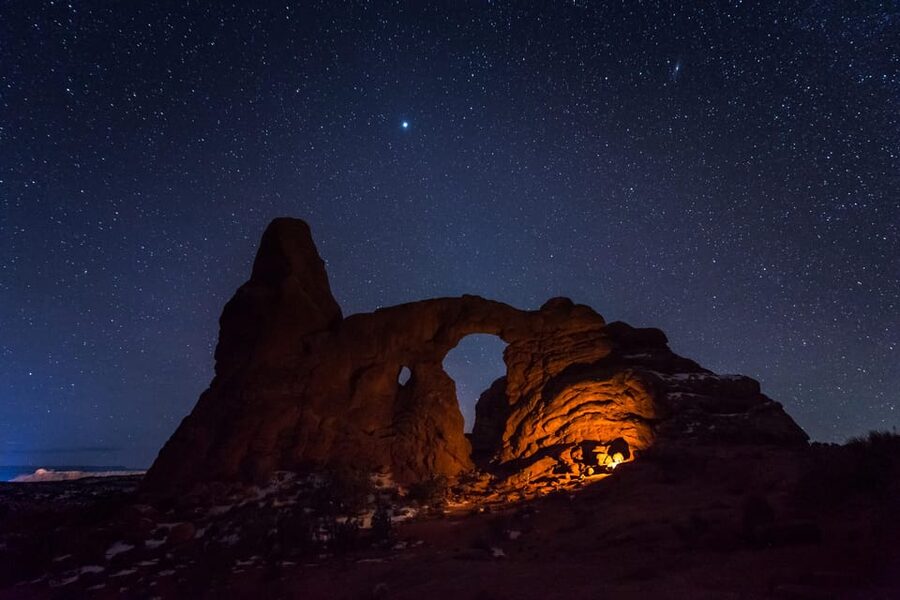
You start at the Windows trailhead and follow your guide through a rock garden that feels like it was made for stargazing. Even on the best night photography trip, the walk matters. Here, you are moving between dark-sky views and dramatic arch formations that glow under moonlight and long-exposure effects.
Early on, you’ll hit the North and South Windows and Turret Arch. These are not random stops. They frame the sky in a way that makes the night feel bigger than it does in a parking lot. You also get time to pause, think, and take pictures before you reach the area’s main payoff.
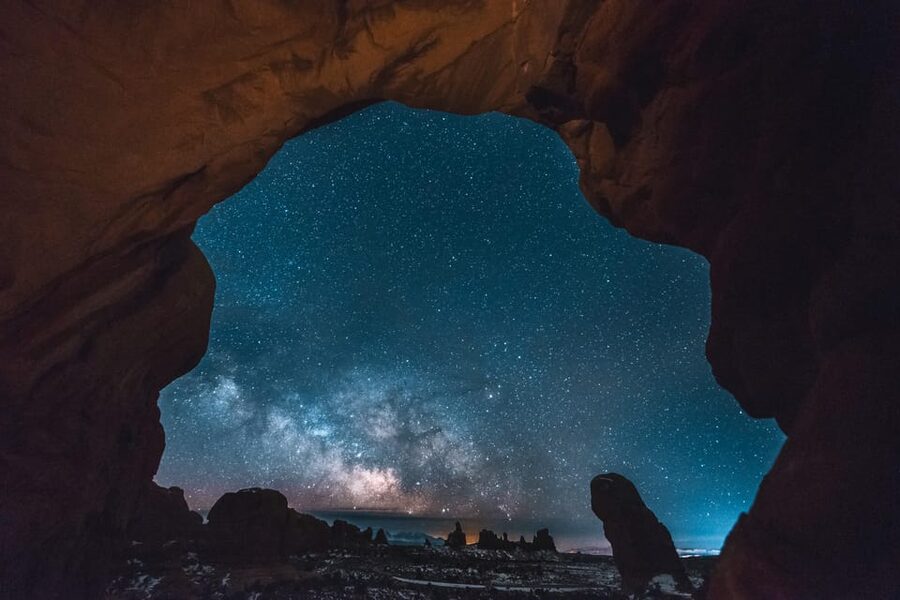
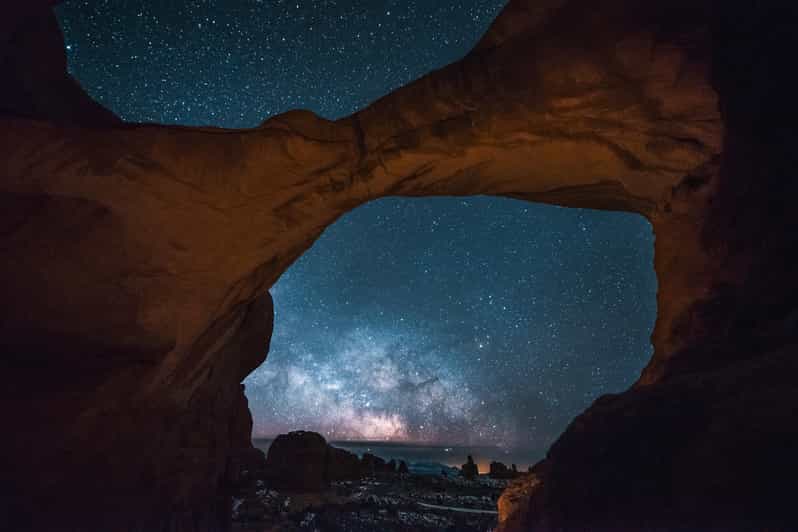
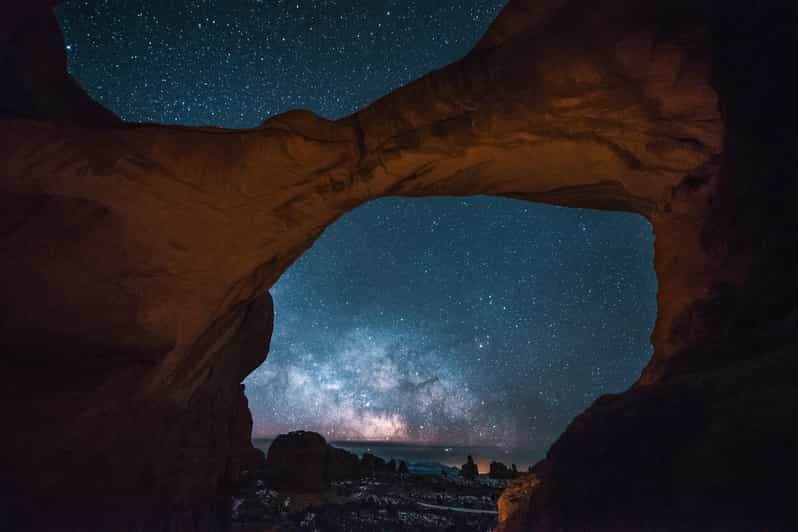
Then you head toward Double Arch, the highlight of the outing. This is where your planning pays off. By the time you arrive, you already understand how you want your images to look—star trails, sharp Milky Way detail, or something more experimental. And because you practiced a bit along the way, you’re less likely to scramble once the best view hits.
A quick drawback: darkness makes footing important. You’ll be on uneven ground, and the “about 2 miles” estimate means you should wear shoes that grip well. If you’re the type who hates stepping carefully on rocks, you’ll feel it here.
Why the Milky Way looks so good at this time of night
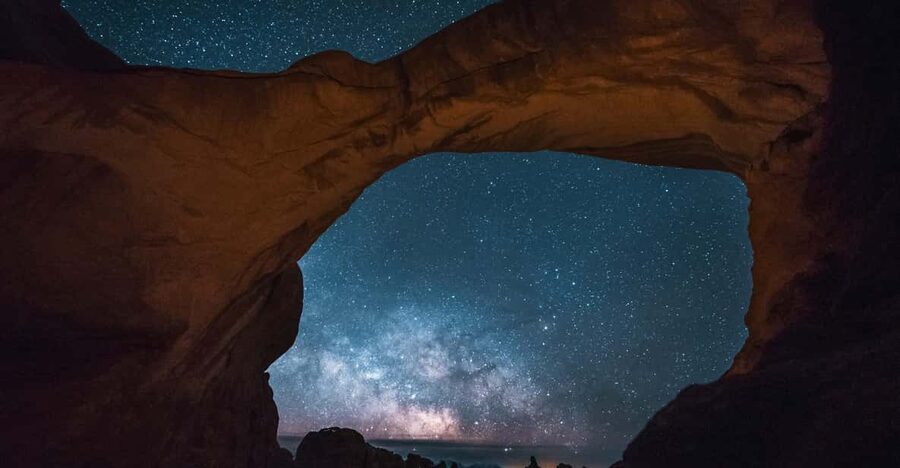
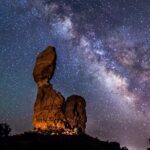
Moab’s dark skies are the star of the show. This hike is designed to get you far enough from light pollution that the Milky Way can show up clearly. The tour also builds in the expectation that what you see with your eyes might not match what your camera can capture.
That last part matters: pictures may pick up light you can’t see with the naked eye. So even if you step outside and think, I see stars, but not that much—you might still end up with a strong Milky Way photo after you apply the guide’s techniques and use a tripod.
There’s also a useful note about timing and moon phase. Photographers are encouraged to enjoy the tour at any point in the lunar cycle, because each phase brings a different look to the sky and the arches. One night might feel darker and more dramatic; another might feel brighter and more surreal. If you want the sky as dark as possible, you can contact the provider so they can help you choose a time that fits your goals.
And if conditions are extra favorable, you might get something special. For example, one group reported northern lights visible during a clear night hike. That’s not guaranteed, but it shows what can happen when you pair great skies with a sensitive enough view.
The astrophotography lesson: from “I’m trying” to “I’m getting it”
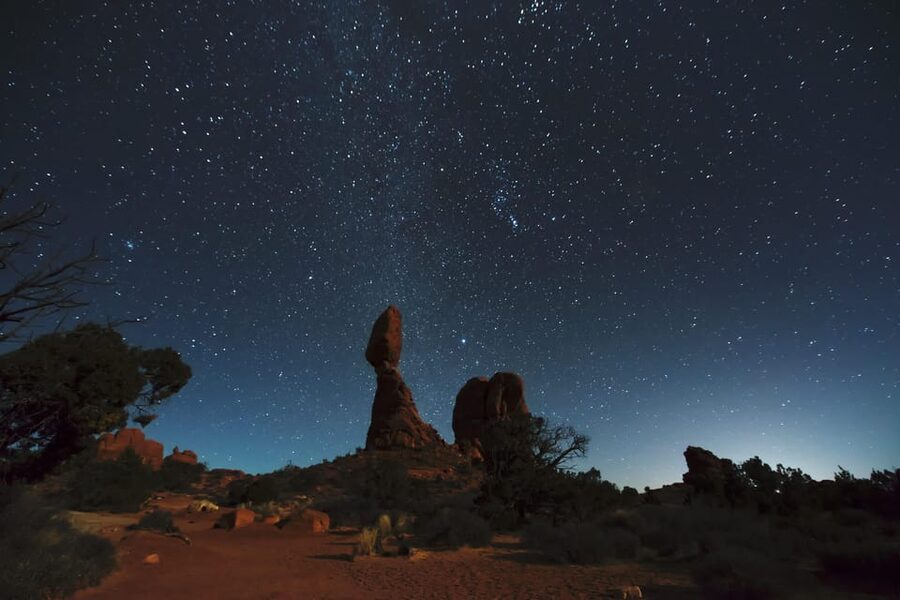
The best part of this experience is that it’s not just watching the sky—it’s learning how to take night photos without guessing the whole time. Your guide teaches you the fundamentals of astrophotography and shows you how to operate your camera during the hike.
If you’re the kind of person who usually snaps daylight pics and then gives up at night, this is where you get help that actually transfers. You also get time to practice what you learn before the big moment at Double Arch. That practice window is key. Night photography has a fast feedback loop—change a setting, wait for the results, then adjust. If you don’t practice mid-tour, you waste the best location trying to figure things out after the view is gone.
And yes, the guide should work with your gear level. A lot of people carry just a phone, and guides have been reported teaching cellphone night-photography tips that make a real difference. Others bring camera bodies and lenses, then use the tutorial to make sure their setup behaves in low light.
One more practical note: even with similar cameras, stability matters. That’s why the tripods are part of the included kit. In the dark, you want fewer surprises and steadier frames.
Optional DSLR rental: when you might want the extra gear
The tour includes headlamps and tripods, but it also offers an optional upgrade: DSLR camera and/or DSLR lens rental (for an additional fee) before the start of the tour.
This matters if you want higher-quality night shots and your current gear is limited for low-light work. The listing mentions lens and camera rental options compatible with Canon EF/EFS and Nikon F mounts, which helps if you’re not trying to rebuild your entire kit just for one trip.
What I’d consider if you’re deciding:
- If you already own a capable DSLR setup, you can focus on learning technique rather than equipment.
- If you only have a phone and you care about getting pro-looking Milky Way images, renting can be worth it.
- If you’re a first-timer and want the simplest path to good results, the rental option reduces your stress.
In one reported case, a group rented a camera and the guide also edited a few pictures afterward. That kind of extra support can take the pressure off when you’re learning.
Using phones vs cameras: you still get a learning curve either way
A phone can work surprisingly well for night sky photos, but it often needs guidance. The tour’s approach is practical: you get tips for capturing incredible night shots, whether that’s with your phone or with a DSLR.
What you gain by joining is not just a list of apps—it’s learning how to frame and shoot in the conditions that normally make phones struggle (darkness, bright highlights, long exposures, and trying to hold still).
So if you’re traveling light, you’re not automatically on the sidelines. You should still bring your charged smartphone, because it’s often part of how you practice and compare results throughout the hike.
Safety and comfort in the dark: why the small group size matters
In daylight, uneven rocks are annoying. At night, they’re a bigger deal. This hike is around 2 miles starting from the Windows trail area, and it’s not suitable for wheelchair users or people with mobility impairments. Children under 6 are also not a fit.
Your guide’s job is to keep you oriented. In the better experiences, people specifically highlighted guides staying patient, helping everyone get good photos, and calling out drop-off areas so nobody wanders too close to edges in the dark.
That’s another reason I like the 6-person maximum. More people would mean less attention per person, and night photography punishes uncertainty.
What you should bring (and what to leave for later)
Bring what the tour asks for, and you’ll be comfortable:
- Camera (phone counts if that’s your plan)
- Hiking shoes with good grip
- Water
- A charged smartphone
Optional, but smart: dress for cold. Night in Moab can cool off, and red headlamps are not going to keep you warm. Also, treat your camera battery like it’s fragile. Cold and darkness can drain power faster than you expect.
What not to bring: pets aren’t allowed.
One more practical tip: if you want the best photos, treat the hike like part of the photo session. The best framing happens when you pause and breathe, not when you rush.
Price and value: is $175 per person a smart splurge?
At $175 per person for a 2-hour small-group night hike, the price isn’t low. But it can make sense when you look at what’s included and what you’re paying for.
You’re getting:
- A live guide
- The walking tour
- Red LED headlamps
- Tripods (if needed)
- Instruction to help you actually improve your results
That instruction is the big value. Without a guide, you can still hike Arches after dark on your own, but you’d be doing guesswork. You would also be figuring out how to photograph the Milky Way without real-time coaching. Paying for the guide is paying for clarity.
Then there’s the optional DSLR rental, which can add cost, but also lets you aim higher if you want the kind of images you normally see from people with more specialized gear.
Also note: you’ll need an Arches National Park entry pass. The standard vehicle pass is listed at $30, and transportation to the meeting point is not included. So budget that separately.
If you’re the type who loves astronomy, photography, or both, this is the kind of activity where the guide pays for themselves—because you’ll leave with better photos and better technique, not just memories.
Who this tour fits best in your Moab trip
This is a strong match if you:
- Want to see the Milky Way from a dark-sky area
- Care about improving your night photography
- Like hands-on guidance instead of figuring it out alone
- Enjoy iconic Arches formations like the Windows and Double Arch
It may not fit you if:
- You need wheelchair access or have major mobility limits
- You’re traveling with very young kids (under 6 isn’t suitable)
- You hate hiking on uneven terrain in the dark
If you’re doing a longer Moab itinerary, this can also be a perfect closer for the day. One group described it as a great ending—because it gives you a different kind of connection to the park than typical daytime stops.
Should you book this Moab Windows astro-stargazing hike?
I’d book it if you want more than pretty stars. This tour works when you want instruction, stability, and a route built around the best arch viewing spots at night.
I’d pause before booking if you’re expecting a casual stroll with no dark-sky pressure. This is still a hike. It’s also a photography-focused experience, so you’ll get more out of it if you bring your camera or at least a phone and plan to experiment.
If you want the darkest skies possible, contact the provider about moon timing. And if you’re on the fence about gear, think about whether renting a DSLR camera or lens would reduce your stress and help you get the results you want.
FAQ
FAQ
What is the duration of the Moab: The Windows Astro-Photography and Stargazing Hike?
It lasts about 2 hours.
Where do I meet the guide?
Meet at the Windows parking area in the first parking lot on the right.
What is included in the price?
The tour includes a guide, a walking tour, red LED headlamps, and tripods if needed.
Is the Arches National Park entry pass included?
No. You’ll need to buy an Arches entry pass separately (listed as $30 per standard vehicle).
Can I rent a DSLR camera or lens?
Yes. You can request a DSLR camera and/or a DSLR lens rental before the tour starts for an additional fee, with compatibility mentioned for Canon EF/EFS and Nikon F mounts.
Do I need to bring my own camera?
Bring a camera. The tour also encourages you to bring a charged smartphone.
How much hiking is involved?
The activity starts from the Windows trailhead and involves roughly a 2-mile hike.
What should I wear or bring for comfort?
Wear hiking shoes and bring water. A charged smartphone is also recommended.
Is this tour suitable for kids?
It’s not suitable for children under 6.
Are pets allowed?
No, pets are not allowed.
Is there free cancellation?
Free cancellation is listed, with cancellation allowed up to 24 hours in advance for a full refund.