REVIEW · MOAB
Day of Photography in Moab, Arches & Canyonlands
Book on Viator →Operated by Rock Light Photo Tours · Bookable on Viator
Small-group photo coaching makes Moab feel easier. You spend a full day honing your eye in Arches and Canyonlands, with an instructor focused on composition, camera use, and timing that fits real conditions.
I like two things a lot: the group size capped at six (so you actually get hands-on help), and the way Colin works through practical photo problems, like framing and settings, while you’re standing right in front of the formations.
One thing to think about: pickup is limited (the first four people who book with gear can ride in the vehicle). If you’re not in that first group, you’ll drive your own car and follow the plan.
In This Review
- Key highlights to know before you go
- Moab Photo Coaching, Small Groups, Real Field Advice
- Price Breakdown: What $395 Buys in Arches, Canyonlands, and Beyond
- Meeting Point and Getting There: Pickup Limits and Your Car Plan
- Dead Horse Point State Park: Viewpoints First, Then Composition Practice
- Canyonlands National Park: Two to Three Photo Locations Based on Light and Time
- Arches National Park: Timed Entry, Fewer-Crowd Angles, and La Sal Backdrop
- Potash Road Petroglyph Stop: A Quick Culture Pause on the Way Back
- What You Learn on the Day: Settings, Framing, Timing, and Tripods
- Gear, Shoes, and Timing: How to Prepare for a 9–11 Hour Photo Day
- Who This Tour Fits Best (and Who Might Want Another Option)
- Rating and Real-World Consistency: Why People Keep Recommending It
- Book It or Skip It: My Decision Guide
- FAQ
- Is pickup available, and is there a limit?
- What park tickets are included, and do I need a park pass for Arches?
- How many stops are planned, and how long do you spend at each place?
- Is there much walking?
- How big is the group?
- What happens if weather is bad?
Key highlights to know before you go
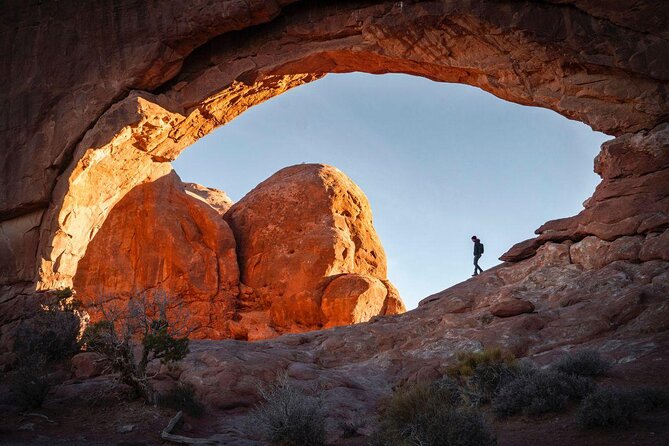
- Small group, lots of coaching: maximum six participants means you’re not stuck guessing on your own.
- Arches timed entry permit included: you get the entry piece handled so you can focus on photos.
- Dead Horse Point viewpoints first: you start with multiple angles and learn how to see the scene.
- Canyonlands stop selection based on weather/time: 2–3 locations so conditions drive the plan.
- Fewer-crowd approach inside Arches: the route tries to avoid the most packed spots.
- Water and snacks included: cold water and snack bars keep the day from turning into a snack hunt.
Moab Photo Coaching, Small Groups, Real Field Advice
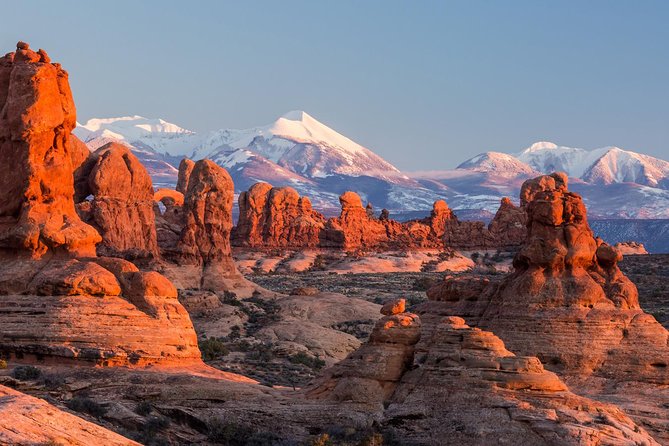
Moab is a dream for photography, but it can also be a trap. Too many people sprint to the postcard spots, then wonder why their images look flat. This day is built to slow you down just enough that you start seeing why a shot works—light, angle, framing, and settings all at once.
The real value is the in-the-field teaching. Colin’s approach is not just technical. He helps you execute: how to set up, how to position the camera, and how to try a few variations without wasting time. In a small group, he can notice when you’re stuck and fix it on the spot.
You’ll also get a very practical day flow. There’s water and snack bars, short walks when needed, and planned time at each stop so you can try more than one angle. It’s the kind of pacing that helps both beginners and people who already know their camera.
You can also read our reviews of more tours and experiences in Moab.
Price Breakdown: What $395 Buys in Arches, Canyonlands, and Beyond
At $395 per person for a 9 to 11 hour day, you’re paying for more than transportation. You’re paying for instruction, planning, and time management inside two of the busiest scenery zones in the country.
Here’s what your money covers based on what’s included:
- Cold water and snack bars
- A timed entry permit for Arches
- Dead Horse Point State Park admission ticket
- Potash Road petroglyph-site admission ticket (time permitting)
- Canyonlands National Park admission is handled as part of the experience (listed as free)
- A mobile ticket
What you still need:
- National park admission for Arches isn’t included, so you’ll bring a park pass (or buy one at entry)
- Your own park pass/entry setup is a must for Arches because you’re visiting it during the busiest times and entry system
So what’s the value? If you’re trying to do this alone, you’ll spend time figuring out where to stand, when to go, and how to translate a “pretty” view into a strong photo. Here, that work is done for you, and the coaching helps you get more keepers with the same day and the same trip cost.
Meeting Point and Getting There: Pickup Limits and Your Car Plan
The day starts at the Moab Information Center, 25 E Center St, Moab, UT and ends back there. Pickup is offered, but with an important limit: Colin’s vehicle can take the first four passengers with gear. After that, you’ll drive your own car and follow.
This matters because it affects how fast you can move and how easy it is with photo gear. If you have a heavy tripod, a big lens, or just want a low-stress start, try to book early and aim to be in the first four riders.
Also note the physical side. You’ll want moderate fitness. Some locations require short hikes, listed as less than 1 mile. That’s usually manageable, but you should plan for uneven rock surfaces and bring grippy shoes.
Dead Horse Point State Park: Viewpoints First, Then Composition Practice
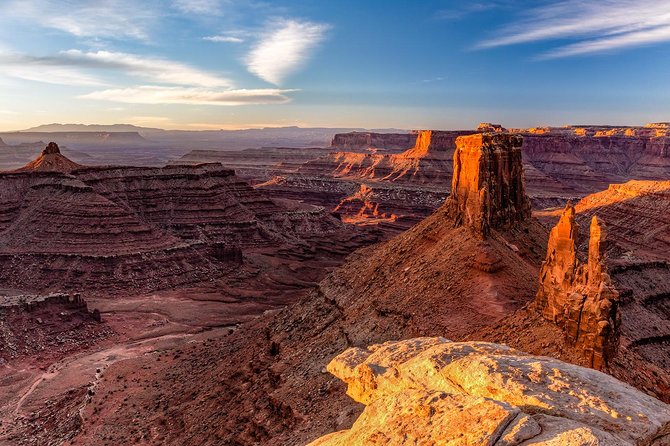
Your first stop is Dead Horse Point State Park. You’ll spend about 1 hour 30 minutes, with admission included. This is a smart warm-up. Dead Horse Point gives you a “see the whole scene” moment before the day becomes more crowded and complicated.
Expect multiple viewpoints rather than a single rushed photo. This is where Colin’s framing guidance really clicks, because you’re not stuck at one angle. You can compare wide, medium, and close viewpoints and learn how to build a photograph from the terrain.
A practical note: the point is high and exposed. Even if the hike is short, you’ll want layers for wind, and you’ll want to keep water handy (you’ll have it, but don’t forget to actually drink).
Canyonlands National Park: Two to Three Photo Locations Based on Light and Time
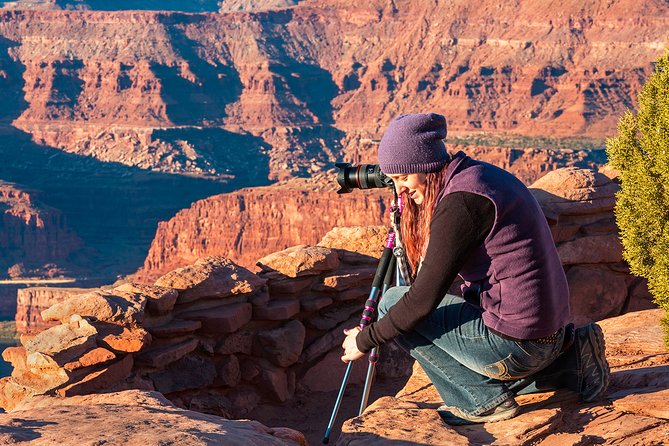
Next is Canyonlands National Park, with about 2 hours and no admission ticket fee listed for the experience. You’ll photograph at 2–3 locations, and the exact spots depend on weather and time.
This flexibility is a real advantage in Canyonlands. Weather changes fast in Moab. Light can get harsh or flat. Wind can turn tripods into sails. If the guide can adapt the plan, you spend less time fighting conditions and more time producing images.
You’re also learning how to work a set of locations rather than chasing random shots. The goal is repeatable thinking: where to put the horizon, how to lead the viewer’s eye, and how to decide when to stop and change angles.
The potential drawback here is simple: if your weather turns ugly, the day can compress. Still, the coaching helps you make the most of what you can get in fewer setups.
Arches National Park: Timed Entry, Fewer-Crowd Angles, and La Sal Backdrop
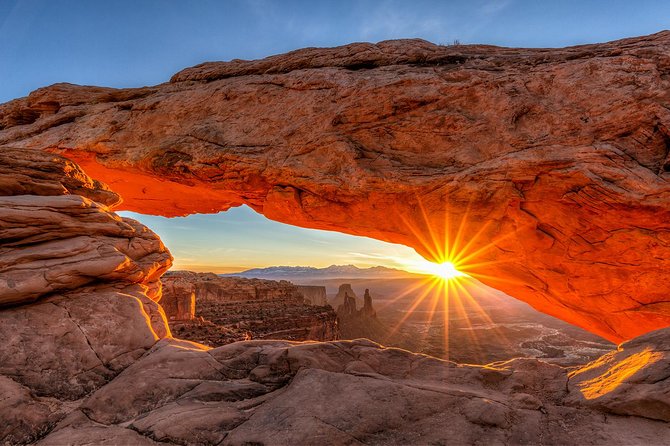
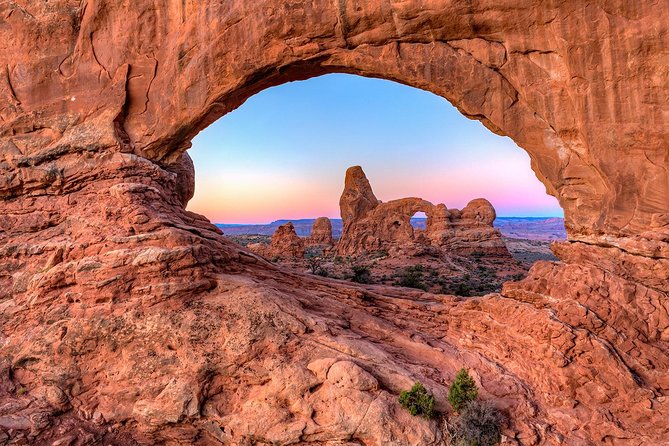
Arches is the headline, and it’s also the tricky one. The park is listed as busy, so the plan tries to hit iconic formations while also finding more out-of-the-way locations where fewer people get to stand and shoot.
You’ll spend about 4 hours in Arches, and admission for the park is not included. The timed entry permit is included, which is a big deal in Arches planning. You avoid the stress of scrambling around entry rules and you can focus on getting set up quickly and correctly.
One detail that’s worth knowing: Arches shots often include the snow-covered peaks of the La Sal Mountains behind, if conditions line up. That means your best angles may not be the usual “front view only.” You’ll want to pay attention to sightlines and background layering, because that mountain backdrop can add depth instantly.
Also keep expectations realistic. This is a photography-focused day, and the hikes are described as short overall. You’ll see a lot of highlights, but you won’t be doing the long, intense hikes most people tackle on their own time. If you’re set on something like a longer hike, you may still want a separate plan for that.
Potash Road Petroglyph Stop: A Quick Culture Pause on the Way Back
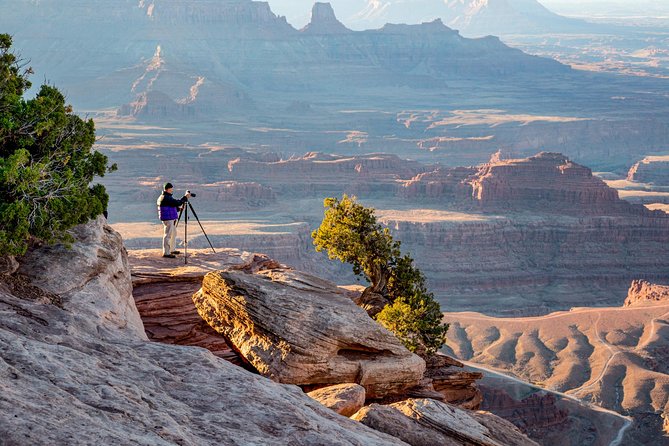
On the return, time permitting, you’ll make a stop at Potash Road for an ancient petroglyph site. The photo time window is short—about 20 minutes—and the admission ticket is included.
This is a nice contrast to pure rock-formation photography. It adds texture and human marks to the day, and it gives your brain a different kind of composition challenge. Even in a short visit, the key is to slow down: look for placement, consider how shadows fall, and don’t treat it like a quick checkbox.
If time is tight or weather changes, this could be skipped. But if it happens, it’s a thoughtful add-on.
What You Learn on the Day: Settings, Framing, Timing, and Tripods
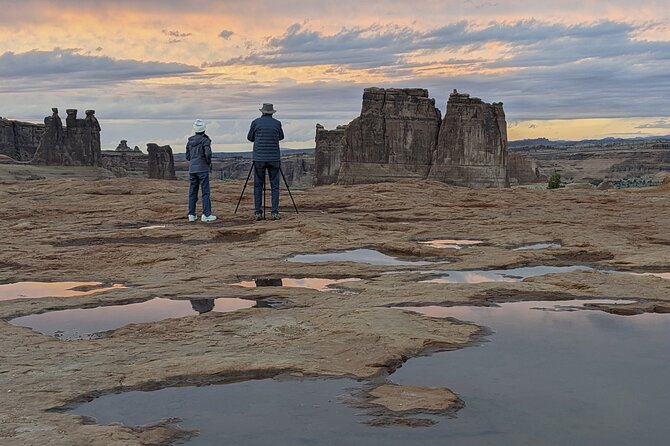
You’re not just visiting three parks. You’re building a repeatable shooting method.
From the way Colin mentors people, the teaching hits several practical areas:
- Camera settings like aperture, speed, and ISO
- Shooting mode and practical timing
- Tripod use (and how to stabilize shots so you can actually use the settings you choose)
- Framing tips—how to use natural lines and edges so the photo has structure
The best part is that he doesn’t keep the advice abstract. You get guidance while you’re trying the shot, which is where most people learn fastest. In a small group, he can also help a parent and child pair or someone newer to the basics without slowing the whole day.
You’ll also likely get some humor thrown in. One fun example from a similar day: Colin may stage participants so you look like you’re holding up rocks or arches. It’s playful, but it also helps you experiment with angles and body position without freezing up.
Gear, Shoes, and Timing: How to Prepare for a 9–11 Hour Photo Day
This is a long day, even when the walking stays under a mile. You’ll be moving between viewpoints, setting up tripods, and taking multiple tries at each location.
What I’d plan for:
- Good shoes for rock surfaces (short hikes can still be uneven)
- Layers for wind and temperature swings
- Your camera basics ready if you can (at least the ability to adjust aperture, shutter speed, and ISO)
- A way to keep yourself fueled and hydrated (water and snack bars are included)
If you’re newer, don’t worry about being “too beginner.” The day is set up for learning on the spot. If you’re already comfortable with your settings, you’ll still get value from the location scouting and the composition coaching.
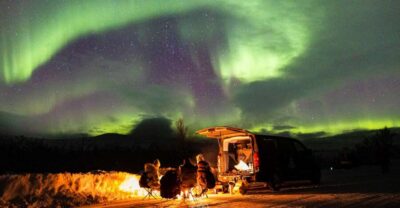
One extra note from past experiences: some people speak highly of a night session, with stars that were described as incredibly visible and light pollution low. If that option exists alongside this day, it’s worth asking about.
Who This Tour Fits Best (and Who Might Want Another Option)
This tour is a strong match if you want:
- Guided photo coaching instead of self-guided wandering
- A small group where someone can correct your framing or settings fast
- A practical “best of” Moab day across Dead Horse Point, Canyonlands, and Arches
- More time practicing angles at each stop rather than a checklist sprint
It may not be perfect if you’re the type who wants a long, hard hike. The plan is built around short walking requirements and photography stops, so you’ll likely want to add separate hiking days if your goal includes big trails like Delicate Arch.
It also might not be ideal if you’re extremely dependent on pickup. Pickup is limited to the first four passengers with gear, and everyone else should be prepared to drive their own car and follow.
Rating and Real-World Consistency: Why People Keep Recommending It
This experience holds a 4.9 out of 5 rating based on 34 reviews, with 97% of people recommending it. That kind of consistency usually means one thing: the teaching and pacing are working.
Across the feedback, the most praised elements are the same themes:
- Colin’s ability to mentor people through composition and execution
- His practical guidance on real camera settings (not just theory)
- Enough time at each location to try multiple shots
- A mix of iconic sights and less obvious angles inside the parks
The coaching focus also stands out. Many people highlight learning framing tips and getting help even when you’re not confident beyond a point-and-shoot style camera. If you want to learn faster than you would alone, this is built for that.
Book It or Skip It: My Decision Guide
If you want a Moab day where you leave with better photos and a clearer shooting process, I’d book this. The price only looks steep until you factor in a timed entry permit for Arches, included park admission pieces, water and snacks, and hands-on coaching that helps you actually use your camera.
Skip it if:
- You’re only chasing one single iconic hike and don’t care about learning photo composition
- You need guaranteed pickup regardless of how early you book
- You want a long strenuous trek day rather than short walks and viewpoint shooting
A smart middle path: book this for the guided photo and composition work, then do the big hike(s) on another day when you have more time and less pressure.
FAQ
Is pickup available, and is there a limit?
Pickup is offered, and the meeting point is the Moab Information Center. Colin’s vehicle has room for 4 passengers plus gear, so only the first four who book for pickup can ride; others should drive their own vehicle and follow.
What park tickets are included, and do I need a park pass for Arches?
Dead Horse Point State Park admission is included. Canyonlands National Park is listed as free for the experience. Potash Road admission is included (time permitting). For Arches, the timed entry permit is included, but Arches admission is not included, so you’ll need a park pass or buy one when you enter.
How many stops are planned, and how long do you spend at each place?
The day typically includes:
- Dead Horse Point State Park for about 1 hour 30 minutes
- Canyonlands National Park for about 2 hours at 2–3 locations
- Arches National Park for about 4 hours
- Potash Road for about 20 minutes (time permitting)
Is there much walking?
There are short hikes at some locations, listed as less than 1 mile. You should have a moderate fitness level and be ready for uneven terrain even if the distances are short.
How big is the group?
The maximum group size is 6 travelers, which helps keep coaching focused and gives you time to ask questions at each stop.
What happens if weather is bad?
This experience requires good weather. If it’s canceled due to poor weather, you’ll be offered a different date or a full refund. The itinerary can also shift by weather and time, especially in Canyonlands.