REVIEW · MOAB
Moab: The Windows Astro-Photography and Stargazing Hike
Book on GetYourGuide →Operated by Moab dark sky tours · Bookable on GetYourGuide
Night sky + giant sandstone = a great combo. This Moab stargazing hike takes you to The Windows in Arches National Park after dark, where the Milky Way actually shows up and you can photograph it. I especially liked the hands-on guidance (including help using your own smartphone) and the small-group pace that keeps things calm while you set up shots. The main thing to consider is it’s still a dark hike with uneven footing, and it’s not suitable for mobility impairments or wheelchair users.
You’ll also want to think about moonlight before you go. If the moon is bright, you may still get gorgeous results, but the Milky Way can be less dramatic than on a darker night. That’s why the operator encourages you to ask if you want the darkest-possible sky based on the lunar cycle.
In This Review
- Key highlights worth showing up for
- The magic of The Windows in Arches after dark
- Price and value: what $175 buys you (and what it doesn’t)
- Meeting up at the Windows parking area: how the tour starts
- Walking the rock garden: from the Windows to Turret Arch
- Learning night photography without turning it into homework
- The practice window before Double Arch
- Double Arch at night: the main photo moment
- DSLR rentals and smartphone tips: choose your path
- What you should bring (and the small things that save your night)
- Safety and comfort on a 2-mile night hike
- Who this tour is for (and who should skip it)
- Should you book Moab: The Windows Astro-Photography and Stargazing Hike?
- FAQ
- How long is the stargazing hike?
- How far do you hike?
- What’s included in the price?
- Is the Arches National Park entry pass included?
- Can I rent a DSLR camera or lens?
- What do I need to bring?
- Is this tour suitable for small children or mobility needs?
Key highlights worth showing up for
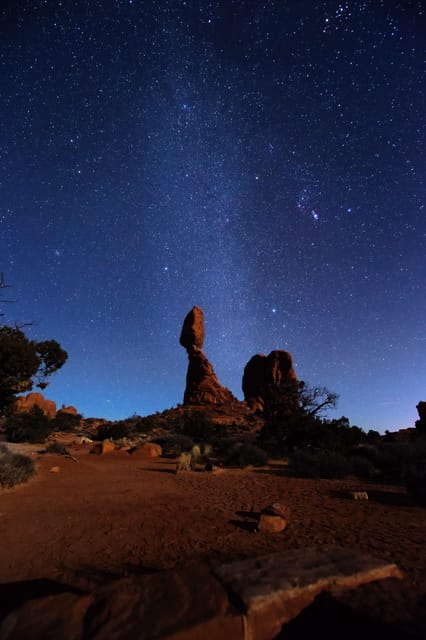
- North and South Windows + Turret Arch under real night skies, not city glare
- Milky Way with the naked eye, plus tips to capture it with your camera
- Red LED headlamps and tripod support so you’re not fumbling in the dark
- Small group of up to 6, meaning more time to get your settings sorted
- Practice time before the big shot at Double Arch, so you’re ready when it counts
The magic of The Windows in Arches after dark
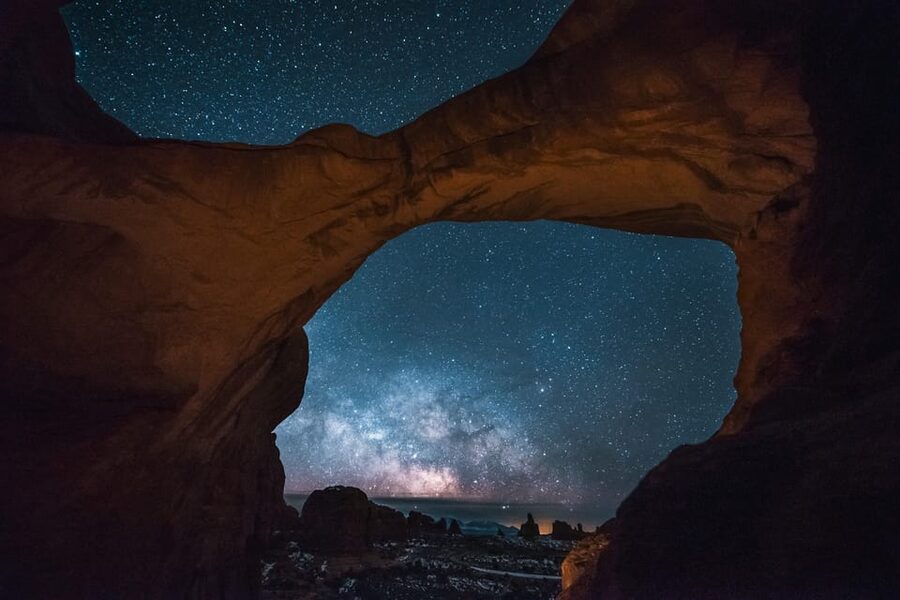
Arches National Park has a way of making you slow down, even in the daytime. At night, it’s a different kind of wow. You’re walking through the rock garden toward The Windows with the sky doing the main performance overhead.
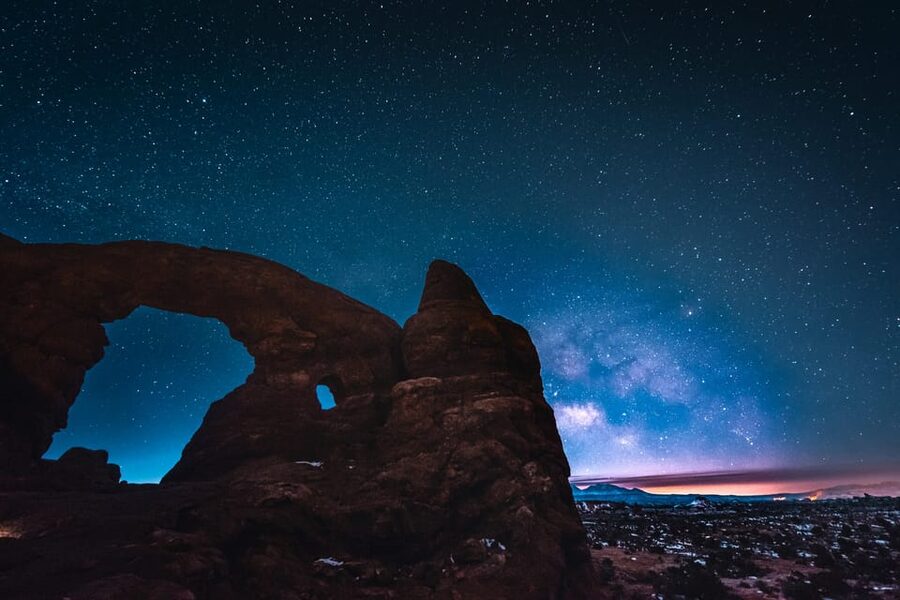
What makes this hike work so well is the pairing: dark skies plus dramatic stone shapes. The North and South Windows form a natural frame, and the Milky Way’s arc gives your photos a sense of motion, like the galaxy is circling the arches while you stand there. It’s also far enough from city light that you can actually see stars without needing special gear.
The tour’s structure helps you get value too. You don’t just rush to one viewpoint, click a few times, then leave. You move through key arches and have time to learn how night photography behaves in real conditions.
You can also read our reviews of more tours and experiences in Moab.
Price and value: what $175 buys you (and what it doesn’t)
At $175 per person for about 2 hours, this is a specialty experience, not a casual stroll. The value comes from three things you can’t replicate easily on your own: a guide who teaches night photography basics, a small group size, and equipment support like red LED headlamps and tripods.
Here’s what’s included:
- A live English-speaking guide
- A guided walking tour
- Red LED headlamps
- Tripods (if needed)
And here’s what you should budget separately:
- Arches entry pass (30 USD per standard vehicle)
- Any DSLR camera and/or lens rentals (additional fee)
The best part is that the instruction isn’t limited to people with expensive gear. One review specifically called out that the guide taught using your own cellphones to get better photos. That matters, because you might spend hundreds on a camera and still get mediocre results if you don’t know what to do once you’re standing in the dark.
Meeting up at the Windows parking area: how the tour starts
This hike begins at night at The Windows parking area in the first lot on the right. You’ll meet your guide after dark and then get geared up fast.
The setup phase matters more than you might think. You get red LED headlamps (so you can see without blasting your eyes or everyone else’s) and tripods for steadier shots. If you’re using a camera, this is the moment to make sure everything is charged and ready before you start moving.
The group size is limited to 6 participants, which keeps things manageable on uneven ground. In one experience recap, the guide was careful about safety near drop-offs, which is exactly what you want from a night hike—clear guidance, not guesswork.
The hike itself is roughly 2 miles. That’s not a long daytime hike, but darkness plus rocky footing can make it feel more intense. Bring hiking shoes you trust.
Walking the rock garden: from the Windows to Turret Arch
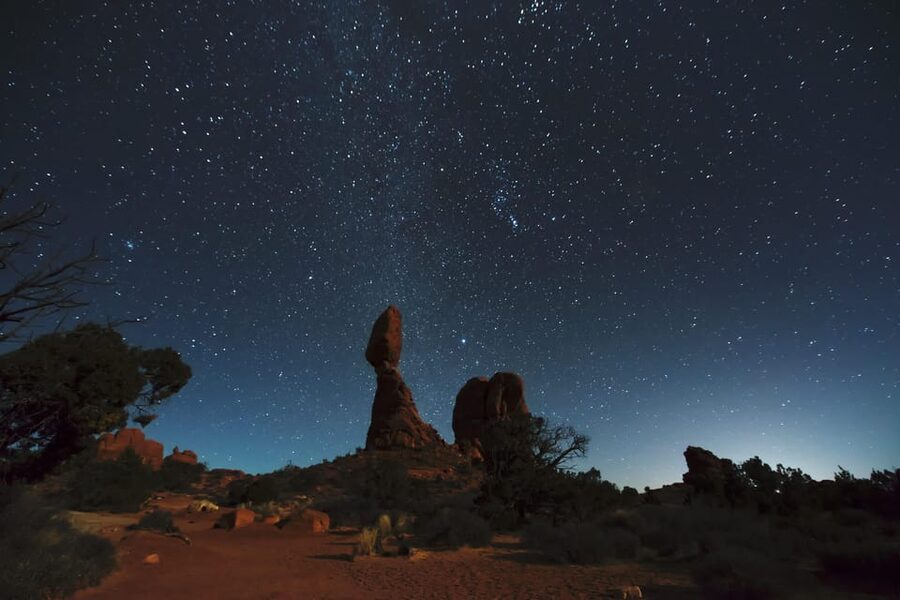
After you get set up, you’ll head off from the Windows trailhead and follow your guide through a rock garden route built for seeing Arches close up. The tour is paced so you’re not just walking for walking’s sake. Stops are chosen for photography and for understanding what you’re looking at.
You’ll see the North and South Windows and Turret Arch during the journey. These aren’t random “pretty views.” They’re major rock features that help you compose your shots. The Windows naturally suggest a frame within a frame, and Turret Arch adds variety to the sequence so you’re not shooting the same look for the whole hike.
As you walk, the guide also helps you notice how the night changes what the scene looks like. There’s a useful reminder included with this tour: photos may capture light you can’t see with the naked eye. That means your “I can’t see the Milky Way” moment might still turn into a great image later when you adjust properly and give the camera enough time.
Learning night photography without turning it into homework
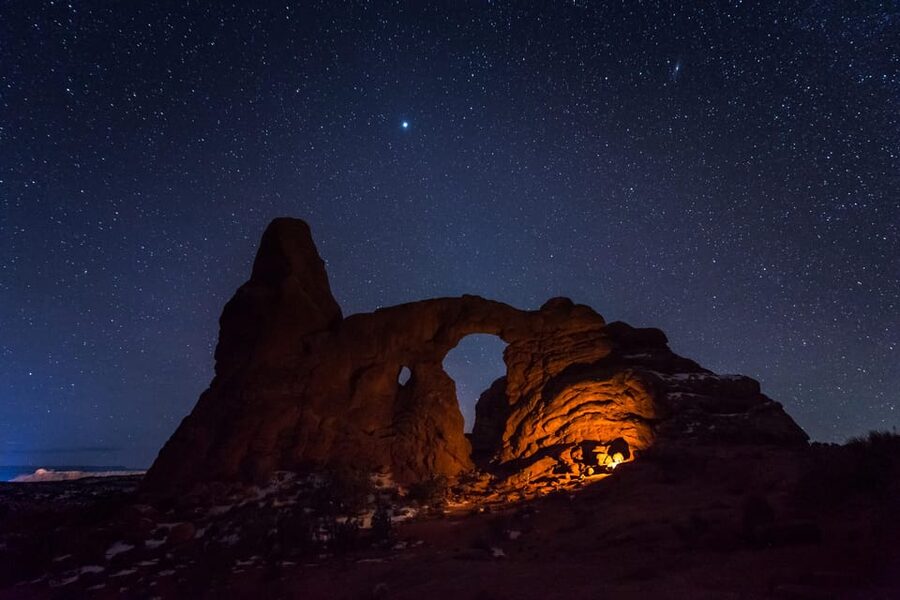
This is a guided stargazing hike, but it’s also a mini lesson in how astrophotography works in the field. You’ll learn astrophotography fundamentals and how to operate your camera as you go.
What I like about the teaching format is that it’s practical. Instead of a classroom lecture followed by chaos, you get instruction while you’re already standing in the right environment: dark sky, iconic arches, and real time constraints as the night unfolds.
One review mentioned Sam took the time to show how to use a cellphone to take great photos. Another mentioned Brandon worked as a photography teacher and spent enough time to help people get amazing shots of the night sky. That aligns with the tour’s intent: the guide isn’t just pointing at constellations. They’re helping you produce images.
A key point to keep in mind: you can enjoy this tour in many lunar conditions. The provided info notes that photographers are encouraged to enjoy it across the lunar cycle, because each phase offers its own beauty. In other words, don’t treat moonlight as a disaster. Bright moon can still look stunning—just don’t expect the same contrast as a darker sky.
The practice window before Double Arch
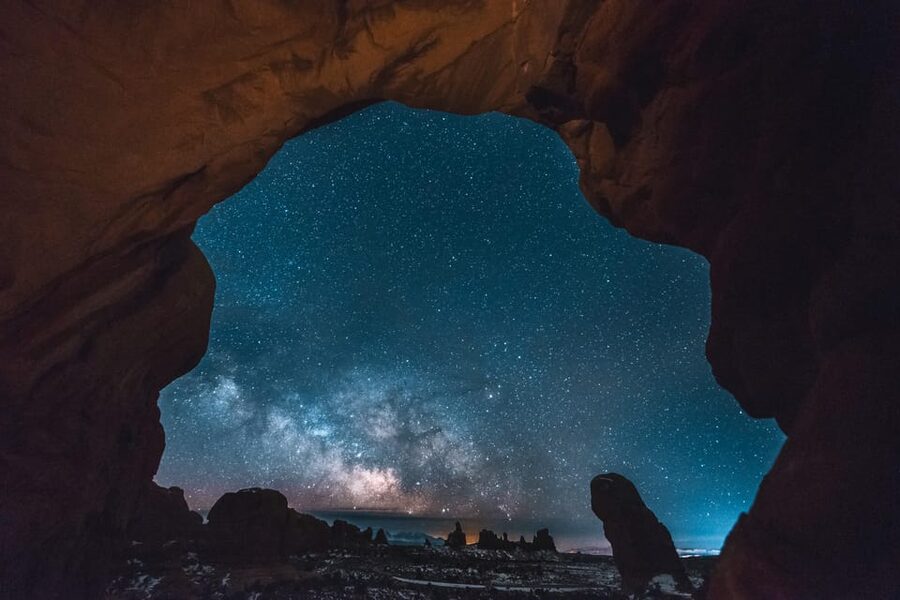
You won’t wait until the last minute to learn how your gear performs. There’s time to practice your newfound photography skills before you head toward the highlight area.
This is smart for two reasons:
1) Night photography involves small problems you can’t fix after you sprint off to a final viewpoint. A slightly unstable setup, a forgotten setting, or camera confusion can waste your best minutes.
2) Practice helps you understand what you’re trying to capture: the stars as points, the Milky Way as a streak or arc, and the arches as foreground.
In one review, the guide highlighted the constellations and offered park knowledge alongside the photography tips. That combination helps you enjoy the hike even if you’re not chasing perfect technical results.
Double Arch at night: the main photo moment
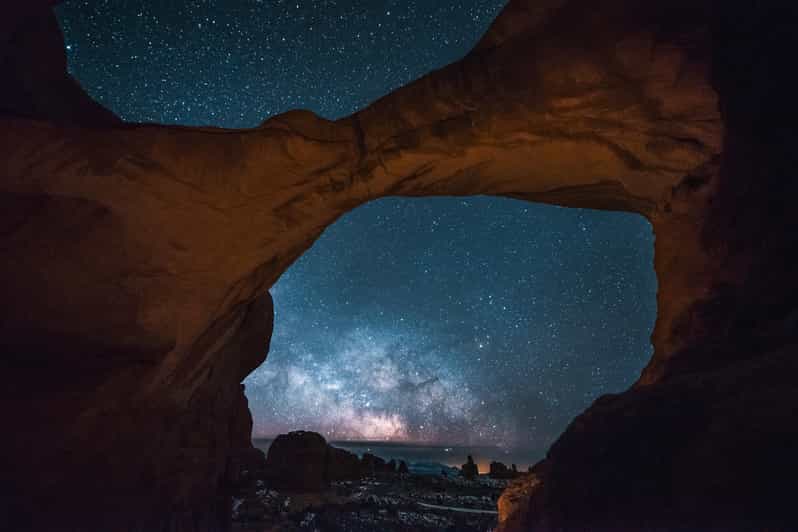
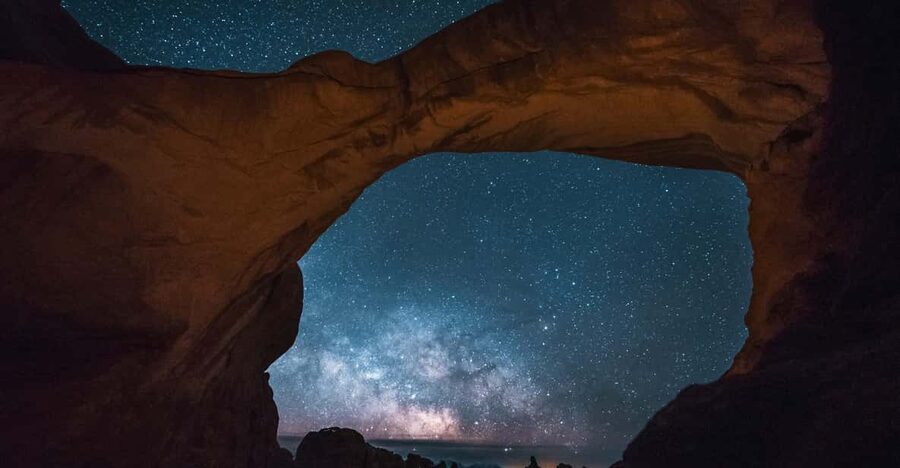
Double Arch is where the tour peaks. It’s the highlight area for a reason: it gives you a strong foreground subject while the sky provides the dramatic background. When the galaxy appears over stone, it’s not just a photo. It feels like you’re part of the scene.
This is also the place where tripods and long exposures matter most. The tour provides tripods (if needed), and the guide helps you use your time effectively so you’re not guessing in the dark. You’ll be capturing “once in a lifetime” style images—big stars overhead, arches below, and a sense that the sky is moving while you hold the camera steady.
If you’re wondering whether you should rent DSLR gear, this is where the decision becomes real. A DSLR (or a DSLR lens) can improve results, especially if you’re comfortable using it. But even with a smartphone, you can get satisfying results when your setup and technique are guided.
DSLR rentals and smartphone tips: choose your path
You can do this tour with what you already have, or you can level up with rentals. The tour encourages you to request a rental (for an additional fee) before the start of your hike: a DSLR camera and/or a DSLR lens.
Rental lens/camera compatibility is spelled out:
- Canon EF/EFS and Nikon F mounts
That detail is helpful, because it means you’re not stuck guessing what will work. If you don’t want to bring extra gear and you’re serious about image quality, renting can be a practical middle ground.
At the same time, the guide also teaches you how to take better shots with your own cellphone. That’s a big win for value. You can bring a phone, use it during the hike with help from the guide, and still come away with photos you’re proud of.
One important expectation to set: the tour doesn’t promise that everyone gets a perfect astrophotography portfolio shot. Night sky images depend on timing, moon phase, and your setup. But with the guide’s help and the provided equipment (headlamp plus tripod support), you’re far more likely to get clear, well-composed photos than if you were trying to do it solo.
What you should bring (and the small things that save your night)
The essentials are simple, and I’d treat them as non-negotiable.
Bring:
- Camera
- Hiking shoes
- Water
- Charged smartphone
If you’re renting DSLR gear, follow whatever process the provider gives you before the hike so you’re not scrambling after you’ve started walking.
Also note what you cannot bring: pets aren’t allowed.
A charged smartphone is especially useful because the guide teaches using your phone for photography. Even if you’re mainly shooting with a camera, you’ll still likely use your phone to preview framing and coordinate your shots while you’re learning.
Safety and comfort on a 2-mile night hike
This tour is not suitable for:
- Children under 6
- People with mobility impairments
- Wheelchair users
That doesn’t mean it’s extreme like technical climbing. It just means the route is done in the dark, on uneven terrain, and you need the ability to move carefully. In one review, the guide kept everyone safe by pointing out drop-off points when people got too close. That’s exactly the kind of attention you should rely on on a night hike.
The other comfort factor is how you handle darkness. Red headlamps help you see without ruining your night vision. But you should still expect to move slower than you would in daylight.
If you get cold easily, dress for nighttime temperatures. The tour is outdoors at night and involves hiking for about 2 miles, plus time spent stopped for photography.
Who this tour is for (and who should skip it)
This is a great fit if:
- You want Milky Way photos without guessing
- You’re curious about dark-sky photography and want the basics taught in the field
- You want a guided experience through Arches that focuses on night skies, not just scenery
- You have a phone and want to learn how to make it perform better at night
It’s not a great fit if:
- You need a fully accessible route
- Your group’s priority is a very casual walk with no photography setup
- You’re traveling with young kids under 6 or you can’t manage uneven terrain in low light
It’s also worth considering your equipment goals. If you already have a DSLR and know how to use it, you might focus on technique and composition. If you don’t, renting can help, but the tour’s phone instruction means you still won’t be left out.
Should you book Moab: The Windows Astro-Photography and Stargazing Hike?
I think you should book this tour if you want a guided shot at authentic night-sky photos in Arches National Park, especially around The Windows and Double Arch. The mix of dark skies, iconic stone shapes, and real-time instruction makes it a strong value at $175, particularly because you can get help using a smartphone or optional DSLR rentals.
Skip it if accessibility is a concern for your group or if you’re hoping for a fully effortless, stroller-friendly experience. Also consider the moon. If you’re chasing maximum Milky Way contrast, ask the provider if they can match you with a darker-sky night.
If you do book, plan to show up ready: hiking shoes on, water in hand, phone charged, and a willingness to slow down long enough to let the guide help you get the shot. That’s where the experience pays off.
FAQ
How long is the stargazing hike?
The experience lasts about 2 hours.
How far do you hike?
It involves roughly 2 miles of hiking from the Windows trailhead.
What’s included in the price?
The tour includes a guide, a walking tour, red LED headlamps, and tripods if needed.
Is the Arches National Park entry pass included?
No. You’ll need an Arches entry pass separately (30 USD per standard vehicle).
Can I rent a DSLR camera or lens?
Yes. You can request a DSLR camera and/or a DSLR lens rental for an additional fee before the tour starts. Lens/camera mounts listed are Canon EF/EFS and Nikon F.
What do I need to bring?
Bring your camera, hiking shoes, water, and a charged smartphone.
Is this tour suitable for small children or mobility needs?
It is not suitable for children under 6 and is not suitable for people with mobility impairments or wheelchair users. Pets are also not allowed.