REVIEW · KYOTO
Kyoto: Private Photoshoot Experience in Arashiyama Bamboo
Book on GetYourGuide →Operated by PhoenixJP合同会社 · Bookable on GetYourGuide
Arashiyama makes you want to stop walking and just look, and this private photoshoot turns that into real keepsakes. You get a guided route through the bamboo grove and famous Togetsu-kyo Bridge views, plus a few lesser-known spots in the area, with photographers like Mina, Josh, and Micky who are good at making you feel at ease. I especially like the practical posing help and the fact you walk away with 30 edited photos ready to download quickly—plus all the unedited images for your own use. The one thing to keep in mind: during busy seasons, photo delivery can run past the 24-hour promise, and the download link only stays available for two weeks after it’s sent.
This is one of those “spend time, not stress” activities. The pace is flexible (you can adjust the shoot to your preferences), and you’re not stuck just blasting through checklists while someone waits for you. One more consideration: you’ll be shooting in an area that can get crowded, so you’ll get the most out of it if you’re willing to follow your photographer’s timing and positioning.
In This Review
- Key things that make this photoshoot work
- Why Arashiyama is built for photos (and not just selfies)
- Meeting at Arashiyama station and starting with Togetsukyo Bridge
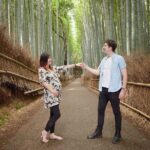
- Bamboo grove: how you get those tunnel shots without feeling stuck
- Kimono Forest and bright color texture near the grove
- Riverside path along the Katsura River: calmer walking photos
- Nonomiya Shrine and the value of adding quiet stops
- Your photographer’s job: posing help that feels natural
- How long you’ll shoot: 90 minutes to 7 hours
- What you get: 30 edited photos fast, plus all unedited images
- Price and value: $129 for a private photo plan that saves time
- Who should book this Arashiyama private photoshoot
- Quick practical tips before you go
- Should you book it
- FAQ
- Where is the meeting point?
- Where does the photoshoot start and end?
- How long is the experience?
- How many photo locations will we visit?
- What photos do I receive after the shoot?
- When do I get the edited photos?
- Do I get raw files?
- How long can I download the photos?
- Are admission fees included for paid-entry locations?
- What languages does the guide/photographer speak?
- Is this a private experience?
Key things that make this photoshoot work
- Private guidance in Arashiyama: You’re not competing with other groups for attention or angles.
- Togetsu-kyo Bridge first: Iconic river views with mountain backdrops set the tone fast.
- Bamboo Grove photos that don’t feel awkward: Clear direction on posing and expression.
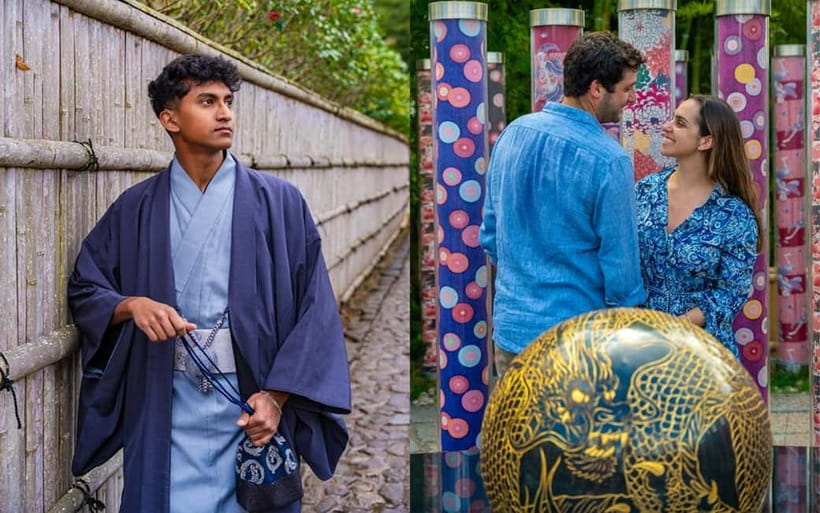
- Kimono Forest and other photo stops: Color, pattern, and variety beyond the bamboo.
- Small route with big variety: Usually 5–6 recommended locations in about 1.5 hours, with flexibility.
- You get both edited picks and raw-style extras (in JPG): 30 edited plus all unedited images for personal use.
Why Arashiyama is built for photos (and not just selfies)
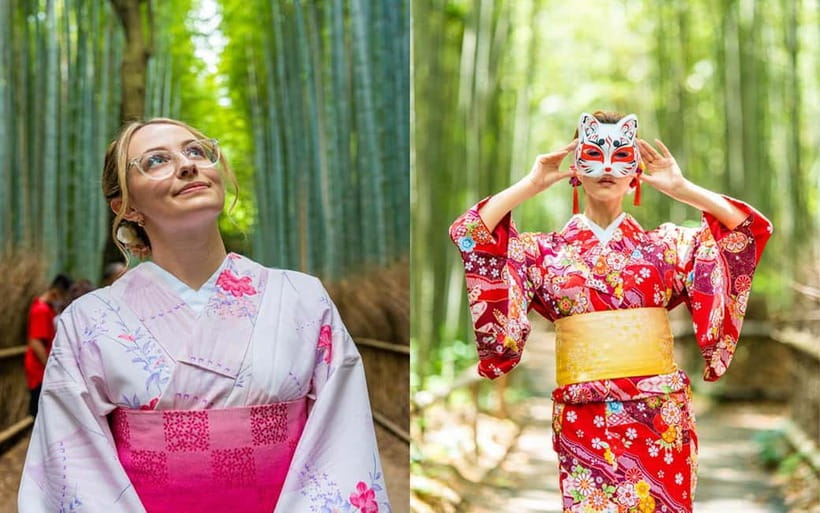
Arashiyama is one of Kyoto’s most photogenic neighborhoods for a reason. You get layers: the Katsura River and Togetsu-kyo Bridge for classic structure, then the bamboo grove for that instantly recognizable green tunnel feeling. After that, the area still delivers—nearby shrines and side paths give you textures and quiet corners that feel more lived-in than postcard-only.
What makes this photoshoot smart is that it’s not just chasing famous spots. Your photographer builds a route that mixes “must-see icons” with additional hidden-style viewpoints around the area. The payoff is variety in your final set: some images look like a Kyoto travel poster, while others look like you were there on purpose—walking, pausing, and reacting to the place.
Also, this is a private session, which matters here. Crowds can flatten your photo choices in Japan. With a guide who knows where to stand and when to move, you waste less time and get better framing.
You can also read our reviews of more tours and experiences in Kyoto.
Meeting at Arashiyama station and starting with Togetsukyo Bridge
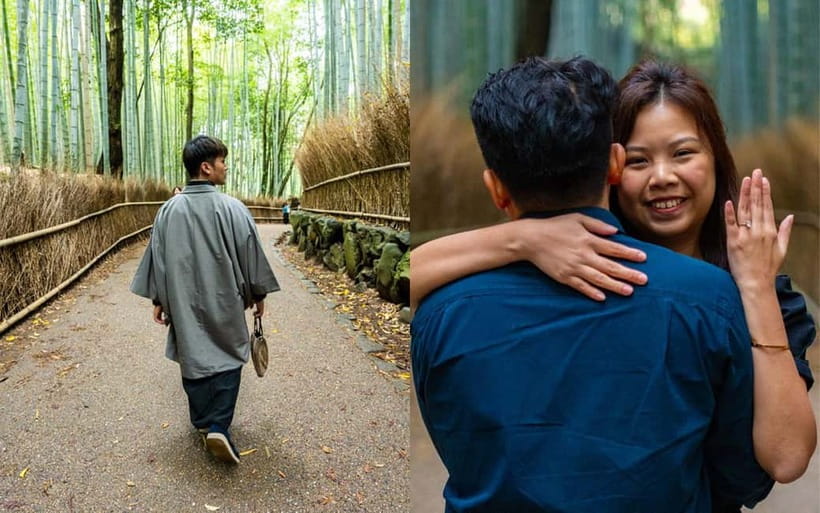
You meet your guide in front of Arashiyama station (Randen line). From there, the shoot starts at Togetsukyo Bridge, one of the area’s most recognizable landmarks. This is a smart starting point because it gives you an immediate “anchor” photo—wide river view, bridge lines, and those mountain backdrops that make the whole series feel connected.
Here’s the practical advantage: once you have that hero image, the rest of the route becomes easier to enjoy. You stop worrying about whether your photos will feel like Kyoto, and you can focus on expression, posture, and walking pace.
You’ll also end around a cozy café in Arashiyama, which is great for resetting. It’s a nice break after you’ve been in motion for a while and trying to follow directions while crowds swell.
Bamboo grove: how you get those tunnel shots without feeling stuck
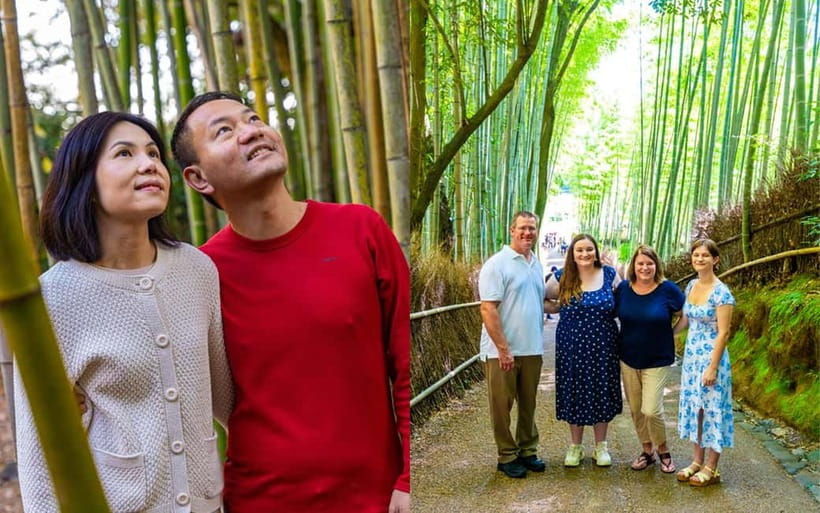
The bamboo grove is the reason most people book this kind of experience in the first place. It looks incredible in person, and on camera it can be even more dramatic—if you’re positioned well.
What I like about this shoot format is the guidance. If you don’t know how to pose, you won’t be left to invent something awkward. Photographers here give instruction and shape your movement so you get natural results: turning slightly, stepping to hit the best light, and using the grove’s repeating vertical lines to frame you.
A key detail: you’re not limited to one angle. The session is built for multiple photo stops, so you can get variety even within the bamboo area—close details, wider compositions, and shots that include the path and depth.
And yes, it can be busy. The skill is finding workable spots and timing your steps so the bamboo still looks like a quiet world rather than a crowd line.
Kimono Forest and bright color texture near the grove
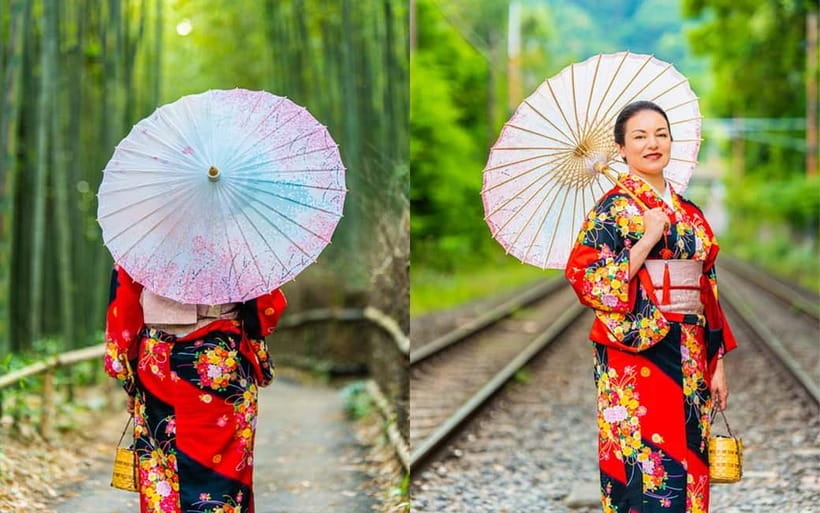
After the bamboo, you’ll likely hit the Kimono Forest. This is where the images often surprise people—in a good way. Instead of the green-and-shadow vibe, you get pattern and color that make your photo set feel playful and less repetitive.
Why it works: bamboo can dominate the entire aesthetic of your day. A second, more colorful environment breaks that. The Kimono Forest gives you a different mood—still Kyoto, but with a more graphic, fashion-like quality.
If you’re photographing couples or families, this stop is also useful. Patterned backdrops help separate you from the background, and your photographer can guide both body angles and spacing so everyone looks intentional in the frame (not like you got there and hoped for the best).
Riverside path along the Katsura River: calmer walking photos
Not every photo has to be dramatic. The riverside path along the Katsura River is a great change of pace because it naturally slows your pace and your body language. You get room to breathe between iconic stops, and the light over water often gives softer results.
This part of the route is especially helpful if you want photos that feel like memory, not just “posed travel.” Walking photos come out well here—hands by your sides, gentle turns, and natural reactions to the scenery.
Also, a riverside stop is useful for regrouping. If the bamboo area has been crowded, this is where you can reset and get more relaxed shots that still look like Arashiyama.
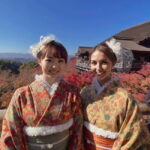
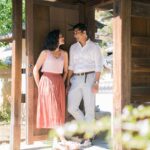
Nonomiya Shrine and the value of adding quiet stops
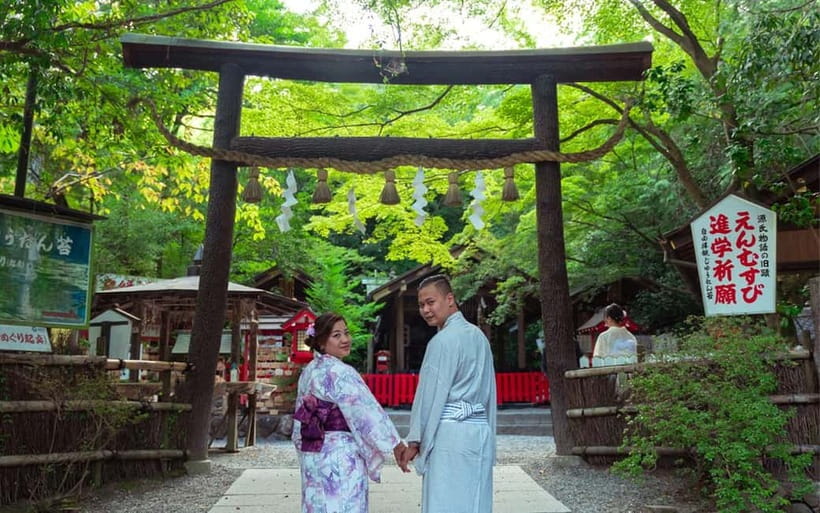
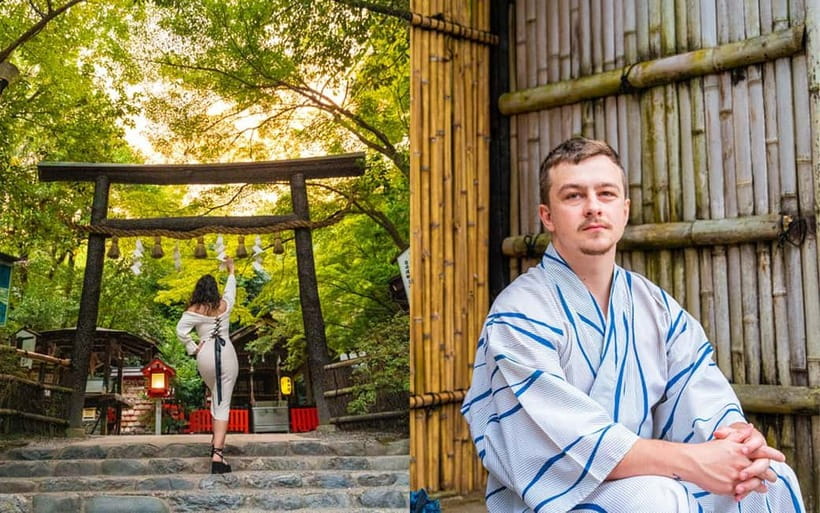
The shoot can include Nonomiya Shrine and other smaller, less obvious locations in the broader Arashiyama area. These stops matter because they add Kyoto atmosphere beyond the headline landmarks.
The value isn’t that shrines are automatically photogenic (they are), but that they add pacing and depth to your story. After bamboo and bridge shots, a shrine stop gives your set emotional range—something spiritual, symbolic, and slightly calmer.
You might also end up with other “how did we find that?” spots near the area. The idea is simple: if you’re paying for a private shoot, you want more than a checklist. You want a photographer who can spot angles you’d never notice with just Google Maps.
Your photographer’s job: posing help that feels natural
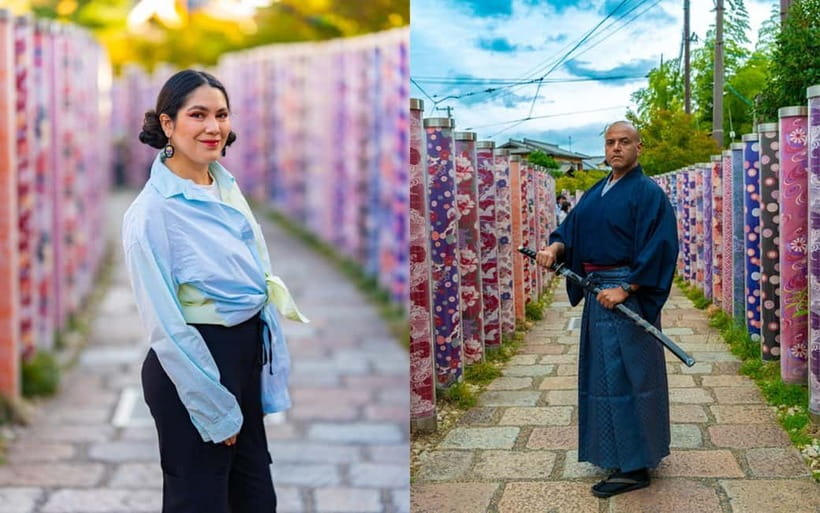
The most repeated praise in these experiences is consistent: you’ll be guided. People who don’t usually pose often say they felt comfortable fast. That’s not luck—it’s skill.
Photographers like Mina (and others such as Josh or Micky) tend to do three things well:
- They give clear posing prompts you can actually follow while walking.
- They show you your shots as you go, so you can adjust what you’re aiming for.
- They stay patient when you need a few extra takes for the right expression or angle.
One detail that stood out: even when the area is crowded, your photographer works patiently to get the composition you want. That can mean choosing camera-ready positions, adjusting your timing, and keeping you moving without rushing.
If weather turns slightly, you’ll also appreciate flexibility. In at least one situation, a photographer offered help like lending an umbrella to keep shooting going.
How long you’ll shoot: 90 minutes to 7 hours
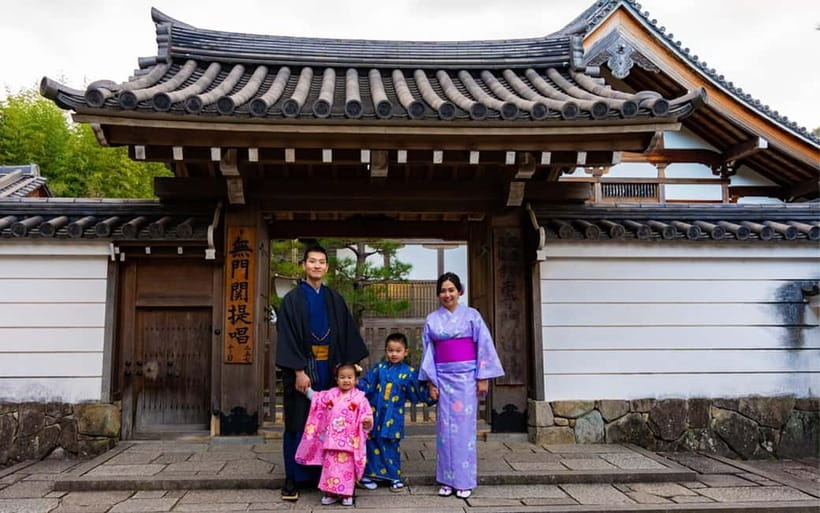
The activity runs from 90 minutes up to 7 hours, depending on what time slot you book. In the typical version, you’ll visit 5–6 recommended locations within about 1.5 hours, then adjust based on preferences.
If you’re short on time in Kyoto, a shorter session makes sense. You’ll still get key Arashiyama signatures—bridge + bamboo + a few add-ons—without turning your day into a full production.
If you want more variety (extra outfit changes, more river walking, more detail shots), booking longer gives your photographer time to slow down and experiment with compositions you might not get in a tight schedule.
Either way, private means you control the pace more than you would on a group tour.
What you get: 30 edited photos fast, plus all unedited images
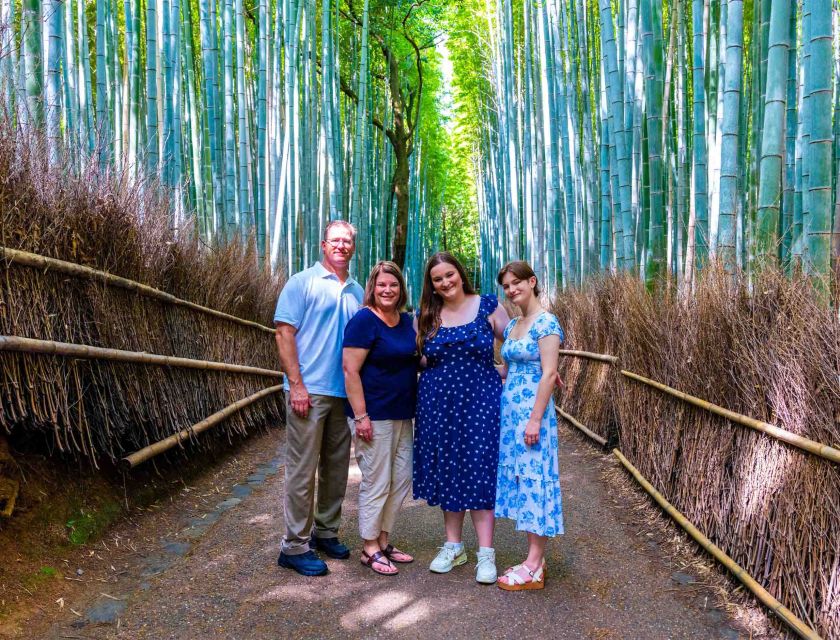
After the shoot, you’ll receive:
- ~200 JPG images per hour in standard-quality form (all photoshoot images)
- 30 high-resolution, fully edited photos within 24 hours (may take longer in busy seasons)
- The ability to download photos for two weeks after the link is sent
You’ll also have an option for raw files for an extra ¥10,000 per booking. If you care about deeper editing or color grading later, that’s a useful add-on. If you just want great travel images you can post and print, the included edited set should already do the job.
Also, these are delivered as JPGs, which is practical. You can view them immediately and share them without hunting for conversion steps.
Price and value: $129 for a private photo plan that saves time
At $129 per group (private session), the value comes from two places: you’re paying for time in a high-demand photo area with someone who knows how to get results, and you’re paying for the editing work that turns a decent travel snapshot into something you’ll actually want to keep.
Think of it this way: Arashiyama isn’t just scenic; it’s also slow-moving. Crowds, walking distances, and figuring out angles can eat your time. A private photoshoot helps you compress effort into a planned route, so you spend more time enjoying the area and less time playing photographer for everyone.
Then there’s the output. Thirty edited images plus all unedited JPGs means you don’t feel trapped only using the “winners.” You’ll have options.
If you’re traveling solo, the unedited photos are a big deal too—you can capture more of your day without constantly asking strangers to take your picture.
Who should book this Arashiyama private photoshoot
This fits well if:
- You want iconic Kyoto photos without spending your whole day directing your own camera.
- You’re traveling as a couple, family, or small group and want photos that look coordinated and natural.
- You’ve never done a photoshoot and want someone to lead you through posing.
- You’d rather explore Arashiyama on foot with a plan than wander aimlessly.
It’s also a good choice if you’re celebrating something. A “first photoshoot” can feel nerve-wracking. The comfort and guidance described here makes it easier to relax and enjoy.
If you’re the kind of traveler who loves taking your own photos and you don’t care about editing, you might prefer renting time with your camera and skipping a guided shoot. But if you care about polished results with minimal stress, this is a strong match.
Quick practical tips before you go
- Wear shoes you can walk in. This is a walking route with multiple stops.
- Bring clothing that photographs well against busy textures. Solid colors often do well in pattern-heavy areas.
- If you’re worried about posing, tell your photographer what you want. They can guide you step by step.
- Plan to stay flexible about timing in crowded areas. Your best shots often come from following direction, not from forcing your own spot.
Should you book it
I’d book this if you want a Kyoto photo set that looks intentional and varied, with someone guiding you through bamboo, bridge views, and extra Arashiyama spots without making you feel awkward. The biggest selling point is the combination of strong locations plus real direction on posing and composition—especially for people who don’t know what to do with their hands.
Skip it only if you’re mainly satisfied with smartphone photos, you don’t want edited images, or you’re extremely time-sensitive about turnaround and downloads. Delivery can be delayed during peak periods, and the download link only lasts for two weeks.
If your priority is a memorable Arashiyama story you can actually share later, this private photoshoot is a smart way to spend your Kyoto time.
FAQ
Where is the meeting point?
Meet your guide in front of Arashiyama station (Randen line).
Where does the photoshoot start and end?
It typically starts at Togetsukyo Bridge and ends at a cozy café in Arashiyama.
How long is the experience?
It ranges from about 90 minutes up to 7 hours, depending on availability and the starting time.
How many photo locations will we visit?
You’ll usually visit 5–6 recommended locations within about 1.5 hours, and your route can be adjusted to your preferences.
What photos do I receive after the shoot?
You receive all photoshoot images in standard-quality JPG format (about 200 JPG images per hour) plus 30 professionally edited high-quality JPG photos.
When do I get the edited photos?
The plan is to deliver the edited photos within 24 hours, though delays can happen during busy seasons.
Do I get raw files?
Raw files are not included. You can request raw files for an extra ¥10,000 per booking.
How long can I download the photos?
The download link is available for two weeks after it is sent, then the photos are deleted.
Are admission fees included for paid-entry locations?
Admission fees are not included. If you visit paid-entry sites, you’re responsible for the photographer’s admission fee.
What languages does the guide/photographer speak?
Arabic, English, and Japanese are available.
Is this a private experience?
Yes, it’s a private group experience.