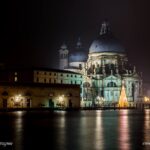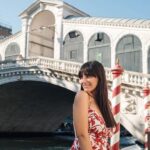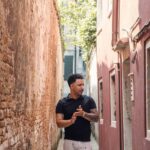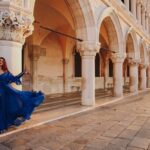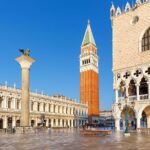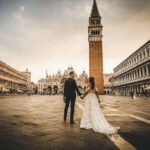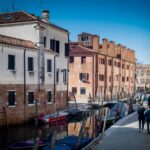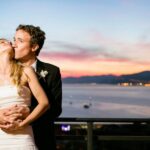
Venice looks different when you slow down. This Hidden Spots Guided Photography Tour is a focused 2-hour photo walk that steers you into romantic side streets and quieter corners, guided by a professional photographer. You’re not just sightseeing with a camera—you’re learning how to see.
I like that the guide works with whatever you’re carrying: camera or smartphone. I also like the small group size (limited to 8), which keeps the pace relaxed enough for hands-on direction and real picture-making.
One thing to consider: the exact route changes on the spot based on weather and light, so you should be flexible rather than expecting a fixed checklist of named landmarks.
In This Review
- Key Highlights You’ll Feel Right Away
- Why the Campo San Gallo Start Makes the Whole Tour Click
- The Photographer’s Job: Turning Your Phone Into a Real Tool
- Finding Romance in Venice Without Getting Stuck in Crowds
- A Practical 2-Hour Flow You Can Actually Follow
- 1) Start in Campo San Gallo: Get oriented and choose your photo style
- 2) Into characteristic alleys: shoot the angles, not the obvious postcards
- 3) Hidden corners stop: pause, compose, and shoot your way
- 4) Light-and-weather adjustments: the tour is flexible on purpose
- 5) Wrap back near San Marco-area streets: review your shots and keep moving
- Price and Value: What $81.57 Buys You in Real Terms
- What to Bring (So You Don’t Fight Venice)
- Who This Tour Suits Best
- Should You Book This Guided Hidden Spots Photo Tour?
- FAQ
- How long is the Venice Hidden Spots Guided Photography Tour?
- How much does the tour cost?
- What’s included in the price?
- Do I need to bring my own camera or phone?
- What languages are offered?
- Where do I meet the guide?
Key Highlights You’ll Feel Right Away
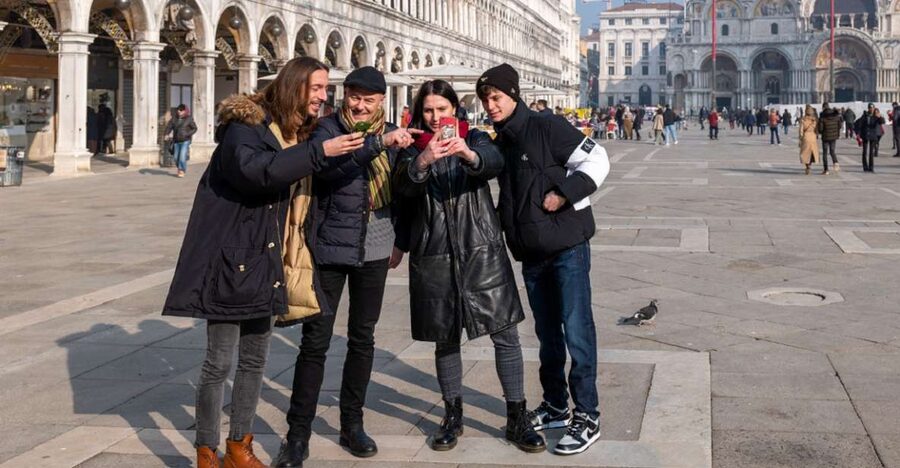
- Professional photo guidance for your camera or phone, not just a walk with commentary
- Hidden corners and romantic alleys chosen to avoid heavy crowds
- Route adjusts to weather and light for better results
- Creativity through composition prompts as you move between Venice details
- Small group (max 8) so feedback is practical, not generic
Why the Campo San Gallo Start Makes the Whole Tour Click
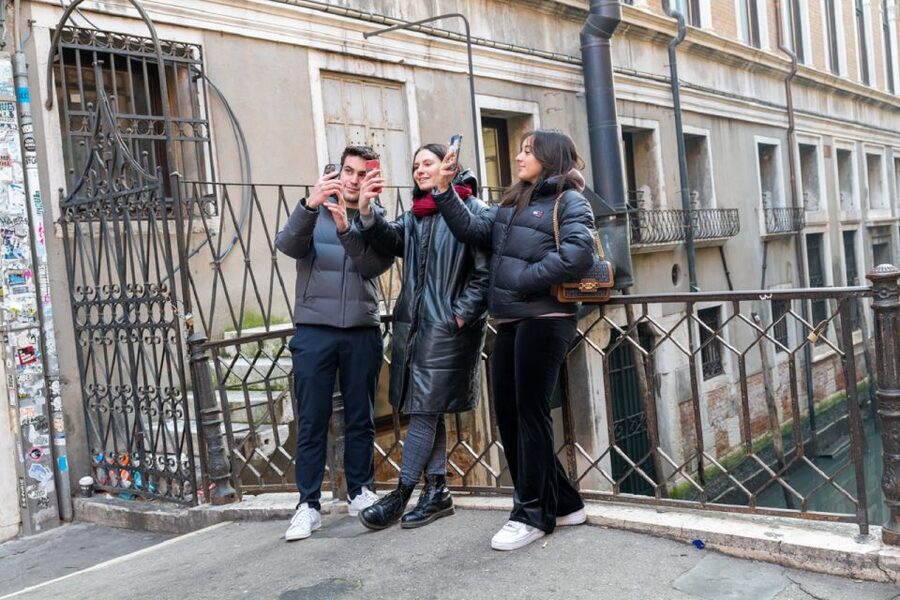
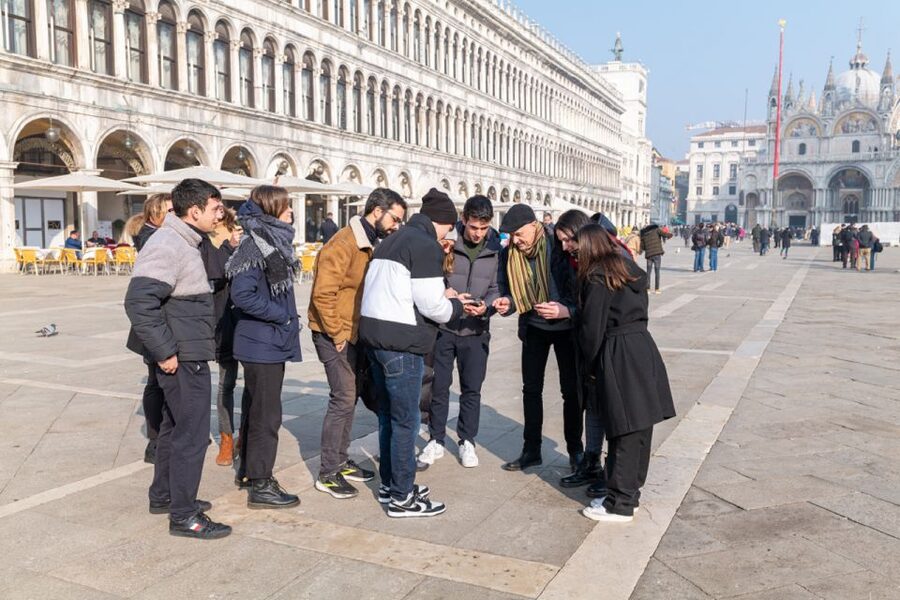
The meeting point is Venice Tours Office in Campo San Gallo, San Marco 1093/B, just by San Marco Square. If you arrive with the Basilica of San Marco behind you, the directions are simple: stay on the right side under the arches, find Olivetti Museum, go right, pass under the archways, cross the little bridge, and head straight to Campo San Gallo.
That location matters because it puts you close enough to the classic Venice core while positioning you to peel away from the busiest sight lines early. In a place like Venice, where streets twist and tiny bridges can throw off your sense of direction, starting at a clear point helps you focus on photos instead of logistics.
You can also read our reviews of more tours and experiences in Venice.
The Photographer’s Job: Turning Your Phone Into a Real Tool
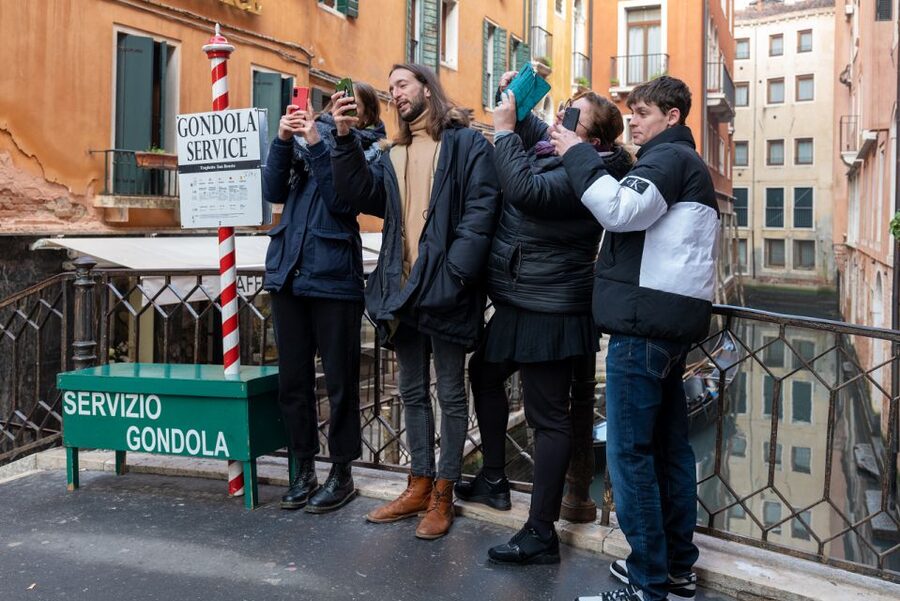
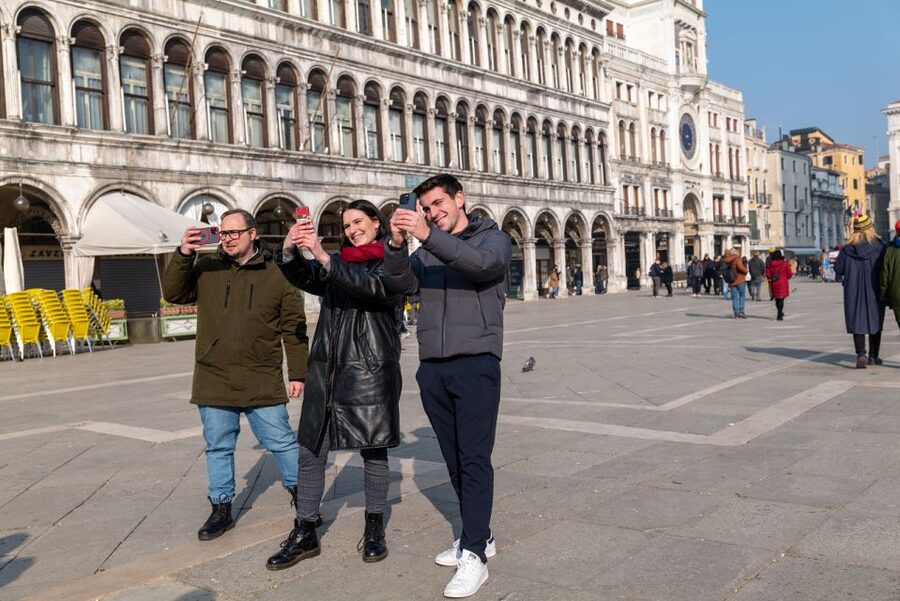
This tour is built around one key idea: you don’t need special gear to take stronger pictures—you need guidance on how to use what you already have. You’ll shoot with your camera or cell phone, following advice from the photographer guide (professional, and English/French/Spanish/Italian speaking).
A small group also changes the quality of the experience. With up to 8 participants, you’re more likely to get targeted feedback—things like how to frame a scene, how to position yourself in a narrow alley, or what to watch for in reflections and angles. That’s where tours often fall short elsewhere: they give you a route. This one helps you see.
In at least some departures, the guide you meet may be Vinicio, and some groups have been led by Francesca—both known for mixing photography with real Venice context.
Finding Romance in Venice Without Getting Stuck in Crowds
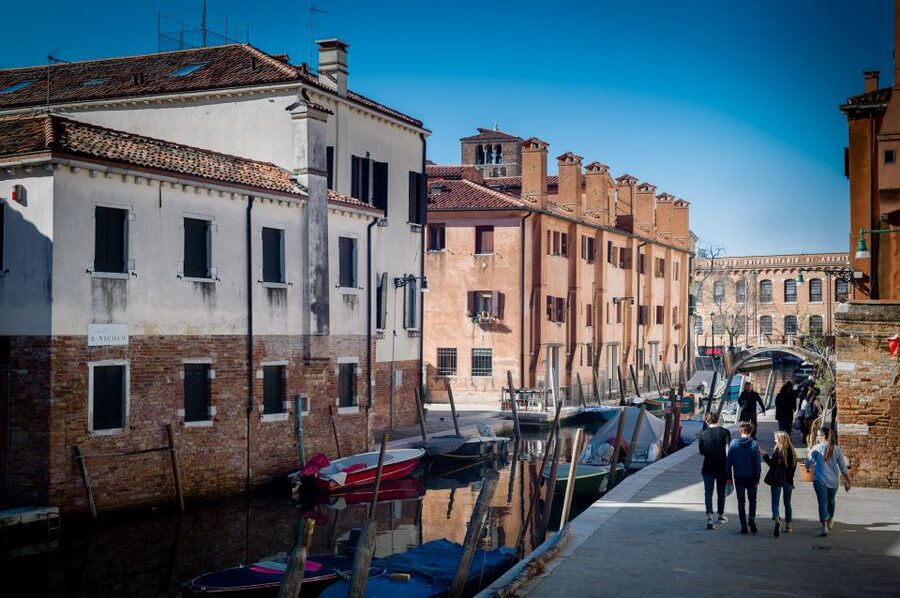
The tour is designed to take you through characteristic alleys and places known mainly to Venetians, away from the strongest tourist crush. That’s a big deal for photography, because crowded scenes flatten your images. You get busy backgrounds, blocked sight lines, and that constant scramble to find a gap to shoot through.
Instead, you’re aiming for atmosphere: quieter corners, romantic passages, and Venice details that feel lived-in. The phrasing of the experience points you toward mystery and charm, and you’ll feel that in the walking pace and the stop-and-shoot rhythm. The goal isn’t to check boxes—it’s to build a visual story.
Also, because the itinerary is adjusted based on weather and light, you may end up with softer shadows on cloudy days or stronger tonal contrast when the light cooperates. Either way, the photographer is actively choosing conditions that help your photos look intentional.
A Practical 2-Hour Flow You Can Actually Follow
You should think of this as a compact photo session plus a curated walk, not a full-day “see everything” program. Here’s the flow you can expect, based on how the tour is described and what it emphasizes.
1) Start in Campo San Gallo: Get oriented and choose your photo style
You’ll meet at Campo San Gallo and start moving right away. Early on, you’ll be in “choose how to shoot” mode: whether you want portraits (you and friends), Venice scenes, or a mix. One review specifically highlighted that the guide let people decide what kind of photos they wanted—so you’re not stuck taking only what someone else thinks is best.
This first stage is also where you’ll benefit from quick guidance on camera or phone settings and framing habits. Even small advice—like stepping slightly left or right to avoid distractions—can improve results fast.
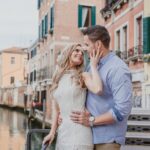
2) Into characteristic alleys: shoot the angles, not the obvious postcards
As you leave the most direct routes, the tour shifts into narrow, Venice-style streets and lanes. This is where smartphone photography often improves the most, because the phone camera can struggle with framing unless you’re taught what to do with small spaces.
Your best targets in these alley stretches are usually:
- Lines that lead your eye through the scene
- Curves and repeating architecture patterns
- Texture and small signage details
- Reflections where they naturally appear
The photographer’s job here is to guide you into spots that feel “Venice,” but not the kind that look like they were shot by everyone else.
3) Hidden corners stop: pause, compose, and shoot your way
The “hidden spots” part isn’t just a marketing line. It’s the stop-and-shoot moments where you’ll have time to practice composition. You’ll likely spend more time than you expect at each pause, because the aim is better pictures, not faster walking.
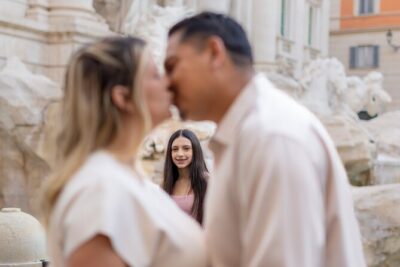
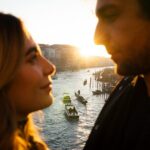
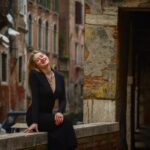
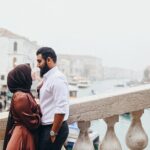
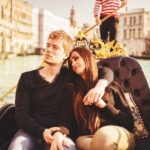
If you want shots of just Venice, you’ll frame facades, canals/edges when they appear in your route, and romantic sight lines. If you want pictures of you, the guide can help you find an angle that includes Venice atmosphere without turning you into a tiny silhouette against a messy background.
4) Light-and-weather adjustments: the tour is flexible on purpose
Since the itinerary is decided on the spot depending on weather and light, you might swap a planned type of scene for a better one. The upside is that you’re not stuck shooting bad light. The downside is that you can’t plan a strict shot list like a mission.
If the day is bright, you may be steered toward contrast and crisp detail. If it’s gray or moody, the photographer can lean into softer tones and calmer visuals. Either way, you’ll be shooting with an eye for conditions, not only locations.
5) Wrap back near San Marco-area streets: review your shots and keep moving
The tour ends back at the meeting point. By the final stretch, you’ll have enough shots to compare your progress: earlier frames versus later ones, scenes with your chosen style versus scenes you might not have thought to shoot.
That final stop is also a good moment to slow down and re-shoot something you liked once already—because in Venice, your first frame is often your scouting shot.
Price and Value: What $81.57 Buys You in Real Terms
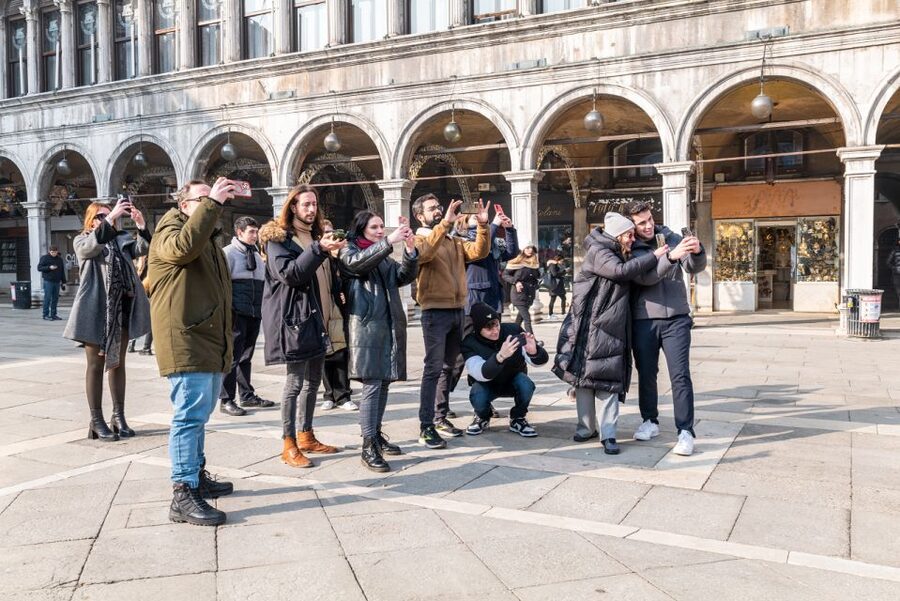
At $81.57 per person for about 2 hours, you’re paying for the structure and the guidance. This price includes a photography tour with a professional photographer guide, plus the small-group format (limited to 8 people).
What’s not included is important:
- Photographic equipment
- Development and post production of photographs
So the value depends on your expectations. If you bring your own phone/camera and you enjoy learning while you shoot, you’re likely getting exactly what you want: a guided photo walk that helps you produce usable images immediately.
If you were hoping for edited final photos or a provided camera, you’ll need to plan for that separately. In other words, this tour is about your shooting skills and your raw capture—not a package of finished images.
What to Bring (So You Don’t Fight Venice)
The tour asks for comfortable clothes, and that’s the right idea. Venice streets include uneven paving and lots of small turning points, even when you’re not going far.
Bring:
- Your camera or smartphone (this is the point)
- Charger/battery backup if you tend to shoot a lot
- Comfortable shoes (you’ll be walking in alleys)
And set your expectations around learning. You’ll get better results if you treat it like a short workshop with a moving classroom.
Who This Tour Suits Best
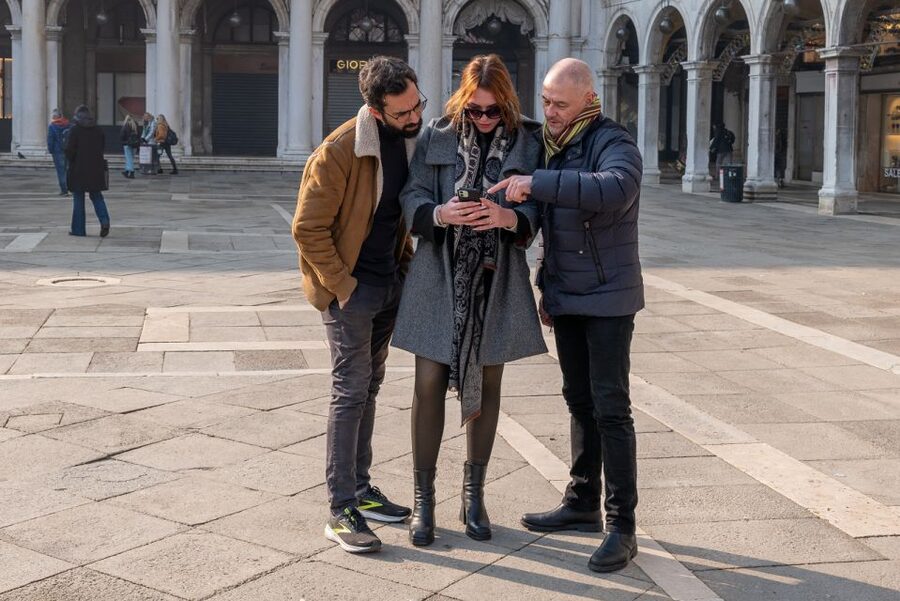
This is a great match if you:
- Want stronger photos without needing fancy gear
- Prefer hands-on guidance over a long lecture
- Enjoy walking and shooting in smaller, less crowded spaces
- Want both Venice scenes and photos that include people in them
It’s also ideal for mixed skill levels. Since the guide can adapt to your choices (like wanting portraits versus city-only shots), beginners can get immediate wins and more experienced shooters can refine composition.
Important note: it isn’t suitable for people with mobility impairments or wheelchair users, based on the activity details. If mobility is a factor for you, check in before booking.
Should You Book This Guided Hidden Spots Photo Tour?
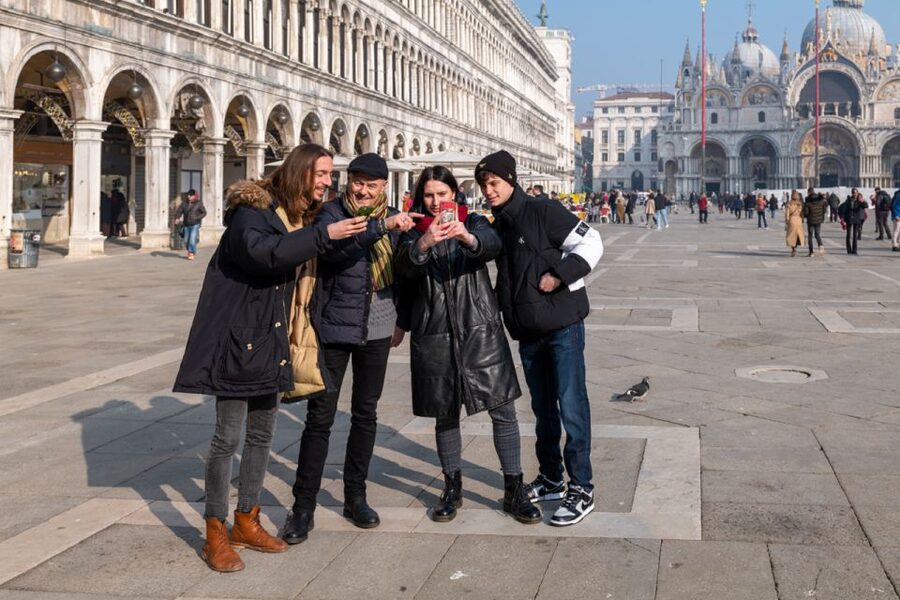
I’d book it if your goal is better pictures in less tourist-noise, delivered in a small group with a professional photographer who can guide you using your phone or camera. The flexible route based on weather and light is a smart feature in a city where conditions change quickly, and the short 2-hour format is perfect when you want results without committing a whole day.
Skip it if you need a strictly fixed route with guaranteed named stops, or if you expected equipment and edited final photo delivery. This tour is about making your own images well, with direction along the way.
If that sounds like your kind of Venice day—walk, frame, shoot, adjust—this one is a solid bet.
FAQ
How long is the Venice Hidden Spots Guided Photography Tour?
It runs for 2 hours.
How much does the tour cost?
The price is $81.57 per person.
What’s included in the price?
A photography tour plus a professional photographer guide.
Do I need to bring my own camera or phone?
Yes. Photographic equipment isn’t included, and the tour is designed for you to shoot using your camera or cell phone.
What languages are offered?
English, French, Spanish, and Italian.
Where do I meet the guide?
Meet at Venice Tours Office in Campo San Gallo, San Marco 1093/B, beside San Marco Square (near the Basilica of San Marco). The tour ends back at the meeting point.