REVIEW · NEW YORK CITY
NYC After-Dark Photography Tour
Book on Viator →Operated by New York City Photo Safari · Bookable on Viator
Night photos in NYC are all about timing.
This after-dark photography tour is built for that: you’ll work Times Square and the Theater District when the lights look their best, then mix in calmer angles for technique practice in nearby Bryant Park. I like that the tour is structured around specific camera skills, not just wandering with a camera.
What I really like is the pro photographer guidance and the fact that so many stops are ticket-free. In particular, you get hands-on instruction for long exposure in Times Square and flash use in Bryant Park, plus quick photo targets that keep you moving instead of guessing where to stand.
One thing to consider: Empire State Building admission isn’t included, so if you want that final night shot from/around the building, you’ll need to plan for the extra cost and time at the end.
In This Review
- Key takeaways before you go
- Why Times Square at Night Makes Better Photos Than Daytime
- Price and Value: What $150 Buys You in Real Terms
- Getting There: The Simple Times Square Start/End Plan
- Stop 1 in Times Square: Long-Exposure Photos With All That Light
- Potential downside in Times Square
- Stop 2 in Bryant Park: Flash Techniques Without the Head-Scratching
- What flash practice teaches you
- Stop 3: The US Army Recruiting Office Photo Moment
- Stop 4: Photographing the ABC News Ticker
- Stop 5: Theater District Crossroads for Composition Practice
- Stop 6: Empire State Building at Night (Admission Not Included)
- What You’ll Learn: More Than Just Where to Stand
- Why Max 4 Travelers Changes Everything
- Weather and the Night-Photography Reality
- Who This NYC After-Dark Photography Tour Is Best For
- Should You Book This After-Dark Photography Tour?
- FAQ
- How much does the NYC After-Dark Photography Tour cost?
- How long is the tour?
- What is included in the price?
- What is not included?
- Where does the tour start and end?
- What group size should I expect?
- Is the tour only for adults?
Key takeaways before you go
- Small group size (max 4) means your guide can actually help with your camera settings and positioning.
- Times Square long-exposure practice turns all that light into a controlled photo, not a blurry mess.
- Bryant Park flash coaching helps you make the scene pop without blowing out highlights.
- Icon stops with no added admission at most locations keep the tour great value.
- Empire State Building is the only admission not included, so it’s your one likely extra budget item.
Why Times Square at Night Makes Better Photos Than Daytime
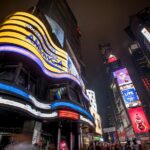
Daytime Times Square is busy and flat. After dark, it becomes a light lab. Neon, LED billboards, moving traffic, and storefront reflections all give you color and texture you can’t fake. That’s why a night-focused approach helps you learn faster: you see the effect of your settings right away.
You’ll also get the benefit of the Theater District around you. The streets are set up for strong leading lines and layered signage. The tour’s timing matters because it concentrates you in the best-lit blocks while you practice longer exposures and quick framing.
Finally, this isn’t a sit-and-wait photo walk. You’ll stop at specific spots and get prompts for what to try. That structure helps if you’re new to night photography, but it’s also useful if you’ve tried before and want a cleaner method.
You can also read our reviews of more tours and experiences in New York City.

Price and Value: What $150 Buys You in Real Terms
At $150 per person for about 4 hours, the value is strongest when you treat this as a skills class in a photo playground.
Here’s what you’re paying for:
- A professional photographer guide who can walk you through settings and composition on the spot.
- A small group of up to 4, which reduces the time you spend waiting for attention.
- Mostly ticket-free stops, so your cost stays predictable.
Your biggest potential extra cost is the Empire State Building, since admission there is not included. Everything else in the plan is ticket-free, so you get a lot of iconic-photo time without paying multiple attractions.
If you normally do DIY night photos, you’ll quickly realize you can spend a lot on taxis, wandering, and trial-and-error. Paying for a guide here is often cheaper than burning an entire evening trying to figure out the right exposure and where to set up.
Getting There: The Simple Times Square Start/End Plan
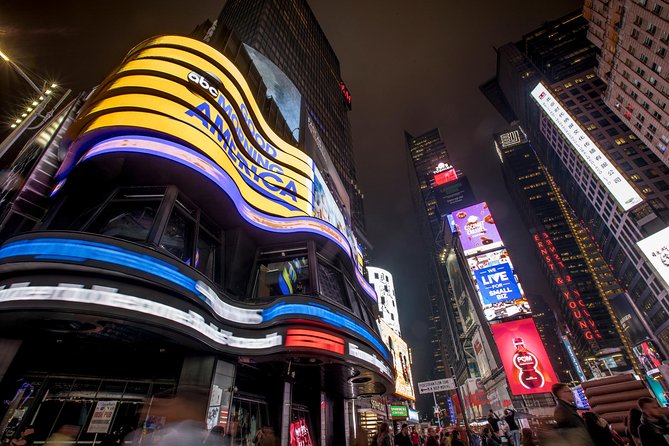
You meet in Times Square (Times Square, New York, NY 10036) and the tour ends back in the same area. That means you’re not dealing with a complicated pickup zone or a long transit at the end.
The tour is near public transportation, which matters because after-dark plans are easiest when you can hop on a subway or bus quickly if you’re running late or want to head elsewhere after your shoot.
Also note the tour uses a mobile ticket and gives confirmation at booking. Bring your phone with the ticket ready so you can check in without slowing the group.
Stop 1 in Times Square: Long-Exposure Photos With All That Light
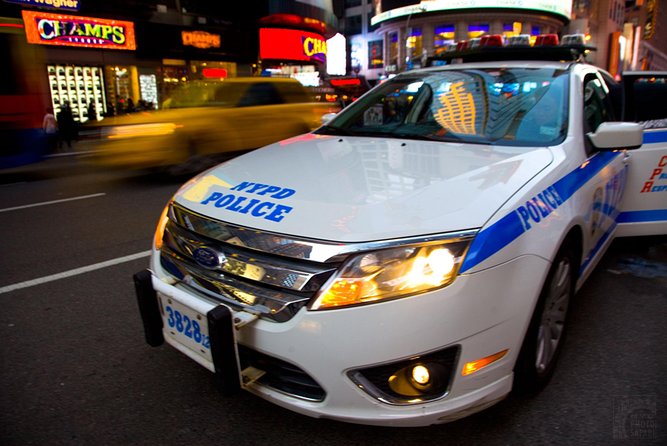
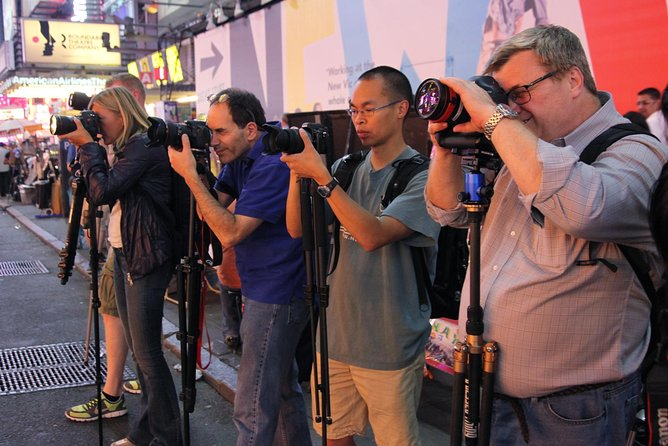
Times Square is where the tour’s technical foundation starts. You spend about 2 hours here focused on long exposure photography, and that’s a smart choice because Times Square practically hands you the ingredients: bright points of light and motion.
What you’re learning in this phase usually boils down to two problems night photographers face:
- How to control exposure so the photo isn’t a blown-out smear.
- How to use motion (cars, lights, slight subject movement) so it looks intentional.
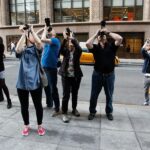
Your guide will help you with practical setups, including where to position for clean frames and how to think about stable shots. One review specifically called out that the instructor had well-organized ideas for content and the best places to set up tripods. That’s big, because tripod placement is often the difference between a sharp result and a shaky disappointment.
You’ll also get the comfort of repetition. With two hours in one area, you’re not rushing through settings once and hoping for magic. You can try again, adjust, and learn the cause-and-effect.
Potential downside in Times Square
The area is crowded and constantly changing. Even with a tripod, you may have to shift slightly to keep your frame clear. If you’re very sensitive to crowds, you might find the first part a bit intense—but it’s also the best place to learn.
Stop 2 in Bryant Park: Flash Techniques Without the Head-Scratching
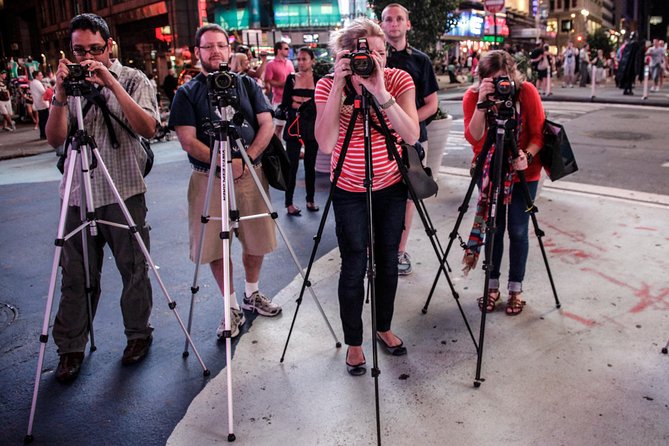
After the intensity of Times Square, you get a different vibe in Bryant Park. The stop is short (about 20 minutes) but it targets one skill: how to use flash in a night urban scene.
Flash at night is tricky. It can make people and foreground elements look crisp, but it can also overexpose signage, blow out bright surfaces, and flatten depth if you use it blindly. With a pro watching, you’re more likely to learn a repeatable approach instead of copying random settings.
You also won’t be left wandering. The tour includes guidance that helps you move through Bryant Park without losing your framing. Bryant Park is only about 9.6 acres, but at night it’s easy to drift when you’re focused on composition and not on navigation.
What flash practice teaches you
Even in 20 minutes, you can pick up two useful lessons:
- How to balance flash with the ambient light already in the scene.
- How to keep your subject looking natural against a busy background.
If you’ve ever tried flash photos and felt like your camera either made everything too bright or too dark, this stop is the correction phase.
Stop 3: The US Army Recruiting Office Photo Moment
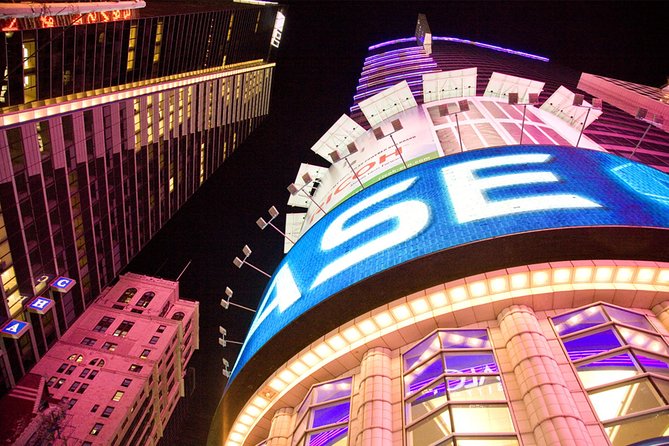
You’ll spend about 15 minutes at the US Army Recruiting Office in Times Square, with the goal of photographing a notable landmark.
Stops like this are valuable because they force you to practice speed and framing. You don’t have unlimited time to chase the perfect angle, so you learn to work with what you can set up quickly: where the lines lead, where the light hits, and how to keep distractions under control.
The key is that this stop isn’t just about the building. It’s about building your ability to create a strong image in a hectic environment—one of the hardest parts of night photography in NYC.
Stop 4: Photographing the ABC News Ticker
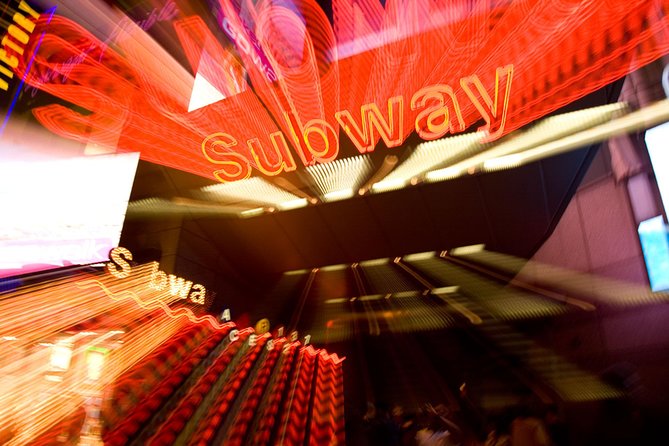
Another short stop (about 15 minutes) focuses on how to photograph the ABC news ticker in Times Square.
Why this is worth doing: LED tickers and screens can be tough at night. They often create bright banding, flare, or overexposed areas depending on exposure and angles. A guide can help you pick a strategy—often by controlling framing and timing—so the text and lighting look readable instead of smeared.
This kind of “targeted instruction” is one reason the tour feels more efficient than a general night walk. You’re not guessing what settings will work for screens. You’re learning a method for a specific visual problem.
Stop 5: Theater District Crossroads for Composition Practice
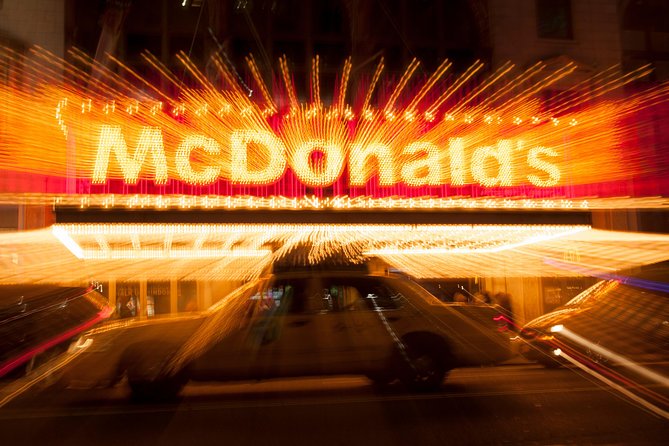
You’ll spend about 30 minutes in the Times Square / Theater District crossroads. This is one of the more practical sections because it gives you space to work on composition across a wider visual field.
This stop is basically where your learning clicks. After practicing long exposure, then flash, you can return to a broader scene and apply what you’ve learned:
- Use leading lines from street and building geometry.
- Choose an exposure that handles bright signage.
- Decide what you want sharp (or intentionally blurred) in the frame.
You’ll also likely find it easier to craft images here because the area is designed for layers of signage and depth. The tour gives you time to use that instead of just walking past it.
Stop 6: Empire State Building at Night (Admission Not Included)
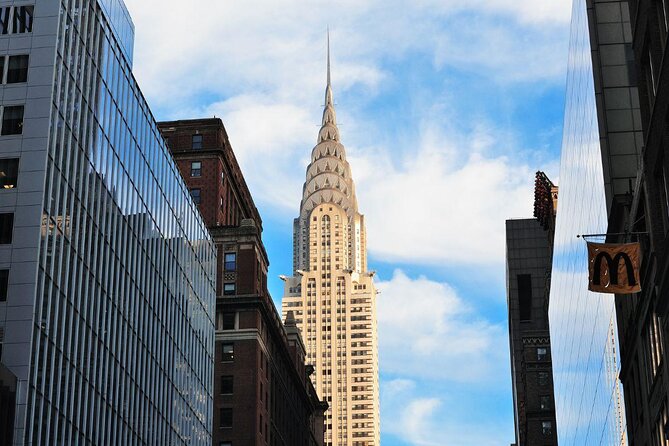
The finale is Empire State Building, about 15 minutes dedicated to photographing it at night.
This is the most iconic payoff on many NYC lists, and it’s a great way to end your session because you’re moving from street-level technique to a landmark shot. One review mentioned a planned setup where the moon’s position created a perfect backdrop near the building. Even if the sky looks different on your night, the building’s light and silhouette give you strong results with the right approach.
The important part: admission to the Empire State Building is not included. The tour doesn’t promise entry. So think of this stop as your chance to photograph the building from within the tour’s plan area. If you’re hoping for an observation experience, you’ll need to arrange that separately and budget it.
What You’ll Learn: More Than Just Where to Stand
The heart of this tour is technique. You’re not just getting photo spots; you’re learning how to think like a night photographer.
Based on what the guide focuses on and what people highlighted afterward, you can expect coaching on:
- Long exposure setup in Times Square, where bright light and motion can either ruin or enhance your shot.
- Flash usage in Bryant Park, including how to keep your subjects from looking washed out.
- Tripod positioning, because stable setup is where many night photos succeed.
- Camera control across different scenes, from billboard glow to darker park elements.
One review also mentioned that the instructor had experience guiding different camera types in the group. That matters if you have a phone, a basic camera, or a more advanced model. At minimum, you’ll leave with clearer thinking about exposure and light balance, not just a folder of photos.
Why Max 4 Travelers Changes Everything
This isn’t a big group tour. With up to 4 travelers, you get attention when you need it most: right when you’re setting up and the shot is coming together.
That small size helps you:
- Adjust faster when your first test exposure looks off.
- Get help understanding what to change, not just being told to try again.
- Keep moving without feeling rushed past the good angles.
And if you’re traveling alone or with a friend who isn’t as into photography, the group size still works in your favor. You’re less likely to be stuck waiting for others to finish.
Weather and the Night-Photography Reality
This experience requires good weather. Night photography plans are fragile when it’s windy, rainy, or too dark for the lighting effects you want. If it’s canceled due to poor weather, you’ll be offered a different date or a full refund.
This is one of those tours where you should treat the confirmation as the start of your planning, not the whole plan. If you’re booking close to a weather-sensitive window, it’s worth keeping an eye on forecasts so you can dress and plan accordingly.
Who This NYC After-Dark Photography Tour Is Best For
You’ll likely enjoy this most if you want:
- A guided night photography approach in Times Square and nearby areas.
- Clear coaching on long exposure and flash instead of trial-and-error.
- A tour that aims at iconic visuals without stacking multiple paid attractions.
It’s also a good match for people who care about getting results quickly. The plan is tight: you stop, learn, shoot, and move on. Even if you’re new, that structure helps you learn faster.
Minors can join, but they must be accompanied by an adult. Service animals are allowed too, and most people can participate.
Should You Book This After-Dark Photography Tour?
If you want night photos that look intentional, I think this is a strong booking. The combination of pro guidance, small group size, and hands-on long exposure plus flash practice makes the $150 feel more like an instructional session than a sightseeing add-on.
I’d book it especially if you’ve tried night photography once and realized you need a method. The tour gives you a clear sequence of skills and then pushes you to apply them across iconic NYC scenes.
I would hesitate only if you’re uncomfortable in crowds or you strongly want the Empire State Building experience beyond photography. Since admission there is not included, you’d need to arrange that separately.
If you’re aiming to leave with better shots and better technique, this is exactly the kind of tour that pays off.
FAQ
How much does the NYC After-Dark Photography Tour cost?
The price is $150.00 per person.
How long is the tour?
It runs about 4 hours (approx.).
What is included in the price?
You get a professional photographer guide, and local taxes are included.
What is not included?
Hotel pickup and drop-off and transportation to/from attractions are not included. Also, admission to the Empire State Building is not included.
Where does the tour start and end?
It starts at Times Square, New York, NY 10036, USA and ends at the same location.
What group size should I expect?
The maximum group size is 4 travelers.
Is the tour only for adults?
Minors must be accompanied by an adult. Service animals are allowed, and the tour is offered in English.