REVIEW · LONDON
London Photography Tour – Private Tour
Book on Viator →Operated by London Photo Tours and Workshops · Bookable on Viator
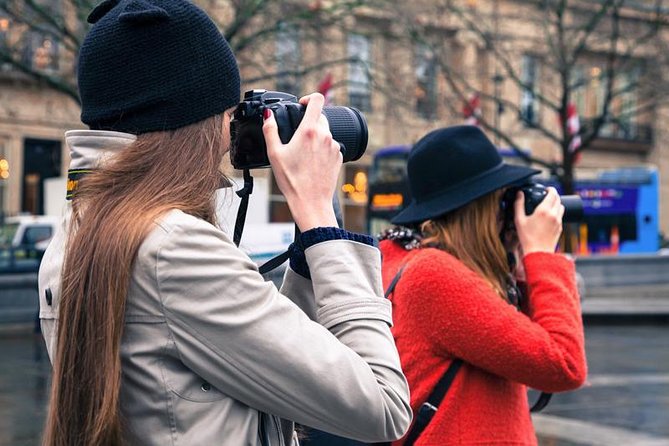
London is a giant photo set, and this tour teaches you how to use it. You’ll get private, hands-on coaching as you move through central landmarks, with Fine Art photographer Lou helping you turn everyday scenes into stronger shots. I also like the focus on real camera skills, not just pointing and shooting.
What I love most is the way the lessons match what you’re seeing right then—think aperture, depth of field, light, framing, and focusing tied to each stop. The other big win is the built-in check-in and feedback rhythm, including a review of what you’re doing and how to improve for the rest of the walk.
One thing to consider: it’s a walking tour, and you’ll get the most out of it if your camera is ready. Bring a fully charged battery and extra memory cards, and plan for the city’s weather since it runs in all weather conditions.
In This Review
- Key Highlights You’ll Actually Use
- Private London Photo Walk: What You’re Paying For
- Meeting at Charing Cross and Finishing at Victoria Embankment
- Trafalgar Square: Aperture, Depth of Field, and Framing in Real Street Energy
- The National Gallery Stop: Angles, Focusing, and Contrasts That Make Photos Feel Modern
- Leicester Square: Light, Light Again, and Portrait-Style Details
- Piccadilly Circus: White Balance, Camera Handling, and a Short Progress Check
- Horse Guards Parade at Whitehall: Portrait Power, Shutter Speed, and Fill Flash
- Big Ben and Parliament Square: Free Icon Views with Real Composition Coaching
- Westminster Abbey: Working the Outside for Scale and Structure
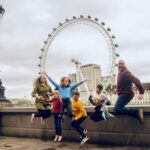
- London Eye Across the River: Framing a Giant and Controlling Motion
- What the Coaching Actually Helps You Learn
- Who This Tour Suits Best
- Should You Book This Private London Photography Tour?
- FAQ
- How long is the London Photography Tour – Private Tour?
- Where do we start and end the tour?
- Is this tour private?
- What language is the tour conducted in?
- Do I need to buy admission tickets for the stops?
- What should I bring?
- Is there free cancellation?
Key Highlights You’ll Actually Use
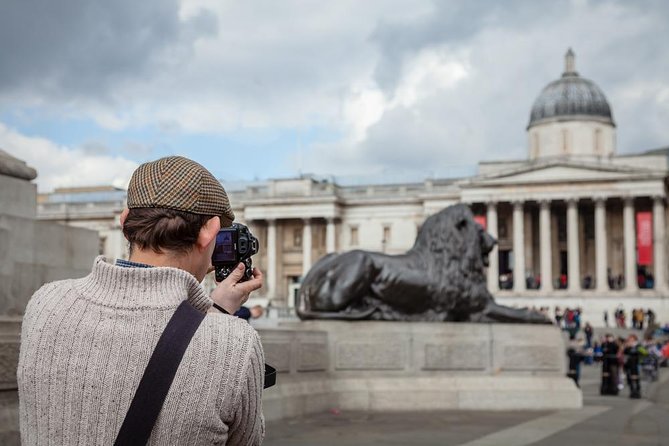
- Private coaching on camera settings while you photograph real London landmarks
- Lou’s teaching style: encouraging, clear, and focused on getting sharper results
- Multiple quick skill lessons per stop (framing, angles, focusing, shutter speed, white balance)
- Short working break to review your progress and adjust for what’s next
- Admission ticket free at each listed photo stop during the tour
Private London Photo Walk: What You’re Paying For
At $336.40 per person for about 4 hours, this tour is priced for value if you want more than a sightseeing stroll. You’re paying for a professional photographer’s time, plus structured instruction tied to specific locations across central London.
And because it’s private—exclusive to your group—you’re not waiting for a big group to move or guessing when you should ask questions. You’ll also have a clear reason for each stop, since the route is built around learning themes like composition, light, and how to see a place with fresh eyes.
The tour also works well if you’re starting out. It’s designed for all skill levels and supports a wide range of digital cameras, including smart phones, as long as you can take control of basic settings when needed (or at least follow direction).
You can also read our reviews of more tours and experiences in London.

Meeting at Charing Cross and Finishing at Victoria Embankment
You start at Charing Cross (London WC2N 5DP), near the Charing Cross rail and tube stations. The tour ends at Victoria Embankment—so you’re dropped nearer to another big hub than you might expect from a half-day.
That matters because you can plan your next move. If you’re hungry afterward or want to keep exploring, you’re already in a good central zone rather than doubling back.
You’ll also receive a mobile ticket, and the tour runs in English. It’s confirmed at booking time, and it’s offered in all weather, so your clothing choices matter.
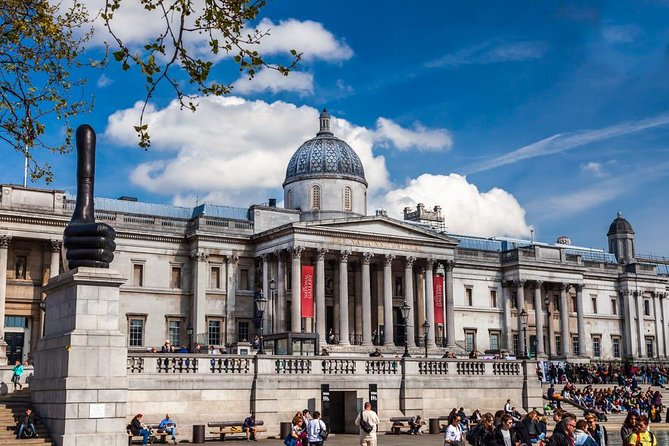
Trafalgar Square: Aperture, Depth of Field, and Framing in Real Street Energy
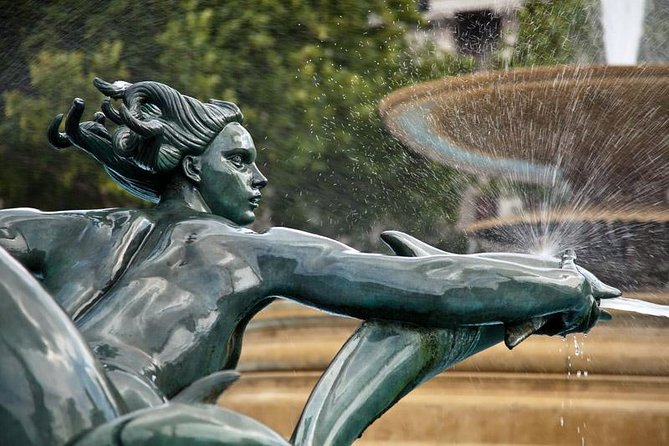
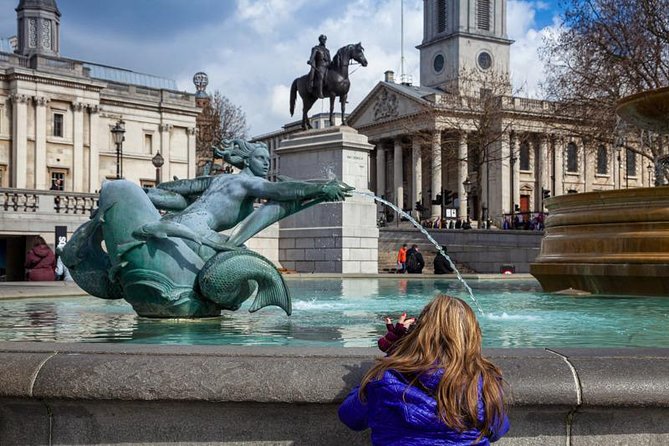
Your first stop is Trafalgar Square, with about 35 minutes to work. This is a smart opener because it has everything a photographer needs to practice: iconic statuary, big open space, and changing light across the day.
You’ll photograph British heritage scenes, including the Landseer lions, the National Gallery backdrop, mermaid sculptures, fountains, and lots of statues and monuments. And the square often brings street entertainers and pavement artists, including chalk drawings. That’s useful because you can practice how your camera handles motion and fine detail, not just monuments.
This is where the tour introduces key lessons like aperture, depth of field, and light. You’ll also work on capturing far-reaching views from Trafalgar Square toward Whitehall. For me, that’s one of the best uses of the start of a tour: you get a wide-angle type of challenge early, then learn to control what stays sharp and what falls off.
Possible drawback here: the square can be busy, so your clean frames may depend on timing and positioning. If you want portraits without crowd chaos, you’ll need to listen carefully when Lou advises on where to stand and what to aim for.
The National Gallery Stop: Angles, Focusing, and Contrasts That Make Photos Feel Modern
Next comes the National Gallery area for about 15 minutes. The goal is to help you create images that feel current, even when you’re photographing famous architecture.
You’ll focus on the visual dynamics of the building—texture, contrast, and how different viewpoints change the feel of the shot. You’ll also cover camera basics that directly affect results here: angles of view, depth of field, and focusing techniques.
This stop is short, so don’t expect a long wander. Instead, it’s more like a focused lesson: take direction fast, make one or two strong compositions, then adjust based on what you’re seeing in the viewfinder or screen.
Practical note: if you’re traveling with a phone, you’ll still benefit. You can practice how distance and framing change the look, even if you can’t adjust every setting like on a dedicated camera.
Leicester Square: Light, Light Again, and Portrait-Style Details
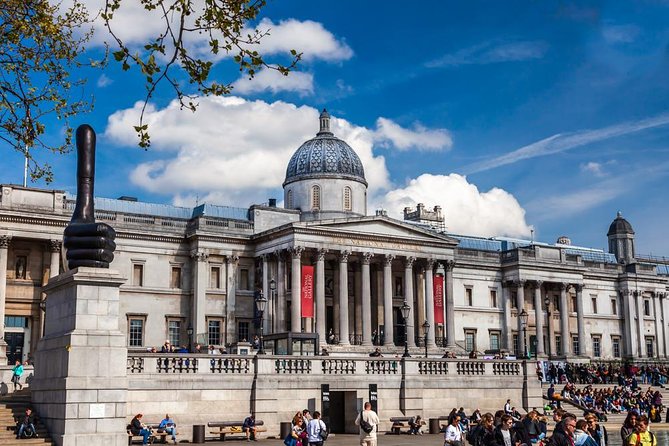
You get about 25 minutes at Leicester Square. The area is ideal for practicing because it mixes big symbols (the Shakespeare statue), lively street life, and classic London showbiz energy.
You’ll photograph gardens, fountains, and the dominant presence of the William Shakespeare statue, plus a portrait of Charlie Chaplin. You’ll also learn the importance of light and experiment with varying angles of view to get a more intentional look, not a snapshot.
This is also where the tour revisits aperture and depth of field and pushes you toward better camera handling. I like that it’s not one-and-done. Instead, the lessons repeat in new settings, which is how settings start to stick.
One consideration: Leicester Square is visually busy. If you tend to aim at the biggest subject every time, you might end up with backgrounds that compete. That’s where Lou’s framing and composition direction can help you simplify.
Piccadilly Circus: White Balance, Camera Handling, and a Short Progress Check
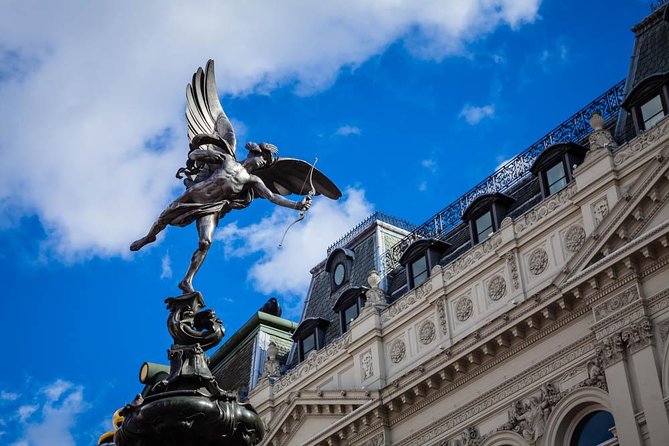
Then you move to Piccadilly Circus for about 45 minutes. Expect a lot of “easy-to-see” subjects: red telephone boxes, red London buses, the Statue of Eros, and those banners above Regent Street.
This stop is great for learning because the light can be tricky. Bright signs and contrasting colors make it easy for photos to come out too warm, too flat, or just not quite right. You’ll get guidance on white balance, along with camera handling and composition.
A nice touch: you take a short working break to review your progress and talk about how to develop your skills for the rest of the tour. That’s when you can fix common issues while they’re still fresh, instead of realizing them at home after you’ve filled your camera with images you might not use.
If you’re bringing a smart phone, this is still a solid stop. Changing angles, stepping back for relationships between subjects, and simplifying backgrounds can all improve your results.
Horse Guards Parade at Whitehall: Portrait Power, Shutter Speed, and Fill Flash
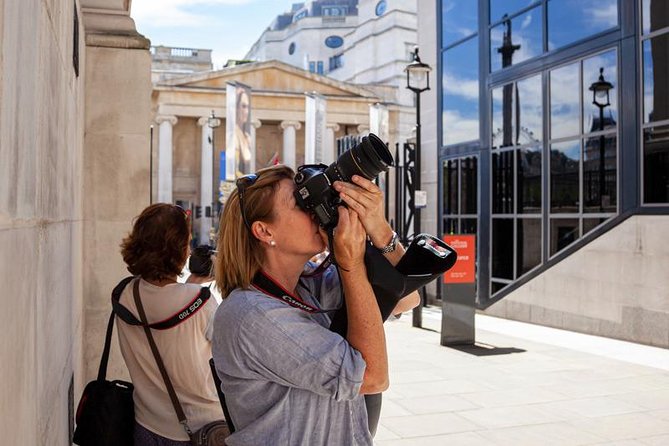
The walk shifts into more formal, ceremonial scenes at Horse Guards Parade at Whitehall, with about 40 minutes. The uniforms and sentry routines are perfect for portraits—especially if Lou helps you keep your composition imposing without losing detail.
You’ll capture horse guards and sentries, including their colorful uniforms. The focus is on taking imposing portraits of guards on duty and photographing the mounted sentries. You’ll also learn about aperture values for portraits and how to use shutter speed to freeze action.
This is another stop where the instruction feels practical. You’ll practice focusing techniques and even get direction on fill flash, which can be useful if the light is harsh or uneven, even on cloudy days.
Along the route you pass the Cabinet War Rooms and statues honoring the Women of the Second World War. You may also notice a Tube sign of Westminster—small but memorable details that help you create a sense of place beyond the big icons.
Possible drawback: because uniforms and action are involved, it can be hard to nail sharp focus if your shutter speed is too slow. Listen closely to the coaching and don’t rush. A sharp portrait beats ten blurry ones.
Big Ben and Parliament Square: Free Icon Views with Real Composition Coaching
You head to Westminster for Big Ben and the Houses of Parliament photos, then continue into Parliament Square for more statue work. The Big Ben photo moment is about 15 minutes, and the Houses of Parliament / Parliament Square section is about 30 minutes.
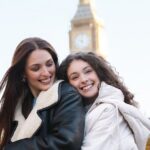
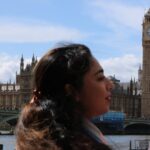
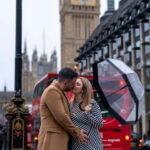
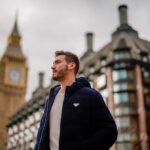
At Big Ben, you’ll photograph the Houses of Parliament and Big Ben, plus the classic red telephone box in the iconic setting. This part is short, but it’s a classic place to practice scale and alignment: big monuments plus clean lines plus strong landmarks.
Then you move into Parliament Square, where Lou guides you to photograph statues in front of the Parliament backdrop. You’ll photograph iconic figures including Winston Churchill, Gandhi, and Nelson Mandela against the Houses of Parliament.
This stop is built for strong compositions: statues are textured, faces are meaningful, and the background can overwhelm if you don’t control your framing. The tour specifically targets composition and framing, plus using lens choice and zoom selection and creative aperture values to shape how much background you include.
If you’re chasing social media-ready portraits, this is one of your best bets—because the subject matter carries meaning even if your framing is slightly different from someone else’s shot.
Westminster Abbey: Working the Outside for Scale and Structure
You spend about 15 minutes at Westminster Abbey, focused on photographs from the outside. That’s smart time allocation. You still get the grandeur and scale without needing to plan for longer indoor wandering.
The instruction centers on composition and framing, plus scale, lens choice, and zoom selection. It’s about capturing the structure in a way that feels intentional—wide enough to show importance, controlled enough to avoid a messy background.
This stop can feel like a “wow” moment in person. The trick is to avoid relying on the building to do all the work. Instead, use the coaching to simplify your view and make the architecture read clearly.
London Eye Across the River: Framing a Giant and Controlling Motion
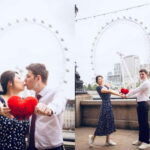
The final major photo area is the London Eye, with about 20 minutes to work from across the river. You’ll explore its scale—at 443 feet (135 metres)—and practice framing, lighting, and lens choice for compositions.
This stop also brings in river views and river life. That gives you an opportunity to practice shutter speed and focusing techniques, especially if you’re trying to balance sharp landmark details with moving water.
I like ending here because it gives you a different kind of image than the statue-and-architecture shots earlier. You can go for a more scenic story, or you can tighten in and focus on relationships between the Eye and the river.
Practical tip from a photographer brain: by the end of a tour, you’ll be tempted to take the same shot again and again. Use the final minutes to try two distinct compositions—one wide and one more selective—then stop before you start repeating by accident.
What the Coaching Actually Helps You Learn
This tour isn’t just a route. It’s a system of repeated skills in different lighting and subject types. Over the walk, you’ll work through practical topics like:
- Improving composition and using framing more creatively
- Light and how it changes your photos from one minute to the next
- Aperture values for portraits and background control
- Depth of field and focusing techniques you can repeat later
- Shutter speed for freezing action and handling movement
- White balance when colors get intense
And the reviews consistently highlight that Lou’s feedback style is supportive and clear. That matters, because the biggest obstacle for most people isn’t London. It’s second-guessing settings. Encouragement plus specific direction turns that into momentum.
Who This Tour Suits Best
You’ll likely love this if you:
- Want to improve camera skills fast without studying alone
- Prefer guided practice over random wandering
- Care about getting better results for both portraits and landmark photos
- Are traveling as a couple, family group, or small group that wants personalized attention
It’s also suitable if you’re using a phone or a digital camera at a beginner level. You won’t be left behind, but bring realistic expectations: you’ll get the best outcomes by following the directions quickly and practicing in place.
If you hate walking long distances or don’t want to manage a camera at all, this may feel more work than vacation. But for most photo lovers, that trade-off is the point.
Should You Book This Private London Photography Tour?
If your goal is to leave London with photos you feel proud of—and not just a camera roll full of almost-right shots—this is a strong option. The main reason is the combination of private coaching and repeated, location-based instruction. Lou’s approach is designed to make you understand settings like aperture and shutter speed in the places where they matter.
I’d book it especially if you want a structured half-day that hits classic icons and still teaches you how to see. Skip it only if you want zero guidance and zero camera thinking. This tour asks you to participate, but it gives you the help to make that effort pay off.
FAQ
How long is the London Photography Tour – Private Tour?
It runs for about 4 hours.
Where do we start and end the tour?
The tour starts at Charing Cross (London WC2N 5DP) and ends at Victoria Embankment.
Is this tour private?
Yes. It’s exclusive to you or your personal group.
What language is the tour conducted in?
The tour is conducted in English.
Do I need to buy admission tickets for the stops?
The listed stops show admission ticket free for the tour time at each location.
What should I bring?
Bring your own camera with a fully charged battery, and consider bringing extra memory cards for extra photos.
Is there free cancellation?
Yes. You can cancel up to 24 hours in advance for a full refund.