REVIEW · LONDON
London Creative Photography Tour
Book on Viator →Operated by London Photo tour · Bookable on Viator
London looks different through a lens. This small-group creative photography tour uses a real guide on the street (often Jesus) to help you see better fast as you start at Nelson’s Column and work through the Trafalgar Square chaos. You get an intro to basic photo ideas right where the photos start.
I really like that the tour is practical for whatever you shoot with. You’ll get urban photography tips for phone or camera, plus hands-on chances to test newer mirrorless gear and accessories like tripods and filters. And yes, you’ll frame big-name landmarks like Big Ben, the London Eye, and St. Paul’s along the way.
One thing to consider: it’s a moderate-fitness walking experience with no transportation included, so you’ll want comfortable shoes and stamina. Also, you must bring your own camera, even though extra equipment is available to try.
In This Review
- Key things I’d watch for
- Starting at Trafalgar Square: your “how to see” moment
- From Trafalgar to Westminster: learning to frame Big Ben the smart way
- Thames views and the London Eye: turning a walk into a composition lab
- Covent Garden and Charing Cross: street photography that feels like London
- Southbank to St Paul’s: bridges, theatres, and that iconic dome
- A hot-drink pause and optional Southwark expansion
- Price and what you actually get for $142.67
- Your guide: not just spots, but shooting help
- What to bring (and how to make your photos better fast)
- Who this London creative photo tour is best for
- Should you book this London Creative Photography Tour?
- FAQ
- How long is the London Creative Photography Tour?
- Where does the tour start?
- Where does the tour end?
- Do I need to bring my own camera?
- Is the tour private?
- What’s included in the price?
- Is transportation included?
- FAQ
- What if I need to cancel?
Key things I’d watch for
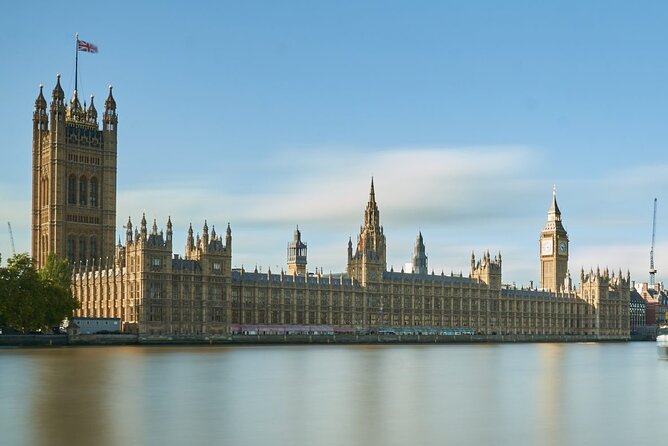
- Personal attention from Jesus: small-group pace with real help, not just a slideshow.
- Phone-friendly street photography ideas: techniques geared for what you likely have in your pocket.
- Try real gear on the move: newer mirrorless cameras, lenses, and accessories like tripods and filters.
- Thames-crossing photo variety: repeated bridge crossings for changing angles and reflections.
- Landmark-to-neighborhood rhythm: iconic sights plus lively streets around Covent Garden and Southbank.
- A hot-drink break mid-walk: likely a pause for coffee or tea around Millennium Bridge.
Starting at Trafalgar Square: your “how to see” moment
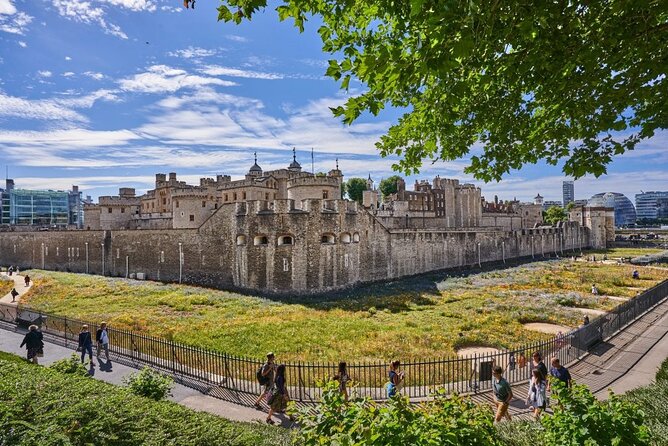
The tour starts at Nelson’s Column (Trafalgar Square area), right in the kind of busy London scene that tests your photo skills—in a good way. Before you march off, you’ll get a basic photographic concepts introduction aimed at making you faster, not fancier. That matters because most people show up with a phone, point it at Big Ben, and then wonder why nothing looks right.
I like the focus on places that are instantly recognizable but still photo-challenging. In this first stretch you can work Nelson’s Column itself, the UK Landseer Lions statues, and nearby classics like the National Gallery, Admiralty Arch, and St Martin-in-the-Fields church. The guide can help you think about framing and street timing as you shoot around crowds of locals and tourists.
Practical tip: in this area, the best shots often come from waiting for a small gap in the foot traffic. If everyone’s moving, you’ll end up with blurry faces. If you’re patient for a few seconds, you’ll get cleaner compositions and more readable lines in the background.
You can also read our reviews of more tours and experiences in London.

From Trafalgar to Westminster: learning to frame Big Ben the smart way
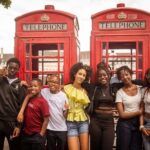
After Trafalgar Square, the walk heads toward Palace of Westminster, passing key sights like Admiralty Arch and The Mall. You’ll also pass Horse Guards Parade and the Cenotaph before reaching Parliament Square Garden. This part is great for learning because it’s a straight-line stretch with lots of structure—perfect for practicing composition.
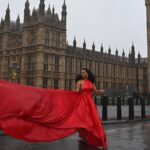
When you arrive at Parliament Square Garden, you’ll have a chance to capture views outside the Palace with Big Ben and Westminster Abbey in the same visual story. This is where the tour’s “creative techniques” angle becomes useful. Instead of only shooting what’s in front of you, you can aim for better relationships: subject versus background, symmetry, and how your camera (or phone) handles depth.
Here’s a real-world drawback: this corridor can get busy, especially near major monuments. If you’re sensitive to crowds, just plan for slower movement and choose your framing points early. The guide’s job is to keep you shooting while the city does its thing.
Thames views and the London Eye: turning a walk into a composition lab
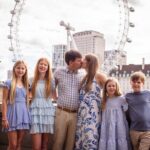
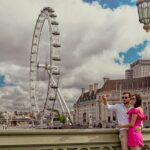
Next comes the most photograph-friendly ingredient in London: the Thames. The tour crosses toward the London Eye area, building in chances to create different compositions of Palace of Westminster and Big Ben. You’re not just going for the postcard view—you’re learning how the same landmarks change when the camera position changes.
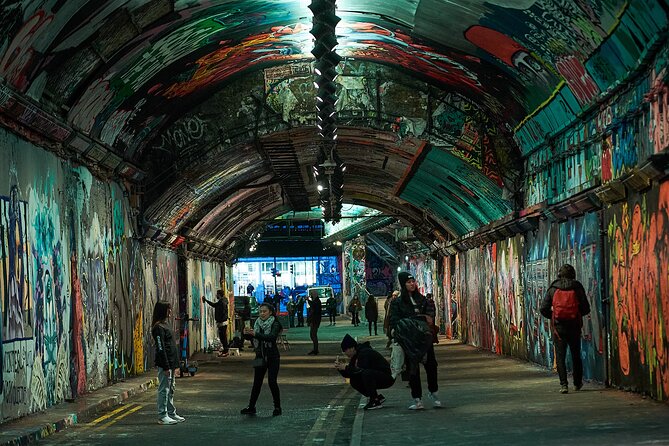
You’ll follow streets and areas around Leake Street and then through the Waterloo surroundings, with the walk including the Golden Jubilee Bridges portion. Bridges are a cheat code for photography because they give you a higher vantage point, more leading lines, and a natural way to frame water reflections.
Practical tip: when you’re shooting along rivers, keep an eye on contrast. Water reflections can look gorgeous, but they can also overpower the landmark if the exposure is too bright or too dark. If you’re using a phone, try different tap-to-focus/exposure points rather than trusting one automatic setting for every shot.
Covent Garden and Charing Cross: street photography that feels like London
After crossing the river again via the Golden Jubilee Bridges, the tour heads toward Embankment, Charing Cross, and Covent Garden. This is where you trade big monuments for human-scale energy. Covent Garden and the surrounding streets are lively, which means you’ll have plenty of chances to practice street photography without feeling like you’re stuck in a museum-like atmosphere.
This segment is valuable because it tests the skills from the earlier stops. You’ll need to think quickly: where does the light hit, how do you isolate a subject from a messy background, and what kind of moment feels worth capturing? Even if your main goal is landmark photos, these street frames often turn into your strongest memories because they show the city’s rhythm.
One consideration: if it’s peak tourist hours, you’ll see more background clutter—signs, posters, crowds. That’s not a deal-breaker, but it does mean you’ll want to practice “framing inside the frame.” Use buildings, archways, or street furniture to cut distractions.
Southbank to St Paul’s: bridges, theatres, and that iconic dome
The tour then moves south, crossing by Waterloo Bridge and walking along the river toward the National Theatre and the Southbank area. You’ll keep getting that layered Thames effect: buildings on one side, activity on the other, and long visual lines you can use to guide the eye across the image.
Next, you’ll pass the historic 18th-century Blackfriars Bridge with its iron arches and stone carvings. Bridges like this are great for texture shots—patterns, repeating forms, and angles that are hard to get from street level. Then the walk finishes this major chunk at St. Paul’s Cathedral.
St Paul’s is a strong payoff because it’s more than just a pretty skyline landmark. It gives you options: wide shots from far back, closer portraits of the dome, and details that work even if your timing is off. If your camera handles high contrast well, this stop can really reward you.
Practical tip: at St Paul’s, don’t only shoot from one spot. Move a few steps left or right. Small position changes can shift what sits behind the cathedral and can turn a plain frame into a confident composition.
A hot-drink pause and optional Southwark expansion
By the time you’re walking toward Millennium Bridge, the pace likely slows for a short break with hot coffee or tea. That kind of pause matters on a 3-hour shoot because it stops the “chimping cycle” from taking over. You’ll have a moment to check what you captured, adjust your plan, and keep your eyes open instead of just scrolling through screens.
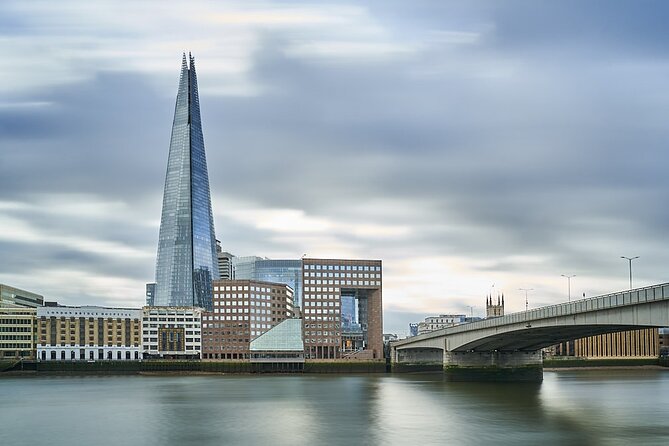
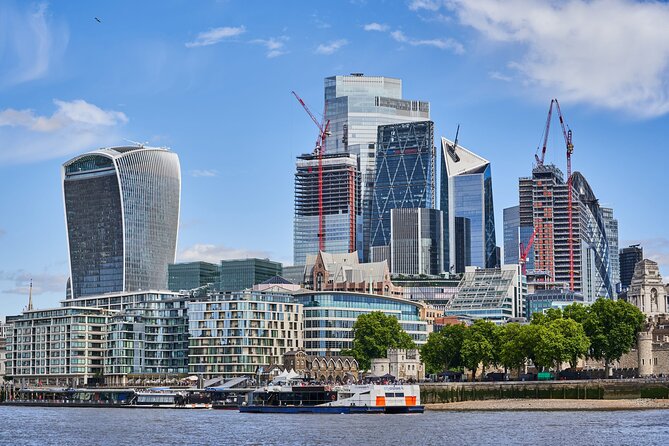
The tour is ambitious, and there’s a chance to extend into the north riverside if there’s time. If you have that extra time, you might photograph Tate Modern, Shakespeare’s Globe, London Bridge, or The Shard on the Southwark side. Even if you’re not going out of your way to chase perfect lighting, these subjects give you a wide range of architectural styles, so you can practice matching the framing to the building.
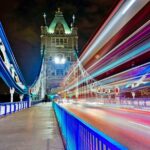
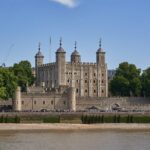
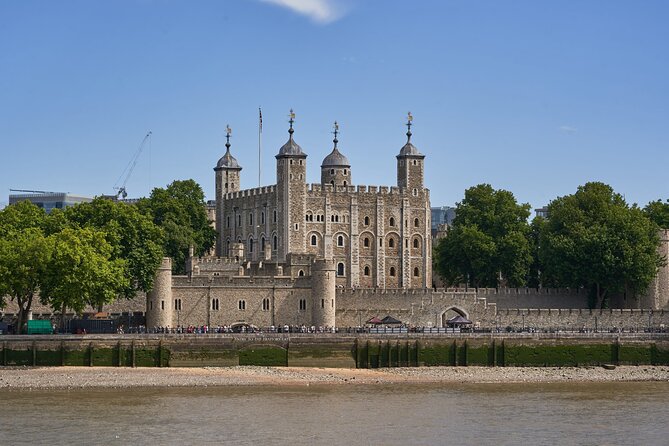
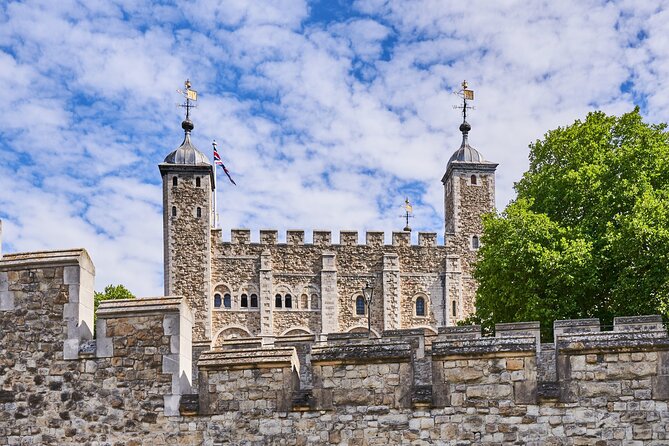
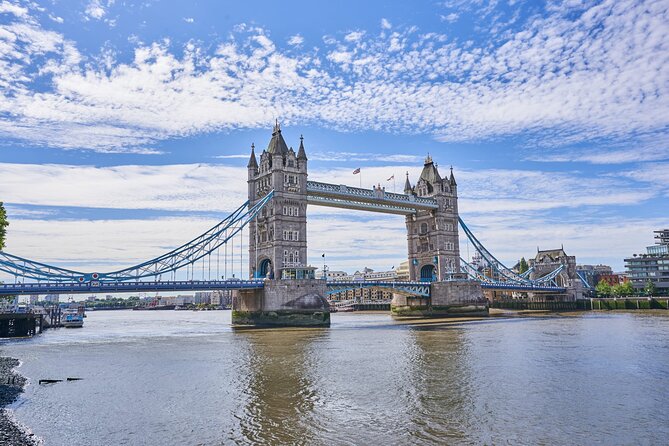
And the final stretch can include HMS Belfast before you arrive at the end near the Tower of London and Tower Bridge. This ending is useful because it puts the biggest “London icons” finish line into the same session as street photography practice—so your shots don’t all feel the same.
Price and what you actually get for $142.67
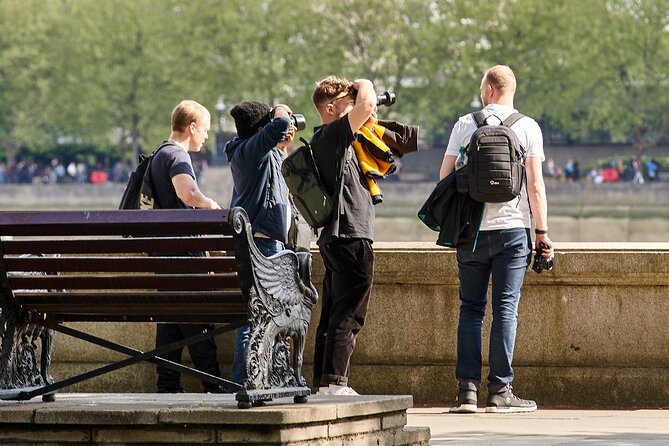
At $142.67 per person for about 3 hours, the value comes from more than just walking around. You’re paying for an actual guided workflow: an intro to photographic concepts, a small-group experience, and ongoing help as you move through different types of scenes. It’s not only sightseeing; you’re actively learning while you shoot.
You also get coffee or tea included, which sounds small but helps on a cold or wet day. And the tour is set up for real photo work: you bring your own camera, but you can test additional equipment like newer mirrorless bodies, different lenses, and accessories such as tripods and filters. That’s a big deal if you’re debating what to buy or upgrade next, because you’ll get hands-on feel instead of guessing.
No transportation is included, so you’ll need to arrive under your own steam. The start is easy to find near public transport, and the end is in a different location, which is common for walking tours in central London.
Your guide: not just spots, but shooting help
One repeated theme in the tour’s reputation is the guide’s teaching style and professionalism. Jesus is described as one of the very best photography guides, and the focus is on learning new techniques while keeping it fun. That balance matters because photography instruction can go dry fast if it’s only theory.
Here, the guidance is connected directly to what’s around you. You’ll get tips and tricks for urban photography and you’ll keep moving through landmark clusters and lively streets, so your learning sticks. The “creative techniques” promise is what turns the walk from passive sightseeing into a practical photo workshop you can actually enjoy.
Also, the tour offers language options—English or Spanish—which is helpful if you want guidance in your comfortable language.
What to bring (and how to make your photos better fast)
Because you have to bring your own camera, plan like this:
- Wear shoes you can walk in for a few hours, including bridge crossings and crowded areas.
- Bring a phone even if you have a camera. The tour is built for phone or camera shooting, and you’ll likely want both options for different scenes.
- If you use a phone, clean the lens and consider a small screen brightness check before you start. Street scenes can trick you into over-brightening.
You’ll be able to test extra gear like tripods, filters, and newer mirrorless cameras with different lenses. Even if you don’t switch to that gear, the chance to test helps you learn what each piece changes in the photo.
Practical tip: during the stop points, don’t burn all your time on one perfect shot. The tour is built on moving angles—so take a few quick frames, then refine.
Who this London creative photo tour is best for
This fits you if you want something more than a landmark stroll. It’s especially good for people who want to learn street photography skills while still getting big icon views like Big Ben, the London Eye, and Tower Bridge.
It also suits you if you’re unsure about your gear and want to play with new tools. Testing mirrorless bodies and accessories like tripods and filters can help you understand what you’ll actually use.
If you’re looking for a relaxed, sit-down sightseeing day with minimal walking, this probably won’t feel right. The route is active, and the photos come from movement and timing.
Should you book this London Creative Photography Tour?
Yes, if your goal is better photos with real help in real locations. The mix of instruction, small-group attention, and lots of practical shooting opportunities makes the price feel more like a mini workshop than a generic sightseeing add-on.
Book it if you’re comfortable walking at a moderate pace and you’re ready to shoot as you move—Trafalgar Square, Westminster viewpoints, repeated Thames crossings, Southbank, St Paul’s, and finishing toward the Tower area. Skip it if you want minimal effort or you expect transportation to handle distances for you.
If you want London photos that look intentional—not just recorded—this is a strong choice.
FAQ
How long is the London Creative Photography Tour?
It runs for about 3 hours (approx.).
Where does the tour start?
The meeting point is Nelson’s Column, A400 Trafalgar Square, London WC2N 5DS, UK.
Where does the tour end?
The tour ends in a different location. The finish is near the Tower of London and Tower Bridge.
Do I need to bring my own camera?
Yes. You have to bring your own camera, though you can try/test additional equipment like newer mirrorless cameras, different lenses, and accessories such as tripods and filters.
Is the tour private?
Yes. It’s a private tour/activity, so only your group participates.
What’s included in the price?
Included items are the ~3-hour walking tour, an introduction to photography concepts, English or Spanish language options, coffee and/or tea, and the chance to test additional photography equipment.
Is transportation included?
No. No transportation is included, like taxis or pickups.
FAQ
What if I need to cancel?
Free cancellation is available up to 24 hours in advance for a full refund.