REVIEW · LONDON
Night Photography Tour in London
Book on GetYourGuide →Operated by 11252821 · Bookable on GetYourGuide
London at night is a different city. This 2.5-hour photo tour helps you make the most of it with a pro photographer guide, smart positioning, and hands-on coaching for low light and long exposure shots. I love the mix of landmark sights with real shooting guidance, and I also like that it works for both cameras and smartphones. One key thing to consider: you’ll need a tripod, and if you don’t have one, you can hire one for £30.
You start outside Caffè Nero by Westminster station and then work your way across the Thames area for classic night reflections and city-light scenes. The pace is built for learning, with structured photo stops that also give you enough time to try different angles, not just click and run.
In This Review
- Quick hits before you go
- Why this night photo tour works (and why your results improve fast)
- Meeting outside Caffè Nero: the start point that sets the tone
- The Thames walk: where reflections turn into photo magic
- London Eye photo stop: framing light, minimizing guesswork
- St Paul’s Cathedral: shooting a big subject without losing detail
- Tower Bridge finale: the stop that ties the river’s story together
- Camera and smartphone coaching: what you actually learn
- Tripod requirement: the one gear rule that makes or breaks the trip
- Price and value: private coaching for a set time
- Who should book this night photography tour
- Should you book Night Photography in London?
- FAQ
- How long is the night photography tour?
- Where is the meeting point?
- What landmarks will we photograph during the tour?
- Is the tour suitable for smartphones?
- Do I need a tripod?
- What’s included after the tour?
- Is this tour private and accessible?
Quick hits before you go
- Pro coaching for DSLR, mirrorless, and smartphones so you can actually use what you learn right away
- Thames north-and-south bank walking for reflections, bridges, and light trails
- 45-minute photo-focused time at major icons including the London Eye, St Paul’s, and Tower Bridge
- Long-exposure and low-light instruction centered on real camera technique
- Tripod required, with a £30 hire option if you’re without one
- An e-guidebook after the tour to keep building your skills
Why this night photo tour works (and why your results improve fast)
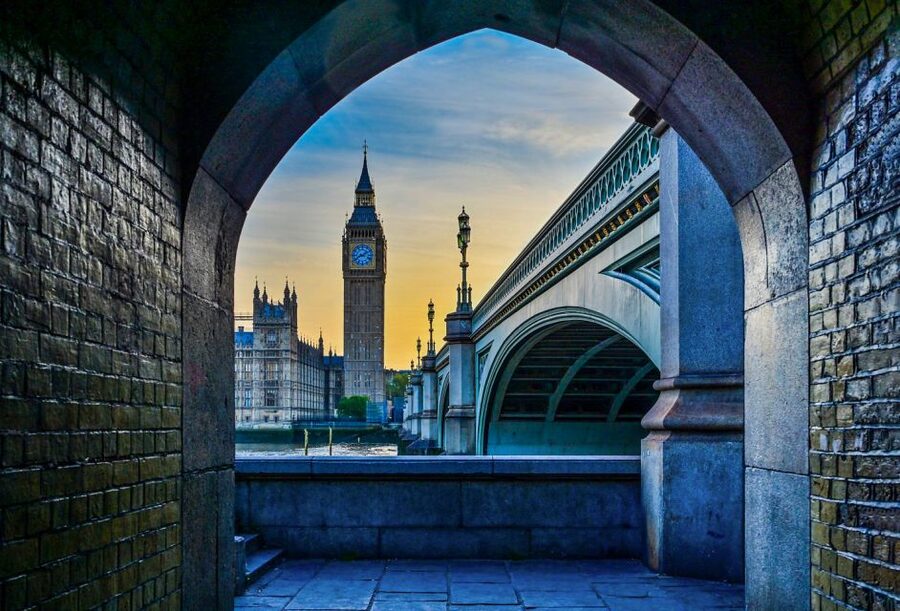
Night photography in London sounds simple until you try it. Light is dim, movement is everywhere, and most people end up with blurry shots or images that look nothing like what they imagined. This tour is built to fix that gap between seeing and capturing.
The best part is the combination of (1) location and (2) coaching. London’s famous skyline is one thing. But if you don’t know where to stand, how to frame, or how to keep a camera steady in low light, the photos often fall flat. Here, you get guided stops that line you up for strong compositions—plus practical help so you can repeat what works.
Also, it’s not only about big gear. The tour is designed to work with DSLRs, mirrorless cameras, and smartphones. So if your setup is an iPhone, you’re not stuck watching someone else shoot.
The one drawback is the tripod requirement. Long exposure is hard to do well handheld, and the tour explicitly expects you to have one. If you’re traveling light, plan to either bring your own or budget for the £30 hire.
You can also read our reviews of more tours and experiences in London.



Meeting outside Caffè Nero: the start point that sets the tone
You meet outside Caffè Nero, Westminster station. That area is convenient, but what matters more is the vibe: you’re positioned near the Thames so you can move quickly into the night-light scenes that make the tour worth it.
From your first minutes, you’re not wandering around hoping for the best view. You’re getting into a rhythm: stop, set up, try a shot, adjust, and then try again with guidance. For a 2.5-hour experience, that structure is the difference between getting a few nice photos and coming home with a real photo plan.
And because it’s a private group, it doesn’t feel like you’re fighting for attention while someone else asks all the questions. That matters if you’re learning from scratch or if you want your smartphone and camera questions answered without delay.
The Thames walk: where reflections turn into photo magic
A major part of the experience is walking across the Thames and exploring the north and south banks. This is one of those “obvious once you do it” photo lessons. In daylight, reflections are just a nice bonus. At night, they become part of the composition.
You’ll be aiming for:
- bright landmark lights
- dark sky contrast
- water reflections that add symmetry and depth
- city highlights that help your frame look intentional, not random
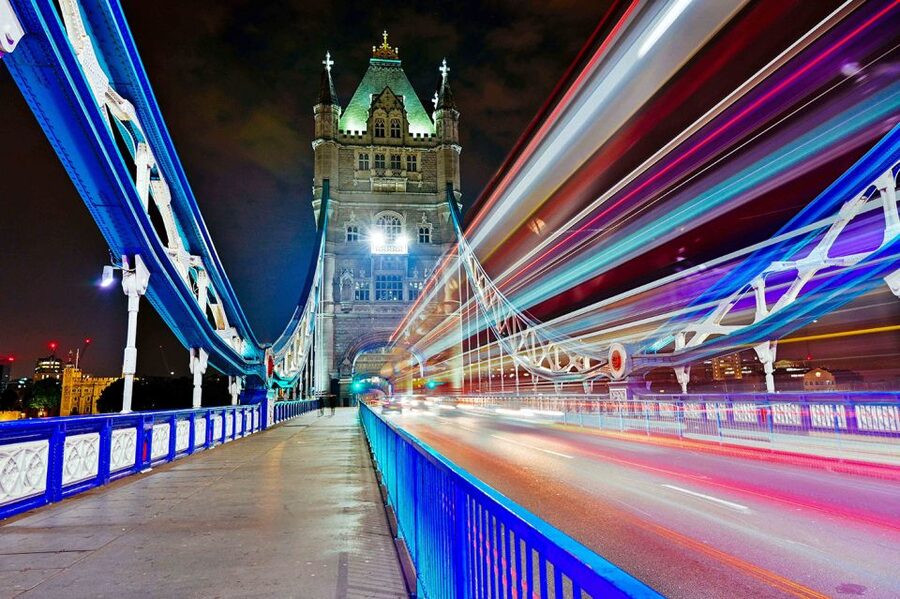
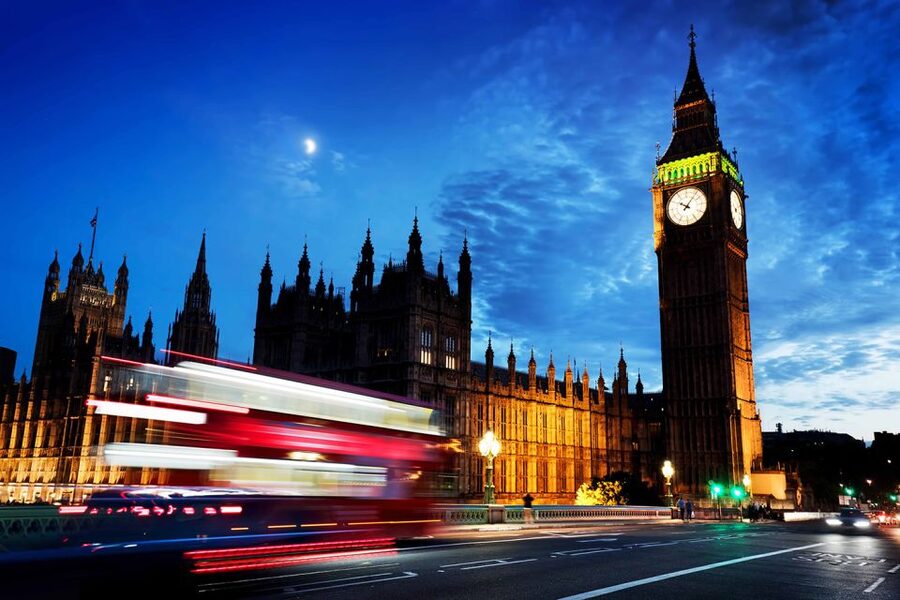
The tour also points you toward photo-worthy elements beyond the big monuments. Think double-decker buses and the motion of city life—things that can create streaks of light or add a sense of scale when captured the right way. Your guide’s coaching on low light and long exposure is directly relevant here, because water and moving vehicles are where those techniques show results quickly.
Practical tip: for night shots along the river, you’ll generally want steady setup and a clear frame. A tripod helps you keep that consistency, and the coaching helps you stop guessing. Instead of changing everything at once, you can focus on just one variable at a time, like where you place the horizon line or how you time your exposure.
London Eye photo stop: framing light, minimizing guesswork
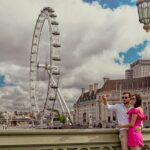
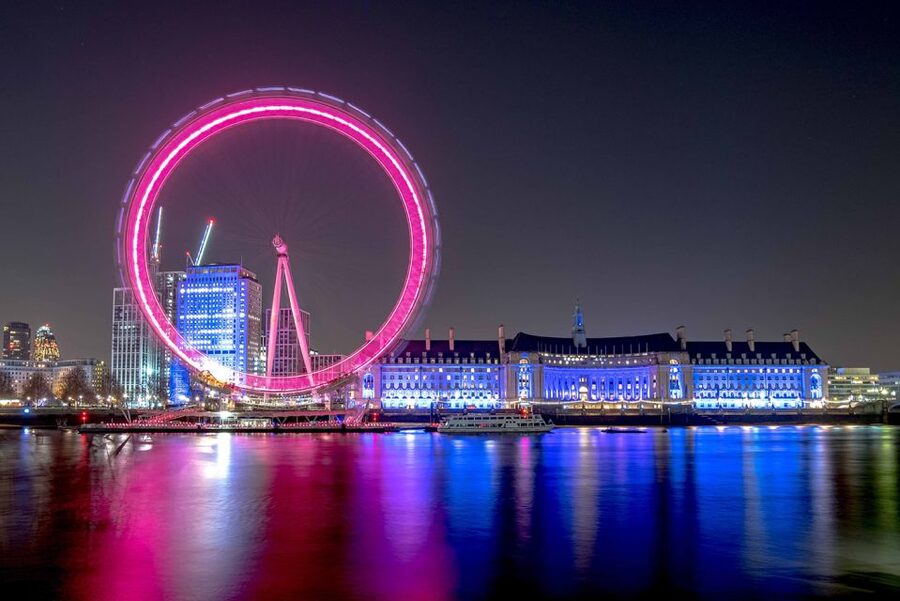
The London Eye stop is a full 45 minutes, combining sightseeing with a photo class. This is a smart use of time because the Eye is both bright and visually complex. It gives you a lot to work with: strong light sources, curved structures, and plenty of angles.
What makes this stop valuable is that you’re not just being shown the location. You’re learning how to build a shot at night:
- how to line up your view so the Eye and surrounding lights don’t feel cluttered
- how to use longer exposure effects to deal with low light
- how to keep your camera or phone steady enough for sharper results
Even if you’re new, this is the kind of scene where guidance pays off quickly. The Eye is eye-catching, but it can also overwhelm a beginner’s settings. A pro guide helps you find a starting point and then adjust based on what you’re seeing.
One consideration: the best view depends on where you stand and how you frame. So if you’re expecting the guide to do all the work for you, adjust that expectation. You’ll get coaching, but you still need to be willing to move a step or change your angle a couple of times.
St Paul’s Cathedral: shooting a big subject without losing detail
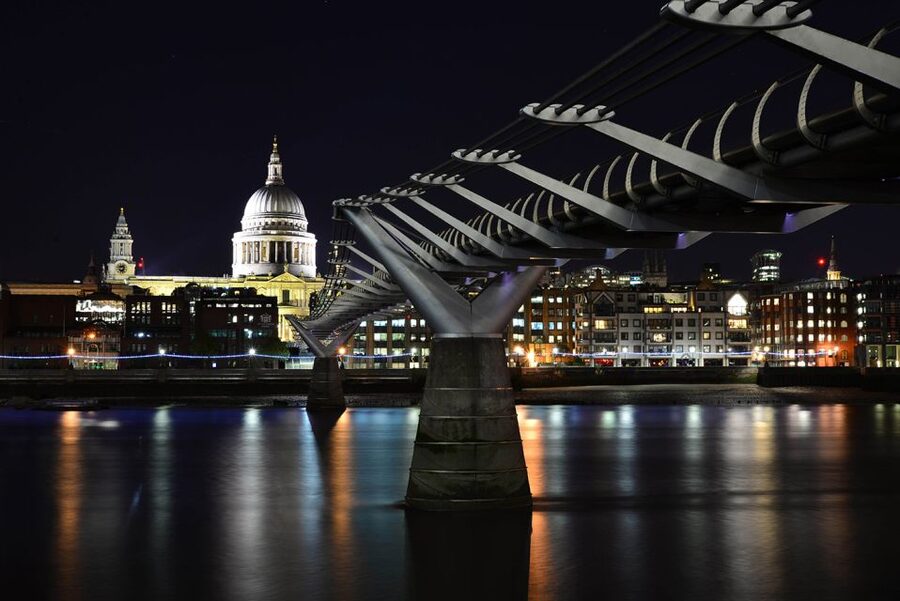
Next is St Paul’s Cathedral, another 45-minute stop focused on photo and sightseeing. St Paul’s has a lot going on—stone textures, big silhouette shapes, and lighting that can look dramatic but tricky.
Night photography of large buildings often comes with two problems:
1) the subject is too bright compared to the sky
2) your shot gets softer than you want because of low-light conditions
This tour targets that with coaching for low light and long exposure. You’re there long enough to experiment rather than just grab one quick photo.
What I like about this stop is that it helps you practice compositional control. You’re learning how to make the building feel intentional in your frame, not just pasted into the center. If you’re using a smartphone, you’ll still be working with the same composition thinking—how to place the main subject, how to manage bright highlights, and how to create a night scene that looks stable instead of smudgy.
A small reality check: St Paul’s looks incredible in person. Photos can be even better, but they take patience. If you want instant results, night photography will test your calm.
Tower Bridge finale: the stop that ties the river’s story together
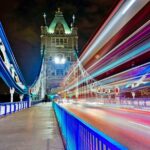
Your last major stop is Tower Bridge, again with 45 minutes devoted to photo and sightseeing. By the time you reach this point, you’ve already been practicing how to work with the river’s reflections and how to think in terms of framing at night.
This is where the tour’s structure pays off. You’re not learning techniques in theory and then switching locations randomly. You’ve been walking a theme: landmark lights, water reflections, and nighttime contrast. Tower Bridge is the payoff scene that combines all those ingredients.
What you’ll likely focus on here:
- reflections in the Thames that add symmetry and depth
- clean framing so the bridge reads clearly, even in a busy night scene
- exposure decisions guided by what your camera or smartphone is doing in low light
Because this is also the place where the tour ends, it’s your final chance to go back to a setup and refine it. If you’ve gotten one shot you like already, this is a great moment to try a variation—different angle, slightly different framing, or another exposure approach based on the guide’s coaching.
One logistics note to keep in mind: the overall tour description says it ends at Tower Bridge, and it also states the activity ends back at the meeting point. Since both are provided, check your booking details for your exact drop-off at the end.
Camera and smartphone coaching: what you actually learn
The tour is designed for all digital cameras—DSLRs, mirrorless, and smartphones. That’s important because the night mistakes people make are consistent across devices: too much blur, overexposed highlights, or photos that look noisy and flat.
Your guide provides expert advice on:
- shooting in low light
- working with long exposure
- choosing the best photo locations and compositions at night
- using your specific camera or phone setup
I also really like the personalized angle. The coaching is tailored to your skill level. That means you’re not stuck with a one-size-fits-all demo where half the group understands and half the group is lost.
If you’re an iPhone shooter, you’ll want to use the tour to learn how to get a stable image at night and how to compose around bright lights and reflections. If you’re on a DSLR or mirrorless, you’ll benefit from the same fundamentals, just with more knobs to adjust—exactly where a pro guide can save you time and prevent frustration.
And then there’s the after-part. You don’t just get a few pointers and vanish into the night. The tour includes an e-guidebook afterward so you can keep practicing with a clearer plan.
Tripod requirement: the one gear rule that makes or breaks the trip
Here’s the blunt truth: night photos with long exposure are usually a stability game. The tour requires a tripod. If you don’t have one, you can hire one for £30 for the duration.
Plan for this in advance, especially if you’re traveling by foot and public transit. A tripod changes how you move and how quickly you can set up. But it also changes your photos. With steadier frames, your compositions improve, and you can spend less time fighting blur.
If you’re bringing a tripod, it helps to think about:
- how quickly you can set it up when you reach a stop
- whether it’s stable on uneven ground near the river
- how you handle your camera or phone once mounted
If you hire one, treat that as part of your learning curve. You’ll still want to ask your guide how to set it up comfortably for your height and shooting position.
Price and value: private coaching for a set time
This tour costs $282.87 per group up to 5, lasting about 2.5 hours. When it’s priced per group, the value depends on how many people you bring. If you fill all five spots, that’s roughly $57 per person for a guided session in prime night-photo zones with coaching and an e-guidebook after.
What makes it feel worth it is the mix of:
- a pro photographer guide (not just a general sightseeing walk)
- structured, high-value stops at iconic landmarks
- time to actually practice, not only look
- advice that adapts to your equipment (camera or smartphone)
If you’re a solo traveler, it may feel pricier than a standard group tour. But the “private group” format is part of what you’re paying for: more attention and less waiting for answers while you try to nail focus and exposure.
You’ll also want to factor in the tripod situation. If you need to hire one, that’s an extra £30, but it’s still straightforward and tied directly to the biggest requirement for the photo results you want.
Who should book this night photography tour
This experience is a strong match if you want:
- photos of London at night without guesswork
- real technique help for long exposure and low-light shooting
- a plan for what to photograph and how to frame it
- smartphone-friendly guidance, not just DSLR instruction
- a paced route with multiple landmark photo stops
It’s also ideal if you enjoy learning by doing. The tour has scheduled time at the London Eye, St Paul’s Cathedral, and Tower Bridge, with coaching built into the stops.
Who might pause first: if you hate using a tripod, or you’re expecting the guide to guarantee specific settings without your participation. Night photography needs you to try, adjust, and try again.
Should you book Night Photography in London?
I think you should book it if you want London night photos that look deliberate, not accidental. You’re getting time at top-night landmarks, plus guidance for the two hardest parts of night shooting: low light and long exposure. The tripod requirement is real, but it’s also a clear sign the tour is built around results.
Book this tour rather than going solo if:
- you’re new and want a fast learning path
- you’re shooting with a smartphone and want practical help
- you want a guided route that hits the right views in the right order
- you’d rather pay for coaching than waste a night experimenting with settings
If you already know your way around long exposure and you love wandering on your own, you might not need a guide. But most people don’t. And for many photographers, this is the kind of night session that turns into a skill upgrade, not just a pile of pictures.
FAQ
How long is the night photography tour?
The tour lasts about 2.5 hours.
Where is the meeting point?
You meet outside Caffè Nero, Westminster station.
What landmarks will we photograph during the tour?
The tour focuses on London at night with photo stops around the London Eye, St Paul’s Cathedral, and Tower Bridge, along with views in the Thames area including Big Ben.
Is the tour suitable for smartphones?
Yes. It’s suitable for DSLRs, mirrorless cameras, and smartphones, with expert advice for using your device in low light.
Do I need a tripod?
Yes. A tripod is required. If you don’t have one, you can hire one for £30 for the duration of the tour.
What’s included after the tour?
You’ll receive an e-guidebook after the tour to keep learning.
Is this tour private and accessible?
It’s a private group and wheelchair accessible, with live guide support in English.