REVIEW · LONDON
Iconic London Landmark Photography City Tour
Book on Viator →Operated by Sky Blue Photography | Sky Blue Creatives · Bookable on Viator
London turns into a camera dream fast. This private iconic landmark photography tour is built around smart shooting spots and hands-on guidance you can actually use. You’ll cover Westminster to the Thames, hit the City views, and end at Tower Bridge with a bit of photo momentum instead of just sightseeing.
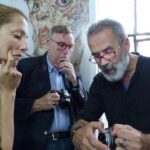
What I like most is the coaching approach: you bring a DSLR or a smartphone, and the help is tailored to your gear and your comfort level. I also like the wrap-up tools you get—tour and group photos plus an electronic guidebook so you can keep practicing after the walk. One consideration: this is a walking session (about 3 hours 30 minutes) and it’s designed for people with moderate fitness, so plan for steps and crowds.
Because it’s private, your guide’s attention stays on your shots, not on herding a group. That matters in London, where the best angles fill up quickly and a minute of correction can change your whole photo.
In This Review
- Key highlights worth your attention
- A 3.5-hour London photo walk built for real shooting
- Private coaching: why it changes your photos faster
- Big Ben: starting at Westminster for quick framing wins
- London Eye by the Thames: practice angle and exposure
- Millennium Bridge: the City-and-river view most people miss
- St Paul’s Cathedral corners: framing the skyline for impact
- Tower Bridge: finish with the angles that make it look elegant
- Coffee or tea at the end: a nice reset for your brain
- The included e-guidebook and photos: what you do after the walk
- Price and value: $403.77 per person for private coaching
- Where you meet and end (and what that means for your day)
- Who this tour is best for
- Quick decision: should you book this photo tour?
- FAQ
- How long is the Iconic London Landmark Photography City Tour?
- Is this tour private?
- What does the tour cost?
- Is the tour suitable for both DSLR cameras and smartphones?
- What landmarks are included in the itinerary?
- Are tickets or admission required for the stops?
- What’s included in the price?
- What isn’t included?
- Where does the tour start and end?
- Can I cancel for a refund?
Key highlights worth your attention
- Private, undivided attention: you get coaching matched to your camera and questions
- Landmark-to-landmark “photo walk” route: timed stops for Big Ben, London Eye, Millennium Bridge, St Paul’s, and Tower Bridge
- All levels welcome: you can start with basics or work on advanced settings
- Smart coaching for phones too: even if the focus is more pro-camera focused, smartphone users get practical hints
- Coffee or tea at the end: a simple reset after you’ve been shooting for hours
- Electronic guidebook after the tour: helps you keep learning without hunting for notes
A 3.5-hour London photo walk built for real shooting
This experience is a private photography tour in London with a stated duration of about 3 hours 30 minutes, and it runs as an outdoor photo session rather than a museum-style lesson. The pace is still walk-and-shoot, so you’re constantly switching between composing, setting up, and capturing—exactly the rhythm that makes you improve.
Your guide starts you near Westminster Station by Big Ben, then moves through classic London views toward the Thames and the bridges, ending near Tower Bridge Road. Along the way, the route is designed around recognizable landmarks—but also around angles you might not instinctively think to try.
If you’re the type who keeps saying I love travel photos, but I don’t know what to change in my camera, this format is helpful. You’re not just collecting postcards. You’re learning how to handle light, framing, and camera settings while standing in front of the subject.
You can also read our reviews of more tours and experiences in London.

Private coaching: why it changes your photos faster
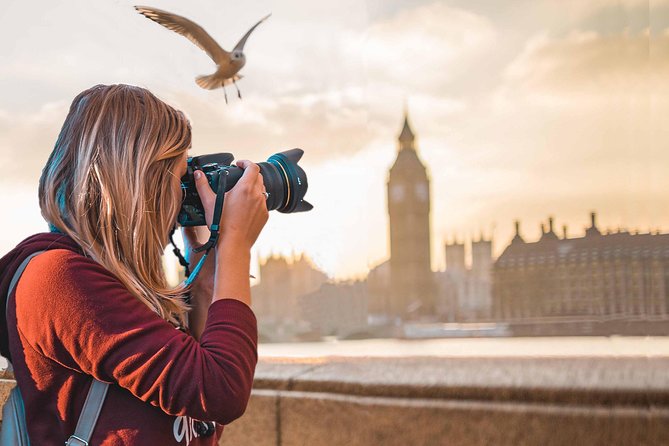
There’s a reason this tour is private: you can’t expect fast improvement in a crowd where you’re waiting your turn. With only your group on the walk, your guide can slow down when something isn’t working, then speed up when it is.
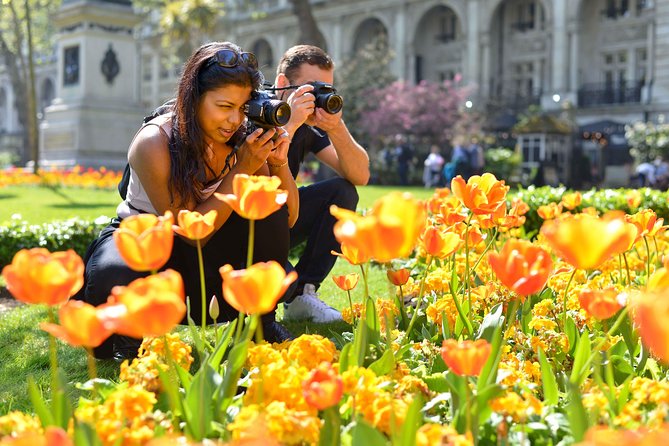
The teaching style is strongly focused on camera settings. The tour is described as suitable for all levels, and it’s especially good if you want to get more comfortable with how your camera works—starting from basics and building toward more advanced settings. One of the most practical takeaways is that you’ll spend time on what your specific camera can do, not generic tips that don’t match your gear.
Also, don’t worry if your camera is a phone. The coaching is described as tailored to your equipment, and smartphone users are given hints and tips too. Just keep in mind that the instruction emphasis can lean more toward professional cameras, so bring your questions and you’ll get the best results.
Big Ben: starting at Westminster for quick framing wins
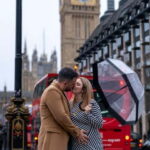
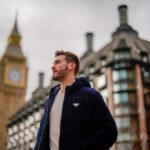
Your first stop is Big Ben, starting from the area opposite Big Ben near Westminster Station. The time slot here is short—about 10 minutes—which is exactly what you want for a first burst of shooting energy.
Why this works:
- You begin with an easy landmark and an easy “orientation” moment. Big Ben is your anchor, so you can focus on composition rather than figuring out where you are.
- You’re near a major transit hub, so you’ll likely see plenty of foot traffic and different angles. That’s good practice for shooting with moving crowds in your frame.
A practical approach for your first minutes: don’t chase only one perfect view. Take a few variations right away—wide framing that includes context, then tighter framing where the subject dominates. Short start sessions like this often help people stop overthinking and start shooting more confidently.
London Eye by the Thames: practice angle and exposure
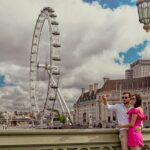
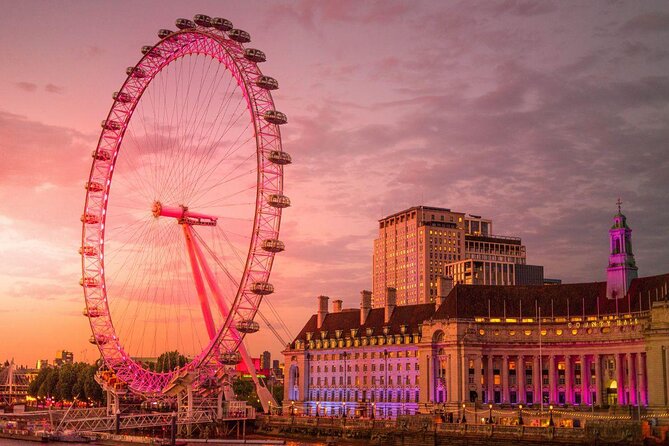
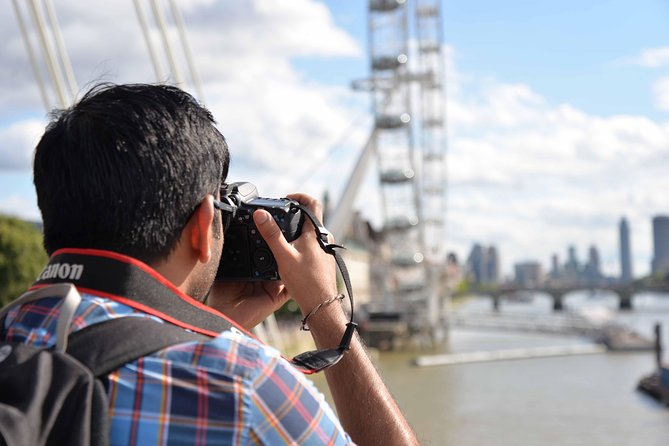
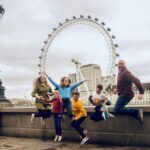
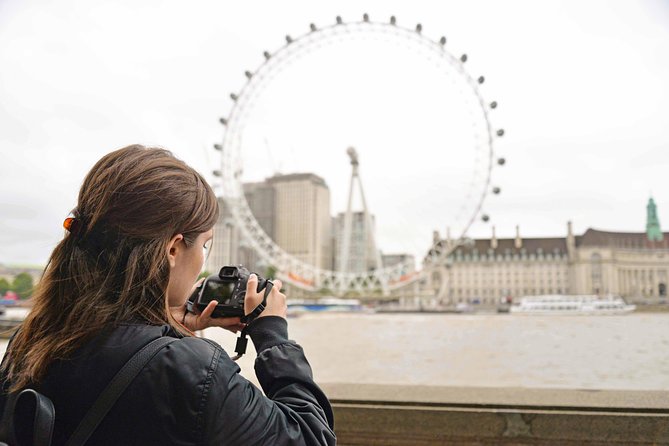
Next you’ll walk past the London Eye, and you’ll have about 20 minutes here. This stop is tied to the Thames setting, which is great because you get both a landmark and layered reflections and sky tones to deal with.
The London Eye is also a “busy subject,” which is useful for learning. You’ll likely face situations where:
- the landmark is bright against the sky,
- the river adds contrast,
- and crowds can block your lower-angle shots.
What you can practice in a place like this:
- how to keep your subject sharp while the background distracts,
- how to balance bright sky with darker architecture,
- and how to compose so the Thames adds depth instead of clutter.
Even if you’re using a smartphone, this is a strong teaching environment. The Thames lines and the wheel’s shape give you clear structure to aim for.
Millennium Bridge: the City-and-river view most people miss
From there you head to Millennium Bridge for another about 20 minutes. This is described as London’s most iconic footbridge, with views stretching toward the City of London and the Thames.
Here’s why it’s a smart teaching stop: a bridge is all about geometry. You get lines to lead the eye. You get symmetry ideas. You also get the chance to make choices about foreground versus background—especially with river reflections and city buildings.
Common beginner mistake: shooting only for the widest shot. A better plan is to take both.
- A wider frame to show the bridge context and city skyline.
- A tighter frame that uses the bridge lines to guide your viewer toward a key building or the river.
If you’re trying to learn camera settings, bridge scenes are a useful test because they include strong edges and distance. It’s easy to see if your focus and exposure choices worked.

St Paul’s Cathedral corners: framing the skyline for impact
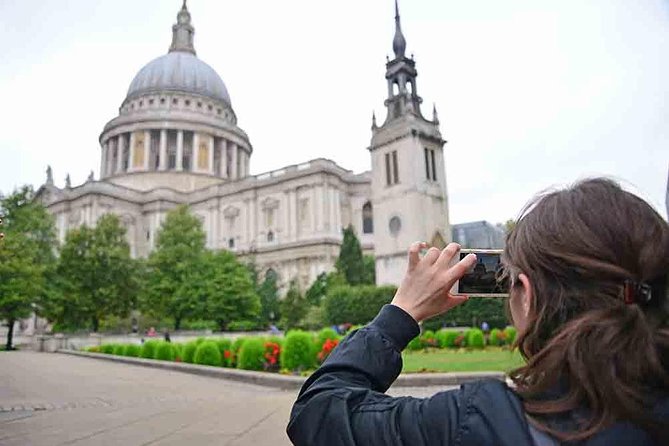
The next portion brings you to St Paul’s Cathedral, with time described as a stop where you’ll shoot from two hidden and picturesque corners around the cathedral. This is where the tour shifts from the most obvious London views to more “you had to be here” angles.
St Paul’s is iconic, so you might assume every shot will look like every other shot. The reason this works is that your guide is steering you to corners that create a more interesting framing relationship between the cathedral and the skyline.
You’ll get:
- a landmark subject that’s visually strong even when you don’t shoot it straight-on,
- and a view that can include multiple layers of London in the background.
If your goal is photos that look intentional instead of just recognizable, this is the kind of stop that helps. Use it to experiment: try shooting from a lower angle, try shifting your position slightly, and try different compositions that include sky or neighboring structures. Small changes can make St Paul’s feel dramatic without needing complicated gear.
Tower Bridge: finish with the angles that make it look elegant
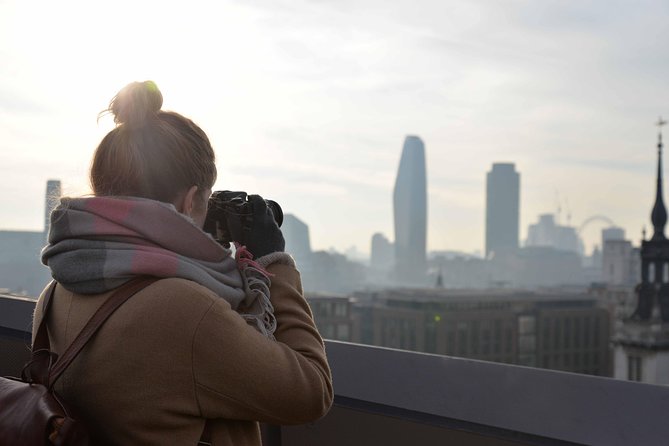
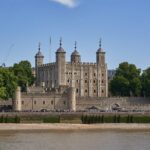
Finally, you move to Tower Bridge, with around 30 minutes for photos. This is your last major landmark stop, and it’s a good one to end on because Tower Bridge almost always photographs well if you pick the right angle.
The tour emphasizes capturing Tower Bridge from its most photographic angles, which is important. Tower Bridge can look flat when you shoot without structure; with the right framing it looks elegant and dimensional.
A useful way to treat the final stretch:
- Start by getting one “safe” shot you know you’ll like (a wide view that clearly shows the bridge).
- Then shift to the angle your guide points you toward and build variations from there.
- If you’ve been learning settings, use these last minutes to compare results—same composition, slightly different exposure or shutter choices.
The biggest win here is momentum. By the end of the walk, you’ll likely feel less hesitant about changing settings and more willing to try your own ideas with the guide’s coaching at your side.
Coffee or tea at the end: a nice reset for your brain
After shooting your way across landmarks, you get to refuel with a complimentary coffee or tea. It sounds small, but it’s a smart part of the experience.
When you’ve been shooting for a few hours, your brain is full of settings, compositions, and choices. A quick pause helps you:
- review what you tried (even just mentally),
- and ask one last question before you leave.
This also gives you a natural “closing point,” so the tour doesn’t end on a sprint out the door.
The included e-guidebook and photos: what you do after the walk
Two things are especially valuable here: you receive an electronic guidebook and you also get tour and group photos.
The photos matter because they let you review from the outside. If you’re trying to improve fast, seeing how your guide captured group moments can also give you ideas about framing and timing you may have missed during your own shooting.
The guidebook keeps learning practical. Since it’s electronic, you can reference it right after the tour while the locations are still fresh in your head. This is where the session’s value compounds: the instruction doesn’t vanish at the end.
Price and value: $403.77 per person for private coaching
At $403.77 per person for about 3 hours 30 minutes, this isn’t the cheapest way to see London. But it’s priced like a private instruction session, not a general walking tour.
Here’s how I’d think about the value:
- You’re paying for private time plus tailored coaching based on your camera and level.
- The route focuses on shooting opportunities that connect visually—Westminster to the Thames to bridges and skyline views—so you aren’t paying for just “passing by landmarks.”
- The inclusion of an e-guidebook, plus tour and group photos and a coffee or tea, adds real utility, not just a sticker at the end.
If your goal is simply to tick off Big Ben and Tower Bridge, you could do it on your own for much less. But if your goal is to come away understanding your camera—how to use settings and how to frame better—this price can make sense because you’re buying guidance and practice time in one package.
One note: this is booked well in advance on average, which usually means popular times fill up. If you’re serious about timing your London trip, don’t wait until the last minute.
Where you meet and end (and what that means for your day)
You meet at Caffè Nero, Unit B, Portcullis House, 1-2 Bridge St, London SW1A 2JH. It’s about a 10-minute walk from London Bridge Underground Station. That’s helpful if you’re planning your day around transit and want an easy start location.
The tour ends at Tower Bridge Road, London SE1 2UP. Since you finish near Tower Bridge, it’s a convenient match if you want to stay in that area afterward for more river walks and nearby sights.
Because transport fares aren’t included, you’ll want to plan your own subway or bus route ahead of time. The walking time is part of the experience, but getting to the start point is still on you.
Who this tour is best for
This is a strong fit if:
- you want better photos of iconic London landmarks without learning by trial and error for months,
- you like hands-on teaching where questions get answered right away,
- you use a DSLR, mirrorless, or even just a smartphone and want help making the most of it.
It’s also ideal if you’ve had a camera for a while but feel stuck in automatic mode. The tour is described as covering camera settings from basics and moving toward more advanced understanding, so you’ll likely leave with a clearer sense of what your camera can actually do.
If you’re the kind of photographer who enjoys experimenting on location—changing your position, adjusting framing, trying different exposure decisions—this route will keep you engaged.
Quick decision: should you book this photo tour?
Book it if you want London photos that look intentional and you’d rather get coaching in a few hours than grind through guesswork on your own. The standout value here is private attention plus a teaching focus that works for both pro cameras and phones, with a useful e-guidebook afterward.
Skip it if your priority is only to see the landmarks with minimal walking and zero focus on photography technique. This experience is for learning how to shoot, not just sightseeing.
If you’re even slightly serious about photography, this tour is a smart way to turn iconic London locations into practice—and not just memories on your camera roll.
FAQ
How long is the Iconic London Landmark Photography City Tour?
It runs for about 3 hours 30 minutes (approx.).
Is this tour private?
Yes. It’s a private tour/activity, so only your group will participate.
What does the tour cost?
The price is listed as $403.77 per person.
Is the tour suitable for both DSLR cameras and smartphones?
Yes. The tour is described as suitable for all levels, and coaching is tailored to your equipment, whether you have a DSLR or a smartphone.
What landmarks are included in the itinerary?
The itinerary includes Big Ben, London Eye, Millennium Bridge, St Paul’s Cathedral, and Tower Bridge.
Are tickets or admission required for the stops?
The itinerary lists free admission for each of the listed stops.
What’s included in the price?
Included items are the photography e-guidebook, tour and group photos, and coffee and/or tea.
What isn’t included?
Transport fares such as subway, bus, or taxi are not included.
Where does the tour start and end?
It starts at Caffè Nero, Unit B, Portcullis House, 1-2 Bridge St, London SW1A 2JH, and ends at Tower Bridge Rd, London SE1 2UP.
Can I cancel for a refund?
Yes. Free cancellation is available up to 24 hours in advance for a full refund. If you cancel less than 24 hours before the experience starts, the amount paid is not refunded.