REVIEW · BERLIN
BERLIN PHOTO TOUR with a professional Photographer from Berlin
Book on Viator →Operated by TravelPixelz · Bookable on Viator
Berlin looks best when the light cools. This Berlin photo tour is built for that magic moment: you start at the Brandenburg Gate and get hands-on coaching aimed at the blue hour. I also like that the group is capped at 5, so your guide can actually check your framing and help you fix shots fast.
One thing to consider: it’s weather-dependent, and you’ll be standing and walking the whole 1 hour 30 minutes. If you hate being on your feet for a short, focused session, this may feel more intense than a casual stroll.
The value is real if you want better results without dragging a bunch of gear. If you need it, the guide can provide two tripods, and the tour runs in English, with guidance that has worked for phone shooters as well as camera users.
In This Review
- Key highlights at a glance
- Starting at Pariser Platz: why Brandenburg Gate works as your warm-up
- Blue hour tips that actually change your photos
- A small group means your guide can correct your framing
- Where the route goes: government architecture to modern city squares
- Stop 1: Brandenburg Gate
- Stop 2: Reichstag Building
- Stop 3: Marie-Elisabeth-Lueders-Haus
- Stop 4: Bundeskanzleramt der Bundesregierung
- Stop 5: Potsdamer Platz
- Unter den Linden options: a different Berlin mood
- Gear help without the gear anxiety
- Price and value: is $130.96 worth it?
- Logistics that matter: location, walking pace, and transport
- Who should book this photo tour
- Should you book? My decision guide
- FAQ
- How long is the Berlin photo tour?
- Where is the meeting point?
- Where does the tour end?
- What group size should I expect?
- Is the tour offered in English?
- Are tripods included?
- Is private transportation included?
- Is the tour mainly outdoors, and does weather matter?
- Can I participate if I only shoot with a phone?
- Can I cancel for a full refund?
Key highlights at a glance
- Blue hour instruction focused on when Berlin turns especially photogenic
- Max 5 people, so you get feedback instead of watching from the back
- Tripod support: two tripods can be provided if you don’t want to carry one
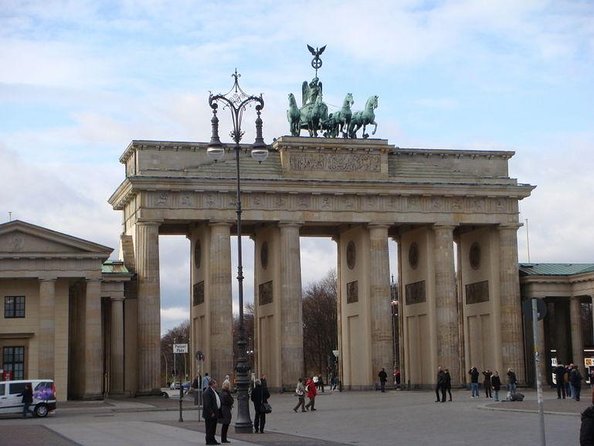
- Iconic checkpoints: Brandenburg Gate, the Reichstag area, and Potsdamer Platz
- Adaptive teaching for different skill levels and camera gear, including iPhones
Starting at Pariser Platz: why Brandenburg Gate works as your warm-up
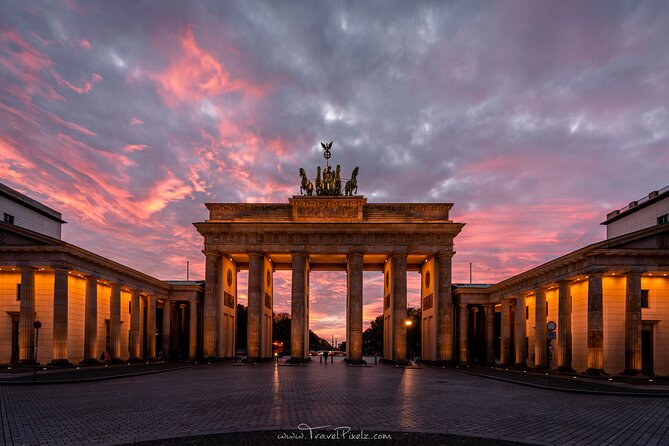
You begin at Pariser Platz 4, right by the Brandenburg Gate. That matters more than it sounds. When you start with an instantly recognizable landmark, you can spend the first few minutes getting your camera settings and composition under control, instead of wasting time figuring out where to stand.
The Brandenburg Gate is also a great teacher. The building and surrounding space naturally push you toward key photo skills: symmetry, leading lines, and clean background separation. Even if your first few frames are just test shots, you’ll learn fast what changes the look—step left, change height, wait for a gap in the flow of people, and pay attention to what the light is doing on edges and surfaces.
And because this is a short tour, that early structure helps. You don’t just see Berlin; you practice seeing it. You’re basically getting a mini workshop with a very photogenic lab.
You can also read our reviews of more tours and experiences in Berlin.
Blue hour tips that actually change your photos
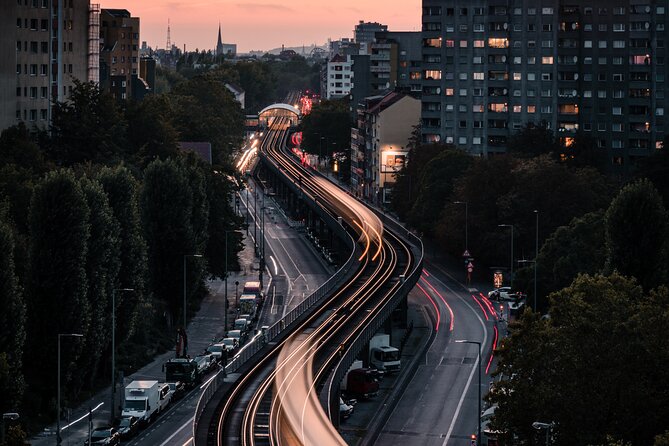
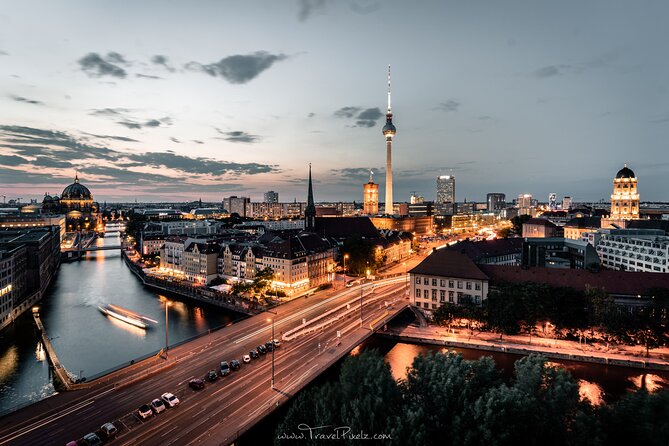
One of the biggest reasons this tour gets such strong marks is how it handles timing. You’re not just walking past famous places. You’re learning how to shoot the “blue hour,” when the sky cools and city lighting starts to pop.
Here’s what that means in practical terms. At this time of day, you can capture a mix of ambient sky color plus illuminated buildings. That combination usually makes night photos look intentional instead of flat. It also helps you avoid the overly harsh lighting you get in full daytime sun.
Even better, this is the kind of lesson you can reuse after the tour. You’ll get tips for what to watch for as the light shifts—so you can plan your own next shots, not just copy what your guide does once.
And since the tour is built around evening-style light (including an example of starting about an hour before sunset), you often get iconic places at a more manageable time than peak midday. You’ll still see the sights, but your photos should have less chaos in the background.
A small group means your guide can correct your framing
This tour caps at a maximum of 5 travelers. That’s the difference between a generic photo walk and actual improvement.
With a tiny group, your guide can do the real work:
- check if your horizon is straight
- suggest a better angle for the monument lines
- point out where light is falling on your subject
- help you adjust settings for what you’re trying to capture
In the feedback, the guide is praised for being patient and easy to understand. People also mention that the teaching feels tailored, not one-size-fits-all. That’s huge if you’re anxious about photography. You don’t need to act like you know what you’re doing. The guide can meet you where you are.
It also helps if you’re using a phone. One review specifically notes coaching for iPhone shooting. That tells me the instruction isn’t locked to a DSLR workflow. The ideas—composition, timing, and light—transfer cleanly to different cameras.
Where the route goes: government architecture to modern city squares
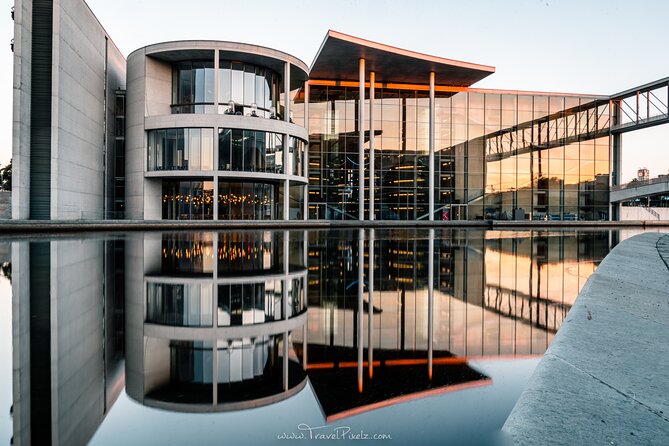
You’re not stuck taking photos in a single style. The route is designed to give you variety in subjects—monuments, official architecture, and a modern centerpiece—so you leave with a broader set of winning shots.
There’s a clear set of planned stops through the central sights:
1) Brandenburg Gate
2) Reichstag Building
3) Marie-Elisabeth-Lueders-Haus
4) Bundeskanzleramt der Bundesregierung
5) Potsdamer Platz
Depending on how the walk unfolds, the guide may also work in an alternative direction along Unter den Linden, with chances for the Berlin Cathedral and Gendarmenmarkt. Translation: you’re likely to get a route that fits the light and the day’s flow, instead of a rigid checklist.
Stop 1: Brandenburg Gate
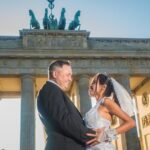
This is your opening reset. Start here to learn how to frame the landmark cleanly and how to use the early light falloff to make the architecture look dimensional. It’s also where you’ll test settings and get a first set of guided corrections.
A practical tip for you: treat this as your warm-up round. Shoot a wide frame, then step in for tighter details. You’ll quickly see how much the look changes when your subject fills more of the image.
Stop 2: Reichstag Building
Next, you move into a more modern, government-focused environment. This is where composition becomes more important than just spotting a postcard view. Look for strong shapes, strong edges, and lines that lead the eye.
At blue hour timing, these buildings tend to look best when you balance two things: the architecture details and the sky color behind them. If your shots look too dark or too washed out, your guide can point you toward adjustments that bring the scene back into balance.
Stop 3: Marie-Elisabeth-Lueders-Haus
This stop is a useful change of pace. You go from the big icon to a building that can reward closer attention. Think about patterns in facade design, spacing between structures, and how the surrounding buildings frame your subject.
This is also a chance to practice backgrounds. In city photography, your subject is only half the job. The other half is what’s behind it. A good guide will help you spot angles where the background supports the shot instead of distracting from it.
Stop 4: Bundeskanzleramt der Bundesregierung
Here the setting feels formal and structured. That’s good news because it makes certain photo challenges easier to solve. With official architecture, you can often lean into geometry: lines that converge, reflections or shadow edges, and clean spacing.
This is where you’ll likely be making smaller moves—turn a few degrees, adjust height, and refine your framing—because the buildings are already doing a lot of visual work. The guide’s job is to help you make those subtle choices fast.
Stop 5: Potsdamer Platz
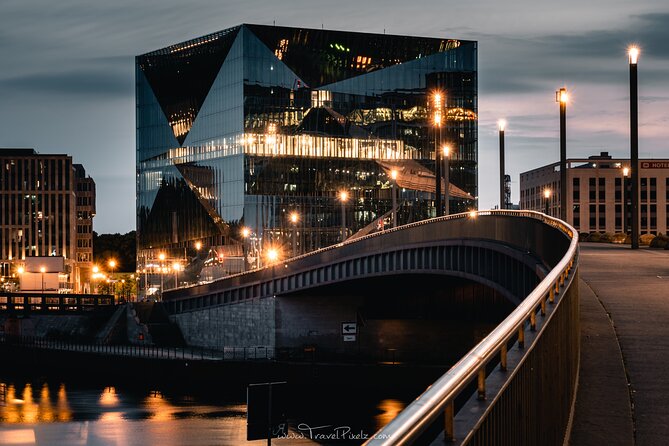
You end at Potsdamer Platz, which is ideal for the late-day photo payoff. This area tends to offer more lights and modern visual texture than the government district. That combination can produce city-night images that feel cinematic instead of ordinary.
If you’re trying to understand night photography, this final stop is where you can pull everything together: exposure choices, light color, and how to keep your subject sharp while the background glows.
Unter den Linden options: a different Berlin mood
Part of what makes this tour feel flexible is that you can head down Unter den Linden toward the Berlin Cathedral and Gendarmenmarkt. You get a different vibe here: more classic-center architecture and a more open sense of strolling space.
If your goal is variety—monuments plus grand streets plus a square with strong framing—this detour can be a great addition. It also helps break up the monotony if you find yourself photographing only one style of building.
One practical note: the guide’s choice between the government district route and the Unter den Linden direction likely depends on timing and conditions. So keep your mindset open. Either route can produce strong results if you’re paying attention to the light and composition.
Gear help without the gear anxiety
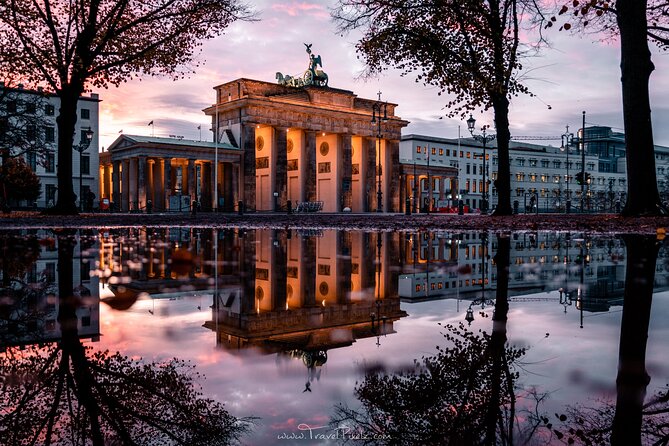
A frequent problem with photo tours is that they assume you’ve brought the right equipment. This one reduces that stress in two ways.
First, two tripods can be provided if you don’t have one or don’t want to carry it. That’s a big deal if you want steadier long-exposure-style shots during low light. Even if you end up using it only for a short stretch, it can make your frames more consistent.
Second, the teaching seems to work across skill levels and gear types. One review calls out help for iPhone shooting, and another highlights how the tour adapts to the participant’s photography level. That tells you the guide isn’t just wandering with a camera; they’re adjusting instruction to match what you can actually do.
So if you’re a beginner, you’ll likely get the basics quickly. If you’re intermediate, you’ll probably appreciate the targeted tweaks that speed up improvement.
Price and value: is $130.96 worth it?
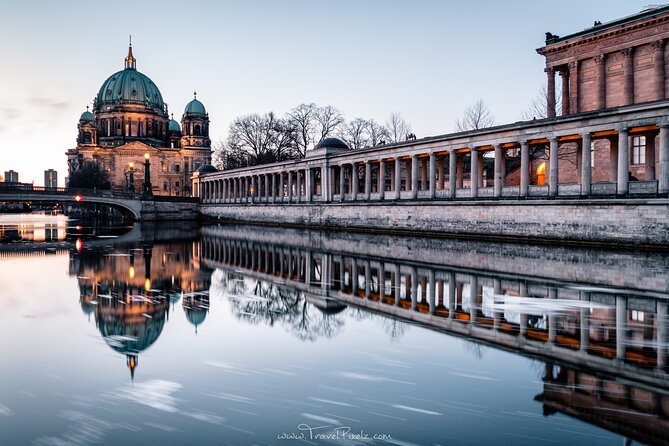
At $130.96 per person for about 1 hour 30 minutes, this isn’t a cheap casual walk. But it doesn’t feel overpriced when you look at what you’re buying.
You’re paying for:
- a professional photographer guide
- small-group limits (max 5) that support real feedback
- focused teaching on a specific outcome: better photos in the challenging light of blue hour
- tripod support if you need it
If you tried to DIY this alone, you could certainly see the same landmarks. The hard part is learning what to change when the light shifts. This tour compresses that learning into a short session with direct correction, and that’s the part that usually costs more when you pay for workshops or private lessons.
Also, it’s listed as having group discounts. If you’re traveling with a friend or two who want to shoot too, the value can get even better.
Logistics that matter: location, walking pace, and transport
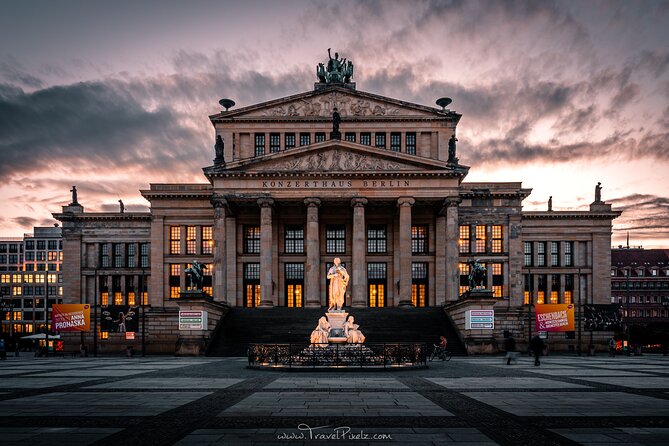
This tour meets at Pariser Platz 4 and returns to the same spot. That makes planning easier than tours that end across town.
It’s also near public transportation, and that’s a practical advantage in Berlin, where getting around is easy but routes can still eat up your time if you’re not careful. Start location near a major sight means you’re not commuting first and photographing second.
One more practical point: it requires good weather. If the day is rainy or miserable, the experience may be canceled and you’ll be offered another date or a refund. So if Berlin is part of a tight itinerary, don’t assume you can schedule this as a guaranteed hard fixed event.
Who should book this photo tour
This is a strong choice if you:
- want recognizable Berlin landmarks paired with real photography instruction
- enjoy short, focused sessions rather than half-day tours
- want guidance whether you shoot with a phone or a camera
- like the idea of a small group where you can ask questions and get answers
It’s also a good fit for solo travelers. One review calls it a favorite experience while solo traveling, mainly because you don’t feel lost and you still get personal feedback.
If you already know every exposure setting and never want coaching, you might find it less essential. But if you want to improve quickly—and you want photos that look planned rather than accidental—this is exactly the kind of structured outing that helps.
Should you book? My decision guide
If you want to photograph Berlin with purpose, and you care about getting the light right, yes, book it. The start at Brandenburg Gate, the blue hour focus, and the max-5 format are a smart combo for anyone who wants better results without spending a day testing settings.
I’d skip it only if you dread walking in a short time window or you’re visiting during poor weather with no flexibility. Otherwise, this is one of the more practical ways to learn Berlin photography while still seeing the city’s headline sights.
If your goal is photos you’ll actually keep, and you like the idea of tripod help plus hands-on guidance, this tour is a solid buy.
FAQ
How long is the Berlin photo tour?
It runs for about 1 hour 30 minutes.
Where is the meeting point?
The tour starts at Pariser Platz 4, 10117 Berlin, Germany.
Where does the tour end?
It ends back at the same meeting point.
What group size should I expect?
The experience has a maximum of 5 travelers.
Is the tour offered in English?
Yes, it’s offered in English.
Are tripods included?
You can be provided with two tripods if you don’t have one or don’t want to bring it.
Is private transportation included?
No. Private transportation is not included.
Is the tour mainly outdoors, and does weather matter?
The experience requires good weather. If it’s canceled due to poor weather, you’ll be offered a different date or a full refund.
Can I participate if I only shoot with a phone?
You can. Guidance has included tips for using an iPhone.
Can I cancel for a full refund?
Yes. You can cancel up to 24 hours in advance for a full refund. If you cancel less than 24 hours before the start time, it isn’t refunded.