REVIEW · KYOTO
A Privately Guided Photoshoot in Beautiful Kyoto by a Pro
Book on Viator →Operated by A Professional Guided Photo Shoot in Beautiful Kyoto! · Bookable on Viator
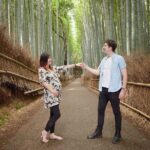
One hour, two Kyoto icons, and real guidance. I like how this private shoot with Hugh blends classic streetscapes with personal direction, so you get photos that feel like you. The big draw is the mix of Gion and Higashiyama, with a photographer who helps you pose and also captures real, candid moments.
I also love the practical photo payoff. You’ll receive around 70–80 professionally taken and edited shots in JPEG format, sent via Google Drive 1–2 days after your session, so you’re not stuck waiting forever for your best images.
One consideration: the one-hour time limit means you have to show up ready to move and make quick decisions about what vibe you want. And like most outdoor shoots in Kyoto, weather can affect plans.
In This Review
- Key Things Worth Knowing
- A One-Hour Private Shoot That Actually Feels Natural in Kyoto
- Where You Start: Minamiza Theater and the Gion-to-Higashiyama Route
- Gion Stop: Traditional Streets, Small Shrines, and Temple Corners
- Higashiyama Stop: Maruyama Park, Ninenzaka, and the Yasaka Pagoda Area
- Photo Direction, Props, and Candid Moments With Hugh
- Editing Time: What You Get on Google Drive (and RAW for 8000 yen)
- Price and Value: Is $91.96 Per Person Worth It?
- Weather, Tickets, and Small Costs to Remember
- Who This Kyoto Photo Shoot Fits Best
- Should You Book This Kyoto Photo Session or Skip It?
- FAQ
- How long is the private photoshoot?
- Is this shoot private or shared with other people?
- What areas of Kyoto will we photograph?
- How many edited photos do I receive?
- When do I get the photos after the shoot?
- Are RAW files included?
- Are kimono or admission fees included?
- Where is the meeting point?
- Does the photographer speak English?
- What happens if the weather is bad?
Key Things Worth Knowing
- Private, exclusive time with Hugh so you get direction tailored to your group
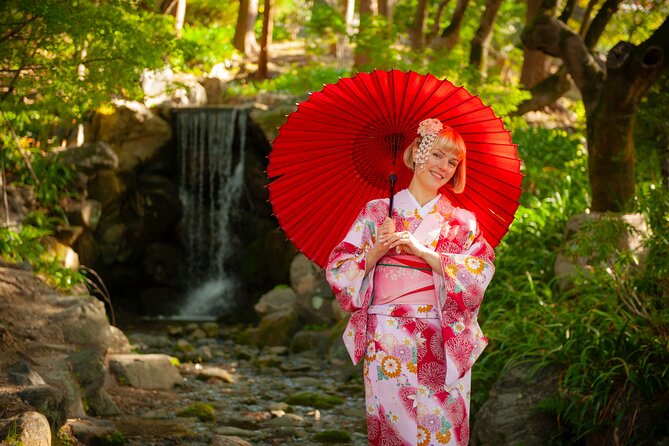
- Gion + Higashiyama in one hour for variety without a full day commitment
- Poses plus candid moments (not just stiff snapshots)
- 70–80 edited JPEGs on Google Drive delivered about 1–2 days later
- Some props included to add fun and variety to your shots
- RAW files cost extra (8000 yen) if you want the deeper editing option
A One-Hour Private Shoot That Actually Feels Natural in Kyoto
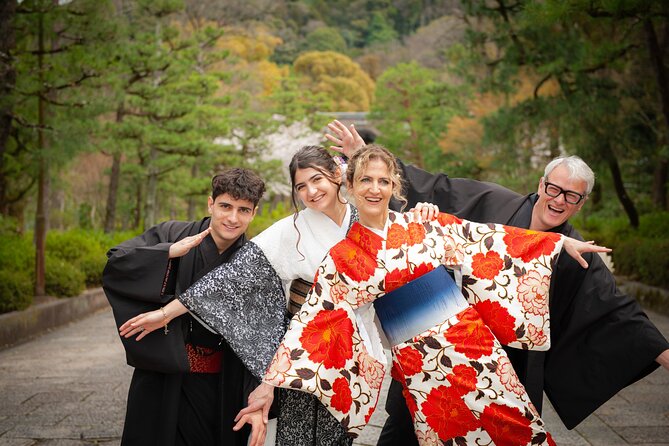
This isn’t a camera workshop or a long walking tour. It’s a focused photo session that treats your time in Kyoto like it matters. You’re getting a pro photographer, but you’re also getting a plan for how to look good without feeling like you’re performing.
I think the smartest part is the pacing. You move through two of Kyoto’s most photogenic neighborhoods—Gion and Higashiyama—so your gallery doesn’t look like one long street loop. Meanwhile, you’re not left standing around hoping strangers will take your picture at the right angle. Hugh guides you on what to do and where to be.
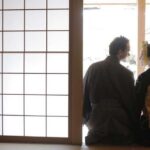
And if you’re worried about looking awkward, the style of direction matters. The sessions include posed shots and candid moments, so you’re not stuck doing the same expression for every frame. You get both “We made it to Kyoto” photos and the more personal stuff.
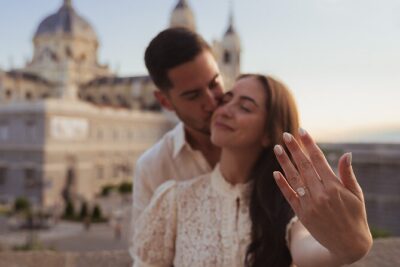
This also seems like the kind of shoot that adapts to what’s important to you. Hugh has supported special requests like engagement proposals and pregnancy shoots, which tells me he’s paying attention to comfort and timing—not just backgrounds.
You can also read our reviews of more tours and experiences in Kyoto.
Where You Start: Minamiza Theater and the Gion-to-Higashiyama Route
Your session starts at the Minamiza Theater Japan building, 2F West Lobby, at the address listed near Shōchiku Minamiza (Higashiyama Ward). It ends back at the meeting point, so you’re not dealing with “find your own way” stress afterward.
The route idea is simple and smart: start in Gion, then shift into Higashiyama-type scenery within the hour. In practice, this means you get different textures—traditional lanes and smaller shrine/temple corners in Gion, then park and preserved-street views in Higashiyama.
One thing to plan for: because you’re moving on foot and the shoot is only about 60 minutes, you’ll get the best results if you’re dressed and ready when you arrive. If your group is late, you’ll feel it fast.
Gion Stop: Traditional Streets, Small Shrines, and Temple Corners
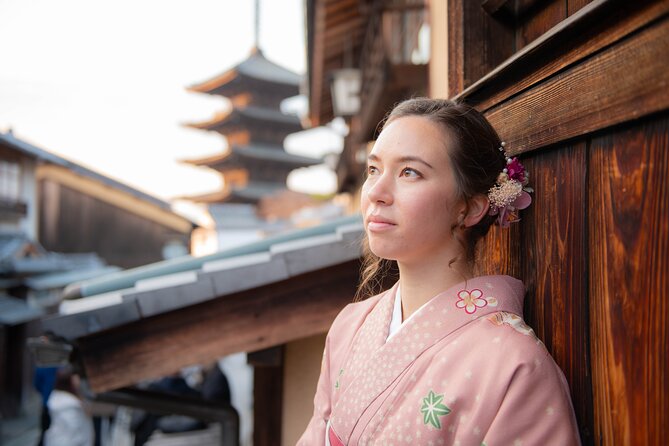
Gion is where Kyoto instantly looks like Kyoto. For this session, the Gion portion is set up around classic visual ingredients: traditional streets, small shrines, and temples.
Why this works for photos: Gion’s details are naturally photogenic. You don’t need heavy planning to find good-looking backdrops. The challenge is choosing angles and poses that don’t feel forced in tight streets or crowded viewpoints. That’s where having a guide-photographer helps. Hugh helps you pick spots to stop and shoot while also keeping the flow moving.
Gion also pairs well with the mix of styles included in the shoot. If you want structured portraits, you can get direction for poses. If you want more life-in-motion frames, you can aim for candid moments—walking, turning, and interacting—so your photos feel less like studio shots moved outdoors.
Possible drawback here: if you have a very specific must-have shot (like a single exact temple angle), you may need to be flexible. In one hour, you’re balancing variety against perfection.
Higashiyama Stop: Maruyama Park, Ninenzaka, and the Yasaka Pagoda Area
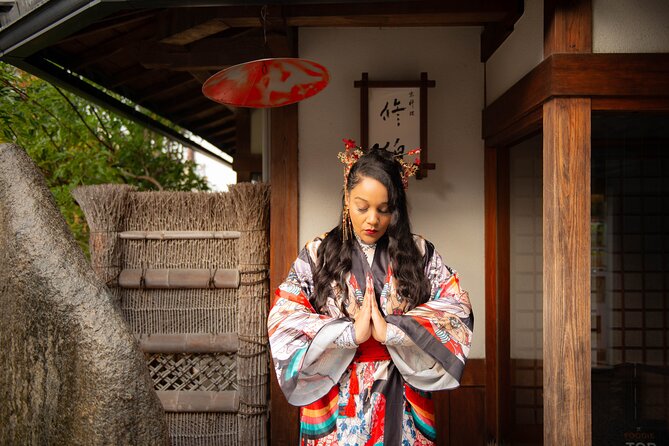
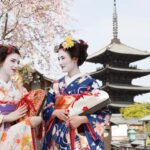
After Gion, you shift into Higashiyama-type scenery, with options that can include Maruyama Park, Ninenzaka, and the Yasaka Pagoda area.
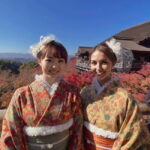
This is the part of Kyoto that tends to read well in photos, because the scenery gives you strong visual lines. Ninenzaka is especially useful for portraits since the street setting adds depth. Maruyama Park adds natural, softer background possibilities, which can help if your eyes are tired of stone-and-wood everywhere. And the Yasaka Pagoda area gives that iconic Kyoto focal point.
In one hour, the best strategy is to treat these as background chapters rather than a checklist. You’ll get variety, but you’ll still be choosing your best angles with Hugh’s direction. He also provides location context, so you’re not just taking pictures—you’re also learning what you’re looking at in the moment.
One review detail that matters for you: people noted that Hugh was informative and gave introductions while shooting. That makes a difference because it helps you relax. If you know what you’re seeing and what to do with your body, the photos come out more natural.
Photo Direction, Props, and Candid Moments With Hugh
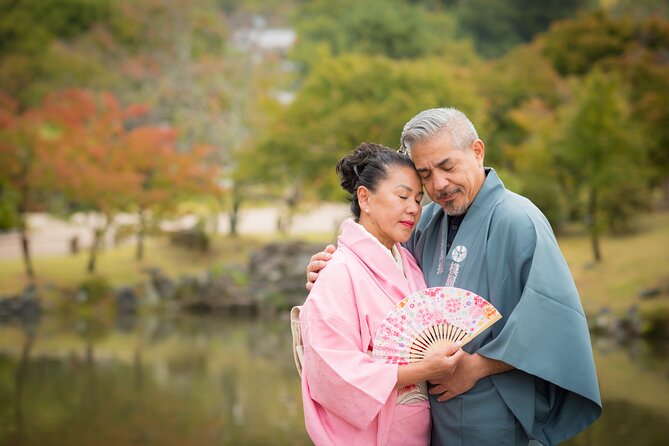
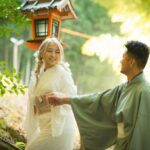
This is the biggest value driver in the whole experience. You’re not just buying camera time—you’re buying someone who helps you translate personality into images.
Here’s what’s included:
- guidance through poses and shot ideas
- candid moments, not just “look at the camera”
- some props (so you’re not limited to standing still)
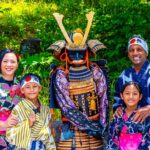
- help capturing photos of you, your family, and friends
Hugh’s support seems especially strong when someone is nervous or needs structure. One pregnancy shoot review specifically praised the way he made people feel comfortable and less awkward while directing. That’s exactly what you want from a professional: calm leadership, not awkward silence.
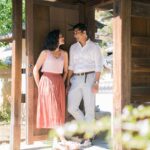
He’s also been flexible with meaningful life moments. An engagement proposal was mentioned, with Hugh offering help as much as possible. That tells me you can bring a plan, not just an outfit, and he’ll try to work it in.
And yes, he speaks English, which matters in a country where quick communication can make or break a portrait session. You’ll want that shared understanding, especially when you’re trying to get timing right for candid shots.
Small humorous truth: in hot, humid Kyoto mornings, everyone sweats. One review mentioned that the heat was intense, but the session stayed fun. That’s not magic—it’s professionalism. Hugh likely keeps things moving and adjusts so you don’t burn your session energy.
Editing Time: What You Get on Google Drive (and RAW for 8000 yen)
The shoot is one hour. The real work starts after.
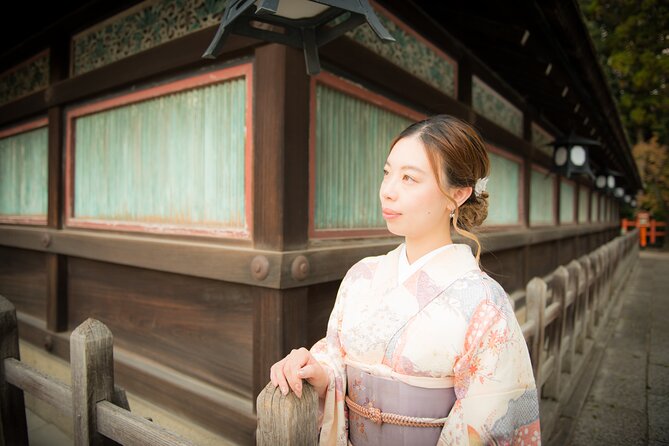
You’ll get professionally edited images delivered via Google Drive 1–2 days after your session. The exact number is described as about 70 professionally taken and edited shots, and the included details mention 80 of the best quality images. Either way, you’re getting a solid edited set, not a handful of quick snapshots.
Format matters too. You receive JPEG files. That’s the practical choice for most people because they upload and share easily without extra steps.
If you’re the type who wants more editing flexibility, you can get all RAW files for 8000 yen. That’s a useful option if you plan to do deeper color or cropping later, or if you’re picky about print quality.
Practical tip from a value standpoint: edited JPEGs are what most people need immediately to share on your trip timeline. RAW is the add-on for people who already know what they’ll do with it.
Price and Value: Is $91.96 Per Person Worth It?
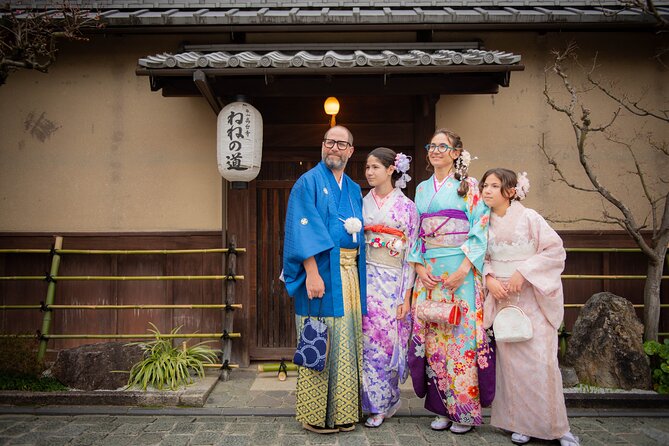
At $91.96 per person for about an hour, this sits in the sweet spot for people who want pro results without spending the whole day on logistics.
Here’s why the price can make sense:
- It’s a private session, so your group time doesn’t get diluted by strangers.
- You’re paying for more than photos—you’re paying for direction during the shoot plus professional editing after.
- You get a full edited set (70–80 images) in a shareable format.
- Hugh also adds local guidance about the spots, so it’s not just a backdrop hunt.
When it might feel steep: if you only need a couple photos for your own archive, or if you’re traveling with enough confidence to pose yourself and get great results on your phone. But most people aren’t traveling with a friend who’s a great photographer. That’s what you’re buying here.
Also note: this is priced per person. If you’re traveling solo, you’re still paying for the same pro time—so check your group size math. For couples, families, and small friend groups, the value tends to feel better quickly because everyone gets pictures.
Weather, Tickets, and Small Costs to Remember
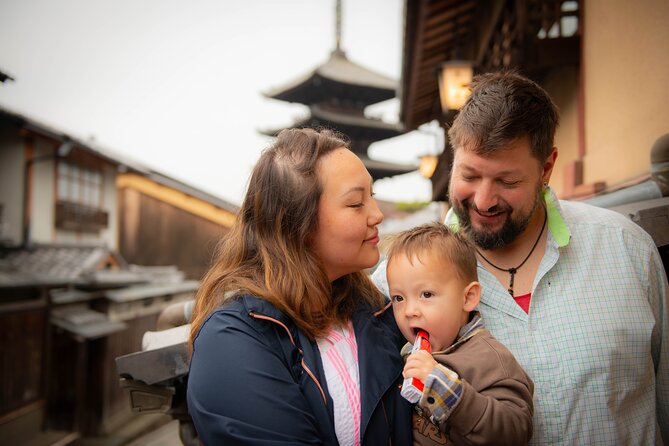
This experience requires good weather. If it’s canceled due to poor weather, you’ll be offered a different date or a full refund.
Two other practical notes:
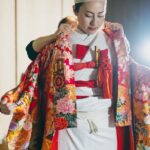
- Kimono hire is not included, so if you want that look, you’ll need to arrange it separately.
- Admission fees are not included. If any locations you pass through have paid entry, you’ll be responsible for those costs.
In Kyoto, that matters because you can spend the whole shoot thinking about where you are instead of how you look. Having fewer surprise charges helps keep the session smooth.
Who This Kyoto Photo Shoot Fits Best
I’d point you to this if any of these sound like you:
- You have limited time in Kyoto and want the biggest visual variety in one hour.
- You care about getting portraits that look intentional, not accidental.
- You’re traveling as a couple, family, or small group and want shared photos that include everyone.
- You want help feeling comfortable in photos, especially if you don’t like posing.
- You have a special occasion tied to the trip and want the photographer to support the moment (like proposals or pregnancy shoots).
It also says most travelers can participate, which is reassuring if you’re unsure about whether you’ll manage the walking and stopping points.
If you’re the type who loves long photo walks with no structure, this might feel too short. But if your priority is results and speed, it’s a strong fit.
Should You Book This Kyoto Photo Session or Skip It?
Book it if you want one-hour results with pro editing that you can share soon after. You’ll get a real plan, local context, and a photographer who knows how to direct without making it feel stiff. The edited JPEG delivery (1–2 days via Google Drive) is a big deal when you’re trying to keep your trip momentum.
Skip it if you’re the kind of traveler who wants total flexibility and you’d rather spend that hour sightseeing on your own terms. Also skip if you want a full custom itinerary covering lots of distant neighborhoods—this is built around Gion and Higashiyama, and the time is tight by design.
If you do book, my best advice is simple: show up ready to move, bring shoes you can walk in, and have one or two goals in mind (portraits, family photos, candid vibe, or a special moment). With Hugh directing, your job is mostly to relax and follow the lead.
FAQ
How long is the private photoshoot?
The session runs for about 1 hour.
Is this shoot private or shared with other people?
It’s private. Only your group participates.
What areas of Kyoto will we photograph?
The session covers a mix of Gion and Higashiyama, which can include Maruyama Park, Ninenzaka, and the Yasaka Pagoda area.
How many edited photos do I receive?
You’ll receive professionally taken and edited shots in JPEG format, described as 70 shots and also as 80 of the best quality images.
When do I get the photos after the shoot?
The edited images are sent via Google Drive 1–2 days after the shoot (it can take up to 2 days).
Are RAW files included?
RAW files are not included, but you can get all RAW files for 8000 yen.
Are kimono or admission fees included?
No. Kimono hire is not included, and admission fees are not included.
Where is the meeting point?
The meeting point is Minamiza Theater Japan, 2F West Lobby, near Shōchiku Minamiza in Higashiyama Ward.
Does the photographer speak English?
Yes. English communication is supported.
What happens if the weather is bad?
This experience requires good weather. If it’s canceled due to poor weather, you’ll be offered a different date or a full refund.