REVIEW · LONDON
Ultimate introduction to photography in Central London
Book on Viator →Operated by Photography Workshops by Matthew Williams-Ellis · Bookable on Viator
London teaches photography fast. This 5.5-hour Central London workshop pairs a pro instructor (Matthew Williams-Ellis) with a group of no more than eight, so you get real coaching while you shoot iconic sights like the London Eye and Leake Street Arches. I like that it focuses on fundamentals in the field, not just classroom talk, and it helps you build a repeatable way of seeing. One thing to consider: you’ll be outside and you’ll want good weather, because the plan depends on it.
What really lifts this experience is the way the technical lessons connect to what you’re aiming to photograph. You’ll work through how ISO, aperture, and shutter speed interact, plus shooting modes and focusing, and you’ll practise right where the lighting and subjects keep changing. You’ll also get plenty of composition and story ideas, so you’re not just learning settings—you’re learning what to look for.
There is a downside for absolute beginners who want zero walking. The route covers multiple stops and you’ll have to move between them, with a moderate physical fitness level expected. If you prefer slow, sit-down instruction only, this may feel like too much motion.
In This Review
- Key things to know before you go
- Why this workshop feels like tutoring, not a lecture
- Your camera finally clicks: ISO, aperture, and shutter speed in plain English
- The route: London Eye, Leake Street Arches, and St Paul’s Cathedral (and why the order matters)
- Stop 1: London Eye
- Stop 2: Leake Street Arches (Waterloo Graffiti tunnels)
- Stop 3: St. Paul’s Cathedral
- Beyond settings: learning the thought process to create photos
- Slow shutter and storytelling: making motion look intentional
- Thames sunset into blue hour and night: the finish that upgrades everything
- Gear, phone cameras, and what to bring so you don’t waste time
- Price and value: $232.25 for 5.5 hours of pro-led practice
- Who this workshop is best for
- Should you book this Central London photo workshop?
- FAQ
- What is the duration of the workshop?
- What does the workshop cost?
- How large is the group?
- Where is the meeting point?
- Is the workshop taught in English?
- Does the schedule depend on weather?
- FAQ
- Is there a final photo shoot over the Thames?
- Do I need my own camera?
Key things to know before you go
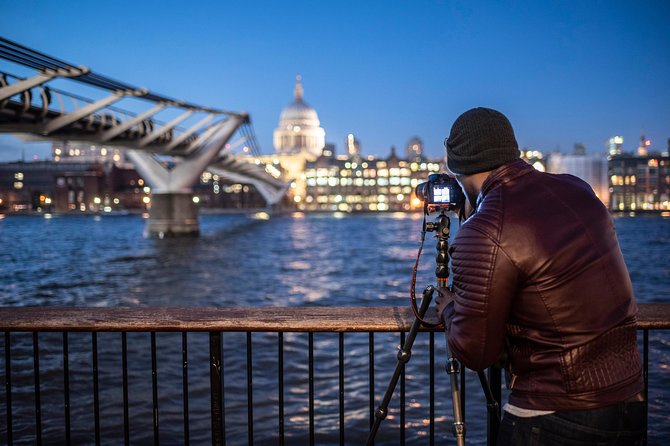
- Small-group coaching with a maximum of eight people, so you actually get hands-on feedback
- In-the-field practice at multiple London photo hot spots, not just theory
- ISO–aperture–shutter speed taught as an interplay, with exercises you can repeat later
- Motion and slow shutter experiments, including action-style shots around the South Bank area
- Sunset to blue hour to night over the Thames to finish with photos that feel dramatic
Why this workshop feels like tutoring, not a lecture
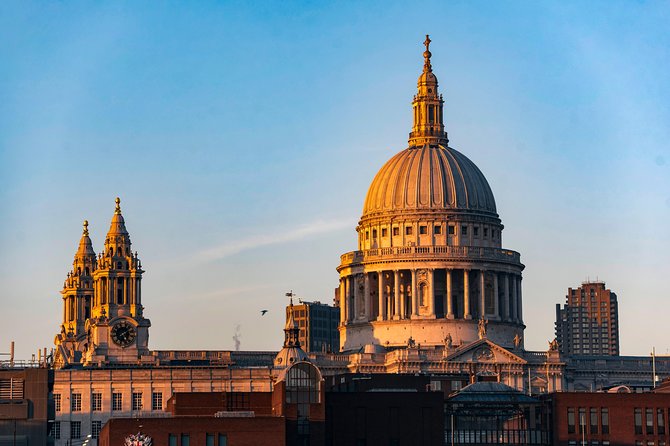
This is one of those London experiences where the teaching style matters. The instructor, Matthew Williams-Ellis, runs sessions with a gentle, patient approach, and that shows up in how he handles mixed experience levels. Some people come in with years on auto mode. Others arrive with a phone and want better results. The course still meets you where you are.
The small cap of eight is a big deal in Central London. It means you’re not stuck waiting your turn while everyone else shoots. When you’re standing somewhere like St. Paul’s Cathedral, light conditions can change fast. A larger group would blur those teachable moments. Here, you’re more likely to adjust settings, reframe, and try again while the light is still right.
You’ll also notice the emphasis on doing, not just watching. The format is built around walking and photographing in sequence, which makes the lesson stick. It’s easier to remember what shutter speed does when you see it affect motion in real time.
You can also read our reviews of more tours and experiences in London.

Your camera finally clicks: ISO, aperture, and shutter speed in plain English
The course starts with the basics for a reason: if you understand the relationships, you don’t have to fear your camera settings. You’ll learn how ISO, aperture, and shutter speed work together, and why changing one affects the others. You’ll also get clarity on shooting modes and focusing, so you’re not trapped in automatic decisions.
Here’s the useful part for real life: London gives you constant lighting problems. Bright skies can crush highlights near iconic buildings. Shadowy tunnels can trick your camera into underexposing. Nightfall turns everything into low-light math. The workshop doesn’t treat those as mysteries. It treats them like predictable challenges you can control.
You’ll practise with the kind of quick feedback loop that makes beginners confident fast:
- set a key setting (like shutter speed),
- shoot,
- look at the result,
- adjust,
- repeat.
If you’ve ever felt that your camera has too many knobs, this is the antidote. You’ll learn what each control is trying to do, so your next decision is less random.
And yes, slow shutter comes later, but it doesn’t come out of nowhere. You’ll build the exposure thinking first—then you’ll use it for creative effects.
The route: London Eye, Leake Street Arches, and St Paul’s Cathedral (and why the order matters)
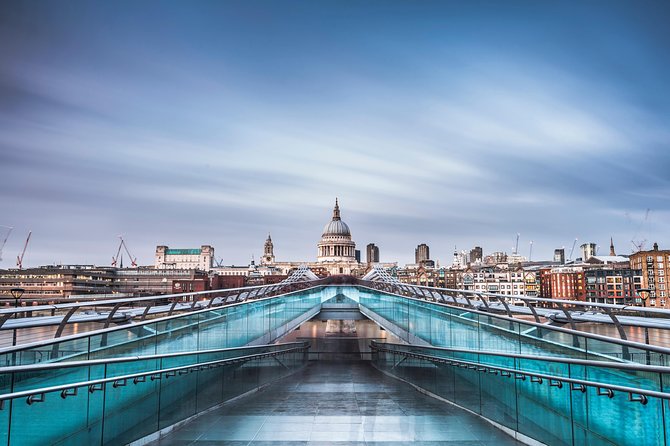
This is not a random walk. The stops are chosen to help you practise different styles of photography in a logical rhythm as daylight fades.
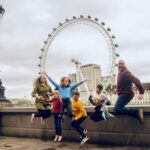
Stop 1: London Eye
The London Eye is a great starting point because it forces you to think big and framed. You’ll work on composition with a clear subject at iconic scale, plus the challenge of bright daylight and reflective surfaces. This is where you can practise how focal length and framing choices affect how your photo feels.
A practical goal here: aim for shots where you can see your own creative decisions. That means not only getting the Eye in the frame, but deciding what else belongs—sky, river cues, lines leading toward your subject, and how much space you give the scene.
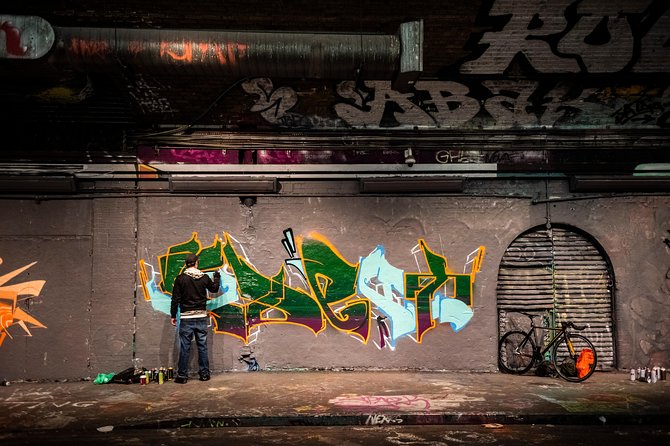
Stop 2: Leake Street Arches (Waterloo Graffiti tunnels)
Leake Street Arches is the part of the day that makes your camera work harder in the best way. The tunnel environment tends to create strong contrast: bright areas meeting darker interiors, plus colourful surfaces that can push exposure off balance.
This stop is ideal for learning focusing strategies and composition under pressure. You’re in a setting where your camera can easily misread the light, so you learn to take control rather than hope.
It’s also where the course leans into dynamic subjects. The highlights mention capturing more dynamic shots around the skate park area, and South Bank is right in that world. So you’re likely to practise how shutter speed can freeze motion—or intentionally blur it for energy.
Stop 3: St. Paul’s Cathedral
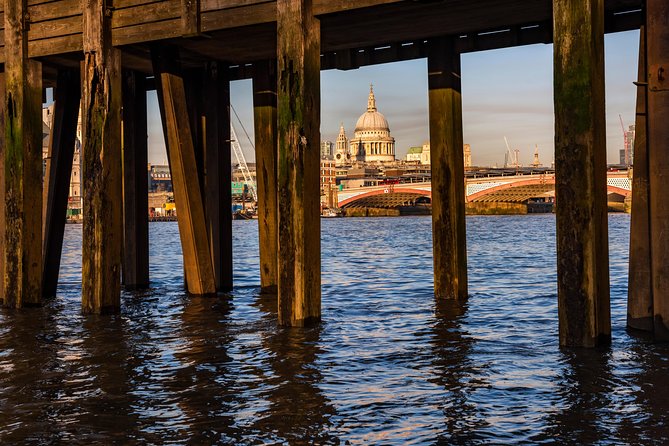
St. Paul’s Cathedral brings a different set of challenges: tall vertical lines, dramatic angles, and often a tricky mix of highlight and shadow. This stop is where composition lessons pay off. You’ll practise using structure—leading lines, symmetry-ish framing, and careful alignment—to keep your images from feeling accidental.
It’s also a good place to practise thinking ahead. You’ll learn to scan the scene before you shoot: where the best view angle is, how the light hits the stone, and how your framing changes once people move through.
One small drawback: as you move into this zone, it’s easy to get focused on the subject and forget the technical side. The instructor’s job is to keep you balancing both, and in this workshop that’s part of the point.
Beyond settings: learning the thought process to create photos
A lot of photography lessons stop at settings. This one keeps going. You’ll talk about the thought process of creating photos, not just taking them. In practice, that means you’re trained to ask better questions before you press the shutter.
Instead of thinking, What button do I need?, you start thinking:
- What is the subject and what is the story?
- What mood do I want?
- How should motion or blur support that mood?
- Which part of the frame deserves attention?
That mindset matters because it works anywhere. London is your classroom, but the goal is that you leave with a way of planning shots you can use on your next trip.
The feedback style also helps. Multiple participants describe the way Matthew stays supportive and adjusts the pace. That matters when you’re learning manual controls for the first time. No one wants to feel rushed while they’re trying to remember what aperture does to depth of field.
You’re also likely to come away with practical notes and setting ideas you can reference later. People mention leaving with tips written down—exactly what you want if your brain blanks the moment you get home.
Slow shutter and storytelling: making motion look intentional
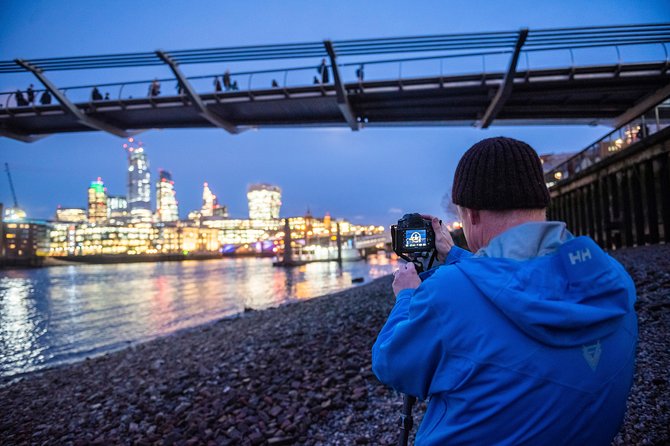
Once you’re comfortable with the basics, the workshop switches gears to experimentation. The highlights call out slow shutter speed practice, and that’s one of the most satisfying parts of any photography class because it turns a technical concept into a creative effect quickly.
Slow shutters can do two big things for you:
- blur motion to show energy,
- smooth out light and water to give scenes a calmer feel.
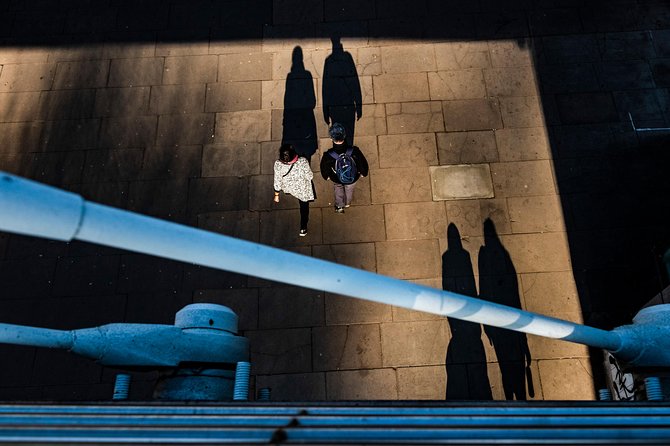
In a city like London, motion is everywhere. You’ll work with it instead of fighting it. Around the South Bank area, action-style subjects are close by, so you can experiment with blur versus freeze and see what fits your idea.
This is also where composition becomes more than decoration. If you blur motion, you’re guiding the viewer’s eye through direction and movement. If you freeze it, you’re capturing a moment’s shape. Either way, you’re choosing a visual language.
If your current photos feel a bit flat or repetitive, this section is the fix. It teaches you that exposure isn’t just about brightness—it’s about how time appears in your photo.
Thames sunset into blue hour and night: the finish that upgrades everything
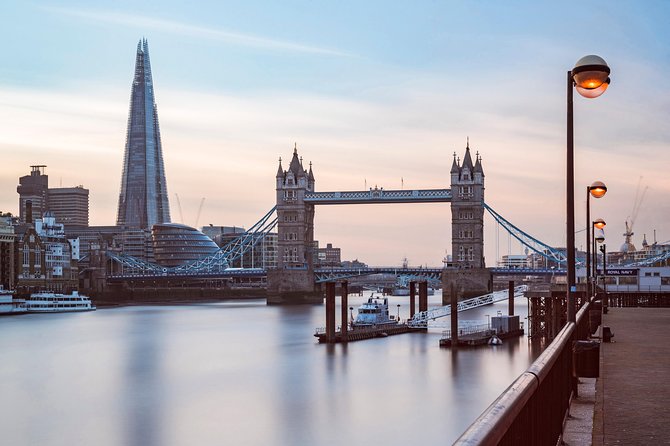
The last stretch is designed to turn learning into results. The workshop ends with a riverside shoot that moves through sunset, blue hour, and night over-looking the Thames.
This timing is smart. Blue hour is when city photos get that coveted mood: less harsh glare than midday, and more depth than pure daylight. Night then tests your settings and your patience in a way that makes you better fast.
You’ll practise what you learned under real conditions:
- setting exposure for low light,
- controlling highlights,
- using shutter speed creatively,
- focusing with fewer light cues than you’re used to.
It’s also where you can get a collection of different images in one location. You’re not repeating the same shot three times. You’re watching the scene change and learning how your camera needs to change with it.
If you want photos that look like you planned them, this is where that happens. The best part is that you finish with variety: daytime-style frames earlier in the session, then moodier results near the end.
Gear, phone cameras, and what to bring so you don’t waste time
The course is designed for beginners through intermediate. And importantly, at least one participant used the session to improve how they use a phone camera. So if you’re starting with a phone, you’re not out of place.
Still, most people do best if you bring whatever you actually plan to shoot with on future trips. Bring your camera, its charger/battery, and any basic lens you normally use. If you’re on a phone, make sure you know how to access manual or setting controls if your model supports them.
Also, wear comfortable shoes. This isn’t a museum sit-down. You’ll be walking across multiple iconic spots, and the activity expects moderate fitness.
Since the session uses a mobile ticket, have that accessible on your phone. Confirmation is sent within 48 hours, so you can plan your day once you have that message.
Finally, bring curiosity rather than stress. You’re learning exposure and composition in one afternoon. That takes a few tries. Think of it like tuning an instrument: the first notes sound rough, then suddenly it clicks.
Price and value: $232.25 for 5.5 hours of pro-led practice
$232.25 per person is not a casual add-on. But in Central London, a 5.5-hour session with a pro instructor and a maximum group size of eight has real value.
Here’s why:
- You get in-the-field instruction, not just a route and a talk.
- You practise repeatedly with feedback while the light is still useful.
- You cover key technical ideas—ISO, aperture, shutter speed, focusing, and shooting modes—then apply them in multiple lighting conditions.
- You end with an extended low-light shoot over the Thames, which is usually where people feel most stuck.
If you’ve tried learning photography solo and still get stuck on why one setting ruins something else, this workshop is designed to break that cycle quickly. You leave with images you’re proud of and with a way to recreate results later.
The main value risk is mismatch: if you already know manual controls well and just want inspiration without instruction, you might find it less helpful. But if you’re still learning or you want your shots to look more intentional, the format is well matched to that goal.
Who this workshop is best for
I’d point this toward you if:
- you use auto mode and want to understand what’s happening,
- you feel confused by ISO, f/stops, and shutter speed,
- you want better composition and story ideas, not just exposure,
- you’re travelling with a teen or someone who wants a structured way to learn,
- you prefer learning outdoors while shooting real London scenes.
It’s also a good option if you’re mixing experience levels. The instruction is set up to handle different starting points, including phone-camera learners and people starting from zero.
Should you book this Central London photo workshop?
If you want a photography skill boost you can actually use within days, I think this is a strong bet. The biggest selling points are the small group size and the way the lesson keeps matching what you’re photographing as the light changes—from iconic daytime views to night over the Thames.
Book it if you’re okay walking and learning in the open air, and if you’re motivated to practise rather than just watch. Skip it only if you need a fully indoor, low-movement class or if weather dependency would stress you out.
FAQ
What is the duration of the workshop?
It runs for about 5 hours 30 minutes.
What does the workshop cost?
The price is $232.25 per person.
How large is the group?
The workshop has a maximum group size of 8 travelers.
Where is the meeting point?
Meet at Starbucks Coffee, Belvedere Rd, London SE1 7GQ, UK. The activity ends back at the meeting point.
Is the workshop taught in English?
Yes, it is offered in English.
Does the schedule depend on weather?
Yes. It requires good weather. If it’s cancelled due to poor weather, you’ll be offered a different date or a full refund.
FAQ
Is there a final photo shoot over the Thames?
Yes. The workshop ends with a sunset, blue hour, or night shoot overlooking the Thames.
Do I need my own camera?
The course focuses on learning photography basics and includes practical shooting. One review also notes phone-camera learning, so you can plan around what you’ll use to shoot.