REVIEW · OSAKA
Osaka Photography Masterclass – Private Photography Lesson
Book on Viator →Operated by Aperture Tours · Bookable on Viator
Osaka at night turns into a photo lesson. This private photography masterclass pairs a professional photographer with local know-how so you can work on settings, composition, and the best angles in Osaka’s most camera-friendly streets—day or night—with Irven as one of the standout guides.
What I like most is the personalised coaching. You’re guided at your pace (and your skill level), then you put it into practice right away in places like Shinsekai and Dotonbori. The one catch: the tour does not include a tripod, so if you want sharper long-exposure night shots, you’ll need to plan to bring your own.
In This Review
- Key highlights you’ll feel during the 3 hours
- Osaka Photography Masterclass: what you’re really paying for
- Day Tour: Shinsekai to Dotonbori, and why it’s a smart training route
- Shinsekai: practice learning the angle before the shutter
- Dotonbori in daylight: translating street scenes into composition
- Day Tour drawback to consider
- Night Tour in Dotonbori: long exposure skills you can use immediately
- What you’ll practice at night
- The big practical note: the tripod
- Irven’s coaching style: why the lesson feels personal
- Where the lesson works best: DSLR, mirrorless, and iPhone
- Getting the most out of a private 3-hour session
- Price and value: is $170 per person a fair deal?
- Practical logistics that affect your photos
- Should you book the Osaka Photography Masterclass?
- FAQ
- FAQ
- How long is the Osaka Photography Masterclass private lesson?
- How much does it cost per person?
- Where does the tour start?
- Where does the tour end?
- Is this a private tour?
- What areas are covered during the day option?
- What areas are covered during the night option?
- What’s included in the price?
- Do I need to bring a camera?
- Is a tripod included?
- What if I need to cancel?
Key highlights you’ll feel during the 3 hours
- Private lesson format with only your group, so you can ask questions and adjust as you go
- Camera settings + composition instruction tied directly to what you’re photographing
- Shinsekai to Dotonbori day route for contrast between street mood and neon signage
- Night long-exposure practice in Dotonbori for motion, reflections, and city lights
- Works for iPhone shooters too since the composition and exposure thinking still applies
- A guide who explains what you’re seeing, including what’s going on at each stop
Osaka Photography Masterclass: what you’re really paying for
At $170 per person for about 3 hours, this isn’t a generic photo walk where someone points and moves on. You’re paying for real instruction in a high-signal location—Osaka’s street scenes where the light is doing something interesting every few steps.
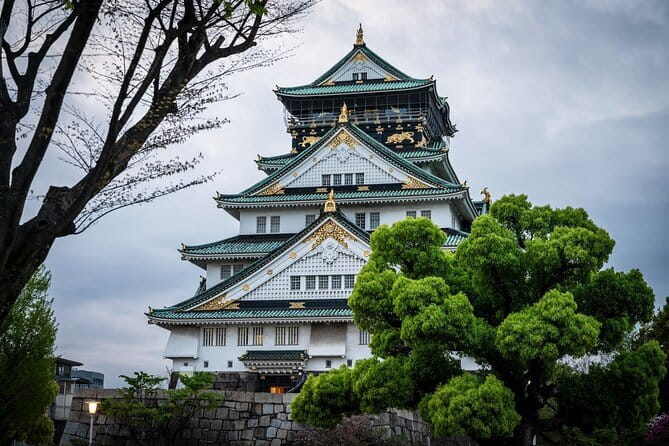
You’ll start near 3-21 Ōsakajō, Chuo Ward, Osaka (540-0002), then head into the neighborhoods built for photography. The lesson format matters: you get local choice about where to stand, how to frame, and when to change your settings. That local input is what turns a good camera into repeatable results.
And you’re not stuck with one approach. You can choose a Day Tour or Night Tour, both designed around the kind of photos you actually want—bright street character in daylight and neon-heavy long exposures after dark.
You can also read our reviews of more tours and experiences in Osaka.
Day Tour: Shinsekai to Dotonbori, and why it’s a smart training route
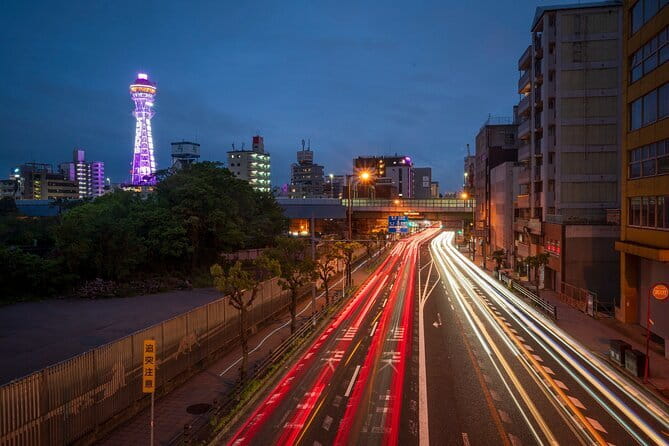
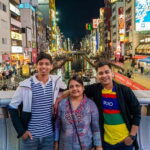
The day version is built for contrast. You move through Shinsekai, then onto Dotonbori, which is known for its neon signs and energetic street scenes.
Shinsekai: practice learning the angle before the shutter
In Shinsekai, you’ll spend time finding where the light hits best and how to frame with purpose. The value here is the lesson sequence: you’re not just taking photos, you’re learning how to decide what to shoot.
A big benefit of a private guide is pacing. If you want to repeat a shot until the framing clicks, you can. One common problem with group tours is you feel rushed. Here, the point is to help you understand why one angle works better than another.
Dotonbori in daylight: translating street scenes into composition
Once you’re in Dotonbori, the focus shifts to making neon-heavy visuals work even when you’re not doing night long exposures. You’ll practice composition and camera settings in an area that’s visually busy, which is exactly where most people need coaching.
The real takeaway you should look for: how to simplify a chaotic scene. A guide can show you how to choose a foreground and a subject, and how to keep your frame from turning into visual noise.
Day Tour drawback to consider
If your main goal is night photography (long exposures, motion blur, reflections), the day tour will still teach the fundamentals, but it won’t replace the dedicated night practice.



Night Tour in Dotonbori: long exposure skills you can use immediately
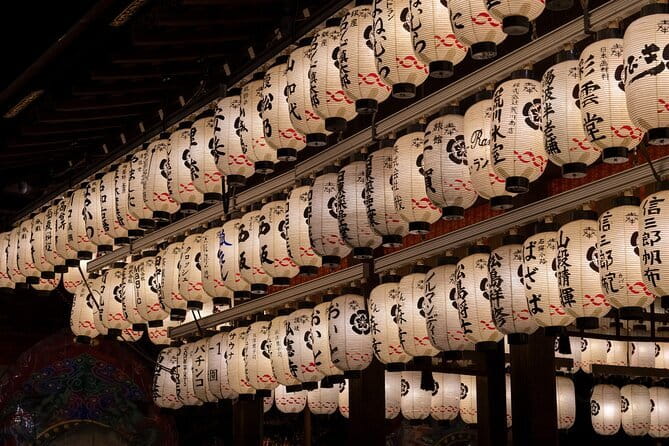
If you want photos that look like Osaka looks in your memory—lights, motion, and reflections—this is the version to pick. The Night Tour is centered on Dotonbori’s neon lighting, canal atmosphere, and street energy, and it’s specifically geared toward long exposure and night photography.
What you’ll practice at night
Long exposure is where a lot of camera lessons stop and real teaching starts. Here, you learn how to capture motion of the city and make the lights look intentional instead of just overexposed blobs.
That means you’ll be thinking about:
- Your exposure choices for night lighting
- How to hold framing while the city moves around you
- How to create a result that feels like a scene, not just a dark image with a bright center
The big practical note: the tripod
Tripod gear is not included. For long exposures, a tripod can make a huge difference in sharpness and consistency. If you don’t bring one, you might still be able to learn the concepts, but you’ll likely struggle to recreate the cleanest version of the technique.
My advice: if you have a small tripod, pack it. If you don’t, consider at least bringing something stable to brace your camera, and be ready to talk with your guide about what settings will work best for your setup.
Irven’s coaching style: why the lesson feels personal
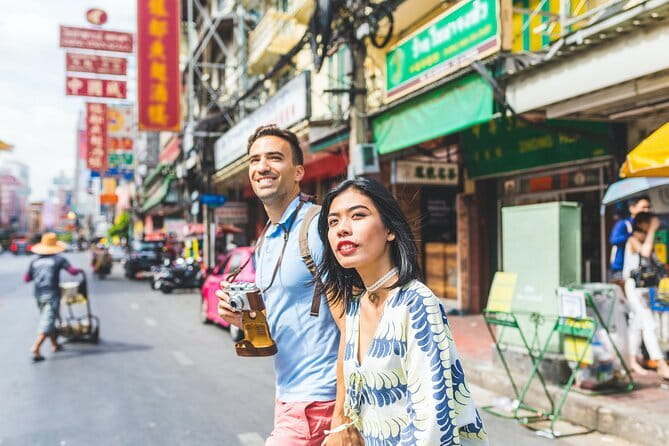
A repeat theme in the experience feedback is that the guide doesn’t just lead you to spots. Irven in particular is described as someone who takes his time and explains what’s happening at each stop, not only what to shoot.
That teaching approach matters because Osaka’s streets can be confusing fast. You’ll see:
- changing light
- moving subjects
- signage and reflections
- lots of people walking through frames
A good coach helps you read the scene. When the guide explains the moment—what’s happening, what you can expect next, and why a certain angle is worth waiting for—you stop guessing and start directing your camera.
And you’ll get technique tied to your current needs: if you’re still learning basics, the guide can focus on the essentials. If you already understand camera settings, you can push further with more deliberate composition and night timing.
Where the lesson works best: DSLR, mirrorless, and iPhone
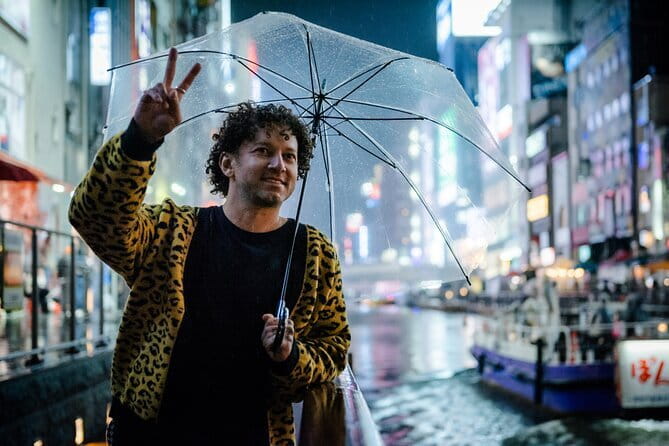
The tour does not provide a camera. You’ll want to come with your own device, fully charged and ready to shoot.
One of the most useful things to know upfront: techniques apply beyond traditional cameras. Even if you shoot on an iPhone, the core skills—composition, exposure thinking, and framing choices—carry over. The biggest difference is how you control those settings.
So if you’re wondering whether this is only for people with expensive gear: you’re not locked into that. You’re paying for guidance on how to see and how to set up shots, and those lessons transfer.
Getting the most out of a private 3-hour session
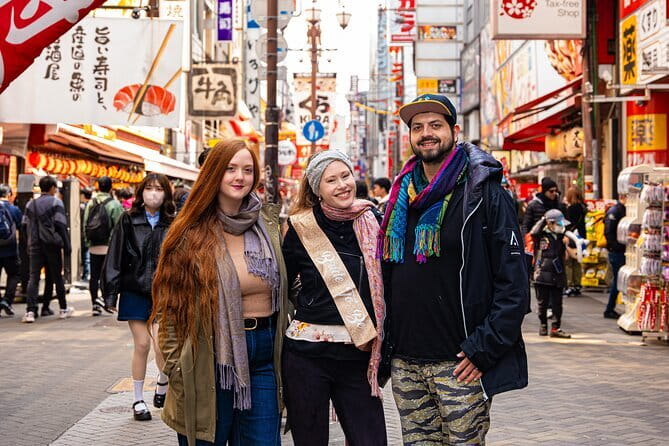
A private tour can be amazing—or a waste—depending on how prepared you are. Since the instruction is hands-on, you’ll get better results if you show up with at least a basic understanding of your camera or phone.
Here’s what helps most:
- Know how to switch between the main modes you’ll use (for example, manual or aperture priority if you have those)
- Bring the camera settings you usually rely on, so your guide can build from them
- Be ready to ask questions fast, since time is tight at 3 hours
Also, don’t underestimate the value of starting early if that option is offered. Better light and fewer crowds can give you more chances to try variations without feeling rushed.
Price and value: is $170 per person a fair deal?
For $170 per person, you’re buying three specific things:
- Local guidance on where to stand and what to shoot
- A professional photographer’s instruction on settings and composition
- A private format that adapts to your pace and skill level
If you try to learn all of that alone, you’d spend your own time doing trial-and-error in places that are visually overwhelming. A good portion of the cost is really paying for the shortcut: someone who can steer you toward better framing and teach the reasoning behind the settings.
This is also a good value if you’re the type who wants results, not just photos taken on autopilot. If you already know exactly what you want and just want a quick route, you could likely do it cheaper on your own. But if you want to leave with sharper skills you can use the rest of the trip, the lesson format justifies the price.
Practical logistics that affect your photos
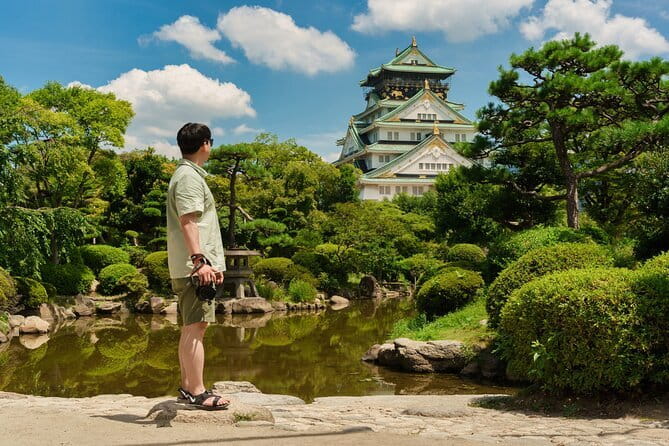
This is near public transportation, which matters because you don’t want to burn photo time walking long distances. You’ll meet at 3-21 Ōsakajō in Chuo Ward and finish back at the meeting point.
Also note the tour timing: it’s about 3 hours. That time limit makes it extra important to choose the right option:
- Pick the Day Tour if you want practice in daytime street framing and signage scenes.
- Pick the Night Tour if your priority is long exposure and night lighting results.
If you’re deciding between the two and you can only do one, go with the one that matches the photos you’re most eager to make.
And one more thing: the tour includes a local guide and a professional photographer guide, plus the private tour format. That combination is what helps you both navigate the area and improve the technique, without the experience feeling like two separate tours glued together.
Should you book the Osaka Photography Masterclass?
Book it if you want a structured lesson in Osaka’s exact photo settings—not just a walk with a camera. It’s especially worth it when:
- you want help with camera settings and composition
- you want to improve your night photos with long exposure
- you’d like guidance that works even if you shoot on an iPhone
- you appreciate a guide who explains what’s happening so you can make better choices in the moment
Skip it if your goal is purely casual sightseeing photos and you already know exactly how you want to shoot. Also, if you’re set on night long exposures, factor in that a tripod isn’t provided, and plan your gear accordingly.
If you’re aiming to leave with better skills and stronger photos from Osaka’s neon streets, this is a solid, focused way to get there in just 3 hours.
FAQ
FAQ
How long is the Osaka Photography Masterclass private lesson?
It lasts about 3 hours.
How much does it cost per person?
The price is $170.00 per person.
Where does the tour start?
The meeting point is at 3-21 Ōsakajō, Chuo Ward, Osaka, 540-0002, Japan.
Where does the tour end?
It ends back at the meeting point.
Is this a private tour?
Yes. Only your group participates.
What areas are covered during the day option?
The day tour goes from Shinsekai (including Tsutenkaku Tower) to Dotonbori, known for its neon signs and street scenes.
What areas are covered during the night option?
The night tour focuses on the Dotonbori area for night photography practice, including long exposure.
What’s included in the price?
It includes a local guide, a professional photographer guide, and the private tour.
Do I need to bring a camera?
Yes. A camera is not included.
Is a tripod included?
No. A tripod is not included.
What if I need to cancel?
Free cancellation is available up to 24 hours in advance for a full refund. Changes within 24 hours aren’t accepted, and cancellations inside 24 hours aren’t refunded.