REVIEW · LONDON
London Photography Masterclass – Private Photography Lesson
Book on Viator →Operated by Aperture Tours · Bookable on Viator
London at night turns every photo into a challenge. I love this private lesson because you get one-on-one coaching, and I also like having a guide help you navigate the sights safely after dark while you learn practical techniques.
One big consideration: you’ll need your own camera (and a tripod isn’t included). So before you go, plan for cold streets, wet sidewalks, and the fact that gear choices matter in low light.
In This Review
- Key highlights worth booking
- Why a private night photo lesson changes your London photos
- Price and value: $218.21 for skills that travel with you
- Setting off from St Thomas’ Hospital / County Hall (Stop D) and planning the night
- Westminster Bridge and the Palace of Westminster: start with lights and control
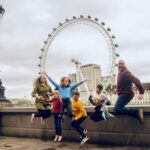
- London Eye and the Household Division: framing while the city keeps moving
- Waterloo Bridge to Southbank: turning motion into light trails you can repeat
- Millennium Bridge and St Paul’s Cathedral: long exposure with real-world steadiness
- The Shard and Tower Bridge at night: getting bold with light painting and ISO
- One-on-one guidance plus picture review: why the learning sticks
- What to bring (so the night doesn’t fight you)
- Who this suits best in London
- Should you book this London Photography Masterclass?
- FAQ
- How long is the London Photography Masterclass?
- Is this a private photography lesson?
- What’s included in the price?
- Do I need to bring a camera and tripod?
- What language is the lesson taught in?
- Where does the tour start and where does it end?
- What will I learn for night photography?
- Is there free cancellation?
Key highlights worth booking
- Private, coach-led shooting so you can ask questions and adjust fast as conditions change
- Night techniques taught on real London landmarks, including long exposure, light trails, light painting, and high ISO
- A tight 3-hour route that hits famous spots like Tower Bridge and St Paul’s without feeling like a museum shuffle
- Image review built into the experience, not just taking photos and hoping for the best
- Guides who tailor instruction based on what you already shoot (I’m seeing this theme in how different instructors work)
Why a private night photo lesson changes your London photos
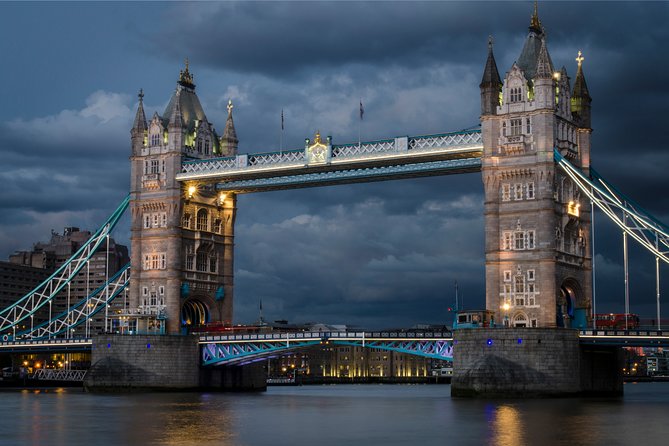
If you’ve ever tried to photograph London at night on your own, you know the problem. Daytime is forgiving. At night, small mistakes get loud: blur, blown highlights, underexposure, and photos that look flat compared to what you actually saw.
This masterclass is built to fix that. You’re not just being shown viewpoints. You’re learning the tools that let you control the final image. The goal is simple: leave with photos that match your taste, not just “good for a tourist.”
Two things make it work. First, the pacing is designed for learning. You stop, shoot, adjust, and get feedback. Second, the instructor can react to your camera and your questions in real time. That’s a huge advantage over solo shooting, where you only find out what went wrong after you’ve gone home.
And yes, London is a special kind of hard at night. The Thames reflections, the street lighting, car lights, bright building edges—there’s a lot going on. That’s exactly why a coach helps. You’ll learn how to pick settings and compositions that handle the city’s contrast instead of fighting it.
You can also read our reviews of more tours and experiences in London.

Price and value: $218.21 for skills that travel with you
At $218.21 per person for about 3 hours, this isn’t a bargain deal in the way a free walking tour is. But it also isn’t “pay for a guide” pricing. The value comes from what’s included:
- a professional photographer guide
- a local guide
- photography tuition and review
That matters because the instruction time is the product. You’re paying for the fastest path from frustration to repeatable results—especially for long exposure and high ISO, which can feel like a black box at first.
Also, because it’s private, the session isn’t diluted across strangers. Your questions don’t get merged into a group lesson. If you care about getting better during your trip (and not just collecting views), that alone can justify the cost.
Setting off from St Thomas’ Hospital / County Hall (Stop D) and planning the night
The tour starts at St Thomas’ Hospital / County Hall (Stop D), London SE1 7EP and ends back at the same meeting point. That return matters more than you might think. In central London at night, a “we’ll meet later” setup can turn into a scavenger hunt. Here, you’re anchored.
You’ll also be near public transportation, which makes the start time easier to manage if you’re arriving from somewhere else in the city.
One more practical point: you’re walking between landmarks. Even with a short route, it’s still a night photo mission. The description even hints at what you’ll need: a tripod and a scarf. Dress like you’re going to stand still for moments, not just take a quick photo and move on.
Westminster Bridge and the Palace of Westminster: start with lights and control
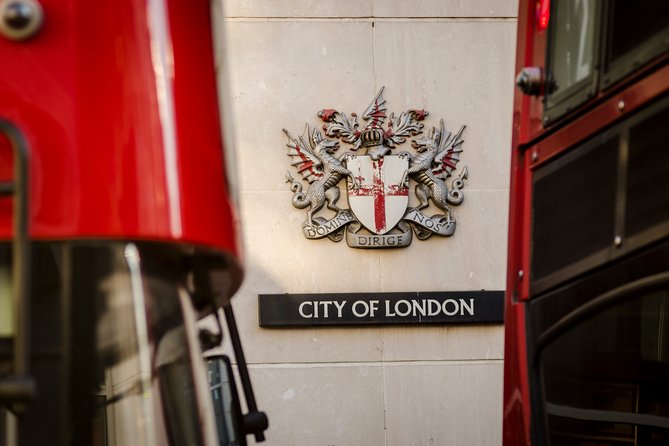
The first major hit is Westminster Bridge, followed by the Palace of Westminster. This is a smart opener. You get bright architectural elements and plenty of illumination to practice exposure decisions quickly.
What you’re likely working on here:
- getting long exposures to look intentional, not muddy
- managing bright edges and darker areas without losing detail
- learning how to choose settings for what you want—sharp buildings, softer motion, or that glow-y night mood
In low light, the biggest win is learning what each camera setting is doing. The instructors focus on more than theory. They show the cause-and-effect you can actually see: shutter time changes motion, ISO changes brightness and grain risk, and aperture affects depth and sharpness.
This is where a coach earns their fee. If you’re struggling, you don’t waste the whole evening. You correct early and start capturing the London night look on purpose.
London Eye and the Household Division: framing while the city keeps moving
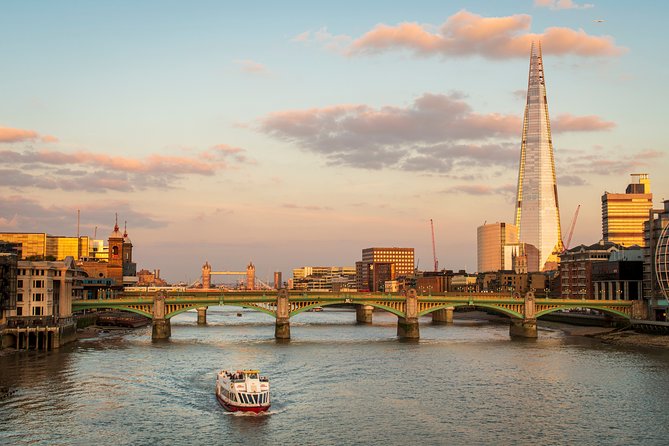
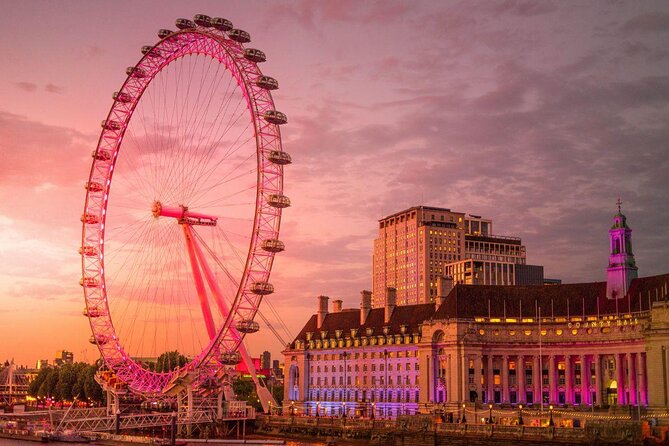
Next up: London Eye and then the Household Division area. These stops are valuable because they force you to think about framing and clutter. London doesn’t quiet down just because it’s dark. Background motion and mixed lighting are part of the scene.
This is also a great place to practice light trails. If you’re aiming for streaks of traffic or smooth blends of street lighting, your shutter choice becomes the main character. A good instructor helps you pick an exposure time that matches your vibe instead of defaulting to whatever your camera suggests.
From what I’ve seen in how instructors work, the best coaching is the kind that adjusts to your interests. One instructor focused on stretching creativity beyond standard “site photos.” Another worked with a newer shooter to make long exposure click through clear comparisons of settings and results. Either way, the theme is the same: you keep shooting while you learn, not after.
Waterloo Bridge to Southbank: turning motion into light trails you can repeat
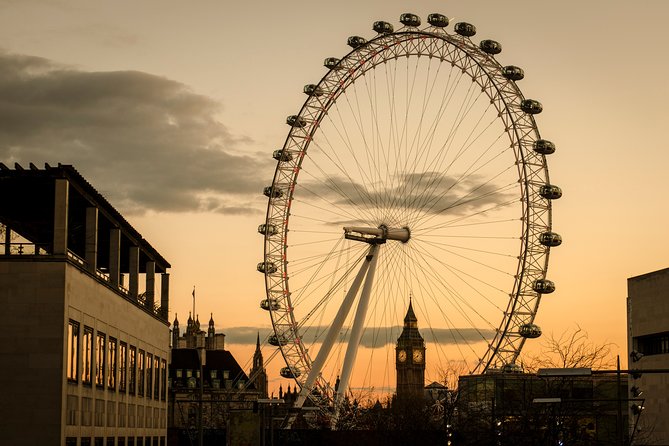
Then you’re at Waterloo Bridge, and on to Southbank. This section is where the classic night-photo payoff starts to feel real. You’re in an area known for movement and light, which gives you material for:
- long exposure that reveals motion
- light trails from vehicles and street lights
- experimenting with how bright areas can overwhelm a frame if you don’t manage exposure
Southbank is also useful because it’s an easy place to compare shots. You can aim for different compositions—wider city views or tighter details—without changing your whole setup every minute. That lets you actually learn. You’ll start noticing patterns like which angles soften the harshest highlights and how to keep your subject readable.
If it rains, you still have options. Low light plus reflections can look dramatic on wet pavement. That said, it’s not magic. Your focus and exposure still need work, and that’s where the tuition and review help you stay on track instead of calling it a wash.
Millennium Bridge and St Paul’s Cathedral: long exposure with real-world steadiness
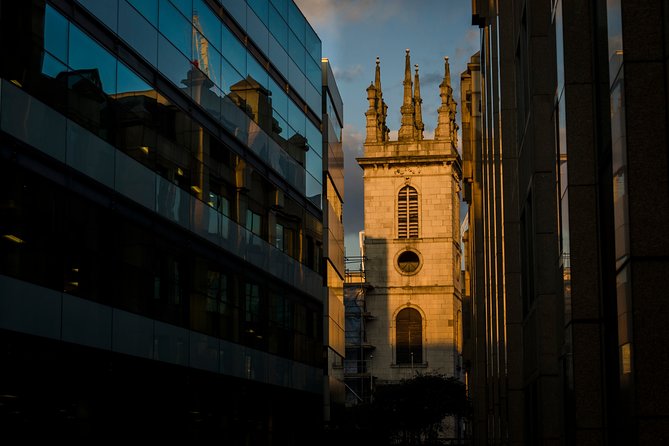
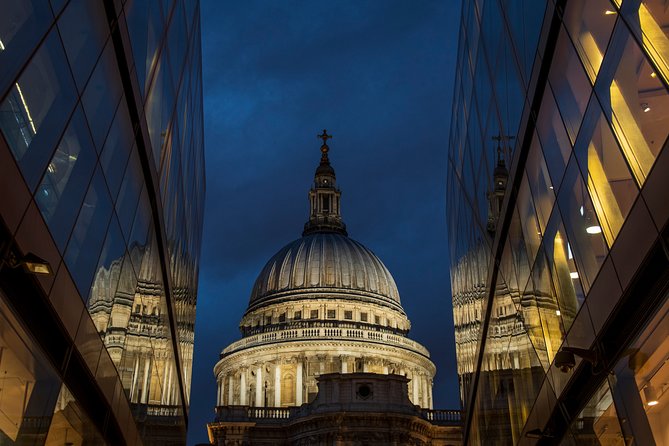
Next you hit Millennium Bridge, then St Paul’s Cathedral. These stops bring a different kind of photographic problem: steadiness and timing. With long exposures, even small body movement can smear results. That’s why tripod use is a big deal. If you don’t have one, you’ll be fighting physics all night.
Here, the instructor can guide your technique so you don’t just guess. You’ll likely learn how to:
- stabilize the camera
- choose exposure settings that keep landmark edges crisp enough
- balance the brightness of the cathedral and surrounding lighting
St Paul’s also gives you a strong subject to learn with. When you have a clear focal point, it’s easier to understand whether your settings worked. Your eyes can judge the image, and the review part can confirm what’s happening technically.
The Shard and Tower Bridge at night: getting bold with light painting and ISO
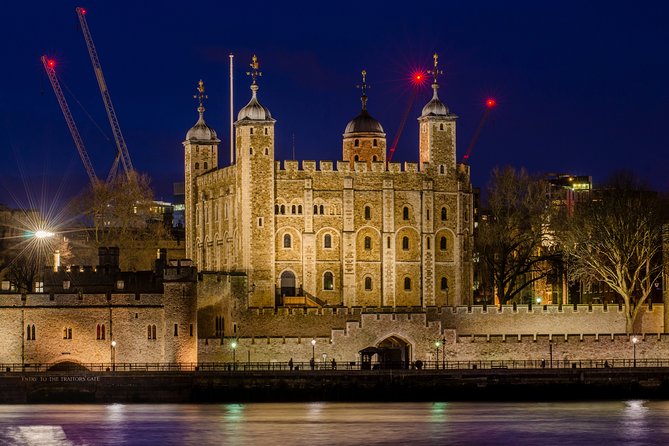
The last stretch includes The Shard and Tower Bridge. These are high-drama subjects, and they’re excellent for learning the techniques that scare beginners most.
Long exposure and high ISO are both on the menu. High ISO sounds simple—make the sensor more sensitive—but it can also increase noise. A coach helps you make it a tool, not a last resort. You learn when ISO helps, when it hurts, and how to get an exposure that looks like the scene rather than a grainy guess.
You also get instruction on light painting and light trails. That’s where creativity enters. Instead of only capturing what’s already there, you learn how to shape the light in the frame.
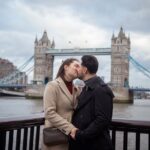
And then Tower Bridge brings all the elements together: bright structure lines, surrounding lights, and that “London at night” feeling people come for in the first place. You’ll practice making the bridge look strong, not blown out, while still keeping the atmospheric glow that makes the night photos worth keeping.
One-on-one guidance plus picture review: why the learning sticks
The standout across the experience is instruction quality. The reviews show a clear pattern: instructors take time to understand what you want to shoot, then they push you beyond whatever feels comfortable.
Names that come up include Derrick, Rose, and Noemi. While each instructor’s style differs, the through-line is consistent:
- patient teaching when you’re learning a new technique
- coaching that challenges you to chase better composition and cleaner results
- reviewing your images as you go so you learn from real examples
That review step matters because it turns practice into progress. If you only shoot for three hours without feedback, you might end with a handful of okay photos and no clear next steps. With tuition and review, you’ll know why one version worked and another didn’t. That knowledge follows you for the rest of your trip, and even for future cities.
What to bring (so the night doesn’t fight you)
Here’s what you should plan on bringing, based on what the experience calls out:
- Your camera
- A tripod (not included)
- A scarf is suggested, and it’s wise for standing still in wintery central London
Also, since this is night photography and low-light technique focused, you’ll want to be ready to operate confidently with your camera settings. If you’re brand new, don’t panic. The point of the lesson is learning shutter time, ISO, and aperture effects in a real city setting.
If you don’t have a tripod, you might still take photos, but you’ll miss out on some of the long exposure results you’ll want to learn how to make.
Who this suits best in London
This masterclass fits best if you’re in one of these situations:
- You’ve been to London before and want photos beyond the usual postcard angles. The session is set up to help you think differently and shoot with intention.
- You know your way around a camera, but you want night skills you can’t easily teach yourself. Long exposure, light trails, and high ISO are exactly the kind of topics where an expert shortens the learning curve.
- You’re a beginner who struggles with night shots. The tuition and the review process help you understand settings through what you’re actually seeing on your camera.
Also, language is English, so if English is comfortable for you, you’ll get more out of the coaching. The tour is described as most travelers can participate, which is helpful if you’re debating whether you’ll manage the walking.
Should you book this London Photography Masterclass?
Book it if you want a fast upgrade in your night photography. You’ll get guided shooting, real landmarks, and hands-on instruction that directly targets the tough parts: long exposure, light trails, light painting, and high ISO. In a city where it’s easy to spend hours chasing settings, this helps you move with purpose.
Skip it (or at least rethink) if you don’t want to bring a camera or you don’t have a tripod and don’t plan to use one. The techniques taught depend on gear choices, and you’ll feel that on a night shoot.
If you’re the type who likes to learn by doing—then yes, this is the kind of London experience that pays off long after you leave.
FAQ
How long is the London Photography Masterclass?
It’s about 3 hours.
Is this a private photography lesson?
Yes. It’s a private tour/activity, so only your group participates.
What’s included in the price?
You get a professional photographer guide, a local guide, and photography tuition and review.
Do I need to bring a camera and tripod?
Yes. A camera is not included, and a tripod is also not included.
What language is the lesson taught in?
The masterclass is offered in English.
Where does the tour start and where does it end?
It starts at St Thomas’ Hospital / County Hall (Stop D), London SE1 7EP, UK and ends back at the meeting point.
What will I learn for night photography?
The instruction focuses on long exposure, light trails, light painting, and high ISO shooting, plus how to handle the challenge of photographing London at night.
Is there free cancellation?
Yes. You can cancel for a full refund up to 24 hours in advance. Canceling less than 24 hours before start time won’t be refunded.
If you tell me your camera model (and whether you have a tripod), I can suggest the easiest way to prepare settings for your first night-long-exposure shots.