REVIEW · VENICE
Photography workshop in the magical Venice (3h)
Book on Viator →Operated by Andrea Zavagnin · Bookable on Viator
Venice turns into a camera lesson fast. This 3-hour workshop walks you through classic stops from Santa Lucia toward Rialto and Piazza San Marco, with a focus on street and architecture photography. I especially like how the guide, Andrea Zavagnin, adjusts the coaching after asking what gear you’re using and your comfort level behind the camera.
What I also like is the hands-on rhythm: you’re not just looking, you’re practicing composition choices while you walk. You’ll get practical hints on how to approach scenes, frame them, and work with the city’s lines and textures instead of letting the camera do everything for you.
One drawback: no equipment is provided. You’ll need to bring your own camera (and lens/accessories you plan to use), with your tripod optional because Andrea brings one for the group.
In This Review
- Key highlights you’ll feel during the walk
- Why Venice is perfect for street and architecture photos
- Meeting at Stazione di Venezia Santa Lucia and building your photo plan
- Rialto to San Marco: street scenes and architecture lessons in motion
- Street photography moments
- Architecture framing practice
- Piazza San Marco: making composition feel deliberate (not automatic)
- Tripod help, gear needs, and what to bring so you’re not stuck
- Who doesn’t need to overthink settings
- Price value: what $162.06 buys you in Venice
- Group size, pacing, and how the class feels
- Who should book Andrea Zavagnin’s Venice photography workshop
- Should you book this workshop?
- FAQ
- Where does the workshop start?
- How long is the photography workshop?
- Where does the tour end?
- Do I need to bring my own camera?
- Is a tripod provided?
- What is the group size limit?
- Can children participate?
- Is there an access fee for Venice?
- What if the weather is bad or I need to cancel?
Key highlights you’ll feel during the walk
- Small group size (max 8) keeps the feedback personal and the pace manageable
- Andrea Zavagnin adapts to your experience and camera setup instead of running a one-size-fits-all class
- Street photography + architecture techniques so you learn two useful styles in one outing
- Practice while walking: you learn, test, and refine as you move through Venice
- Tripod included from the guide, but you still supply your own camera gear
- Ends back near the start, making it easy to keep exploring after you shoot
Why Venice is perfect for street and architecture photos
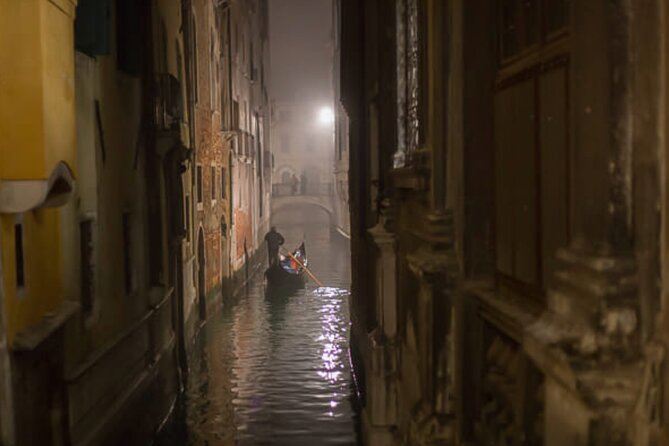
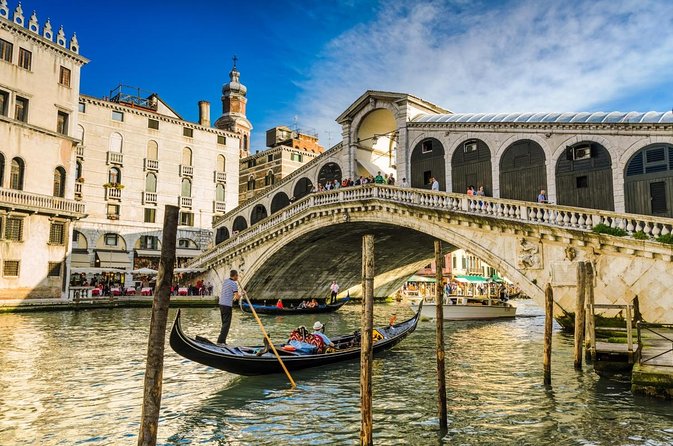
Venice is a built-in photo assignment. You get tight alleys, dramatic reflections, and buildings that seem to draw your eye toward the next turn. And that’s exactly why a workshop like this works: the city gives you constant subjects, so you can train your vision without fighting for inspiration.
For street photography, the challenge isn’t only finding scenes. It’s deciding how to see people, movement, and everyday details in a way that feels intentional. Venice helps because daily life is visible everywhere—small moments happen at canal edges, on stone steps, and in the shadows between buildings.
For architecture, Venice is all lines and layers. The best frames are rarely about grabbing one postcard view. Instead, you’ll practice how to align facades, use repeating shapes, and control perspective so the buildings look structured, not accidental. That’s where Andrea’s coaching focus matters: you’re learning how to direct your camera like a tool, not just press the button.
You can also read our reviews of more tours and experiences in Venice.
Meeting at Stazione di Venezia Santa Lucia and building your photo plan
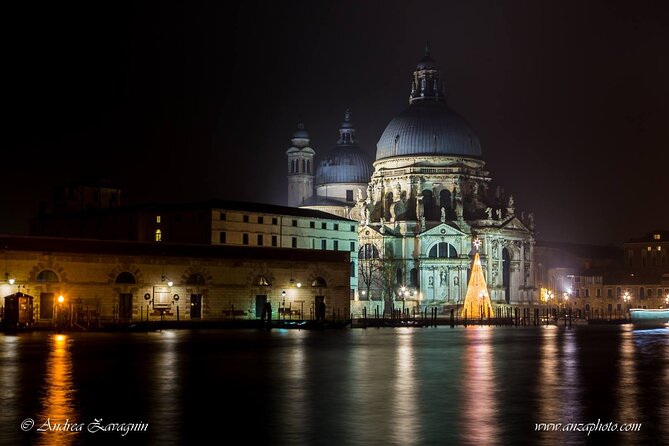
The workshop starts at Stazione di Venezia Santa Lucia. That matters more than it sounds. Starting at a major transport hub means you begin with a controlled warm-up: you’re in Venice, you’re moving on foot, and you can start learning before the day’s attention gets scattered.
From there, the route moves you toward Rialto and then on to Piazza San Marco, with the experience ending back at the meeting point. It’s a walking route, so you’ll want shoes that can handle stone streets and short bursts of uneven ground.
The practical value of this setup is time-on-subject. In a single outing, you cover:
- a classic central market/canal area around Rialto
- a shift into wider, more formal public space near San Marco
- the transition in lighting and composition that happens as you move through the city
So you’re not only learning technique. You’re learning how technique changes when the scene changes.
Rialto to San Marco: street scenes and architecture lessons in motion
As you head from Rialto toward Piazza San Marco, you’re essentially shooting through different “photo problems,” one after another. That’s great for learning because each area pushes you to make different choices.
Street photography moments
In Venice, street photography often means balancing two things:
1) capturing the human rhythm without turning everything into a blur
2) keeping the frame clean enough that your photo reads as a story
Andrea’s style is interactive. He asks questions to understand your experience with your camera, then adjusts the workshop pacing accordingly. If you’re new, you’ll likely get more guidance on basic control. If you already know your settings, you’ll get pushed toward better composition decisions and stronger framing.
A big theme here is thinking like a photographer while you walk. Instead of waiting for a perfect subject, you learn how to notice lines, angles, and visual “leading paths”—the way a canal edge or a row of buildings guides the viewer.
Architecture framing practice
Once you’re in architecture-heavy zones, the workshop focus shifts to what makes buildings look convincing in photos: perspective control and framing discipline. You’ll work on how to avoid distorted impressions that happen when you shoot too close or at the wrong angle.
This is especially useful in Venice because the streets encourage you to shoot quickly and close. The workshop gives you a reason to slow down, take a breath, and choose your angle like you mean it. Even if your final shot is taken from a standing position, you’ll learn to set up the shot before you press the shutter.
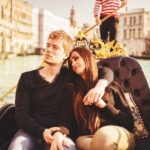
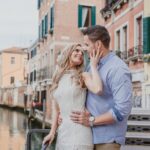
Piazza San Marco: making composition feel deliberate (not automatic)
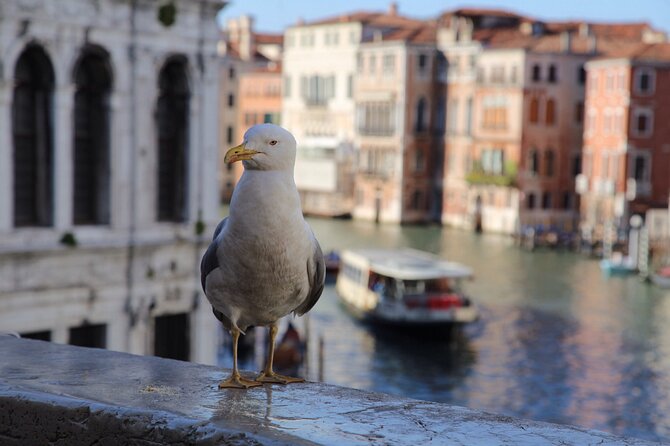
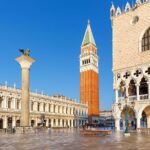
Piazza San Marco is a magnet for cameras, so it can also be a trap. The trap is letting the scene overwhelm you—shooting what’s in front of you, without building a strong composition.
That’s where the coaching focus helps. The workshop includes instruction on how to use your camera beyond auto mode. The point isn’t to memorize settings. The point is to understand how choices affect your final photo: how bright the image feels, how motion is captured, and how crisp—or soft—your architecture looks.
The most valuable part of this is practical decision-making. You learn to ask:
- What should be the subject?
- What lines should lead the eye?
- What’s the simplest frame that still feels Venice?
In one session, the walk even felt like a close-to-1-on-1 outing, with extra time spent showing quieter corners and practicing techniques in a way that pushed people off the usual pattern. You should think of this as a workshop that can flex, depending on the group and the questions you bring.
And yes, San Marco delivers the photo payoff. But the goal isn’t just to collect a few iconic shots. It’s to leave with a repeatable method for framing both people and buildings.
Tripod help, gear needs, and what to bring so you’re not stuck
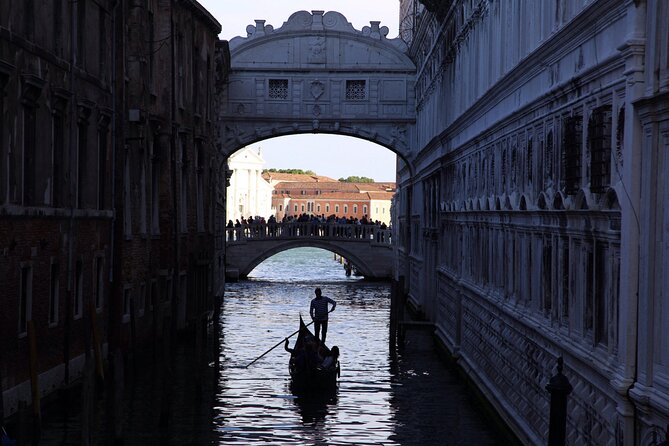
Here’s the gear reality: no photography equipment is provided. Andrea brings a tripod for the group, which is helpful if you want steadier shots or longer exposures. But you still need to bring your own camera body, lens, and any accessories you rely on.
Before you go, take a minute to plan what you’ll carry:
- Your camera and charger/battery
- Any lens you know you’ll use (wide/standard/tele)
- A small way to protect gear from water or splash (Venice has plenty of it)
- If you use a tripod regularly: bring it too, even though Andrea brings one for group use
Also think about comfort. You’re walking between major landmarks, so you’ll want a bag you can manage on busy sidewalks and narrow bridges. If your gear setup is complicated, consider simplifying. A workshop like this rewards clean, fast practice.
Who doesn’t need to overthink settings
Even if you don’t consider yourself advanced, you’ll still benefit. The workshop is built around helping you hone your creative eye and improve results. If you’ve only shot on auto, you’ll get guidance to take steps beyond it. If you already shoot manually, you’ll still get value from composition and technique coaching tied to real scenes.
Price value: what $162.06 buys you in Venice
At $162.06 per person for about 3 hours, the cost isn’t just paying for a walk. You’re buying:
- coaching from Andrea Zavagnin
- structured photo practice through street and architecture subjects
- a small group setting (maximum of 8), which matters a lot for getting useful feedback
- a tripod that the guide brings
That last point is surprisingly practical. A lot of photo tours assume you already have the right support. Here, you’re not totally blocked if you didn’t bring a tripod. And because the group is small, you’re less likely to feel like you’re waiting your turn.
There’s also a practical hint in the booking pattern: it’s commonly reserved about 59 days in advance. That’s a good sign for demand, but also a reason to plan. If you’re traveling in peak season, earlier booking increases your chances of getting a time that fits your schedule.
Bottom line on value: if you want better photos from Venice—not just more photos—this price makes sense because you’re learning technique while moving through the city, not studying photos after the trip.
Group size, pacing, and how the class feels
Maximum 8 travelers changes the whole vibe. A small group means Andrea can actually work with people, not just talk to them. You get questions, adjustments, and hands-on direction tied to your camera and experience.
The workshop style also tends to turn practical because you’re always near the next visual challenge. You might start with street photography thinking, then shift into architecture framing without the outing feeling disconnected. That flow is part of the value: your learning sticks because it’s tested immediately.
One more nuance: in at least one case, the experience turned into something close to 1-on-1. That’s not guaranteed, but it’s a realistic outcome when the group is small or when you ask lots of questions. If you like that kind of direct attention, this workshop is worth considering.
Who should book Andrea Zavagnin’s Venice photography workshop
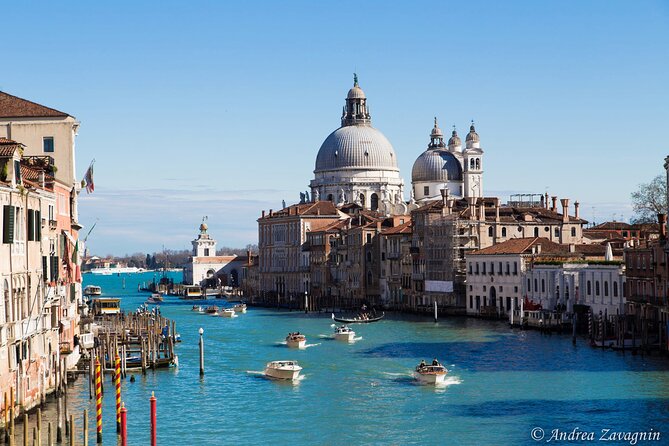
This works best if you fit one of these:
- You want to photograph Venice with more intention, not just capture landmarks
- You’re interested in both street photography and architecture, not only one style
- You want guidance that responds to your current gear and your comfort level
- You appreciate learning in the real world, while walking and practicing
You might not love it if:
- You’re hoping for equipment rental or instruction on editing after the trip (the focus here is on shooting during the walk)
- You don’t want to bring your own camera gear
- You dislike walking routes between major areas (it’s built around getting from Santa Lucia to Rialto to San Marco)
If you’re traveling with kids: children and teenagers up to 13 can participate for free, with their presence reported by message including number and age.
Should you book this workshop?
Yes—if your goal is better Venice photos and not just more pictures. The strongest reason to book is the teaching approach: Andrea Zavagnin asks questions, adapts to your camera experience, and turns the city into a practice lab for street and architecture shots. With max 8 people, you’re more likely to get real feedback instead of general tips.
Book it sooner rather than later if you’re visiting high-demand periods, since it’s often reserved about two months ahead. And if you’re on the fence, check one simple thing: make sure you’re ready to bring your own camera equipment. With that box ticked, this workshop is a focused way to go home with images that look like you planned them.
FAQ
Where does the workshop start?
It starts at Stazione di Venezia Santa Lucia, 30121 Venice, Metropolitan City of Venice, Italy.
How long is the photography workshop?
It lasts about 3 hours.
Where does the tour end?
It ends back at the meeting point (Santa Lucia).
Do I need to bring my own camera?
Yes. No photography equipment is provided, so you need to bring your own camera.
Is a tripod provided?
Andrea brings a tripod, but participants still need to bring their own photography equipment.
What is the group size limit?
The workshop has a maximum of 8 travelers.
Can children participate?
Yes. Children and teenagers up to 13 years of age can participate for free, but you must notify the provider by message with the number of children and their ages.
Is there an access fee for Venice?
On certain dates, a €5 access fee may be required for people visiting Venice from outside the city. Check https://cda.ve.it for details and exemptions.
What if the weather is bad or I need to cancel?
The experience requires good weather. If it’s canceled due to poor weather, you’ll be offered another date or a full refund. You can cancel for free up to 24 hours in advance for a full refund.