REVIEW · FLORENCE
Private Photo Tour in Florence with a Professional Photographer
Book on Viator →Operated by YourDreamPictures by Eva Perocsenyi · Bookable on Viator
Florence looks different through a viewfinder. In this private photo walk, professional photographer Eva Perocsenyi helps you shoot Florence like a story, not a checklist. You’ll move through four famous stops while learning simple, usable techniques for your camera or phone.
I love how tailored the instruction feels, even if you show up with just an iPhone. You’ll also like the focus on lighting and composition that makes your photos look intentional fast. One possible drawback: you bring your own equipment, and you don’t get a download of digital images at the end.
In This Review
- Key highlights you’ll actually use
- Why a Private Florence Photo Walk Beats Random Sightseeing
- Meet Eva Perocsenyi: What Makes the Teaching Style Work
- Piazza della Repubblica: Your First Quick Wins in Florentine Light
- Ponte Vecchio: Framing a Classic View Without Losing Your Edge
- Piazza della Signoria: Turning Busy Squares Into Clean Compositions
- Duomo Area Shooting: Making Santa Maria del Fiore Look Like a Real Photo
- What You Learn: Composition, Settings, and Smartphone-Friendly Tricks
- Timing Matters in Florence, Even for a Two-Hour Tour
- Pace, Walking, and Comfort: What Your Body Needs to Know
- Price and Value: Is $114.13 Worth It?
- Group Discounts, Mobile Ticket, and How to Prepare
- Who Should Book This Photo Tour (and Who Might Skip It)
- Should You Book This Private Photo Tour in Florence?
- FAQ
- FAQ
- What’s the duration of this Florence private photo tour?
- Where does the tour start and where does it end?
- Is the tour only for people with professional cameras?
- Does the price include admission tickets to attractions?
- Are camera equipment or professional photo shoots included?
- Will I receive digital images after the tour?
- Is there a cancellation policy, and does weather matter?
Key highlights you’ll actually use
- Real-world photo coaching at each stop, not a lecture from a curb
- Works for any camera—from manual DSLR to everyday smartphone shooting
- Composition + camera setting tips that target what you’re trying to capture
- Iconic Florence locations with quick practice so you can see results immediately
- A flexible, private setup where the guide can adjust to your interests and comfort
- Professional guidance without pressure to buy extra services or equipment
Why a Private Florence Photo Walk Beats Random Sightseeing
Florence is made for pictures. The problem is that most people shoot the same angle everyone else does. This tour flips the script by teaching you how to see before you press the shutter.
You’re not dragged from one viewpoint to another with no time to practice. Instead, you pause, adjust, and try again. That small loop—look, tweak, shoot—changes how your photos come out.
And because it’s private, you can focus on what matters to you. Want architecture? Great. Want your travel photos to look sharper and more cinematic? Also great. The guide’s job is to help you get there with your current gear.
You can also read our reviews of more tours and experiences in Florence.
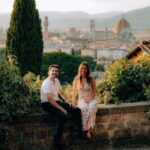
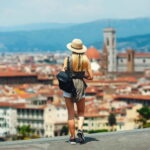
Meet Eva Perocsenyi: What Makes the Teaching Style Work
This experience runs through YourDreamPictures by Eva Perocsenyi, and the vibe is calm and practical. She doesn’t just point at a spot and hope you figure it out later. She checks what you want, then builds your shooting plan around it.
A standout theme in the experience is tailoring. If you’re comfortable with manual mode, you’ll get specific coaching on the way exposure and framing work together. If you’re mostly on your phone, you’ll get smartphone-friendly tips that still follow solid photography principles.
You’ll also notice that the instruction is visual. She guides you to try different compositions and lighting choices, then helps you understand what changed. That makes it easier to repeat the results later, after the tour ends.
Piazza della Repubblica: Your First Quick Wins in Florentine Light
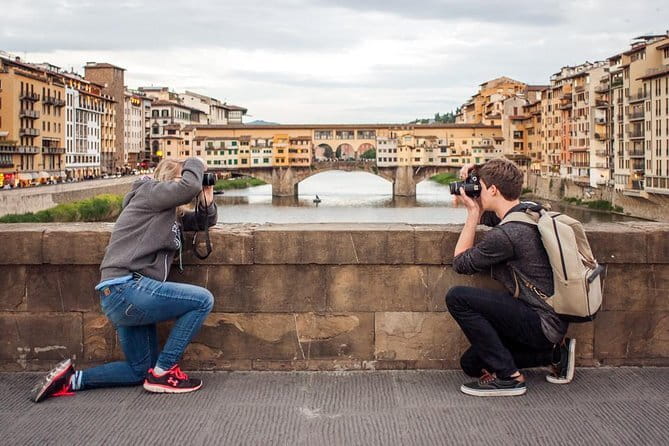
The tour starts at Michael Kors, Piazza della Repubblica 43. From there, you move into Piazza della Repubblica for your first photo time.
This stop is short, around 15 minutes, which is good for two reasons. First, it keeps energy up. Second, it forces you to work quickly on composition and framing rather than overthinking it.
What you should watch for here is foreground. The square has enough “stuff” around it—pavement lines, building edges, and street angles—to give you simple ways to build depth. Even if your shot looks messy at first, this is where you learn to clean it up fast.
If you’re shooting on a smartphone, start by controlling what’s sharp and what’s background noise. You’ll get practical pointers on timing, light direction, and how to hold the scene together with good framing. These are the same ideas you’ll use at every later stop.
Ponte Vecchio: Framing a Classic View Without Losing Your Edge
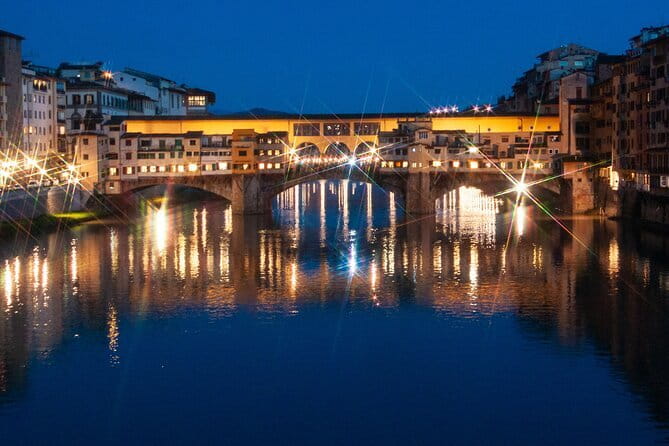
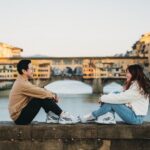
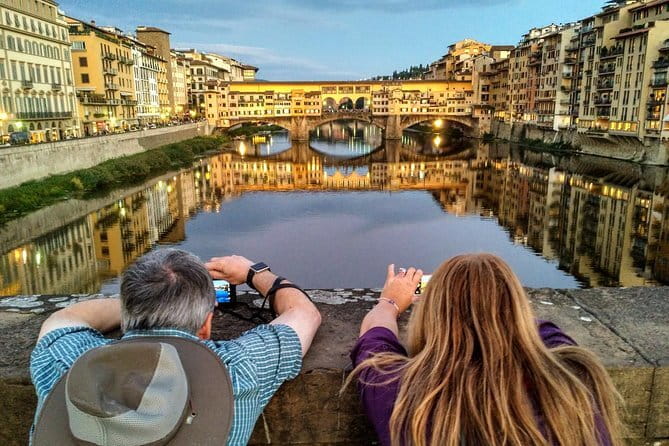
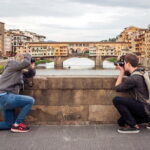
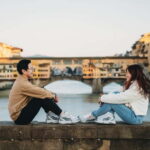
Then you head to Ponte Vecchio for another roughly 15 minutes. This is the moment most people want to shoot right away. The trick is that a famous bridge can turn into a generic postcard if you don’t choose a structure.
A bridge offers natural leading lines. So you’ll spend time learning how to use those lines to guide the eye. You can also experiment with different viewpoints—closer, higher, or slightly off-center—to avoid the same wide-angle shot everyone captures.
Another practical skill you can pick up here is timing. Florence light changes quickly. If the sun hits the stone one moment and slips into softer shade the next, your photos will look like different cities. The guide’s advice on golden hour and blue hour concepts helps you recognize what you’re seeing.
If you’re thinking, I only have two hours, don’t worry. The coaching is designed for quick iteration. You’ll try a composition, adjust, and try again before moving on.
Piazza della Signoria: Turning Busy Squares Into Clean Compositions
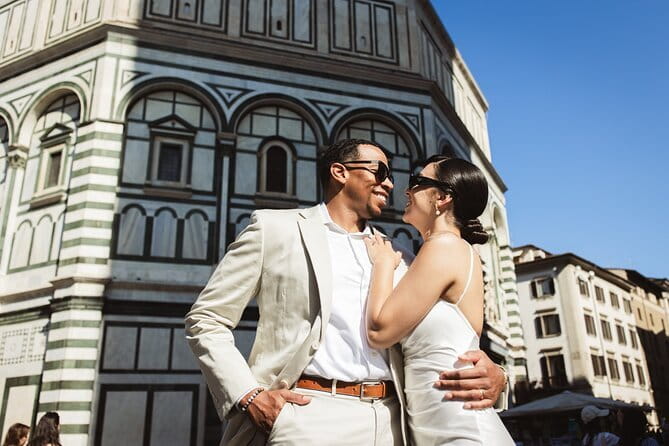
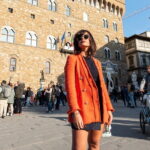
Next comes Piazza della Signoria. Again, it’s about 15 minutes of walking and shooting time.
Big public squares can be chaotic in the frame. People cross, pigeons do their own thing, and there’s always something that threatens to ruin your lines. This stop teaches you how to handle that instead of waiting for perfect silence.
You’ll get tips on composition rules that translate directly to street photography. Think about balancing verticals and horizontals, creating separation between foreground and background, and placing your subject so it anchors the image.
Architecture is another key theme. You’ll learn how to photograph buildings so they don’t look distorted or flat. Even small choices—like where you stand, how high your lens points, and how close you focus—make a photo feel intentional.
And because it’s private, you can ask for a specific style. If you want crisp architectural geometry, say so. If you want more human-scale storytelling, that’s also workable here.
Duomo Area Shooting: Making Santa Maria del Fiore Look Like a Real Photo
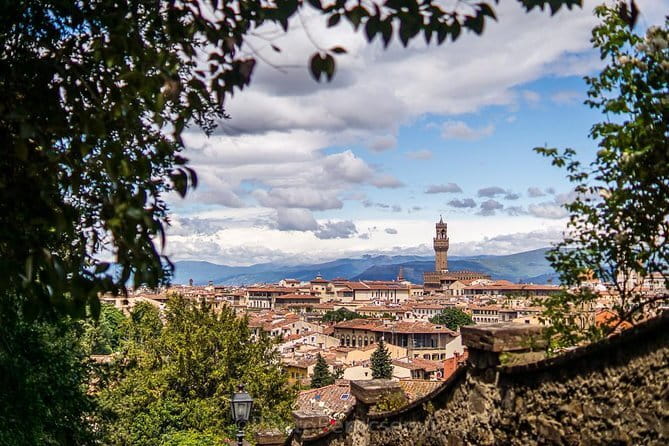
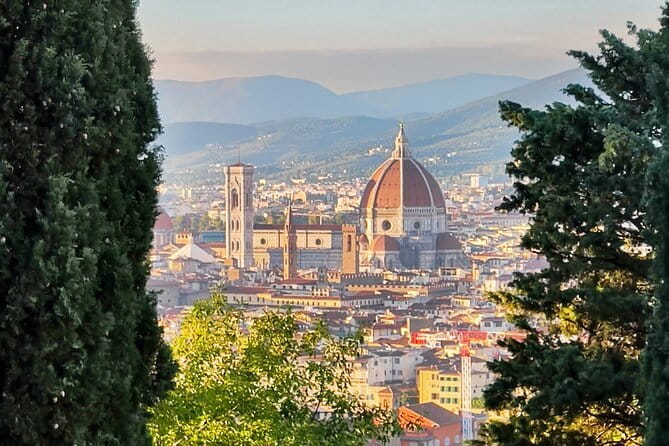
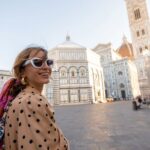
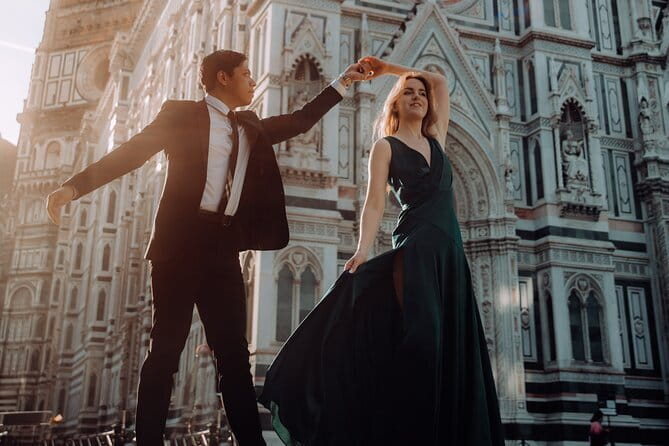
The final classic stop is the Duomo area: Cattedrale di Santa Maria del Fiore. Expect another 15 minutes for photos, walking, and practice.
This is where many first-time “wow” photos happen—and where they can fall apart. The Duomo is tall and detailed. It can dominate your frame so much that your image turns into a wall of texture without a clear composition.
So you’ll focus on choices that give the cathedral structure on the page. Where you place the horizon. How you frame the cathedral so it feels balanced. How you use surrounding elements to provide context without clutter.
If you want shots that feel more cinematic, ask about light direction and how to make the stone look dimensional. The guide’s tips connect the look of your final image to timing in the day, which is a skill you can keep using after you leave.
One important practical point: entrance tickets aren’t included. The area around the cathedral is free to view, but if you plan to go inside specific parts, you’ll need separate tickets. The photo tour is about the walk-and-shoot experience, not a paid-entry museum day.
What You Learn: Composition, Settings, and Smartphone-Friendly Tricks
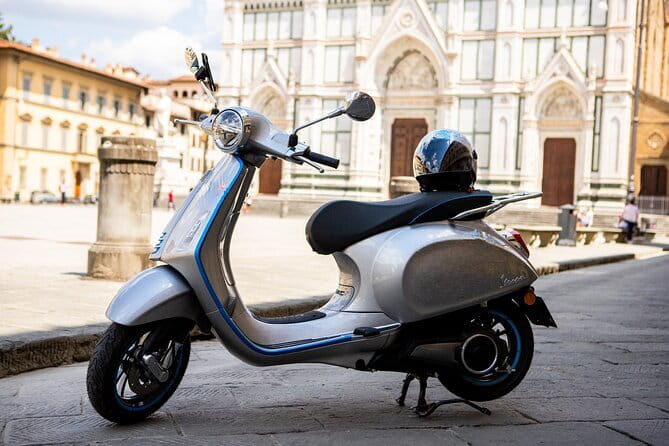
The tour includes a professional photographer guide plus a handful of practical tips. You’ll learn composition rules, plus some guidance on camera settings. And yes, this is meant to work whether you shoot with a dedicated camera or a cellphone.
What that looks like in real life is straightforward. You’ll practice framing choices at each stop. You’ll learn why one angle looks better than another. You’ll also get ideas for handling light so your photos don’t come out washed or overly harsh.
A few specific “style” skills that come up in the experience include architectural photography tips and how to use foreground to add depth. You’ll also talk about golden hour and blue hour concepts in a way that makes them usable, not just poetic.
Even if you’re new, you can benefit. The instruction is designed for all levels and all equipment types. And if you’re advanced, you’ll still get value through targeted suggestions rather than generic advice.
Timing Matters in Florence, Even for a Two-Hour Tour
A two-hour photo walk is short. That’s why timing matters so much. You’ll likely get most value when you book a time slot that matches decent light.
You don’t need to know photography theory to benefit. The guide can explain it in plain terms. But you should think about when you’re shooting. Morning light can be softer. Late-day light can add drama. Night or blue hour can make Florence feel extra magical.
One review-style detail that fits the vibe is that the experience can include sunset or blue-hour shooting at viewpoint locations like Plaza Michelangelo when timing works out. Since that depends on your schedule and daylight, treat it as a bonus possibility rather than a guaranteed end point.
Pace, Walking, and Comfort: What Your Body Needs to Know
This is a walking tour. You should have moderate physical fitness. Florence is full of uneven pavement, quick turns, and short distances that still add up.
The upside is that the pace is focused. Each stop is about 15 minutes, so you’re not dragging yourself around for hours without a reason. You’re moving with purpose, and the guide is using the time to help you shoot, not just arrive.
Children must be accompanied by an adult. Service animals are allowed. If your group includes anyone with mobility concerns, plan accordingly and talk with the guide so you can manage breaks.
Price and Value: Is $114.13 Worth It?
At $114.13 per person for about two hours, this isn’t a bargain-basement walking tour. It is priced like a coaching session in a city where good locations are everywhere and good instruction is harder to find.
Here’s why it can be worth the spend. You’re paying for a professional photographer to watch what you’re doing, correct your composition, and help you understand lighting in a practical way. That’s the kind of feedback you don’t get from a phone camera app, a guidebook, or a random group tour.
Also, the tour is private. That means your time isn’t diluted across a big group. If you have a couple or small group, the value often feels more real because you can ask questions and get specific advice.
What you should know upfront: equipment is not provided. You need your own camera or smartphone. Digital images are also not included. If you’re hoping for a delivered gallery of edited photos, this isn’t that kind of experience.
Group Discounts, Mobile Ticket, and How to Prepare
There may be group discounts, and you’ll get a mobile ticket. None of that matters if you show up unprepared, though, so here’s the useful prep.
Bring your camera and the charger if you can. If you’re using a phone, make sure it’s charged and has enough storage. For DSLR or mirrorless shooters, bring your usual lens setup, and be ready to switch settings during short bursts of practice.
Dress for walking and be ready to move quickly between photo angles. Florence rewards people who are willing to step a little to the left, lower their viewpoint, and try again.
And do one simple thing before you meet the guide: decide what you want. Travel snapshots? Architectural shots? Portrait-style images? The better you can describe your goal, the faster the coaching becomes useful.
Who Should Book This Photo Tour (and Who Might Skip It)
This is a great fit if you want better photos without spending days learning theory. It’s also ideal if you’re in Florence for a short visit and you want to get the most from your camera or phone immediately.
It’s especially good for mixed skill groups. If one person knows their DSLR and another mostly uses a smartphone, the guide can work across that gap. The goal stays the same: help everyone take stronger images.
You might skip it if you only want a traditional guided city history tour. This experience is more about shooting skills than deep art and historical lectures. You’ll get some context, but it’s not trying to replace a full museum day or an in-depth walking tour focused on monuments.
You might also think twice if your main goal is having edited digital photos delivered. Since images aren’t included, you’ll be doing the editing afterward if you want polished results.
Should You Book This Private Photo Tour in Florence?
If you care about photos and want practical coaching, I’d book it. The combination of professional guidance, quick practice at iconic stops, and advice that works for both DSLR and iPhone makes this a smart use of time.
You’ll get the most value if you come ready to shoot during short windows and you’re willing to try different angles on the fly. If you’re expecting a history-heavy tour or delivered digital images, look elsewhere.
FAQ
FAQ
What’s the duration of this Florence private photo tour?
It runs for about 2 hours.
Where does the tour start and where does it end?
It starts at Michael Kors, Piazza della Repubblica, 43, 50123 Firenze FI, Italy, and ends back at the same meeting point.
Is the tour only for people with professional cameras?
No. All experience levels and different camera types are welcome, including phones.
Does the price include admission tickets to attractions?
No. Entrance tickets for attractions are not included, though the listed stops are generally free to view.
Are camera equipment or professional photo shoots included?
No. Equipment is not provided, and a separate professional photo shoot is not included.
Will I receive digital images after the tour?
No. Digital images are not included.
Is there a cancellation policy, and does weather matter?
You can cancel for a full refund up to 24 hours in advance. The tour requires good weather, and if it’s canceled due to poor weather, you’ll be offered a different date or a full refund.