REVIEW · AMSTERDAM
Amsterdam Photography Masterclass – Private Photography Lesson
Book on Viator →Operated by Aperture Tours · Bookable on Viator
Amsterdam rewards anyone who learns to look, and this private masterclass turns photogenic streets into a real lesson. I love how the professional photographer guide works with your own DSLR, including settings for night photos. I also love the way the route links iconic corners like the Rijksmuseum grounds and Magere Brug. The main thing to plan for: the tour does not include a camera, and a tripod is only available on request.
You get about 3 hours of focused shooting with a small private group (up to 4 people), so you can ask questions without feeling rushed. You’ll also have a choice of daytime or evening tours, and it runs in all weather, so dress like you mean it.
In This Review
- Key Points You’ll Care About
- Why This Amsterdam Photo Lesson Works Better Than Wandering With a Camera
- Getting There: The Start Point That Keeps the First 10 Minutes From Going Sideways
- The 3-Hour Timing: How to Fit It Into a Packed Amsterdam Day
- Day vs. Evening: Choosing the Light That Matches Your Camera Questions
- Stop-by-Stop Shooting: What Each Amsterdam Location Teaches You
- Stop 1: Amsterdams Lieverdje Statue
- Stop 2: Voetboogstraat and Beijbhof de Voetboogsteeg
- Stop 3: Leidsegracht Bridges
- Stop 4: Rijksmuseum and Grounds
- Stop 5: Magere Brug
- Stop 6: Nieuwe Kerk
- Stop 7: Blauwbrug
- Stop 8: Nieuwmarkt
- Stop 9: Huis Bartolotti (Museumhuis Bartolotti)
- Camera Gear Reality Check: What You Must Bring (and What You Can Request)
- The Price Question: Does $204.24 Make Sense?
- Who This Masterclass Is Best For (and Who Might Skip)
- Should You Book This Amsterdam Photography Masterclass?
- FAQ
- How long is the Amsterdam Photography Masterclass?
- How many people can be in a booking?
- Where do I meet for the tour?
- Does the tour provide a camera or tripod?
- What camera do I need to bring?
- Is the tour offered in English?
- Does it run in bad weather?
- Are there admission fees for the stops?
- What’s the cancellation policy?
Key Points You’ll Care About
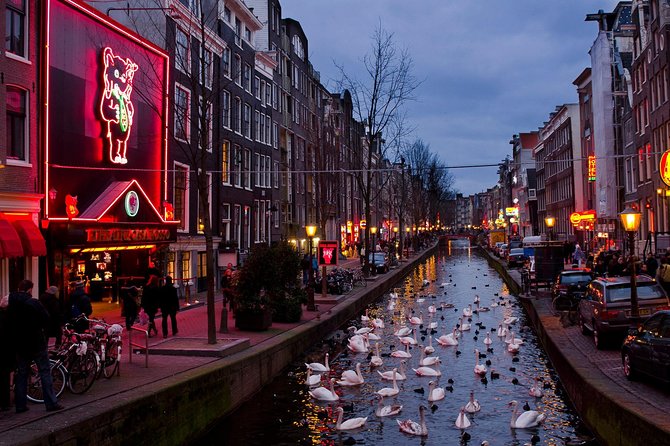
- 9 prime shooting stops with short, focused sessions at each location
- Pro DSLR coaching for day or evening so you can work with your actual camera
- Private group up to 4 people, which keeps the pace more teachable than crowded
- Bring your own DSLR (camera not provided) and plan ahead for a tripod if you need one
- No ticket fees at the stops since each listed location is free for photo time
Why This Amsterdam Photo Lesson Works Better Than Wandering With a Camera
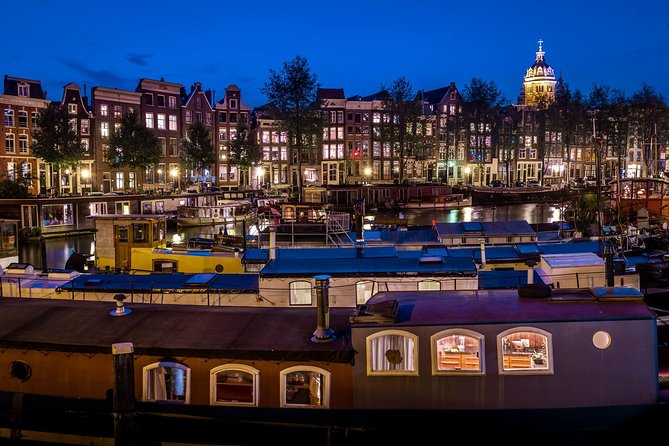
Amsterdam is great at inspiring photos. It’s also great at making you feel stuck when your camera refuses to cooperate. This masterclass aims to fix that feeling fast. You don’t just get a walk. You get instruction tied to what’s in front of you right now: bridges, churches, canals, and facades.
What makes it especially useful is the teaching style. The focus is on practical camera settings and how to apply them to real scenes, not vague “try to frame it better” advice. And because it’s private (max 4 people), you’re not competing for attention when you have a question about shutter speed, focus, or exposure.
Another plus: you can pick daytime or evening. If you want softer light for canals and architecture, go daytime. If you’re curious about night shots, the evening option is where this tour starts to feel like a mini workshop.
You can also read our reviews of more tours and experiences in Amsterdam.
Getting There: The Start Point That Keeps the First 10 Minutes From Going Sideways
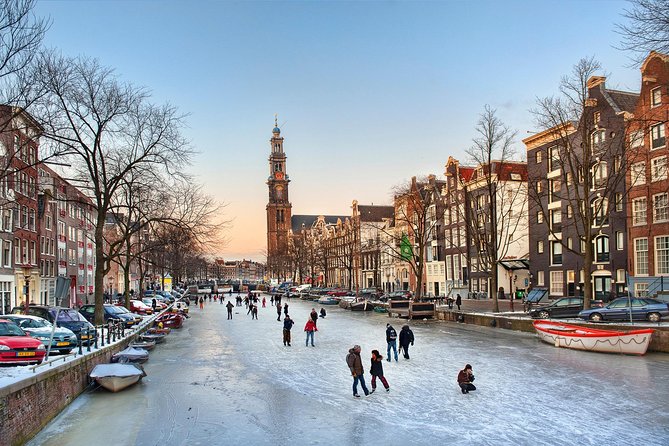
Your meeting point is Leidsekade 97, 1017 PN Amsterdam. The tour ends back at the same spot, so you’re not forced to solve Amsterdam navigation mid-lesson.
This matters more than it sounds. When you arrive confused, you lose momentum—especially when you’re supposed to start shooting quickly. One of the guides (Renzo) was described as easy to reach if people started at the wrong place, but your best move is to set your GPS before you walk. Then you can spend your mental energy on composition instead of logistics.
Good news: it’s near public transportation, so it’s not a mission to get there, even if you’re juggling the rest of your itinerary.
The 3-Hour Timing: How to Fit It Into a Packed Amsterdam Day
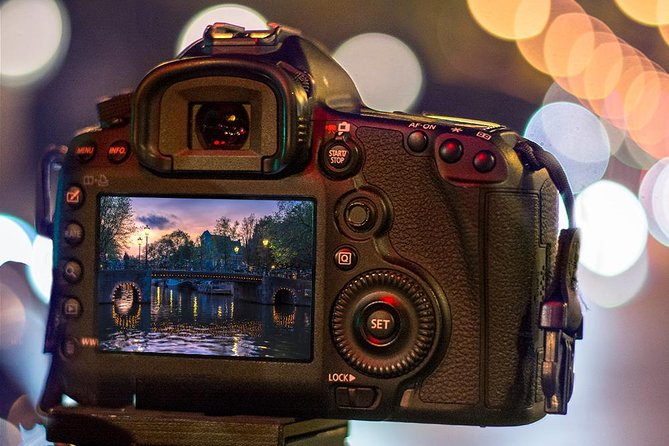
The experience runs for about 3 hours. Each stop is about 20 minutes, which creates a rhythm that’s friendly for beginners and still useful for experienced shooters who want focused practice.
That 20-minute format is underrated. It forces decisions. You learn to work fast with the light you have, pick a shot style, and then adjust when the scene changes. Amsterdam’s street photography can turn chaotic quickly; this structure helps you stay in control.
If you’re planning your day, think of it like this:
- You’ll start at one iconic spot
- You’ll move through canals and streets
- You’ll end near your starting area
So you can pair it with museum time before or after—just remember the tour is outdoors and runs in all weather.
Day vs. Evening: Choosing the Light That Matches Your Camera Questions
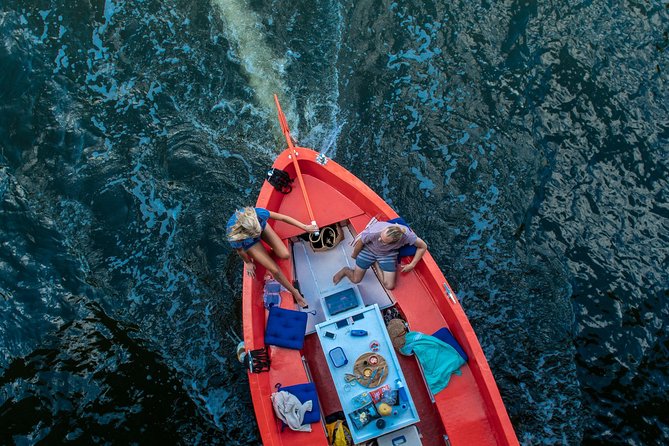
The tour offers daytime and evening tours, and that choice affects what you’ll want to learn.
For daytime sessions, you can lean into:
- clean architectural lines
- bright canal reflections
- bridge angles and repeating patterns
For evening sessions, you’re usually chasing harder problems:
- darker scenes
- balancing highlights and shadows
- getting usable results without giving up
In one example from a guide session with Renzo, the instruction included help for night photos, and it made a big difference for someone who had struggled before. That’s the vibe you’re looking for if your goal is to use your camera beyond auto mode.
Stop-by-Stop Shooting: What Each Amsterdam Location Teaches You
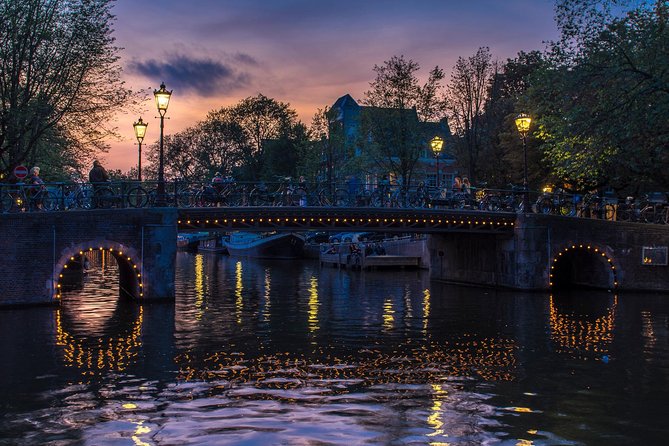
This masterclass uses a smart mix of subjects—statues, tight streets, bridges, major landmarks, churches, and classic buildings. Even if you’re not a “photography person,” you’ll still get practice because each location nudges you toward a different skill.
Also, each stop lists free admission for the photo time, so you’re not constantly budgeting for entrances.

Stop 1: Amsterdams Lieverdje Statue
This is your warm-up stop: Amsterdams Lieverdje. Use it to learn how to isolate a subject. Statues like this are perfect for practicing focus, framing, and how to reduce distracting background elements.
If you’re new, start with simple compositions:
- center the subject
- try a close crop
- then try a wider frame that shows context
In short: this is where you get your camera working before the real photo tests start.
Stop 2: Voetboogstraat and Beijbhof de Voetboogsteeg
Next up is Voetboogstraat, followed by Beijbhof de Voetboogsteeg. Narrow streets and small courtyards are great for practicing leading lines and depth. You can also experiment with angles because the perspective changes fast in these places.
A practical move here: shoot the “same spot” in two ways.
- One frame that tells you where you are
- Another frame that turns the scene into patterns (doors, walls, steps)
This stop is where you learn how to make streets feel intentional.
Stop 3: Leidsegracht Bridges
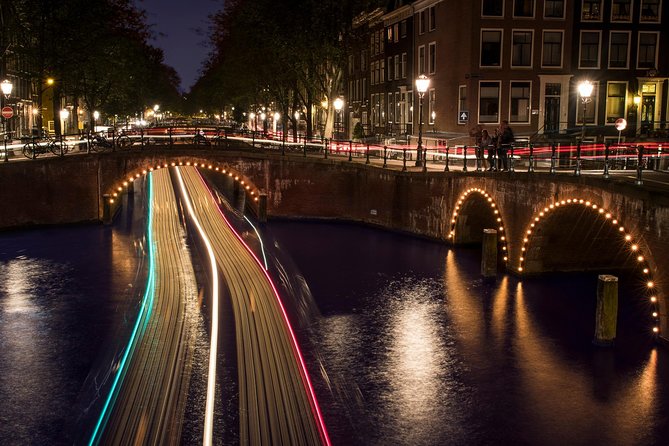
Now you get Leidsegracht and its bridges. Bridges are photo gold because they create structure—lines above and reflections below. Even if your reflection skills aren’t perfect yet, the scene makes it easy to practice.
Try different approaches quickly:
- shoot the bridge straight on for symmetry
- shoot from an angle to exaggerate depth
- include water for mood
Bridges also teach timing. If people move through your frame, you can either wait or use motion as a design choice.
Stop 4: Rijksmuseum and Grounds
The route then brings you to the Rijksmuseum and its grounds. You’re there for the building and surroundings, not a ticketed indoor museum visit. That’s useful because it keeps the focus on exterior architecture and how to frame a big landmark without losing time.
This is where you practice:
- aligning verticals
- keeping edges from looking like they’re falling over
- deciding whether you want wide context or tighter details
If you care about “clean” images, this is a great stop to learn how to keep the geometry under control.
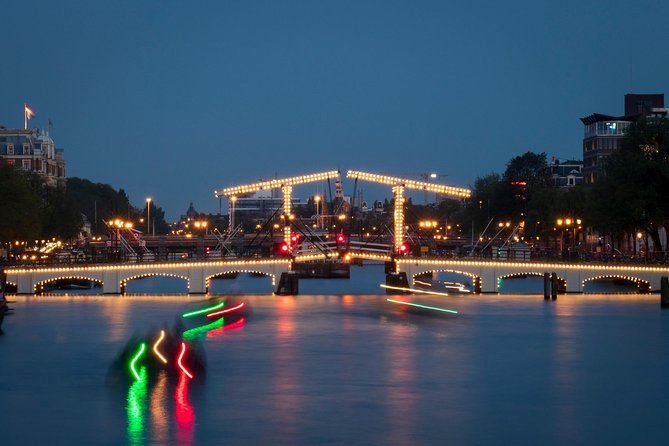
Stop 5: Magere Brug
Magere Brug is one of those spots that looks great whether your settings are perfect or not. Still, that’s exactly why it’s a teaching location. You can test what you learned: exposure, sharpness, and how your chosen focal length changes the scene.
If you’re shooting daytime, aim for crisp lines and controlled highlights. If you’re shooting evening, this is where you’ll discover how far your camera can go in low light before results get messy.
Stop 6: Nieuwe Kerk
Next is Nieuwe Kerk. Church buildings offer a mix of textures and strong outlines, which is ideal for learning how to handle contrast. Bright stone, darker shadows, and sky can make your exposure tricky.
Use the stop to practice a simple method:
- spot the brightest part of the scene
- adjust your settings for a balanced exposure
- shoot a second frame with a slightly different exposure idea
This is how you train your eye, not just your camera.
Stop 7: Blauwbrug
Then comes Blauwbrug. The key idea here is using a recognizable landmark color and shape to build a photo that feels “Amsterdam” instantly.
You can experiment with composition:
- keep the bridge centered for a classic feel
- put it off to the side for a more casual street scene
- include water for extra layers
Because you only have about 20 minutes here, don’t overthink it. Pick two styles and execute them.
Stop 8: Nieuwmarkt
Nieuwmarkt gives you a different kind of photo: more open space and more street life energy. Even if your goal is architecture, squares are where your background choices matter. You’ll learn quickly how to frame so you don’t end up with a distracting jumble.
If you want a calm image, shoot from a slightly higher or more distant angle. If you want documentary energy, shoot closer and let people add scale.
Stop 9: Huis Bartolotti (Museumhuis Bartolotti)
Finally, Huis Bartolotti / Museumhuis Bartolotti wraps the lesson with a classic Amsterdam building type: facade details, textures, and that mix of ornate and understated design.
This last stop is great for practicing “details with purpose.” Don’t just photograph the building. Decide what you want the viewer to notice—windows, brickwork, doorway angles, or decorative features—and shoot with that decision in mind.
Camera Gear Reality Check: What You Must Bring (and What You Can Request)
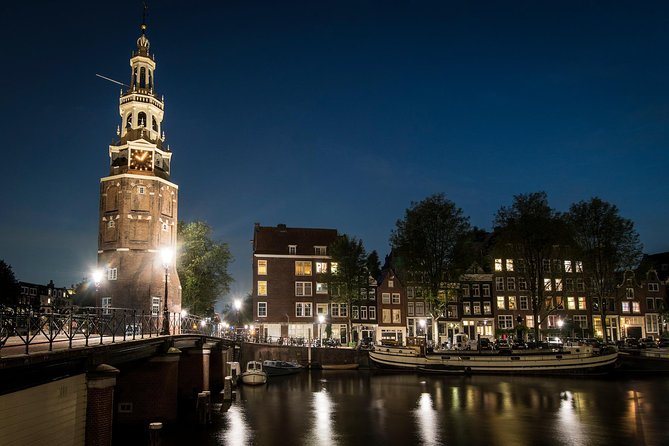
Here’s the simple gear situation:
- You need to bring your own DSLR camera
- The tour does not include a camera
- Tripod availability is on request, not included
So if you’re planning to do evening/night shooting and you want steadier long exposures, plan ahead. Ask for tripod help early if it’s important for your style. And do the boring prep that makes photos easier: extra batteries, charged memory cards, and a quick lens wipe before you start.
One more detail: the tour is offered in English, and you’ll have a local guide plus a professional photographer guide. That’s helpful because it means there’s both place context and camera instruction in the same walk.
The Price Question: Does $204.24 Make Sense?
At $204.24 per person for roughly 3 hours, the value depends on one thing: how much you want instruction versus just sightseeing.
This is not a “hand you a map and good luck” tour. You get:
- a local guide
- a professional photographer guide
- private format for a small group (max 4)
You’re also not paying admission for the listed stops since each is marked free for photo time. And you’re doing nine shooting locations across classic Amsterdam areas in one connected route.
So the price feels more fair if you fall into one of these buckets:
- You’re a beginner and want a structured path to use your camera better
- You’re comfortable with settings but want feedback tied to real scenes
- You want to learn night photography without guessing
If you’re already getting great results with your current workflow and you only want “pretty locations,” you might feel the cost is unnecessary. But if you want coaching that turns your camera into a tool you trust, it’s a reasonable way to spend limited vacation time.
Who This Masterclass Is Best For (and Who Might Skip)
This suits you if you:
- want to learn practical camera skills on location
- like the idea of daytime or evening shooting with a plan
- prefer small groups over crowded tours
- enjoy iconic places but want more than photos of the same postcard angle
It’s a less perfect fit if:
- you don’t want to use a DSLR (the tour specifically asks you to bring one)
- you’d rather explore independently without instruction
- you’re hoping for a fully provided gear setup (tripod and camera aren’t included)
And if you like a guide who gets the teaching right, the experience includes examples of instruction that matched the moment. Renzo was praised for night-photo help. William was praised for tailoring the route to the type of photos people wanted, with specific camera-setting pointers.
Should You Book This Amsterdam Photography Masterclass?
If you want faster progress than trial-and-error, I’d book it. The combination of pro coaching, a small group, and a route that actually teaches (not just walks) is the winning formula.
I’d especially book the evening option if:
- you’ve tried night shots and they never come out right
- you want hands-on help with settings rather than vague advice
- you want to understand what your camera can do in low light
Choose it for daytime if you want:
- clean architectural practice
- canal and bridge composition time
- a calm, structured way to see Amsterdam
Just be honest with yourself about gear. Bring the DSLR, and decide now whether you’ll request a tripod. If you do that, you’ll get much more out of the 20-minute shooting blocks.
FAQ
How long is the Amsterdam Photography Masterclass?
It lasts about 3 hours.
How many people can be in a booking?
A maximum of 4 people are allowed per booking.
Where do I meet for the tour?
The meeting point is Leidsekade 97, 1017 PN Amsterdam, Netherlands.
Does the tour provide a camera or tripod?
No camera is included. A tripod is available upon request, but it is not included by default.
What camera do I need to bring?
You should bring your own DSLR camera.
Is the tour offered in English?
Yes, it is offered in English.
Does it run in bad weather?
Yes, it operates in all weather conditions, so dress appropriately.
Are there admission fees for the stops?
Each listed stop is marked as free for admission ticket time.
What’s the cancellation policy?
You can cancel for free up to 24 hours in advance for a full refund. If you cancel less than 24 hours before the start time, the amount paid is not refunded.