REVIEW · SYDNEY
Photography Essentials Workshop in Sydney Harbour Foreshore
Book on Viator →Operated by Sydney Photographic Workshops · Bookable on Viator
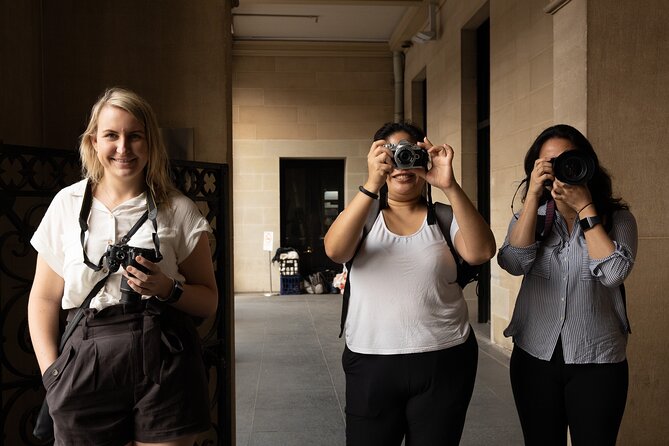
Stop guessing and start framing. This half-day photography workshop uses iconic Sydney views to teach you how to control your camera, not just point it. You’ll move around the Sydney Harbour Foreshore with an award-winning, Sydney-based photojournalist so you understand what makes a strong image and how to build one step by step.
I like the hands-on structure: shooting modes, composition basics, and a walk that turns lessons into real frames. I also like that the class targets true manual control, so you can grow beyond automatic settings quickly. One thing to consider: it’s not suitable for compact cameras without full manual capability, so check your camera’s menu before you book.
In This Review
- Key things to know before you go
- Sydney Harbour Foreshore is a smart classroom
- How the lesson plan moves from basics to manual control
- The “pre-visualise” mindset (and why it changes your photos)
- Stop 1: Sydney Opera House shots that teach scale and framing
- Stop 2: Sydney Harbour Bridge and the challenge of contrast
- Stop 3: Circular Quay and turning scenes into stories
- Stop 4: The Rocks and why street detail matters
- What you’ll take home: modes, lenses, and lighting you can actually use
- Price and value: is $107.59 worth four hours?
- Logistics that make the workshop easier to enjoy
- Who should book this, and who should skip it
- Should you book the Photography Essentials Workshop?
- FAQ
- What is the duration of the Photography Essentials Workshop?
- Where does the workshop start and end?
- What time does the workshop begin?
- How much does it cost?
- What locations will we visit during the workshop?
- Is this workshop suitable for beginners?
- What types of cameras are supported?
- Is it suitable for compact cameras?
- How large is the group?
- What happens if the weather is bad?
- What is the cancellation policy?
Key things to know before you go
- Four hours of field practice focused on quick, practical learning at well-chosen Harbour spots
- All-mode camera training with a progression to manual so you can build creative control
- Small group size (up to 10), which helps you get answers while you’re shooting
- Opera House, Harbour Bridge, Circular Quay, The Rocks mapped into a learn-by-looking route
- Tutor-led composition and lighting lessons that you can apply immediately in changing daylight
- Mobile ticket and a central meeting point at Customs House (easy to find, easy to return)
Sydney Harbour Foreshore is a smart classroom
Sydney Harbour is basically a photography syllabus in real time. You get big subjects (Opera House, Bridge), different textures (harbour water, stone streets), and shifting lighting as you walk. That matters, because photography isn’t one perfect moment. It’s about adapting when the light changes and when your subject refuses to sit still.
This workshop leans into that reality. You’re not just being shown photos on a screen. You’re learning the “why” behind what works, then testing it on the spot. That’s especially helpful if you want to level up without needing a full week of study.
You can also read our reviews of more tours and experiences in Sydney.
How the lesson plan moves from basics to manual control
The workshop starts at the beginning and stays there just long enough to make sure you’re not guessing. You’ll get introduced to your camera and lenses, plus the essential kit basics that help you get consistent results. Then it progresses into how shooting modes work and when you’d actually use them in the field.
Here’s what I like about that progression: it respects what most people are really dealing with. You might have a camera with lots of buttons, but you’re not sure what each one is doing for your photos. This kind of instruction helps you connect camera settings to outcomes you can see right away.
You’ll also get an understanding of manual mode operation. That’s where the creative control kicks in. Once you grasp manual, you can decide how bright the image should be, how much motion blur you want, and what look you’re aiming for instead of letting the camera decide for you.
This is suitable for any camera with full manual capability, including SLR and mirrorless. If your compact camera can’t go manual, this won’t match what it’s designed to teach.
The “pre-visualise” mindset (and why it changes your photos)
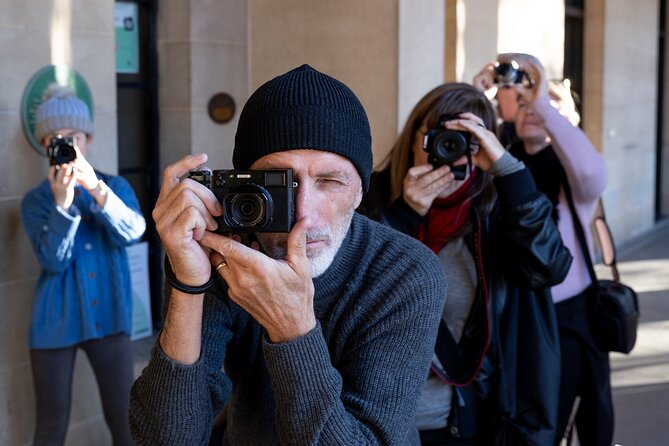
One of the key themes is pre-visualisation: learning to imagine a photograph before you press the shutter. That’s a fancy term, but the practical meaning is simple. You start thinking about:
- where the subject will sit in the frame
- what the light is doing
- what the foreground and background will contribute
- what you want to emphasize (and what you can leave out)
This mindset improves your photos even when you don’t change your camera settings. You’re more deliberate. You take fewer random shots and you build a clearer set of options for each scene.
Stop 1: Sydney Opera House shots that teach scale and framing
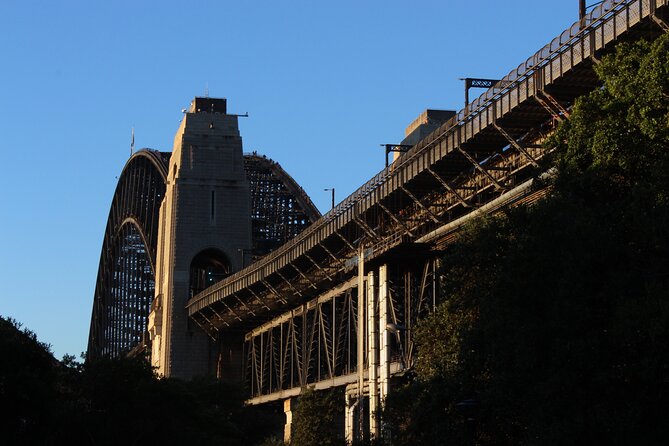
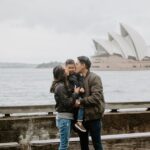
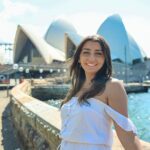
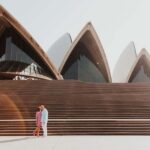
The Opera House is a classic subject, but it’s also a great teacher because it mixes clean lines with complex angles. You’ll have a strong chance to practice composition—especially how to place a big landmark in a frame so it doesn’t feel flat or off-balance.
In a workshop like this, you’ll usually focus on a few key things at the Opera House area:
- choosing a viewpoint that shows shape and context
- controlling exposure so bright surfaces don’t blow out
- using composition techniques to make the image feel intentional
A drawback to keep in mind: crowds and movement happen around this subject. That’s not the workshop’s fault. It’s just reality. The benefit is that you practice shooting with real-world obstacles, which is exactly where you want the lesson to apply.
Stop 2: Sydney Harbour Bridge and the challenge of contrast
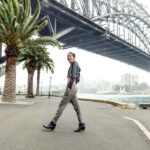
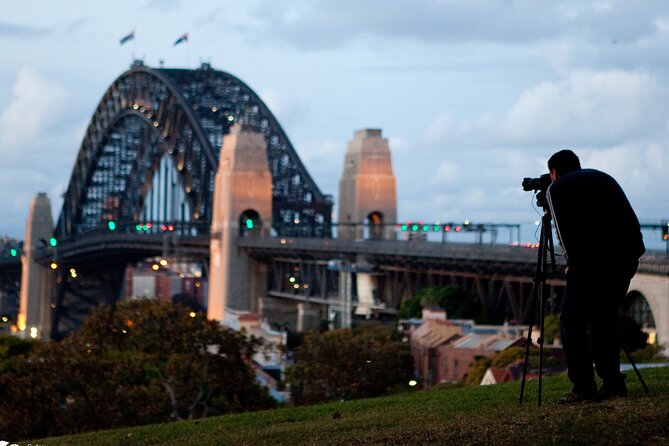
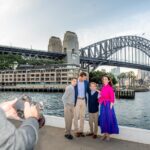
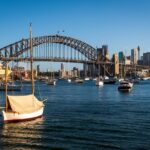
The Harbour Bridge is another perfect learning stop because it brings a lot of contrast. You’ve got bright sky, darker structures, and reflective water nearby. That’s where photography gets tricky fast, and learning it in a guided setting saves you time and frustration.
This workshop specifically targets working with various lighting conditions, and the Bridge area gives you plenty of them in one session. It’s a chance to practice:
- reading how light affects the bridge and surroundings
- balancing exposure when the background is brighter than your subject
- thinking about what to include so the photo doesn’t turn into a messy silhouette
Also, the Bridge is huge. That’s great for learning. You’ll quickly see why zooming in isn’t the same thing as making good composition choices.
Stop 3: Circular Quay and turning scenes into stories
Circular Quay is busy, scenic, and full of layers. You’re likely to get boats, people, and architectural lines that pull your eye in different directions. That can make it challenging—but it’s also useful. The workshop’s composition lessons help you decide what the scene is actually about.
If you’re new, this stop teaches you how to simplify. If you’re returning to photography, it helps you refresh your eye. You can practice controlling:
- distractions in the frame
- leading lines that guide the viewer
- subject separation, so your main thing stays the main thing
This is also a good place to practice pre-visualisation. Before you shoot, you can decide what kind of photo you want. Then you adjust settings to match that choice.
Stop 4: The Rocks and why street detail matters
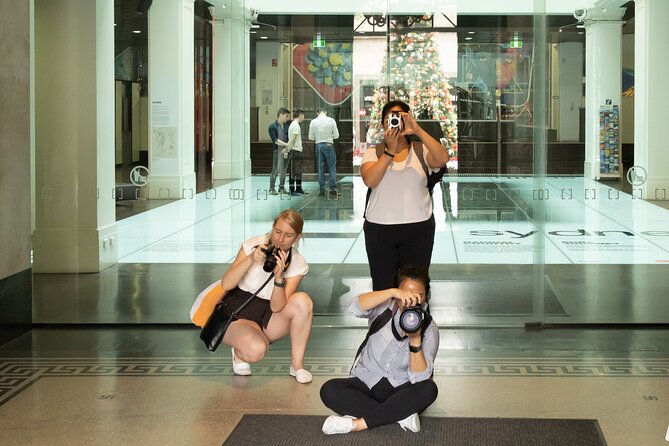
The Rocks brings a different kind of photo opportunity. Instead of photographing one giant landmark, you can focus on streetscapes, textures, and angles. It’s a useful shift because great photography isn’t only about iconic views. It’s about seeing strong compositions anywhere.
This is where you can apply what you learned earlier:
- composition techniques you practiced at the Opera House and Bridge
- lighting awareness, especially when street-level scenes feel darker or more shaded
- manual control decisions that change the look of detail
Even if you only end up with a few really strong frames here, the practice is valuable. It helps you build a mental library of what settings and composition choices do to your final image.
What you’ll take home: modes, lenses, and lighting you can actually use
The big win from this workshop is that it doesn’t treat photography like a mystery. It breaks it down into the parts you can control.
Here’s what you should expect to strengthen during the session:
- Shooting modes: which mode you use for different situations and why
- Manual mode operation: true creative control through your own settings
- Composition techniques: simple methods to make images feel arranged, not accidental
- Lighting conditions: understanding what to do when light changes while you’re shooting
- Your camera kit: lens and essential item awareness so you stop buying blind or guessing in the moment
The tutors include Sydney Photographic Workshops instructors such as Daniel Linnet, and the workshop materials reference tutor Glenn Lockitch. Either way, the teaching focus you’ll want is clear instruction you can follow while you’re out there shooting.
Price and value: is $107.59 worth four hours?
At $107.59 per person for about four hours, you’re paying for more than a walk with views. You’re paying for guided instruction, shooting practice, and feedback opportunities in a compact format.
That value depends on what you need:
- If you’re a beginner, you’ll likely feel this is worth it because it covers basics and turns them into practice quickly.
- If you’re returning to photography, it can be worth it because it re-connects your camera settings to real results.
- If you’re an advanced photographer with a heavy technical workflow already, you might want to assess whether the manual and composition basics match your current level.
In short, the price feels most fair when you want fast improvement without taking full-day courses. This is designed for that middle ground where you’re ready to learn, not just watch.
Logistics that make the workshop easier to enjoy
This starts at 12:00 pm at Customs House, 31 Alfred St, Sydney NSW 2000, and ends back at the meeting point. The start and finish staying together helps you plan your rest of the day.
The group size caps at 10 travelers. For photography coaching, that’s a big deal. It helps keep the instruction practical, and it makes it easier to get help while you’re dealing with your settings and your shot.
You’ll be near public transportation. Service animals are allowed. And the activity calls for moderate physical fitness, which makes sense because you’ll be walking around Harbour-side areas.
Also note: it requires good weather. If conditions are poor, it’s designed to be rescheduled or refunded.
Who should book this, and who should skip it
I’d point you toward this workshop if:
- you’re a beginner or you feel rusty and want a structured reset
- you want to learn manual mode in a simple way with field practice
- you like learning through actual scenes around major Sydney landmarks
- you want composition and lighting basics you can apply immediately
I’d think twice if:
- you only have a compact camera that can’t do full manual controls
- you want a strictly theoretical class with no shooting practice
- you’re looking for a very long deep technical training session (this is half day)
It’s also a good fit if you like real-world learning. The Harbour isn’t a studio. People move, boats pass, and light shifts. That’s where your photography skill actually gets tested.
Should you book the Photography Essentials Workshop?
Book it if you want a guided path from camera basics to manual control, with clear composition and lighting coaching in front of real iconic subjects. The format is built for progress: short, focused instruction plus on-street shooting around Opera House, Bridge, Circular Quay, and The Rocks.
Don’t book it if your camera doesn’t support full manual capability, or if you need a more advanced, specialized technical course. Also factor in the weather requirement—this workshop is meant for good conditions.
If you’re on the fence, here’s my practical advice: if you can already control exposure and shutter/motion deliberately, you may not get as much. If you want your next photos to stop feeling accidental, this is the kind of course that can flip that switch fast.
FAQ
What is the duration of the Photography Essentials Workshop?
The workshop lasts about 4 hours.
Where does the workshop start and end?
It starts at Customs House, 31 Alfred St, Sydney NSW 2000, and ends back at the meeting point.
What time does the workshop begin?
The start time listed is 12:00 pm.
How much does it cost?
The price is $107.59 per person.
What locations will we visit during the workshop?
The stops include Sydney Opera House, Sydney Harbour Bridge, Circular Quay, and The Rocks.
Is this workshop suitable for beginners?
Yes. It’s described as a great start for beginners and also for people who want to be re-introduced to photography.
What types of cameras are supported?
It’s suitable for cameras with full manual capability, including SLR and mirrorless cameras.
Is it suitable for compact cameras?
No. It’s not suitable for compact cameras without full manual capability.
How large is the group?
The workshop has a maximum of 10 travelers.
What happens if the weather is bad?
The experience requires good weather. If it’s canceled due to poor weather, you’ll be offered a different date or a full refund.
What is the cancellation policy?
You can cancel up to 24 hours in advance for a full refund. Cancellation less than 24 hours before the start time isn’t refunded.