REVIEW · SYDNEY
Sydney Photography Masterclass – Private Photography Lesson
Book on Viator →Operated by Aperture Tours · Bookable on Viator
Sydney glows best after dark. This private Sydney photography masterclass turns “pretty views” into repeatable results, with hands-on camera coaching and a route built around the Harbour’s top photo moments.
I love the way the session mixes real settings with real locations, so you’re learning by doing. I also like that your guide doesn’t treat everyone the same—so whether you’re brand-new or already shooting in manual, you get direction that fits.
One possible drawback: the lesson is only about 3 hours, so you’ll want your camera basics ready before you arrive. And since a tripod isn’t included (it can be rented), ultra-long exposures may take a little extra planning.
In This Review
- Key takeaways before you book
- A private 3-hour Sydney photo lesson that keeps you moving
- How the masterclass teaches you to think, not just copy
- The exposure triangle, explained the way it matters
- Framing that turns landmarks into compositions
- Night photography techniques that match what you’re seeing
- Milsons Point and McMahons Point: starting with Harbour light
- Luna Park and the Harbour Bridge: classic angles, tricky lighting
- Luna Park: where colors can fool your exposure
- Harbour Bridge: keep it sharp and controlled
- Hickson Road Reserve and the Opera House: balancing brightness and reflections
- Opera House photos need highlight control
- Reflections: the “free composition” trick
- Cahill Expressway and Mrs Macquarie’s Chair: night photos with depth
- Cahill Expressway: more light sources, more complexity
- Mrs Macquarie’s Chair: a classic viewpoint that rewards patience
- The Rocks and Circular Quay: turning city textures into stories
- The Rocks: detail shots, not just wide views
- Circular Quay: light, boats, and quick composition decisions
- What a good photo review looks like (and why it matters)
- Price and value: is $186.48 per person worth it?
- Who should book this private Sydney night masterclass?
- Before you go: quick prep that helps your photos
- Should you book? My call
- FAQ
- What is the duration of the Sydney Photography Masterclass?
- Is this experience private?
- What does the price include?
- Do I need to bring a camera?
- Where does the tour start and end?
- Does the lesson include night photography?
Key takeaways before you book
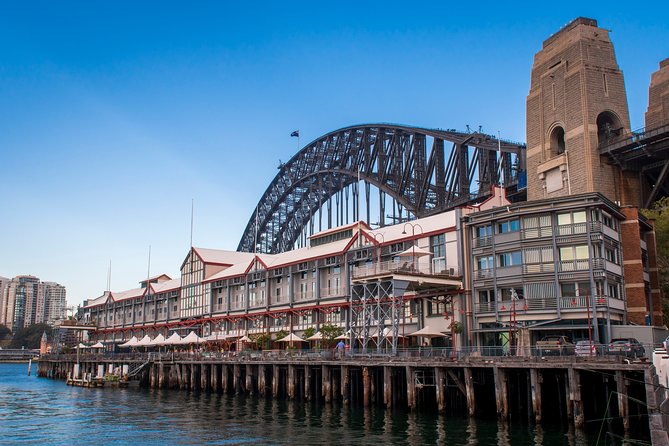
- Private group size (up to four total) means you’re not competing for attention at the best vantage points.
- Exposure triangle coaching focuses on aperture, ISO, and shutter speed, with practical tradeoffs you can use immediately.
- Night photography instruction at multiple Harbour locations helps you learn how to handle tricky lighting.
- A focused route from Kirribilli through the Rocks to Circular Quay keeps your shooting time efficient.
- Photo review at the end helps you understand what worked and what to change next time.
- Tripod rental is available if your camera setup needs extra stability for low light.
A private 3-hour Sydney photo lesson that keeps you moving
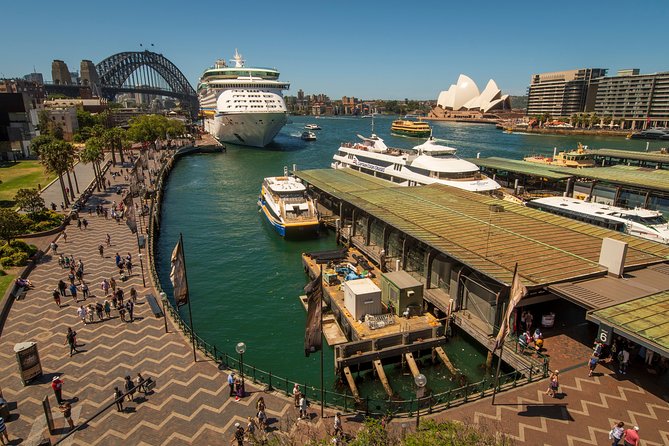
This is built as a true private photography lesson, not a big group walk where you trail behind everyone else. You’ll be with your own group (up to four people total), so it’s easier to stop, reset, and get your camera settings right without feeling rushed or ignored.
The timing matters here. About three hours sounds short, but that’s part of the value: you get targeted instruction plus a shot-by-shot route, then a review. If you’ve ever spent a day in Sydney taking photos and left thinking I should have known what to do with my camera, this structure is the antidote.
You’ll also be walking and shooting in a mix of scenic spots and city edges. That’s good, because Sydney night photography isn’t just about one iconic view—it’s about learning how your camera behaves in different kinds of light.
You can also read our reviews of more tours and experiences in Sydney.
How the masterclass teaches you to think, not just copy
The core of the session is classic and practical: you learn how your camera settings interact, then you use those settings on real scenes.
The exposure triangle, explained the way it matters
You’ll cover the three basics that control exposure:
- Aperture (depth of field and how much light hits)
- ISO (brightness vs noise)
- Shutter speed (how you freeze action vs blur)
What I like about this approach is that you don’t just get definitions. You work with real world tradeoffs, which is where most people get stuck. For example, you may want to keep the entire skyline sharp, but that can push you toward smaller apertures and slower shutter speeds. Slower shutter speed is great—until the Harbour breeze makes your hands shake.
Framing that turns landmarks into compositions
You’ll also work on framing: what to include, what to leave out, and how to build an image instead of just documenting it. That’s especially useful around Sydney’s big icons, where it’s easy to end up with the landmark centered but everything else feels flat.
Expect guidance on where to stand and what angle to try first. The session emphasizes being in the right place at the right time, which is huge for night shooting because light levels and reflections can change fast.
Night photography techniques that match what you’re seeing
Night photography gets its own chunk of instruction. You’ll learn what settings and techniques work best for low light and bright highlights—exactly the scenario Sydney photographers hit constantly with Harbour Bridge lights, the Opera House, and street lighting around The Rocks.
And because the lesson is private, you can ask questions as you go. If you’re struggling with focus or getting blown-out highlights, you can troubleshoot right there rather than waiting until you get home.
Milsons Point and McMahons Point: starting with Harbour light
You’ll kick off in the Kirribilli area near Milsons Point, with a natural view setup toward the Harbour’s big shapes. This is a smart starting point because your brain needs a warm-up: you’re learning night settings while also calibrating how you see a scene after dark.
From here, the lesson can move into the McMahons Point area, keeping you close to water views and skyline angles. Even when two photos look similar on your camera screen, the difference is often one setting and one small framing change.
At this stage, focus on learning what your camera does at night. Try variations that match the instruction you’re getting—then check the results on-site. This is where you’ll start to feel whether your shots are going soft, too bright, or too noisy.
Luna Park and the Harbour Bridge: classic angles, tricky lighting
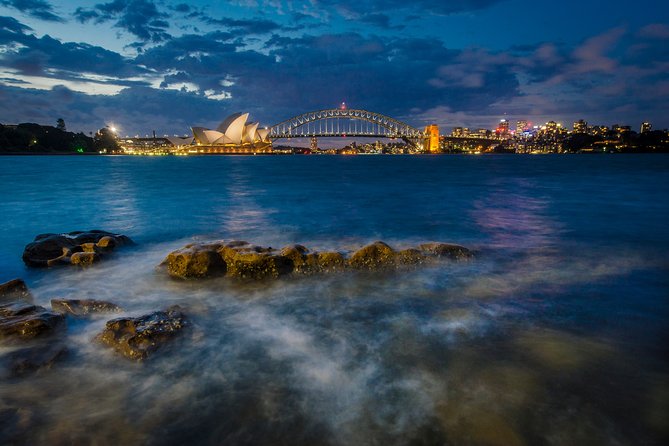
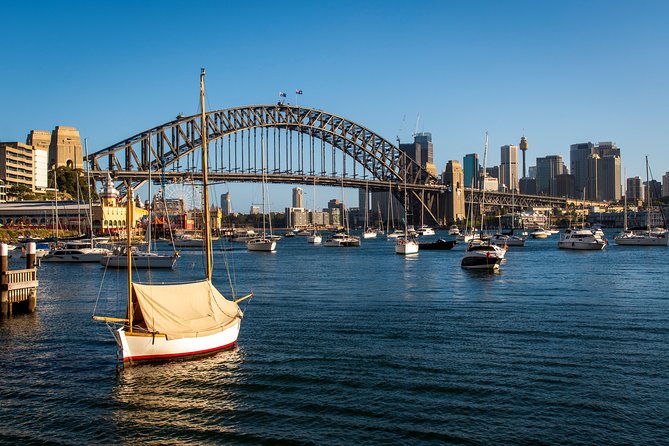
One route suggestion includes shooting around Luna Park, then heading toward the iconic Sydney Harbour Bridge area. That combo is great for a lesson because it mixes neon and bright light sources with darker sky.
Luna Park: where colors can fool your exposure
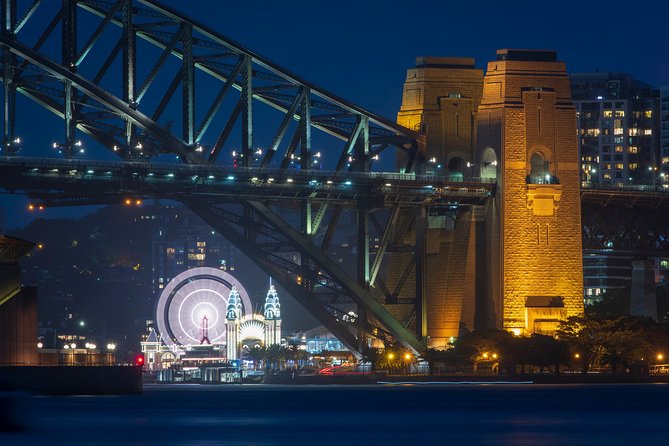
Luna Park tends to throw bright points of light at you. That makes exposure tricky because your camera can treat those highlights like they’re the whole scene. The practical skill you’re building here is choosing settings that keep the bright areas from turning into featureless blobs while still capturing the overall mood.
Harbour Bridge: keep it sharp and controlled
For Harbour Bridge shots, your biggest enemies are usually motion blur and blown highlights. The bridge can be stunning—but if your shutter speed is too slow or your ISO too high, you’ll trade one problem for another.
This is where the exposure triangle lesson starts paying off. If you’re adjusting shutter speed, you’ll quickly learn why stability matters. If you’re adjusting ISO, you’ll learn how noise shows up in dark water and sky.
Hickson Road Reserve and the Opera House: balancing brightness and reflections
The route also brings you toward Hickson Road Reserve and the Sydney Opera House area. These stops are valuable because they’re close enough to compare settings across scenes, but different enough that you learn to adapt rather than copy-paste the same settings everywhere.
Opera House photos need highlight control
The Opera House lights are bright, and the surrounding reflections can be even brighter. A key skill you’ll practice is handling contrast: how to expose for the structure without losing detail in the brightest areas.
This is where your guide’s “what to include and what not to include” framing advice comes in. Sometimes the best shot is the one that removes distracting bright clutter from the frame.
Reflections: the “free composition” trick
Water reflections can make or break your shot. If you position yourself carefully, you can use reflections as a natural leading line. If you don’t, reflections can flatten your image and make exposure feel chaotic.
You’ll get guidance on standing position and how to compose with the Harbour lines—so you’re not just shooting straight-on.
Cahill Expressway and Mrs Macquarie’s Chair: night photos with depth
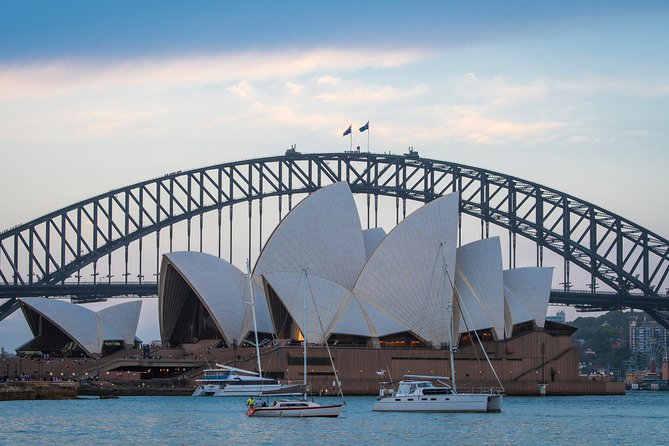
Next comes a move toward Cahill Expressway and then Mrs Macquarie’s Chair. These areas add a different kind of challenge: you’ll shoot city lights with layers of depth—foreground shapes, mid-ground landmarks, and bright backgrounds.
Cahill Expressway: more light sources, more complexity
Near expressways and urban roads, you’ll deal with more varied lighting. That’s tough, but it’s also great training. You’ll practice how your camera handles mixed temperatures and brightness levels in the same frame.
Mrs Macquarie’s Chair: a classic viewpoint that rewards patience
Mrs Macquarie’s Chair is famous for a reason: it gives a natural vantage and a strong composition possibility. The lesson helps you work that view, not just take the obvious photo.
Take your time here to refine framing. Even small shifts can change the relationship between the Opera House, Bridge, and the Harbour water. This stop is where your earlier exposure triangle choices start to feel more “intentional,” not random.
The Rocks and Circular Quay: turning city textures into stories
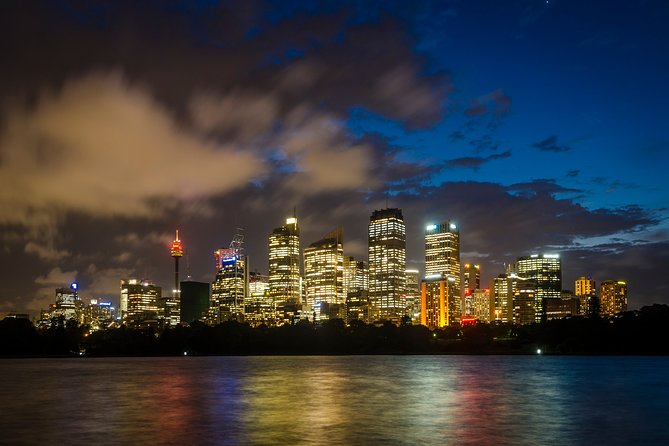
After the big landmark moments, the route moves into the Rocks and then toward Circular Quay. This shift is smart because it forces you to go beyond skyline photography. Night street scenes teach you different skills: texture, light falloff, and how to compose without relying on one clear subject.
The Rocks: detail shots, not just wide views
In The Rocks, you’ll have plenty of surfaces to work with—stone, signs, street lighting, and narrow perspectives. This is ideal for practicing what you’ve learned about framing: choosing a subject, simplifying the background, and using the surroundings as context.
If you’re new, this part helps you stop chasing only the biggest icons. If you’re already a capable shooter, it’s a chance to tighten composition and get more “layered” results.
Circular Quay: light, boats, and quick composition decisions
Circular Quay is another anchor point for night photos. It’s also where you may catch a ferry as part of the flow—moving you to angles that are hard to replicate by foot alone.
That movement can help your photography because it changes your position relative to the light sources. Suddenly, the same landmark can look cleaner, with less clutter in the frame.
What a good photo review looks like (and why it matters)
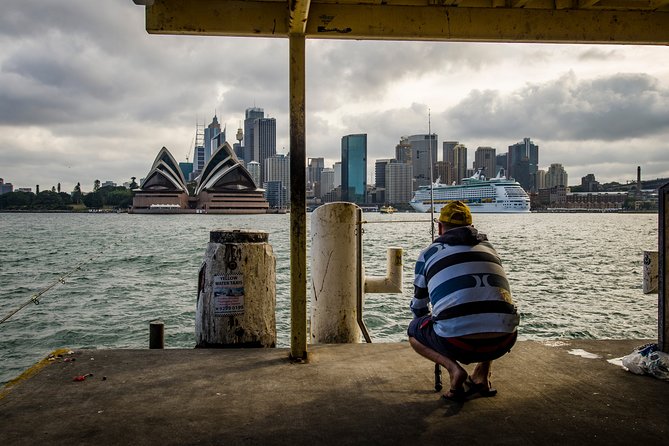
Over the full experience, you’ll not only shoot—you’ll end with reviewing your photography. This matters more than most people think. Your camera settings can look right on the screen, but when someone helps you connect the result to the cause, you learn faster.
One example of this style showed up in a past session with photographer Glenn, who aimed the lesson well for two different abilities. That’s exactly what you want: practical coaching that doesn’t assume you know everything, and doesn’t bore advanced shooters with repeated basics.
In a lesson like this, you should walk away with answers to questions like:
- Why did my highlights blow out here?
- Why did my skyline go soft?
- Which setting tradeoff improved the shot the most?
If you want to get better fast, this review portion is where improvement clicks.
Price and value: is $186.48 per person worth it?
At $186.48 per person for about three hours, the price only makes sense if you treat it like training, not a tour you passively enjoy.
Here’s why I think it can be good value:
- You get professional photography tuition plus photo review, not just a walk.
- It’s private for up to four, so the instruction stays personal.
- The session targets night photography challenges you can’t easily fix on your own without lots of trial and error.
To be honest, if you already know exposure triangle basics and you only want a scenic walk, you may feel the cost more sharply. But if you want to upgrade your camera skills on iconic Sydney scenes—without guessing—this is the kind of lesson that can save you time and frustration.
A small plus: there are group discounts, so if you bring someone who’s interested in learning, your group can squeeze better value out of the same coaching.
Who should book this private Sydney night masterclass?
This is best for you if:
- You want to improve quickly with hands-on teaching, not random photo tips.
- You’re aiming to photograph the Opera House, Harbour Bridge, and night Harbour lights with better control.
- You’d like your questions answered in the moment while you’re shooting.
It’s also a good fit for mixed skill groups. A private format like this works well when one person understands manual mode and the other doesn’t—because you can get guidance adapted to your level rather than a one-size lecture.
If you’re traveling with only a point-and-shoot and expect miracles, set realistic expectations. You might find it easier to follow the ideas if you have a camera with manual controls.
Before you go: quick prep that helps your photos
You’ll want to arrive ready to shoot. That means:
- Have your camera charged and memory card cleared.
- If you own a tripod, bring it. If you don’t, you can rent a tripod (so ask in advance if that’s your plan).
- Know whether you can shoot in manual or at least control ISO and shutter speed—night photography depends on those controls.
Also, think about your gear comfort. You’ll be stopping and repositioning a lot, and at night your hands move differently when you’re trying not to shake the camera.
Should you book? My call
If you care about getting more than postcard photos—if you want night shooting skills you can repeat—this is a strong booking. The private format, the structured teaching of the exposure triangle, and the end photo review give you a real path to better results in one sitting.
Book it if you have a camera you can control and you’re willing to practice while you’re there. Skip it if you mainly want a laid-back scenic walk and you’re not interested in adjusting settings.
In short: if Sydney’s night lights are your goal, this lesson is a smart way to learn what to do with your camera so your pictures match what you’re seeing.
FAQ
What is the duration of the Sydney Photography Masterclass?
It’s about 3 hours.
Is this experience private?
Yes. It’s private for your group, with up to four people total.
What does the price include?
It includes a professional photographer guide, local guide, and photography tuition plus photo review.
Do I need to bring a camera?
Yes. A camera is not included. Tripods are also not included, but a tripod can be rented.
Where does the tour start and end?
It starts at 41 Broughton St, Kirribilli NSW 2061, Australia, and ends back at the same meeting point.
Does the lesson include night photography?
Yes. Night photography techniques are part of the session, including settings and locations that work best after dark.