REVIEW · BUSAN
East Busan Small Group Photo Tour (Max 7 Pax)
Book on GetYourGuide →Operated by Triends · Bookable on GetYourGuide
Forest air plus ocean light is a good combo. This small-group East Busan photo tour takes you from city energy into Ahopsan Forest and coastal viewpoints, with a guide who helps you get better shots (and better angles). I especially like the small group size (max 7) that keeps the pace friendly, and the professional photography service that hands you both originals and five retouched photos. One thing to consider: the tour starts at 9:00 am sharp, so you’ll want to plan your morning transport accordingly.
You’ll also get more context than just where to stand and shoot. The guide shares Busan stories as you move through each stop, so the scenes feel connected instead of random photo stops.
Finally, wear comfortable shoes and don’t pack heavy extras. You’ll be walking enough that comfy footwear matters, and the tour notes that strollers, suitcases, or carry-ons should be handled carefully so you’re not doing extra work during the day.
In This Review
- Key highlights you’ll care about
- East Busan Photo Tour: why this format feels easier
- The value of $75 and what you actually get
- Where you meet: Seomyeon Station, and why that matters
- Van rides that set you up: the 30 minutes out and the 20 minutes back
- Stop 1: Ahopsan Forest for photo walking and bamboo-style scenery
- Stop 2: Yonggungsa Temple—combine story, angles, and coast vibes
- Stop 3: Cheongsapo Twin Lighthouse and coastal photo time
- Seasonal swap: what can replace the temple or lighthouse
- The photography service: originals now, retouched photos later
- What you’ll learn about Busan (beyond where to point your camera)
- Comfort and walking: the shoe-and-daylight reality
- Who this tour is best for
- Should you book East Busan with this small-group photo plan?
- FAQ
- What time does the tour start?
- How long is the East Busan Small Group Photo Tour?
- How many people are in the group?
- Where do I meet the tour?
- What languages are available for the live guide?
- Are photos included in the price?
- How many retouched photos do I receive?
- When do I get my photos after the tour?
- What should I wear for this tour?
Key highlights you’ll care about
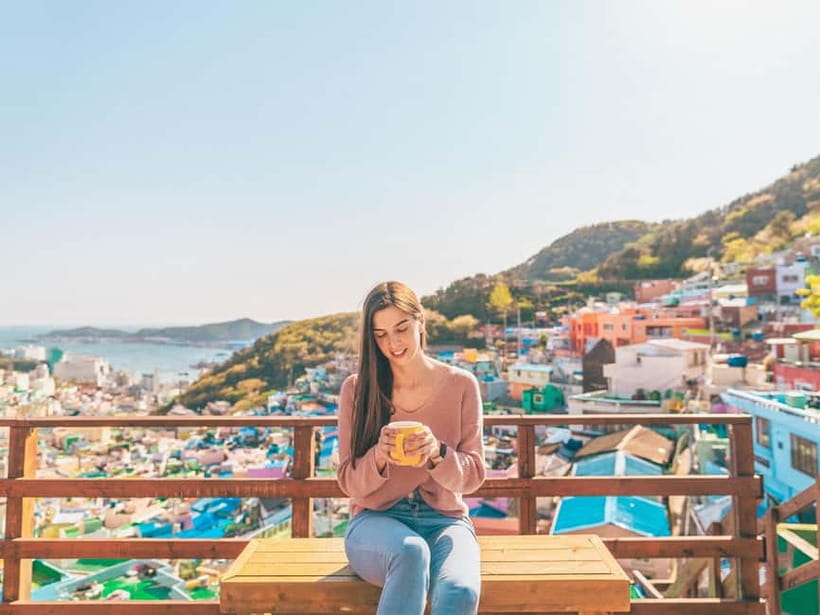
- Max 7 people means real time with the guide while you frame photos and adjust on the spot
- Photo service included: originals plus five retouched images per person
- Busan mountains meet ocean views across the day’s stops
- Ahopsan Forest is the star for bamboo-style scenery and relaxed walking
- English and Korean guidance keeps things understandable and practical
- Small-group van logistics reduce the stress of hopping between areas on your own
East Busan Photo Tour: why this format feels easier
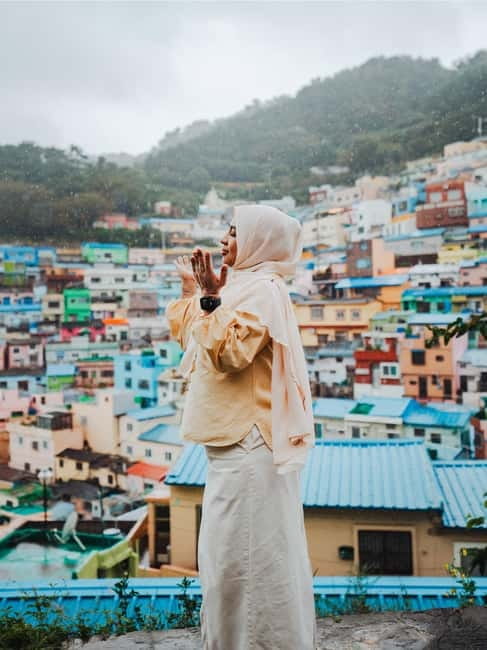
East Busan can feel spread out. This tour solves that with one shared van day and a tight route, so you spend energy looking at views instead of figuring out transport.
What makes the day work is the pacing and the size. With only up to 7 people, you’re not fighting for space at viewpoints, and the photographer-guide can adjust coaching to what each person is trying to capture.
The day also has a nice rhythm: one main forest walk, then temple and lighthouse-style coastal viewpoints. That mix gives you variety in your photo set, not just more of the same.
You can also read our reviews of more tours and experiences in Busan.
The value of $75 and what you actually get
For $75 per person, you’re basically paying for three things: transportation, a guided photo plan, and deliverables after the tour.
The deliverables are the part many people end up loving. You get all the original photos from the professional photographer and five retouched photos per person. That’s a big plus if you don’t want to spend your vacation time editing.
You also get help during the stops, not just after. The guide is equipped with professional photography skills and assists you while you’re there, which is where most photo results are won or lost.
One value note: lunch is not included, so you’ll either eat on your own schedule during breaks or plan a simple meal before or after. Bring that into your budgeting, even if it’s just a basic sandwich or convenience store stop.
Where you meet: Seomyeon Station, and why that matters
You meet at Seomyeon Station Exit 10. Seomyeon is one of Busan’s easiest bases to reach, so you’re not dead-ending into a far-off pickup location.
The tour starts at 9:00 am sharp, and that timing is real. If you’re late, you risk missing the van departure and the flow of the day.
Drop-off is listed as back at the meeting point, and there’s also a note that drop-off may be at Haeundae Beach or Seomyeon Station. Practically, that means you should plan your return onward travel around Seomyeon as the default, with the possibility of ending a bit closer to Haeundae.
Van rides that set you up: the 30 minutes out and the 20 minutes back
After you meet, you’ll take a van ride of about 30 minutes to reach the first major stop. That transfer time is useful because it gets you out of the city enough to start seeing mountains and ocean light later in the morning.
The tour includes another shorter van segment of about 20 minutes near the end to wrap things up. It helps keep the day smooth without turning it into constant bus/metro hopping.
If you dislike long rides, this tour stays reasonable. You’re not stuck on transport all day, and the active parts come in blocks.
Stop 1: Ahopsan Forest for photo walking and bamboo-style scenery
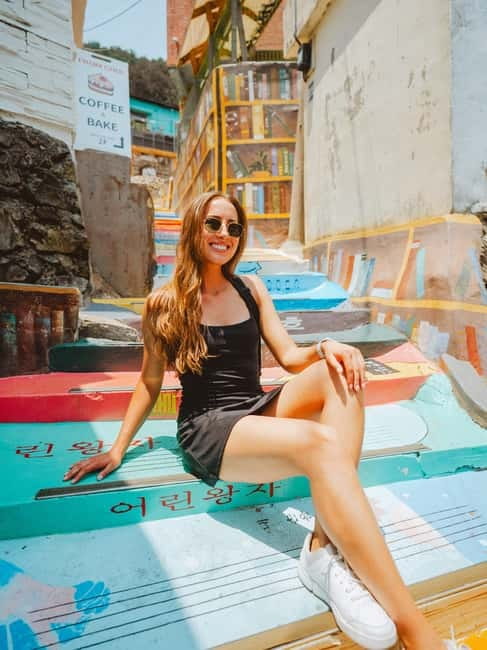
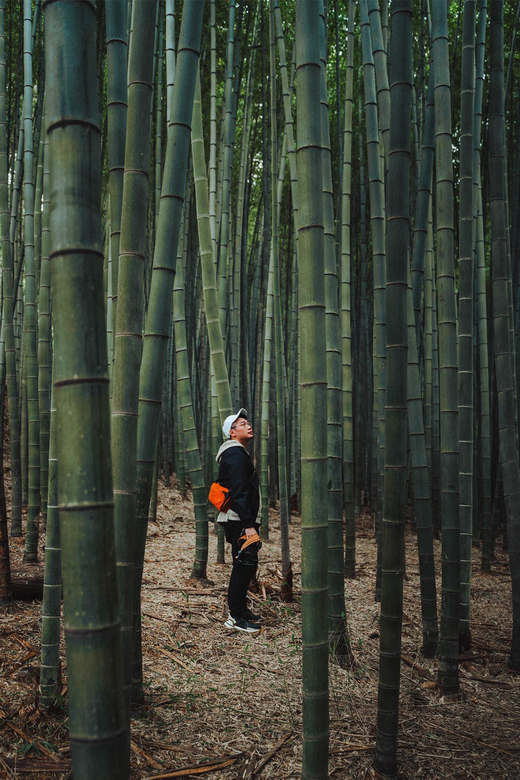
Your first big stop is Ahopsan Forest, with about 80 minutes allocated for photo stop, visit, guided tour, free time, sightseeing, and walking.
This is a key moment of the tour because it’s where your photos can shift into a calmer mood. A forest stop gives you natural light variation, texture, and softer backgrounds. Even if you aren’t chasing professional-grade images, you’ll likely leave with a different look than the typical city shots.
From what you’ll experience on the ground, this is the “slow down and walk” part. The time includes both guided help and free time, so you can take direction for the first pass, then come back later for your own angles.
If you like bamboo-style imagery, this is the stop to focus on. Watch for rows and rhythm in the vegetation, and don’t just shoot straight ahead—try framing with foreground leaves or trunks to add depth.
Practical tips:
- Move at walking pace. If you rush, you’ll miss the best framing moments.
- Take a wide shot early, then come back for close details after you’ve found your favorite sightline.
- If the group gets spread out, rejoin the photographer-guide for the next “setup” photo opportunity.
Stop 2: Yonggungsa Temple—combine story, angles, and coast vibes
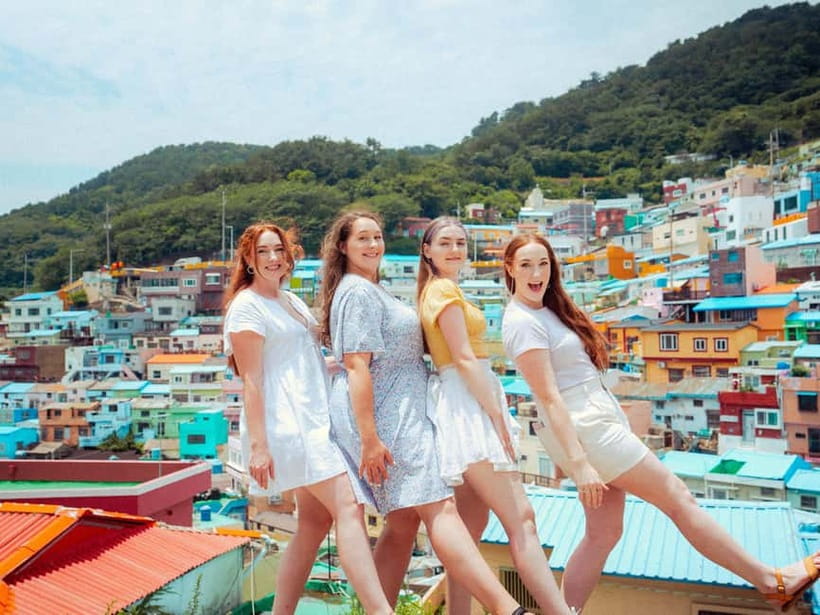
Next is Yonggungsa Temple, with about 55 minutes for photo stop, visit, guided tour, and free time.
Temple stops are great for photos because they bring structure: stone edges, roof lines, and repeated shapes. They also give your camera something other than scenery—details you can crop, patterns you can center, and people you can frame (if your guide encourages it).
This stop also fits the tour theme of ocean views. Even if the weather is changeable, the mix of religious architecture and coastal scenery can produce strong “Busan feeling” photos.
The main drawback at temple stops is crowds and foot traffic. With only 7 people, you won’t feel swallowed, but you still need to be patient with timing for clean shots. The best strategy is to let the first wave pass, then shoot while others move on.
Practical tips:
- Wear shoes with solid grip. Temple grounds and paths can be slippery.
- If you’re shooting from multiple positions, take 10 seconds to let the crowd flow before you commit.
- Ask your photographer-guide for simple framing advice on the spot. Small changes make a big difference here.
Stop 3: Cheongsapo Twin Lighthouse and coastal photo time
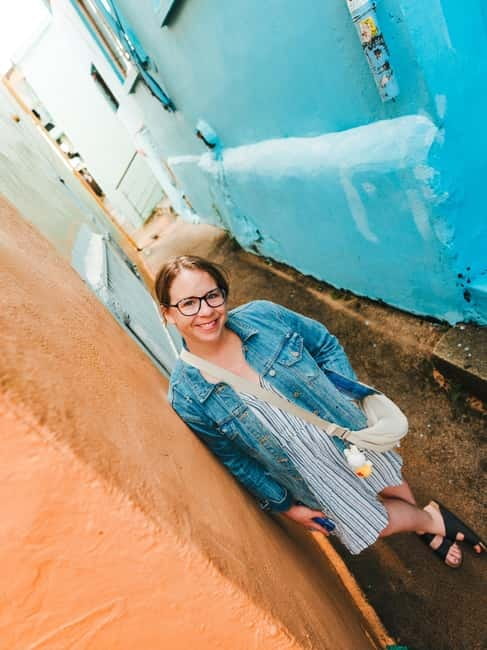
Then you head to Cheongsapo Twin Lighthouse, with about 65 minutes for photo stop, visit, guided tour, and free time.
This is your coastal photo anchor. Lighthouse viewpoints tend to reward time spent walking a bit and looking back toward earlier angles. You’ll also get to play with horizon lines, leading lines from paths, and layered backgrounds with sea and sky.
The longer time window here matters because you can do two passes:
1) A first pass for the obvious “twin” shots
2) A second pass for variations—closer crops, angled lines, and background depth
Even if you’re not a confident photographer, you’ll get value because the guide and photographer are there to help with composition and timing. That’s one reason this tour works better than simply going on your own and hoping for perfect light.
Seasonal swap: what can replace the temple or lighthouse
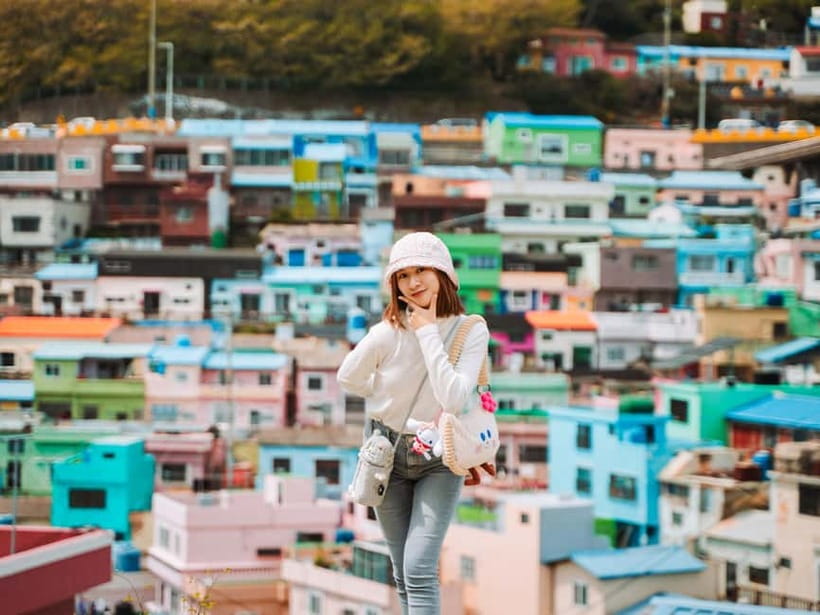
The tour notes that Headong Yonggungsa Temple or Cheongsapo could be replaced seasonally by places including Oryukdo, Samick Beach in Gwanganlli, Jukseong Dream Filming site, or Yongso Well-Being Park.
This is important for two reasons:
- Your photos may look different depending on season and conditions.
- If you have a strict must-shoot location, you should check the specific option available at booking time.
The upside is flexibility. If the original point doesn’t fit the day’s conditions, you still get a structured route with similar photo goals: nature, coastal energy, and viewpoint variety.
The photography service: originals now, retouched photos later
Here’s the practical photo workflow, and it’s actually pretty traveler-friendly.
You’ll receive all the original photos, and you get the raw files 1 day after the tour. That means you can immediately pick favorites for your retouch request and start sorting your trip memories.
For the retouched set, you submit 5 photos per person to the photographer to be edited. The editing process can take up to 10 days.
Why this matters for your vacation: you don’t have to wait weeks just to see results. You get originals quickly, then your retouched images come later.
Also note the storage window. The photo file is stored for 30 days after it’s provided, so download them as soon as you get the link.
Tip: when you receive the raw files, sort them fast. If you wait too long, you risk rushing your selection right at the deadline window.
What you’ll learn about Busan (beyond where to point your camera)
This tour isn’t just a drive and stop-and-shoot plan. The guide provides expanded knowledge about Busan and shares hidden stories tied to the places you visit.
That kind of context changes how you photograph. You start looking for details that match the story, not only what looks pretty on your phone screen.
In the forest, for example, you may focus more on the structure and patterns of the trees once you understand the setting. At the temple and lighthouse stops, you’ll likely pay more attention to angles and layout because the guide helps you connect what you see with how Busan lives around it.
One small plus from the overall vibe: the guide/photographer tends to keep things friendly without turning the day into nonstop talking. If you like learning, but you also like time to work on your own shots, that balance is a good fit.
Comfort and walking: the shoe-and-daylight reality
The tour involves plenty of walking, so you’ll want comfortable shoes. This isn’t a “sit on the bus and get fed views” day.
If you bring extra baggage, plan ahead. The tour notes that if you carry a stroller, suitcase, or carry-on, you should notify the provider when booking and keep items in the vehicle to avoid extra physical work. In other words: travel light if you can, and if you can’t, communicate early.
Also, it’s not suitable for wheelchair users, and it lists that it’s not suitable for people over 95 years. That’s a good heads-up so you can choose a day tour that matches your mobility.
Who this tour is best for
This East Busan Small Group Photo Tour is a strong match if:
- You want a guided route with photo help, not just a scenic walk
- You’re traveling with a camera goal, whether that’s smartphone photos or more serious gear
- You like small groups where it’s easier to talk to the guide and get practical advice
- You don’t want to handle editing. Retouched images are included
It may not be the best fit if:
- You hate early starts (it begins at 9:00 am sharp)
- You want a full-day with lunch included
- You need wheelchair-accessible route planning
Should you book East Busan with this small-group photo plan?
I’d book it if you want less stress and better photos from one efficient morning-to-afternoon route. The combination of small group size, professional photo service, and a delivery workflow (originals the next day plus retouched images later) is a clear value.
Skip the tour and pick something else if your priority is long, unstructured wandering with zero schedule. This day is timed. You’ll have free time, but the stops run like a photo itinerary.
If you’re the kind of traveler who cares about getting a few standout images you can actually keep, this tour is worth the $75.
FAQ
What time does the tour start?
The tour starts at 9:00 am sharp.
How long is the East Busan Small Group Photo Tour?
The duration is listed as 250 minutes.
How many people are in the group?
It’s a small group limited to 7 participants.
Where do I meet the tour?
You meet at Seomyeon Station Exit 10.
What languages are available for the live guide?
The tour offers live guidance in English and Korean.
Are photos included in the price?
Yes. You’ll get all the original photos plus professional retouching.
How many retouched photos do I receive?
Each person receives 5 retouched photos.
When do I get my photos after the tour?
Raw files are provided 1 day after the tour, and editing can take up to 10 days.
What should I wear for this tour?
Wear comfortable shoes since the tour involves plenty of walking.