REVIEW · COPENHAGEN
Copenhagen Photography Masterclass – Private Photography Lesson
Book on Viator →Operated by Aperture Tours · Bookable on Viator
Copenhagen looks made for photos, but it’s the teaching that makes it work. This private Copenhagen Photography Masterclass is a 3-hour street or night session designed to tighten your composition and help you use the light you’re standing in. You’ll focus on real locations people actually photograph, from Nyhavn to the Copenhagen Opera House, with guidance from a local and a photography professional.
I especially like that it’s private and tailored to your pace. I also like the emphasis on how to shoot at night with enough light for painterly, atmospheric results. One thing to consider: you’ll be outside for the full session, and nighttime in Copenhagen can feel cold fast, so warm layers and gloves matter.
In This Review
- Key highlights worth planning around
- Why Copenhagen streets help you level up fast
- Price and value for a $177 private photo masterclass
- How the private lesson flows in 3 hours (and what to bring)
- Day route: shooting Copenhagen’s canals, churches, and grand facades
- Night photography in Copenhagen: making lights look painterly
- Stop-by-stop notes: where the best shots happen
- Nyhavn: reflections, colorful fronts, and canal lines
- Rosenborg Castle: stone detail and royal symmetry
- Amalienborg Palace Museum: grand building angles and disciplined framing
- Frederiks Kirke (Marmorkirken): dramatic church silhouettes
- Christiansborg Slot: monumental presence and compositional balance
- Christianshavns Beboerhus: texture and human-scale atmosphere
- Copenhagen Opera House: modern lines against classic city energy
- Gammel Strand: harbor mood and easy storytelling
- Kastellet: fortified edges and calmer pacing
- What you’ll learn beyond sightseeing photography
- Practical logistics that actually affect your photos
- Who this Copenhagen masterclass suits best
- Should you book this Copenhagen photography lesson?
- FAQ
- How long is the Copenhagen Photography Masterclass?
- Is this lesson in English?
- What’s the meeting point?
- Is this a private tour?
- What’s included in the price?
- Do I need to bring a camera?
- Is a tripod provided?
- Can I get a full refund if plans change?
Key highlights worth planning around
- Private 3-hour coaching with a local guide plus a photography professional guide
- Street photo session by day plus an after-dark night session option
- Stops built around strong architecture and light: Nyhavn, Rosenborg Castle, Amalienborg, Marmorkirken, and more
- Night photography focus using realistic city light, not studio setups
- Tripod available on request (camera not included), so bring your own gear
- Near public transportation with a clear meeting point at Nyhavn
Why Copenhagen streets help you level up fast
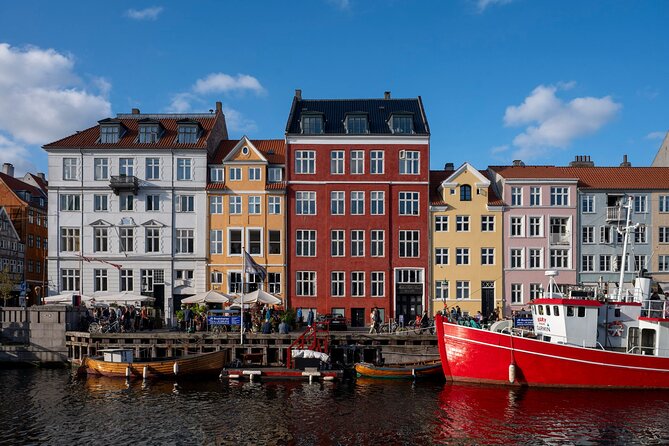
Copenhagen has a knack for giving photographers options. You’ve got classic 17th-century canals, sweeping facades, and landmarks that look great from multiple angles. The city is also readable. Streets and squares make sense quickly, so you spend less time “figuring it out” and more time making images.
That’s where a photo lesson helps. Instead of just pointing out sights, the instructor can guide how to frame them. You get hands-on feedback while you’re actually in motion, not just after you get home and open your camera menu again.
If you like photography because it feels like storytelling, Copenhagen is a friendly classroom. You can shoot details (doorways, textures, window reflections) and also capture the bigger mood (historic buildings, canal lines, evening glow).
You can also read our reviews of more tours and experiences in Copenhagen.

Price and value for a $177 private photo masterclass
At $177.44 per person for about 3 hours, this is priced like a true guided lesson, not a sightseeing bus ride with a camera chat. The value is the private setup. With only your group participating, you’re more likely to get direct help with your questions—settings, positioning, and how to “see” the shot before you press the shutter.
You also get two layers of guidance: a local guide plus a photography professional guide. That matters because Copenhagen’s best photo spots aren’t only about having a landmark. It’s about knowing where to stand, how the light hits, and what details are worth including.
Two practical notes on value:
- The tour price doesn’t include a camera. If you’re traveling with a phone, that’s totally possible, but you’ll still want your own device ready.
- A tripod is not included, though it’s available on request. If you care about sharper night images, ask ahead and plan for it.
How the private lesson flows in 3 hours (and what to bring)
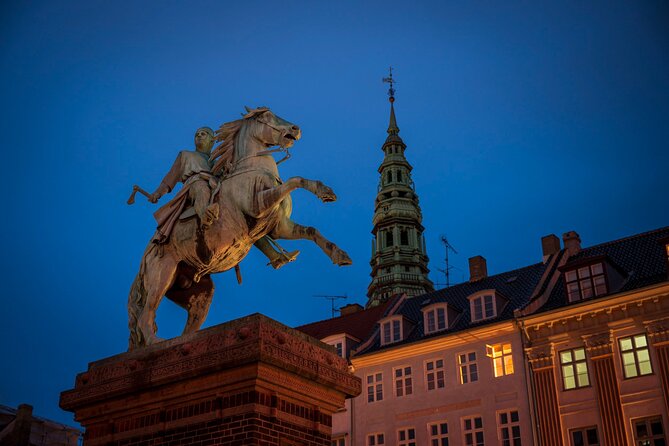
This is built as a 3-hour street photo session or a 3-hour night photo session, so the schedule has to stay moving. Expect to walk between key sights and get instruction along the way. The guiding idea is simple: you learn a technique, you apply it right there, and then you adjust.
A few things you should bring so you don’t fight your gear:
- Your camera (the tour doesn’t provide one).
- If you have one, a small lens you like for low light. (Even if you don’t, you can still shoot—just be realistic about results.)
- Comfortable shoes for uneven sidewalks near historic spots.
- For night sessions, pack warmth. One review pointed out that even in May it gets cold, and thin gloves would have helped. I’d plan the same way.
Tripod? It’s available on request, not automatically included. If you want steadier night shots, bring your own if you have one—or at least request the tripod so you’re not improvising at freezing-cold angles.
Day route: shooting Copenhagen’s canals, churches, and grand facades
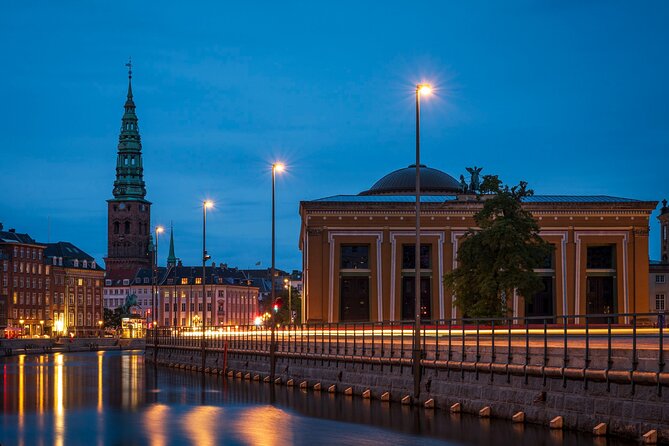
The daytime version leans into Copenhagen as a “walkable museum.” You’ll pass through areas known for iconic architecture and photo-friendly streets, including canal scenes, ornate buildings, and classic royal landmarks.
The lesson style here is about making your images look intentional. You’re not just collecting views. You’re learning how to frame and simplify. Think: choose one subject, watch for repeating lines, and use the city’s geometry to guide the eye.
A daytime street session also makes it easier to learn positioning without battling darkness. You can see your composition, check reflections, and refine details before you move on to night photography skills.
Night photography in Copenhagen: making lights look painterly
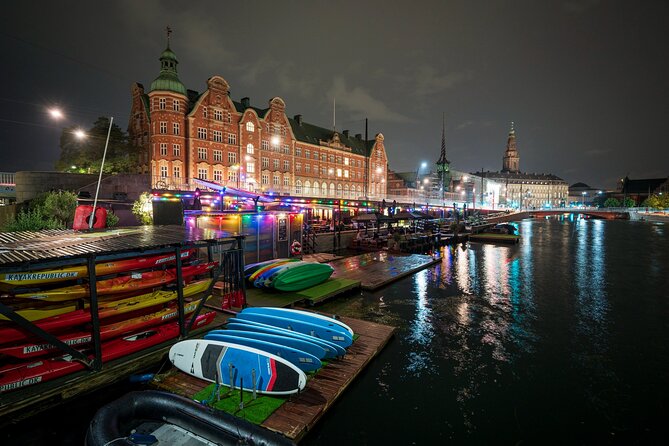
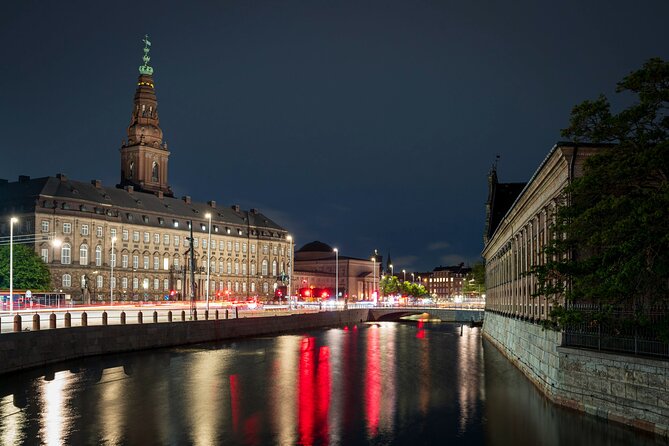
Copenhagen after dark can be surprisingly photogenic, and that’s a big reason the night session works. You’re dealing with city light—street lamps, building illumination, and reflections on water and stone. That’s enough to create interesting images without needing a flash.
One of the best feedback points from the experience is that the night shoot focuses on spots with sufficient light to produce a painterly feel. Translation: you’ll be in places where the glow actually helps your photos instead of turning everything into a noisy blur.
Just be smart about expectations. Night photography can be cold, and you may be holding your camera longer than usual while you try framing and settings. If your hands get numb, your shots get worse. Gloves, a warm layer, and patience are part of the tool kit.
Stop-by-stop notes: where the best shots happen
Below is what makes each location worth your time, plus the likely catch to watch for. Use this to mentally prep for what you’ll be practicing during the session.
Nyhavn: reflections, colorful fronts, and canal lines
Nyhavn is the instant-recognition part of Copenhagen. You’ll find strong visual lines, lively facades, and plenty of opportunities for reflections and leading lines along the water. It’s also a place where the light can shift quickly, so your instructor can help you test framing fast.
Possible drawback: it can feel busy compared with quieter streets. If you want cleaner compositions, you’ll need to plan for small timing gaps.
Rosenborg Castle: stone detail and royal symmetry
Rosenborg Castle brings a more formal feel. You can lean into symmetry for a crisp look, or break it by framing close details that show texture and architectural rhythm.
Possible drawback: long lenses or higher angles may be needed depending on where you’re standing. If you’re unsure, ask your guide where they want you to place yourself.
Amalienborg Palace Museum: grand building angles and disciplined framing
Amalienborg is all about clean lines and scale. This is where you learn to simplify the scene so the palace looks imposing rather than crowded. A good approach is to pick one “anchor” element and let the rest support it.
Possible drawback: wide streets can make it easy to include too much. You’ll want help choosing what not to shoot.
Frederiks Kirke (Marmorkirken): dramatic church silhouettes
Marmorkirken is a favorite because it reads well even in softer light. At night, it can become a glowing focal point, while in daylight you can emphasize the facade structure and proportions.
Possible drawback: church areas can have visual distractions. Your guide’s job here is to help you isolate the parts that make the photo feel strong.
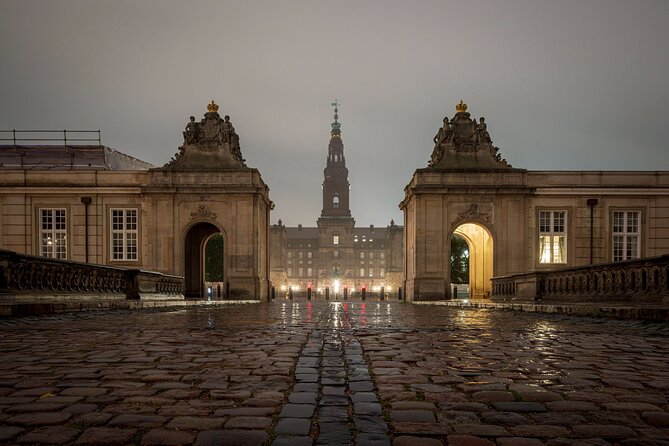
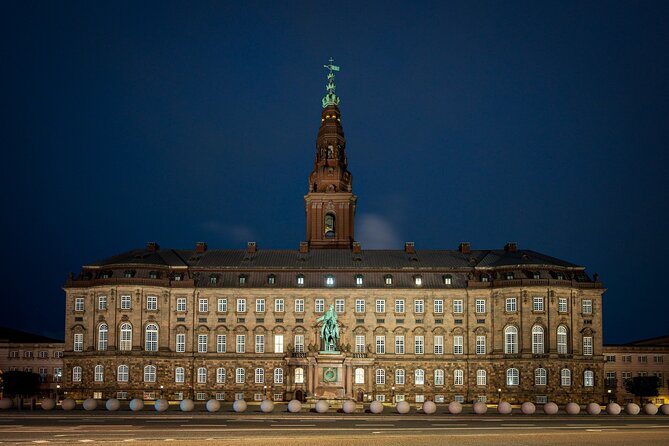
Christiansborg Slot: monumental presence and compositional balance
Christiansborg Slot gives you big architecture and multiple layers to frame. It’s a spot where composition matters. If you include everything, it can look flat. If you choose the right perspective, it feels powerful.
Possible drawback: wide sightlines can tempt you into shooting from too far away. You’ll likely benefit from getting closer for detail.
Christianshavns Beboerhus: texture and human-scale atmosphere
This is the more local-feeling stop. You’ll get opportunities to shoot smaller elements that add character to your photo set—things like surfaces, doorways, and street-level mood.
Possible drawback: it’s not as instantly dramatic as the headline landmarks, so focus on details your instructor highlights rather than expecting a single perfect “hero” shot.
Copenhagen Opera House: modern lines against classic city energy
The Opera House area brings modern architecture into the mix. It’s great for practicing angles and clean geometry. If you enjoy graphic composition, this stop rewards it.
Possible drawback: bright surfaces can be tricky in daylight and can vary a lot by time of day. Listen for guide tips on when to shoot and how to avoid harsh highlights.
Gammel Strand: harbor mood and easy storytelling
This area works well for narrative photos—people moving through the scene, water-adjacent ambience, and classic city textures. It’s a strong place to practice capturing “moment,” not just monuments.
Possible drawback: it can be a bit less controlled than the most famous squares. That’s good for learning, but it means you’ll need to simplify your frame.
Kastellet: fortified edges and calmer pacing
Kastellet feels like a change of tempo. Fortified structures and open viewpoints make it a good wrap-up stop for composition practice. You can focus on leading lines, strong edges, and balanced framing.
Possible drawback: depending on the time of day, it can be less visually “busy.” If you’re expecting constant action, keep your eye on geometry and shape.
What you’ll learn beyond sightseeing photography
A masterclass works best when it changes how you shoot after the tour ends. Here, the likely skills you take with you are tied to the city’s lighting and your positioning.
For daytime street photos, expect coaching around:
- Framing choices that make a scene readable in one glance
- How to reduce clutter when you’re surrounded by impressive architecture
- Practical techniques for capturing canals and reflections without getting stuck in trial-and-error
For night shots, you’re learning to work with what’s already lit. The emphasis on painterly results suggests the lesson isn’t only about pin-sharp technical perfection. It’s about using long-ish exposures or creative settings to make the glow look artistic, not harsh.
And one more thing that matters: with private instruction, you can ask direct questions. If something on your camera isn’t behaving, you won’t have to wait until the tour is over.
Practical logistics that actually affect your photos
This experience runs as a private tour/activity, meaning only your group participates. That improves your odds of getting individualized feedback and not getting rushed.
Meeting point is at Nyhavn Drikkevandsfontæne, Nyhavn 1F, 1050 København. It returns you back to the same area, so you’re not dealing with an unfamiliar end point.
The tour is offered in English, and it’s listed as near public transportation. There’s also a mobile ticket, so you won’t be scrambling for paper.
Accessibility-wise, service animals are allowed, and most travelers can participate. The bigger “accessibility” reality here is simply standing and walking. If you have mobility concerns, plan for breaks and pace yourself early.
Who this Copenhagen masterclass suits best
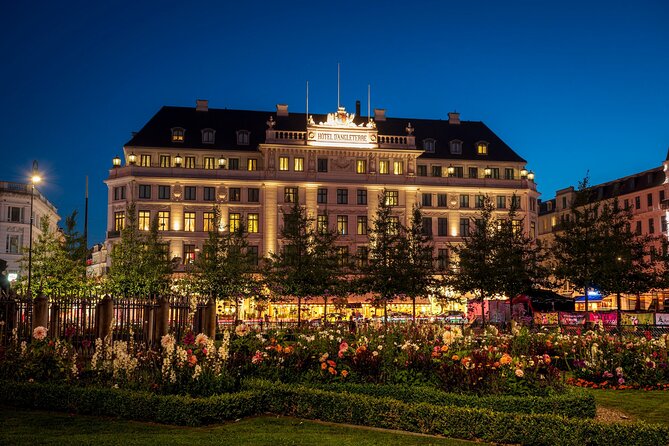
This is a strong fit if:
- You want a structured, guided photo walk that includes real technique help, not just sightseeing.
- You’re curious about night photography and want to learn in a city where there’s enough light to work.
- You like photographing recognizable landmarks but also want guidance on how to make them look personal.
It also works well for couples or a small group, since private instruction means more attention per person. If you’re traveling solo but want personalized coaching, private is also a good way to get direct feedback without competing with a larger group.
Should you book this Copenhagen photography lesson?
If your goal is to come home with images that look planned—at night and during the day—this is a smart booking. The pricing makes sense for the private coaching, and the night focus is especially appealing because you’re taught in conditions where results are achievable.
I’d book it if you’re willing to dress for cold evenings and actually practice what the guide shows you. If you’re hoping for a slow, relaxed photo stroll with no instruction, or you expect the camera to be provided, you might feel mismatched.
Bottom line: for Copenhagen photography, this is a practical way to learn how to see, not just where to stand.
FAQ
How long is the Copenhagen Photography Masterclass?
It runs for about 3 hours.
Is this lesson in English?
Yes, it’s offered in English.
What’s the meeting point?
The meeting point is Nyhavn Drikkevandsfontæne, Nyhavn 1F, 1050 København, Denmark.
Is this a private tour?
Yes. It’s private, and only your group will participate.
What’s included in the price?
Included are a local guide, a photography professional guide, and the private tour format.
Do I need to bring a camera?
Yes. A camera is not included.
Is a tripod provided?
A tripod is not included, but it is available upon request.
Can I get a full refund if plans change?
Yes. Free cancellation is available up to 24 hours in advance for a full refund. If you cancel less than 24 hours before the start time, the amount paid is not refunded.