REVIEW · AMSTERDAM
Amsterdam: Professional Photoshoot at the Canals
Book on GetYourGuide →Operated by G&T Studios Amsterdam · Bookable on GetYourGuide
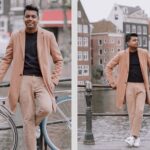
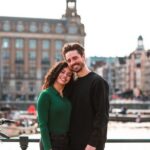
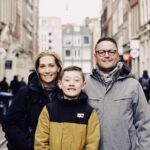
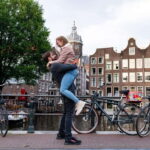
Canal photos beat blurry selfies fast. This private shoot turns Amsterdam’s canal belt and classic streets into keepsakes you can actually use for years.
I especially like the mix of iconic spots and a guided eye for framing. You also get a clear system: lots of preview photos first, then you choose what gets professionally retouched.
One thing to consider: you’ll be walking on Amsterdam’s cobblestones and moving between photo spots. If weather is rough, the shoot may shift indoors to keep you comfortable.
In This Review
- Key highlights worth planning for
- Why a canal-belt photoshoot works better than DIY
- Meeting by Brouwersgracht 60, outside Restaurant De Belhamel
- Brouwersgracht photo stops: bridges, canal houses, and Dutch culture facts
- Damrak Avenue: the famous Amsterdam scene beyond the canals
- Finishing at Amsterdam Centraal: “we ended where we started”
- Choosing Mini vs Standard vs Deluxe (and what you’re paying for)
- What happens after the shoot: preview JPGs, then retouching
- Timing and route flow: how your shoot length shapes the day
- Weather reality in Amsterdam: umbrellas and indoor backups
- Practical tips that make your photos look better
- Who this photoshoot suits (and who might skip it)
- Should you book the Amsterdam canal photoshoot?
- FAQ
- Where is the meeting point?
- How long does the photoshoot take?
- What photos do I receive after the shoot?
- When do I get the edited photos?
- What should I bring?
- What happens if it rains?
Key highlights worth planning for
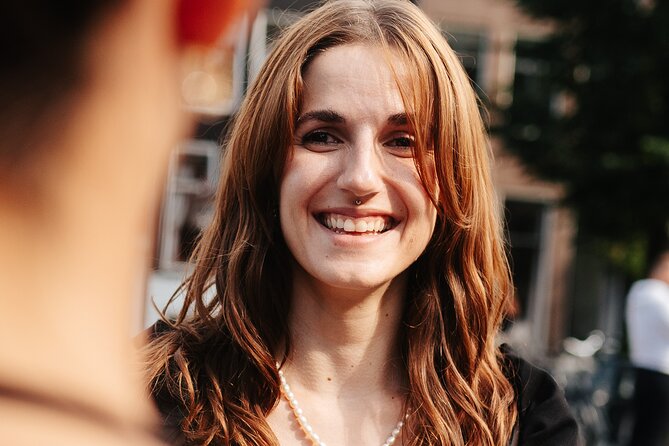
- Brouwersgracht meet-up near De Belhamel: easy access from Amsterdam Centraal.
- Multiple canal-belt locations depending on your shoot length, not just one photo stop.
- Damrak + Centraal Station for that extra Amsterdam contrast beyond the canal belt.
- Preview JPGs first, then you select favorites for professional retouching.
- Clear umbrellas for light rain and indoor backup for heavy rain.
- Packages scale by time and group size, from mini to deluxe.
Why a canal-belt photoshoot works better than DIY
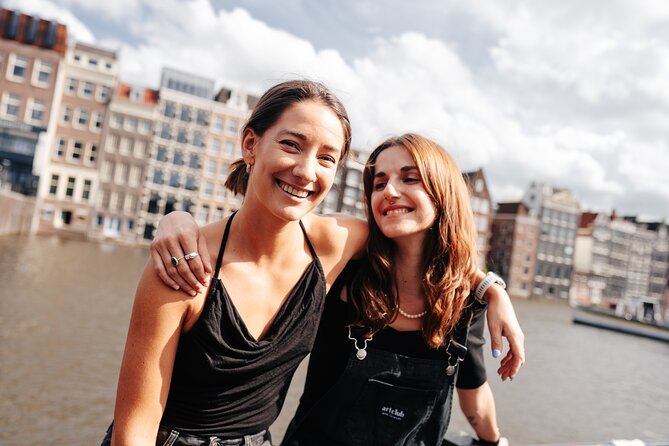
Amsterdam is picture-friendly in a way that almost feels unfair. But there’s a catch: the city is busy, the light changes quickly, and your phone can struggle with reflections off canal water and the dark tones of canal houses.
That’s why this kind of shoot is a smart use of your time. A photographer with a DSLR knows how to work in tight streets and along water edges, where the angle matters. You’ll also get guidance on posing and how to stand so you look natural instead of stiff.
The best part is the workflow. You’re not stuck with a tiny set of final images. You receive a big batch of preview photos in .jpg format, then you pick your favorites for professional retouching. It’s a practical way to get both variety and polished results without guesswork.
You can also read our reviews of more tours and experiences in Amsterdam.
Meeting by Brouwersgracht 60, outside Restaurant De Belhamel
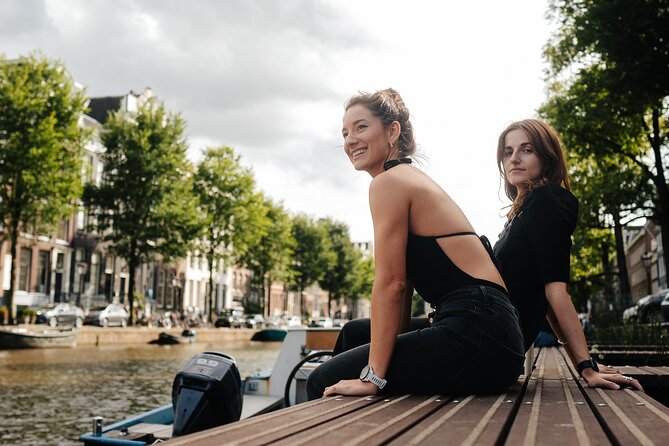
Your shoot starts at the corner outside Restaurant De Belhamel, near Brouwersgracht 60. The location is a short walk from Amsterdam Centraal, which makes it easy to slot into your day even if you’re bouncing between museums and canals.
Look for your photographer carrying a DSLR camera. It helps you settle fast because you won’t be searching for the right person once you’re on the street.
This meeting spot also sets the tone. Instead of starting in a tourist square first, you begin directly on one of the city’s most photogenic canals. You’re already in the right environment for the kind of images people come to Amsterdam for: canal bridges, classic canal houses, and those postcard-like street corners.
Brouwersgracht photo stops: bridges, canal houses, and Dutch culture facts
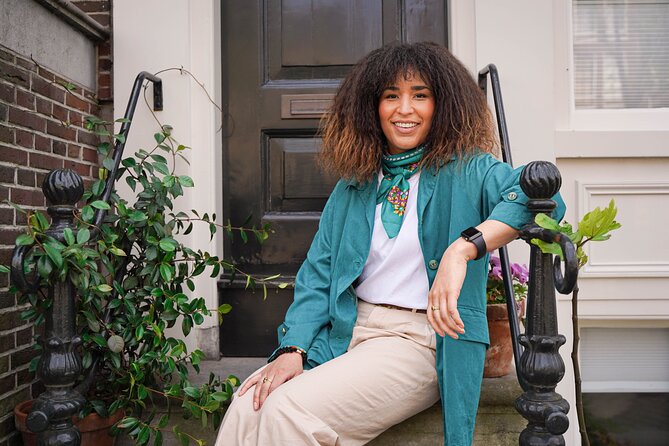
Most of your time is spent on Brouwersgracht, the “picture-perfect” canal segment that gives you the classic Amsterdam look. Depending on the package length, you’ll likely move through multiple spots along this canal rather than staying in one place for the whole session.
That approach matters. Amsterdam photos can look flat when you repeat the same angle. By walking a short distance between stops, you can vary:
- the way the bridge lines lead the eye
- the framing with canal houses
- the foreground textures from cobblestones and street edges
There’s also a cultural side. The shoot includes interesting facts about life in Amsterdam and Dutch culture. Even if you’re not a history nerd, you’ll still get useful context that makes the images feel more meaningful. A canal bridge isn’t just a backdrop when you understand why it’s central to the city’s layout and daily life.
You’ll want comfortable shoes. Even short distances mean you’re on uneven paving. If you normally wear soft sneakers or walking shoes, you’ll be happier than in slick-soled footwear.
Damrak Avenue: the famous Amsterdam scene beyond the canals
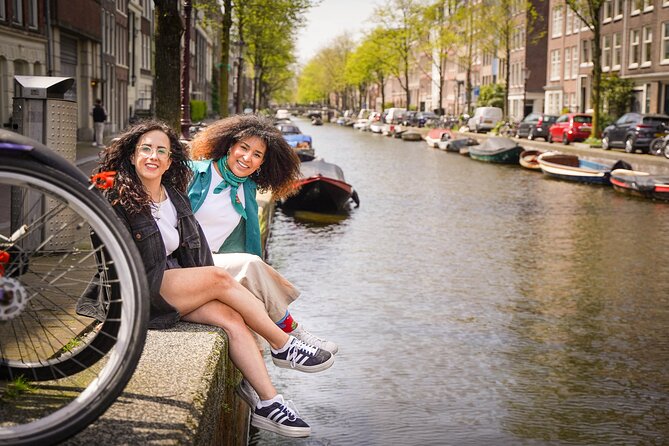
For longer sessions, the photographer adds a photo stop on Damrak Avenue, described as the most famous scene in Amsterdam on Damrak. This is a good shift because it adds contrast: canal elegance on one side, a more street-and-city energy feel on the other.
Why this stop is worth it: canal photos give you atmosphere, but Damrak helps you capture Amsterdam as a working city, not only a postcard. You’re likely to get images that show movement and scale—street frontage, classic architecture lines, and the sense of arrival that people associate with Amsterdam.
It also helps if you’re trying to tell a visual story across a single session: first the canal belt identity, then the central Amsterdam feeling, then your walk-ending “you were really here” finale at Centraal.
Finishing at Amsterdam Centraal: “we ended where we started”
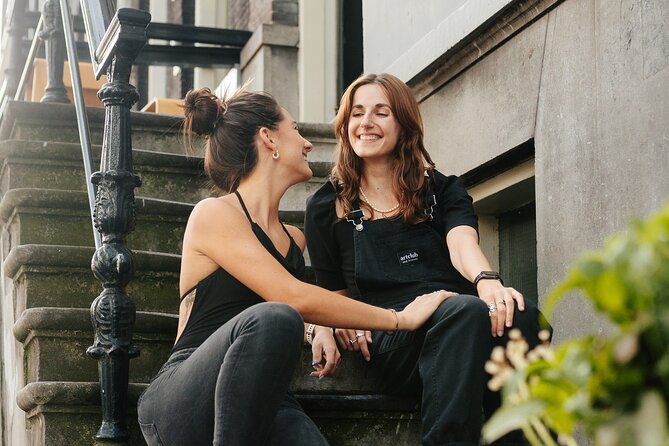
For shoots that run longer (or follow the 1+ hour pattern), you end at Amsterdam Centraal Station. That final stop is practical and symbolic: you get an obvious landmark in your photo set, and you finish near a transit hub that makes it easy to continue exploring.
Photographically, this is where you can collect different textures—station architecture, street crowd rhythms (handled in a way that keeps your image crisp), and an overall Amsterdam city-center perspective.
This ending also helps you avoid that awkward moment where your photos are stunning but you have no “here’s the location” anchor. With Centraal in the mix, you get proof of place that still looks good years later.

Choosing Mini vs Standard vs Deluxe (and what you’re paying for)
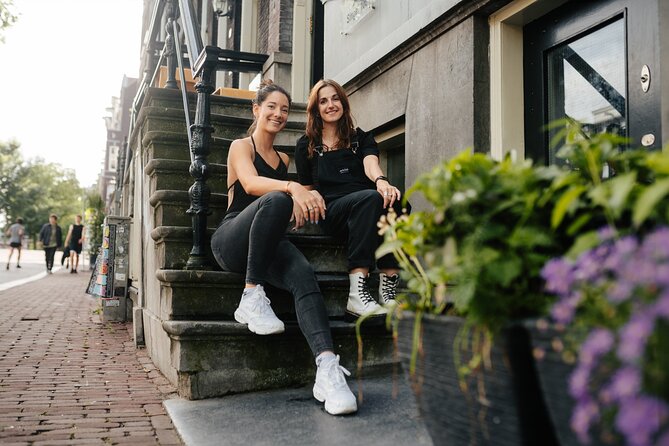
The pricing is set per group, and the packages scale by time and group size. The value is in what you receive: how many preview photos you get and how many edited retouched photos are included after you select favorites.
Here’s what the different options are designed to do:
Mini (30 minutes)
Best if you want a quick fix with high variety. You get 100+ preview photos and 8 edited photos. It’s ideal for couples or solo travelers who want the canal-belt look without carving out most of a morning or afternoon.
Standard (1 hour)
This is the sweet spot for most people. You get 250+ preview photos and 20 edited photos, plus time for a more varied route along the canal belt and additional iconic scenes depending on the plan.
Deluxe (2 hours)
Go deluxe if you’re with a larger group, want more flexibility, or you want a bigger shot at getting multiple “signature” photos. You get 500+ preview photos and 50 edited photos, which is great for families, friend groups, or anyone who wants more options for printing, gifts, or social posts.
Group size matters because the photographer has to manage posing, spacing, and timing. If you’re booking for more people, longer time tends to make everyone look less rushed in the final images.
What happens after the shoot: preview JPGs, then retouching
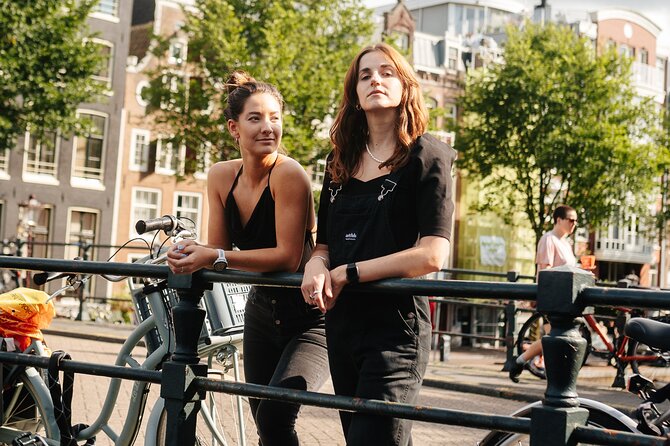
After the shoot, you’ll receive all photos in preview size (.jpg). Then you choose your favorites for professional retouching. After you’ve picked, you’ll receive the edited photos within 15 days.
This two-step system is smart for travelers:
- You can quickly skim through hundreds of images without waiting weeks for everything to be finished.
- You keep control over what matters to you, instead of guessing which photos the photographer thinks are best.
- The retouched set is still manageable in size, so you don’t end up with a huge pile of edits that no one really reviews.
If you’re picky about skin tones, lighting, or removing distracting elements like harsh shadows, retouching is where that polish happens. And if you’re not sure what you’ll want, no worries—you can pick after you see the preview batch.
Timing and route flow: how your shoot length shapes the day
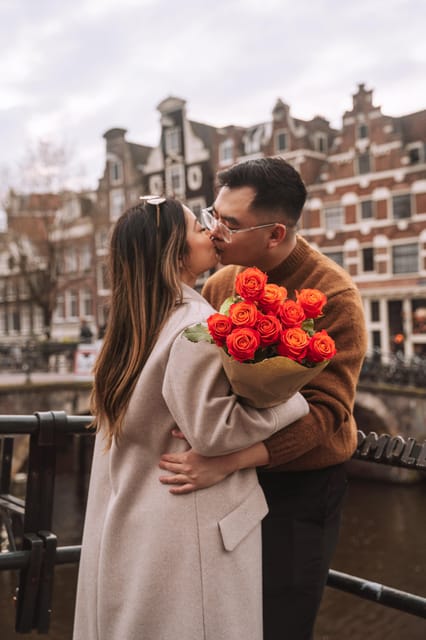
The shoot length changes where you go and how many spots you cover.
For shorter shoots, you’ll focus mainly on Brouwersgracht, with quick movement between picture spots (not constant wandering, but enough to get variety). For longer shoots, you’ll add the central Amsterdam feel with Damrak Avenue and finish at Amsterdam Centraal.
So if you’re planning your schedule, think of it like this:
- If you want mostly canal-belt visuals, go shorter.
- If you want one coherent photo story from canal belt to city center landmark, go longer.
This also helps you coordinate with other activities. You don’t need a full day block. But you do need enough time to arrive, move at a walking pace, and not rush people into posing.
Weather reality in Amsterdam: umbrellas and indoor backups
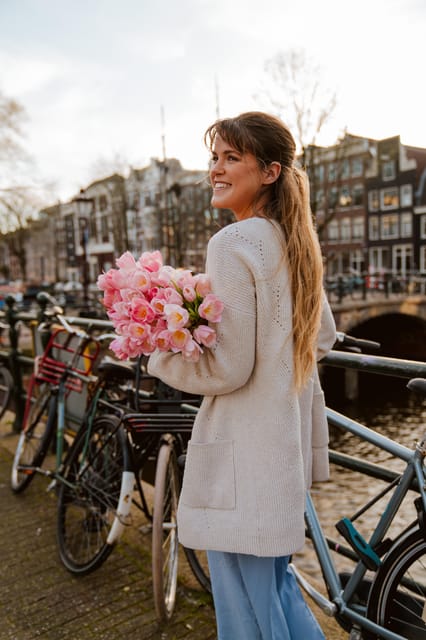
Amsterdam weather can change fast, so this shoot is built to handle it.
- If there is light rain, aesthetic clear umbrellas are provided for the shoot.
- If there is heavy rain, the team can find indoor locations, including places like your apartment or hotel.
That matters because it protects your experience. You’re not just standing under eaves hoping the rain stops. You’ll keep moving toward getting usable photos, even when the sky is doing its own thing.
You’ll also want to check the weather forecast more than 24 hours in advance. The team can prepare better when you’re not surprised.
Practical tips that make your photos look better
You’ll get a professional photographer and a plan, but a few choices from your side can improve results fast.
- Bring comfortable shoes so you can keep a relaxed stride on cobblestones.
- Bring a charged smartphone. Even if the shoot is handled by the photographer’s gear, you’ll likely want it for quick checks, timing, and day navigation.
- Aim to arrive a few minutes early. Starting on time helps the photographer keep your light and spacing choices workable.
- Wear something you’ll feel good in. You’ll be in multiple poses, and you’ll want to look like yourself, just sharper.
Guests have also described the photographer as friendly and knowledgeable, with patience and a dedicated approach. That combination helps a lot if you’re camera-shy. A calm pace makes it easier to get natural expressions instead of forcing them.
Who this photoshoot suits (and who might skip it)
I think this is a great fit if you want classic Amsterdam imagery without spending your whole day trying to chase the perfect angle.
It’s especially good for:
- Couples and solo travelers who want a high-quality photo set without fuss
- Small groups who want a professional approach instead of trading camera shots between friends
- Anyone who cares about having both variety and polished final edits
You might skip it if:
- You already have a great friend with a strong camera and you’re happy with self-directed locations
- You want purely spontaneous street photos with zero posing and zero guidance
- You’re short on time and only have enough minutes for a quick stop photo
Because it’s a private group, you’ll get focused attention. That’s a real advantage over crowded tours where you’re squeezed into the background of someone else’s perfect shot.
Should you book the Amsterdam canal photoshoot?
If your priority is beautiful, usable photos that look like you hired help, this is a strong booking. The biggest reason is the structure: you get lots of preview images first, then you choose what becomes professionally retouched. That’s the kind of process that reduces disappointment.
Book it if you’re excited about Amsterdam’s canal belt look and you’d rather spend your energy exploring the city than managing camera settings. The route also makes sense: start on Brouwersgracht, add Damrak for city-center variety, and end at Centraal so the location feels real in your photos.
Skip it only if you’re truly trying to avoid walking or if you already know you won’t want to select and review a large preview batch afterward.
FAQ
Where is the meeting point?
Meet your photographer at the corner outside Restaurant De Belhamel, near Brouwersgracht 60.
How long does the photoshoot take?
The shoot can last from 30 minutes up to 2 hours, depending on the package you choose.
What photos do I receive after the shoot?
You receive all your photos in preview quality as .jpg files. After you pick your favorites, you get professionally retouched photos.
When do I get the edited photos?
Edited photos are delivered within 15 days after you choose your favorites.
What should I bring?
Bring comfortable shoes and a charged smartphone.
What happens if it rains?
If there is light rain, clear umbrellas are provided. If there is heavy rain, indoor locations can be used, including your apartment or hotel if needed.