REVIEW · ROME
Villa Borghese and Posh Areas Unique Photo Tour and Workshop
Book on Viator →Operated by RomePhotoFuntours Giulio D'Ercole · Bookable on Viator
Framing Rome gets easier with a pro. This 4-hour, max 4-person photo workshop pairs you with professional photographer Giulio D’Ercole for hands-on composition coaching across Rome’s most photogenic spots. I love the practical way he helps with settings and composition in real light, and I like that the tour keeps you moving through iconic sights plus quieter angles—without feeling rushed. One possible drawback: you’ll be doing a fair bit of walking and shooting, so if you want a pure sit-and-stroll pace, plan carefully.
The best part is that you choose your time window—an early morning or afternoon tour—so your photos can match the mood you want. Admission is listed as free for the key stops, which helps keep the cost focused on the guiding and instruction. If you don’t have a camera, there’s an option to rent a Nikon kit, but it’s an extra expense.
If you want more than point-and-click tourism, this is built for you. You’ll come away with a clearer sense of framing, plus photos that feel like they belong to you (not just to Rome’s postcards).
In This Review
- Key Highlights You’ll Care About
- The Real Payoff: Coaching You Can Use Immediately
- Where the Tour Starts and Ends (and How That Helps)
- Villa Borghese: Park Frames, Sculpture Angles, and Garden Details
- Terrazza del Pincio: The Shortcut to Rome’s Best Overlooks
- Spanish Steps and the Square Life: Famous, but You’ll Shoot It Differently
- Via dei Condotti and Side Alleys: Posh Street Energy with Smaller Corners
- Pantheon Finale: Last Shots in a Monument That Demands Good Framing
- Gear and Camera Rental: Bring Your Own or Use the Nikon Kit Option
- How Long It Really Takes (and Why the Timing Choices Matter)
- Value Check: Is $213.03 a Smart Spend?
- Who This Tour Fits Best (and Who Should Skip It)
- A Practical Expectation: What the Coaching Feels Like
- Should You Book This Rome Photo Workshop?
- FAQ
- Where does the tour start and end?
- How long is the photo tour?
- Is the tour offered in English?
- Are admission tickets included for the stops?
- What if I don’t bring a camera?
- How many people are in the group?
- Can my partner or family join if they don’t want to photograph?
- What should I wear?
- Does the tour require good weather?
- Can I get a refund if plans change?
Key Highlights You’ll Care About
- Small-group limit (4 travelers) means more time for real feedback, not a lecture.
- Julio D’Ercole’s coaching focuses on settings and composition for the conditions you’re actually shooting.
- Pick early morning or afternoon for different light and a different feel in the same areas.
- Free entry for major stops keeps your money on instruction and your camera time.
- Camera rental available if you arrive without gear (Nikon kit + tripods, paid in cash).
- Optional non-shooting companions can often join, so you’re not forced into a “solo hobby” day.
The Real Payoff: Coaching You Can Use Immediately
I love photo tours that teach you to see, not just where to stand. This one is designed around that idea: Giulio helps with composition and settings so you can fix what’s off right there, as you shoot. That matters in Rome, where light changes fast and the best angles are rarely where the crowds settle.
You also get a small-group format, with a maximum of 4 people. That tiny group size is a big deal because it means your questions don’t disappear into the group soundtrack. In the feedback from past participants, Giulio is praised for spotting technique issues quickly and walking people toward better results.
If you’re brand-new, you’ll still get value. The tour works even if you mostly care about learning basics like how to frame statues, fountains, terraces, and street scenes. If you’re more advanced, you can focus on the “why” behind the shot—how to shape the scene instead of just capturing it.
You can also read our reviews of more tours and experiences in Rome.
Where the Tour Starts and Ends (and How That Helps)
You’ll meet at Via Vittorio Veneto, 150 (00187 Roma RM) and finish at the Pantheon area (Fontana del Pantheon, Piazza della Rotonda, 00186 Roma RM). Starting in the northwest of central Rome and ending near the Pantheon is practical: it supports a logical flow through Villa Borghese, viewpoints, and downtown sights without backtracking in the way some tours do.
It’s also listed as near public transportation, which helps if you’re juggling multiple parts of the day. And the finish point matters: after you wrap, you’re already in one of the easiest areas to keep exploring on foot.
Villa Borghese: Park Frames, Sculpture Angles, and Garden Details
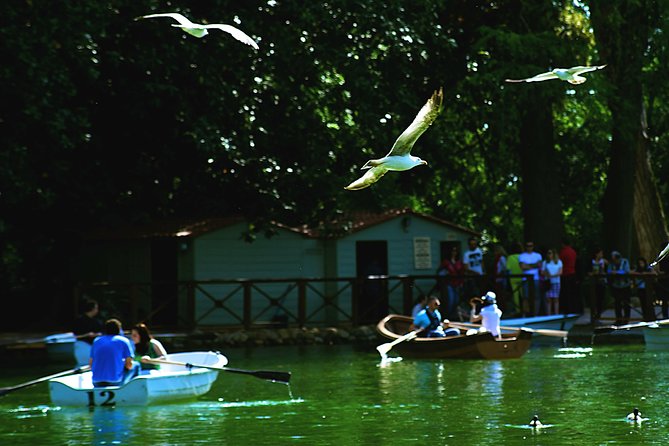
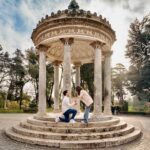
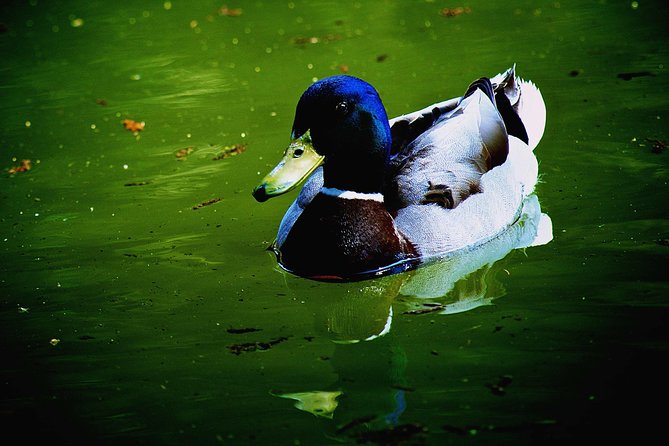
Your first stop is Villa Borghese, where the focus is nature photography plus art and sculpture. You’ll be shooting a mix of park scenery, fountains, gardens, and the kinds of details that are easy to miss if you’re not looking for them. You’ll also tackle a side of Rome that feels calmer than the city center.
This is a smart first location because it lets Giulio get you into “shoot mode.” You can practice framing with trees, paths, and architectural details before you move into the more crowded, higher-contrast viewpoints. If you’ve ever struggled to make landscape-like scenes feel intentional, starting here gives you lots of chances to correct things: horizon placement, distance, and how to use subject/background separation.
One note: Villa Borghese is not one single photo spot; it’s a whole environment. That’s good for creativity, but it means you’ll want to be ready for changing compositions, not one iconic pose.
Terrazza del Pincio: The Shortcut to Rome’s Best Overlooks
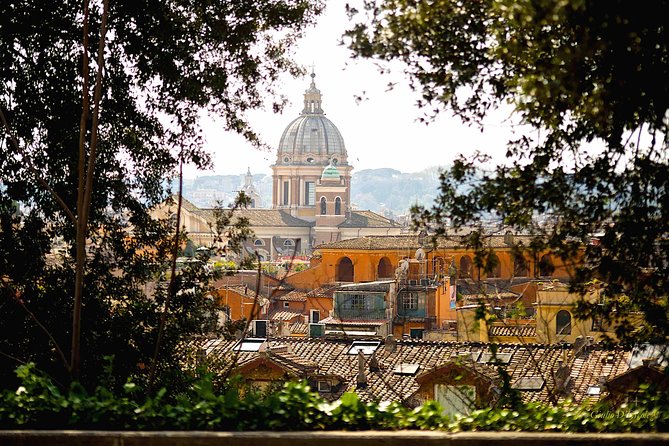
Next up is Terrazza del Pincio. From the terrace, you’ll take multiple shots looking down on Rome, then you’ll walk toward the Spanish Steps area while you photograph tiled roofs and elegant terraces.
This is where the time window matters. A short session at a viewpoint can either feel rushed or extremely productive, depending on how you shoot. With Giulio’s instruction, you’re not just pointing your camera at the view—you’re learning how to layer the scene: foreground details, mid-ground shapes, and the distant skyline.
The Pincio area is also a great place to practice how your camera handles contrast. Bright sky, stone colors, and distant buildings can fool your exposure and soften details. A guide coaching you on settings helps you avoid the “Rome is pretty, but my photo looks flat” problem.
Spanish Steps and the Square Life: Famous, but You’ll Shoot It Differently
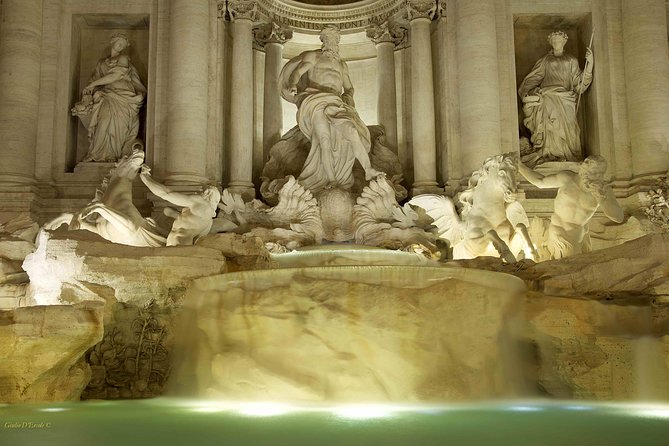
You’ll spend time at the Spanish Steps focusing on the famous stairs, plus the surrounding square and its fountain. This stop is popular, so there’s a lot going on. The value here comes from shooting with intention—trying different angles, using the square’s geometry, and capturing people in context without letting the scene turn into a blurry mess.
For me, this is one of the most useful learning moments on the whole trip. If you want to improve your street and travel photography, crowded landmarks are where your technique gets tested. With a professional working with you, you can refine things like timing, focus choices, and how to keep the photo from feeling chaotic.
Even if you’ve photographed the Spanish Steps before, the coaching can change your results fast. It’s the kind of improvement you’ll notice when you look at your own images at home and think, finally, I know why that shot works.
Via dei Condotti and Side Alleys: Posh Street Energy with Smaller Corners
Then you move into Via dei Condotti, described as Rome’s most elegant and posh street, before heading into smaller alleys branching off it. You’ll shoot classy shopfronts, sophisticated bars, window displays, and the sort of corners that look designed for photos.
This section is where the tour becomes more than “top attractions.” It’s about texture: signage, facades, repeated patterns in architecture, and small scenes that tell you what kind of city you’re in. Rome’s luxury street feels different from its quieter lanes, and shooting both in sequence gives you a more complete set of images.
If you love street photography, this part is especially important. It teaches you how to work with environments that are highly visual but not always photogenic at first glance. Giulio can help you pick which details to frame and which to ignore.
Pantheon Finale: Last Shots in a Monument That Demands Good Framing
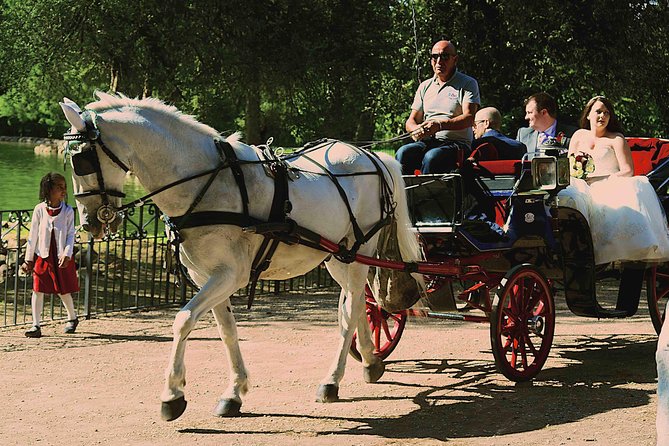
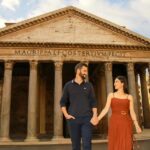
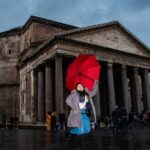
Your final photo stop is the Pantheon, where you’ll take your last tour shots. This is a powerful ending location because the Pantheon has strong lines and a lot of dramatic light behavior. It’s also central enough that it’s easy to keep photographing after the workshop ends.
A short finishing session can feel like the workshop’s “dessert course,” but it can also be the best time to apply what you learned. If you’ve been practicing composition steps all day—subject placement, perspective, and getting the light to cooperate—Pantheon shots become easier to control.
Because you’re ending near the Pantheon, it’s a good moment to pause and decide what you want to keep exploring after the workshop. You’ll already have a sense of what angles you prefer.
Gear and Camera Rental: Bring Your Own or Use the Nikon Kit Option
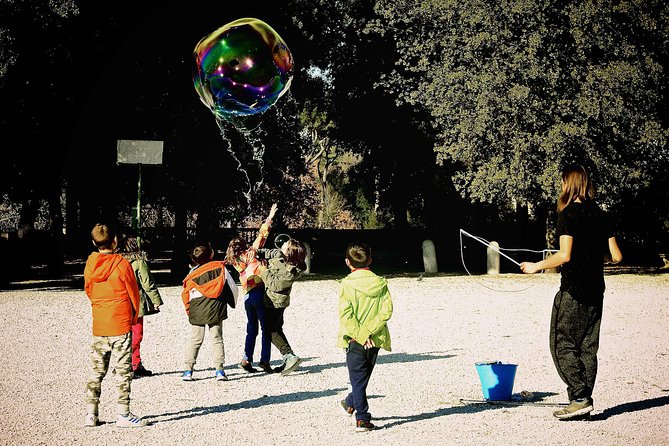
You’re welcome to bring your own camera. If you don’t have one, you can rent Giulio’s Nikon gear plus tripods for an additional 50 euros per kit, paid in cash.
This matters for value. If you show up with a camera, the tour cost goes mostly into instruction and your free entry stops. If you need to rent gear, that added fee should factor into your total budget—and you’ll probably want to arrive ready so you can start shooting immediately.
Also check that you’re comfortable using your camera on the go. The tour is short enough that fumbling with settings can eat your learning time.
How Long It Really Takes (and Why the Timing Choices Matter)
The tour runs for about 4 hours. You’ll spend about 2 hours at Villa Borghese, then 15 minutes at Terrazza del Pincio, 30 minutes at the Spanish Steps, 45 minutes around Via dei Condotti and nearby alleys, and 30 minutes at the Pantheon.
Those stops aren’t random; they’re balanced to support both training and results. You get a long start where you can test ideas without pressure, then shorter bursts in places with more visual demand. If you choose the early morning or afternoon option, your light and crowd rhythm will change too—so think about when you personally shoot best.
Dress code is casual. I’d add one practical note: wear shoes that can handle uneven park paths and city sidewalks, because the day mixes park walking and downtown routes.
Value Check: Is $213.03 a Smart Spend?
For $213.03 per person, you’re paying for coaching, not just sightseeing. That’s important, because many “photo walks” are mostly route planning with little instruction. Here, you get a professional photographer guide and small-group attention, plus you’re not paying for admissions at the listed key stops.
You also have add-ons that can shift the cost. Camera rental is available for an extra 50 euros per kit (cash). Souvenir photos are available to purchase, but they aren’t included in the base price.
To me, this price is most justified if you want your photography to improve during the trip. If you already know exactly what you want to shoot and you’re just looking for places to go, you might not need a full workshop. But if you want the day to feel like structured learning—composition, settings, and how to frame Rome—this is strong value.
Who This Tour Fits Best (and Who Should Skip It)
I think this works best for:
- You want a guided way to improve photo technique in Rome, not just a highlights walk.
- You enjoy learning from a working photographer and applying feedback in real time.
- You want iconic sights plus smaller streets, all in one day.
It may not be ideal if:
- You want minimal walking or zero concentration.
- You’re not interested in using any camera settings and just want casual photos.
Good news: the tour can accommodate non-photographing partners in some cases. If you’re traveling with someone who doesn’t want to shoot, you might still be able to keep the group together while you focus on your camera time.
A Practical Expectation: What the Coaching Feels Like
From past experiences shared with Giulio, a key strength is how quickly he helps with technique. People describe getting pointed out issues with composition and settings early—then getting help that’s specific to what conditions look like at that moment. That’s the difference between generic tips and real improvement.
There’s also mention of a wrap-up conversation where Giulio reviews favorite images from earlier in the trip and offers editing critique. If that happens for your group, take it seriously—editing is where a good photo becomes a finished one.
Should You Book This Rome Photo Workshop?
I’d book it if you want photos that look intentional and personal, and you’d rather learn while you’re standing in the real locations than read tips later. The small-group size, the instruction focus, and the mix of Villa Borghese plus viewpoints and downtown streets make it a day that can actually change how you shoot.
I’d hesitate if your goal is purely sightseeing with a camera off most of the time, or if you don’t like walking. Rome photography also depends on conditions, and this experience requires good weather, so be flexible on timing.
If you can choose your tour time, pick the light that fits you. And if you don’t have a camera, plan for the Nikon kit rental fee so there are no surprises.
FAQ
Where does the tour start and end?
It starts at Via Vittorio Veneto, 150, 00187 Roma RM, Italy and ends at Fontana del Pantheon, Piazza della Rotonda, 00186 Roma RM, Italy.
How long is the photo tour?
The tour lasts about 4 hours.
Is the tour offered in English?
Yes, it’s offered in English. The guide may also be multilingual (English, French, Italian, and basic Spanish).
Are admission tickets included for the stops?
Admission tickets are listed as free for the stops included in the route.
What if I don’t bring a camera?
If you have no camera, you can rent a Nikon kit plus tripods for 50 euros per kit, paid in cash.
How many people are in the group?
This activity has a maximum of 4 travelers.
Can my partner or family join if they don’t want to photograph?
Arrangements can be considered for non-photographing spouses, partners, and children coming as guests.
What should I wear?
Dress code is casual.
Does the tour require good weather?
Yes, it requires good weather. If it’s canceled due to poor weather, you’ll be offered a different date or a full refund.
Can I get a refund if plans change?
You can cancel for a full refund if you cancel at least 24 hours in advance. If you cancel less than 24 hours before the start time, the amount paid is not refunded.