REVIEW · SINGAPORE
Singapore Photography: Marina Bay Sands & Gardens by the Bay
Book on GetYourGuide →Operated by Dreamwithj Photography · Bookable on GetYourGuide
A skyline photo walk that feels like a local plan. This private Singapore session is built for iconic waterfront views and standout modern architecture, with Helix Bridge, Marina Bay Sands, and Gardens by the Bay all in one smooth route. I especially like that Jolyn, who has lived in Singapore for 30+ years and has worked professionally for 8+ years, knows where to stand so you’re not just guessing.
Two things I really like: you’ll leave with a set of 50+ colour-corrected digital images per hour, and the locations are chosen for variety, from glass-and-steel hotel angles to the tall Supertrees. It’s also flexible enough that if your lighting isn’t cooperating, the focus can shift so you still get memorable shots.
One consideration: if you add the Cloud Forest, entry tickets are not included, so plan for that extra cost. The good news is you’re still guaranteed strong results even if you keep it to the main Gardens highlights.
In This Review
- Key highlights at a glance
- First stop: Helix Bridge and that just-right start time
- Marina Bay Sands: getting skyline shots without the chaos
- Gardens by the Bay: Supertrees and that full-length magic
- Cloud Forest option: extra texture, cooler vibes, extra tickets
- The best time-ending shot: water and sunset mood
- Photo delivery: what you’re really paying for
- Value and pricing: $284 for a private group up to 10
- Who this suits best (and who might rethink it)
- Simple planning tips so your photos come out better
- Should you book Singapore Photography: Marina Bay Sands & Gardens by the Bay?
- FAQ
- How long is the photo session?
- Where do we meet?
- Are entrance tickets included for Cloud Forest?
- How many photos will I receive?
- How soon will I receive the photos?
- Is this tour private and wheelchair accessible?
Key highlights at a glance
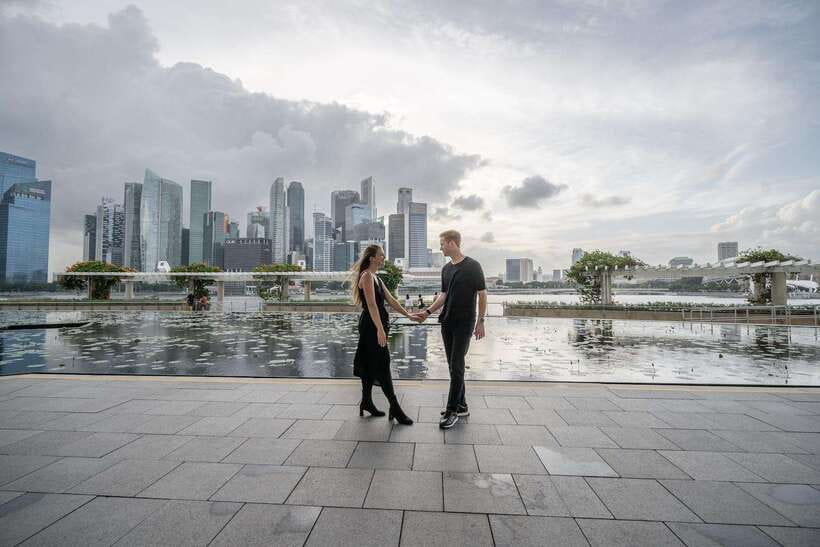
- Helix Bridge photo start with multiple viewpoints and a safety briefing before you shoot
- Marina Bay Sands walk for skyline framing right around the hotel zone
- Gardens by the Bay Supertrees with full-length shots and classic waterfront backdrops
- Dragonfly Bridge crossing to connect photo moments across the grounds
- Optional Cloud Forest if you want cooler, indoor-style textures (tickets extra)
- Delivery in 7 working days via an online gallery, with colour correction included
First stop: Helix Bridge and that just-right start time
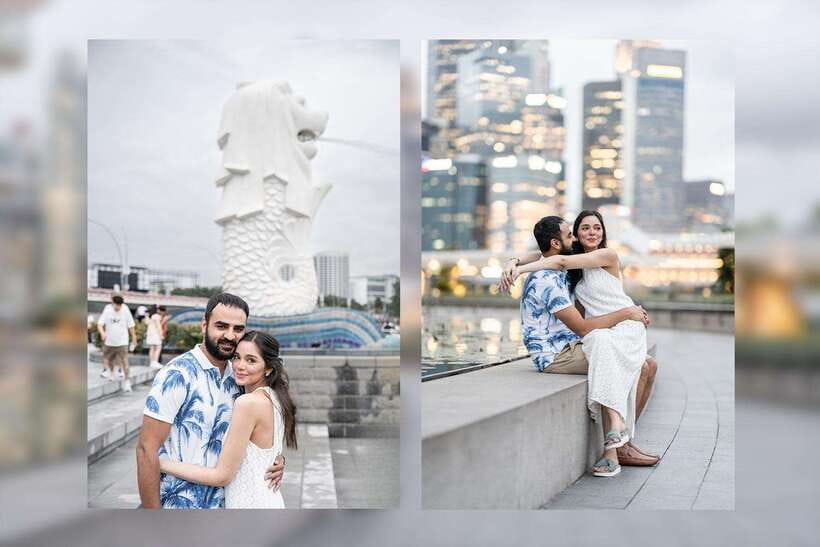
Helix Bridge is one of those places that makes instant sense for photos. The structure curves and repeats, which gives you natural “lines” for composition. You don’t need to fight the skyline; the bridge already frames it for you.
This session starts at the Helix Bridge area right in front of the Marina Bay Sands entrance. You start with a short photo stop plus sightseeing and a safety briefing. I like this because it means you’re not scrambling for where to stand. You’re also not standing in the wrong spot while a photographer explains the plan on the fly.
If you’re the kind of person who usually takes one photo, checks it, then takes ten more, you’ll appreciate Jolyn’s approach. The bridge gives you multiple viewing ports, so you can try different angles without moving far. It’s a great warm-up for the rest of the evening because you’ll quickly learn what your preferred framing looks like—wide skyline shots, tighter compositions, or full-body poses.
Practical tip: bring an umbrella. Not because Singapore is always rainy, but because the route involves outdoor walking between iconic stops. Even when the sky is bright, a small umbrella helps if you get sudden drizzle or want to manage glare.
You can also read our reviews of more tours and experiences in Singapore.
Marina Bay Sands: getting skyline shots without the chaos
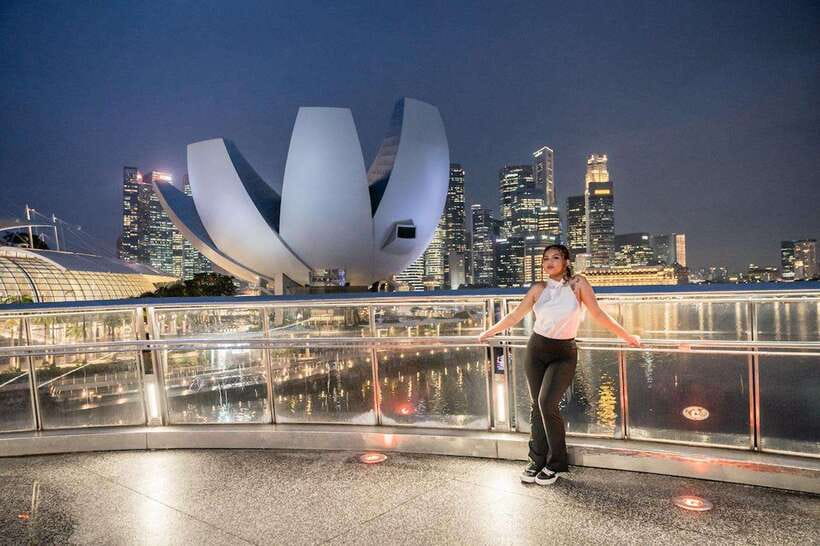
From Helix Bridge, the route moves toward Marina Bay Sands. This part of the walk is all about turning the city skyline into something you can actually use in your album—clean angles, good separation between background buildings, and viewpoints that don’t rely on you being in exactly the right place at the right minute.
Jolyn walks you through the Marina Bay Sands area and includes photo stops and sightseeing time. That matters. The skyline isn’t just one view; it’s a set of layers. You want a background that looks intentional—hotel silhouette, waterfront lines, and the city’s height differences—rather than a flat “everything is behind you” photo.
In my experience, one of the hardest parts of travel photography is posture. People try to look relaxed, then end up stiff. A good photographer fixes this through simple direction. You’re likely to get cues that match the location: how to position your body toward the hotel, where to place hands for natural lines, and how to keep your face lit even if you’re walking or turning.
If you’re traveling with family, this stop is also a strong option. It’s visually exciting, but it’s not a confusing maze. The walking platforms around the hotel keep things moving, so it’s easier to herd everyone into the same framing—especially with kids, teens, or a stroller. The session is a private group, up to 10, so you aren’t competing for space with random strangers.
Rain reality check: one family photo session on a rainy day reported terrible lighting and fewer locations visited. That’s the kind of situation where the focus stays on getting usable shots rather than forcing every stop. If the weather is rough, expect adjustments so you still get good images.
Gardens by the Bay: Supertrees and that full-length magic
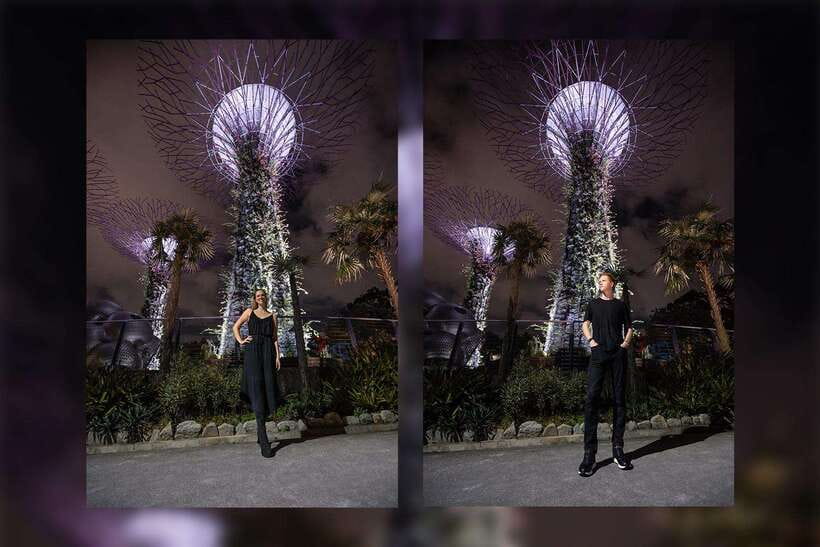
Next comes Gardens by the Bay. This is where your photos stop looking like postcards and start looking like a set. The Supertrees are tall, sculptural, and instantly recognizable—plus they give you vertical lines that flatter full-body shots.
You’ll spend time here for photos and exploration, including the Dragonfly Bridge crossing. That bridge connection is more than scenic. It gives you a transition moment: one side sets up one kind of composition, then you cross and get a different backdrop with minimal hassle.
The Supertrees area is especially good for groups. You can shoot everyone together with the trees as a visual anchor, or separate into smaller clusters for variety. Jolyn’s long experience in Singapore shows in how the plan flows between stops—she knows how to get you where the iconic backgrounds work best without burning time.
What you should look for while you’re there:
- Full-length poses with the Supertrees behind you so the scale reads clearly
- Angle changes that avoid cutting off heads or making the skyline look messy
- A sunset-style ending point back around the water areas (more on that later)
Also, this is the part of the session where you’ll likely start noticing the photographer’s eye for contrast. Singapore can be bright, especially around water. Colour correction helps, but the best photos still come from good light and good placement. Gardens by the Bay gives you both.
Cloud Forest option: extra texture, cooler vibes, extra tickets
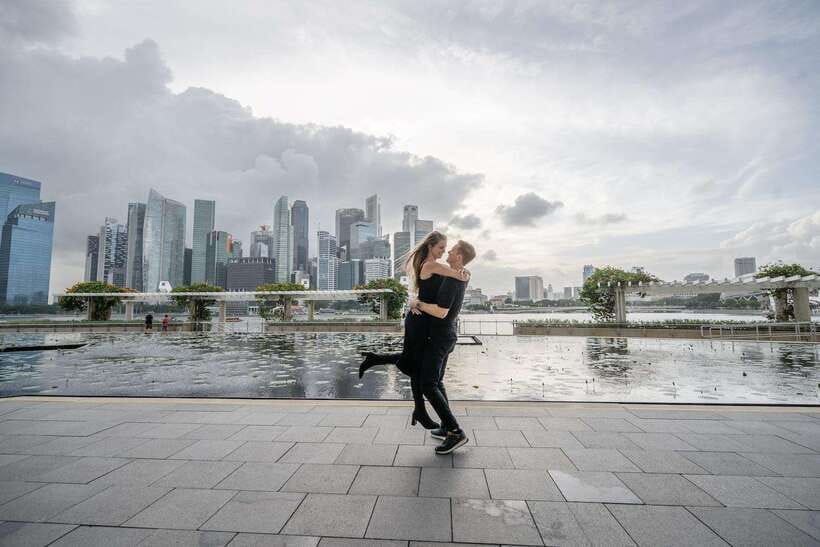
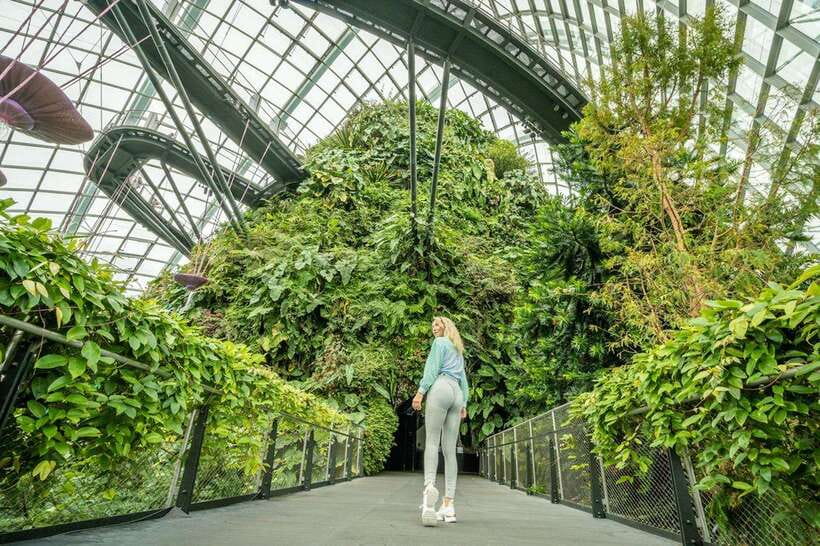
Cloud Forest is an optional add-on during the session. The key detail: entrance tickets are not included, so you’ll need to pay separately if you want to go inside.
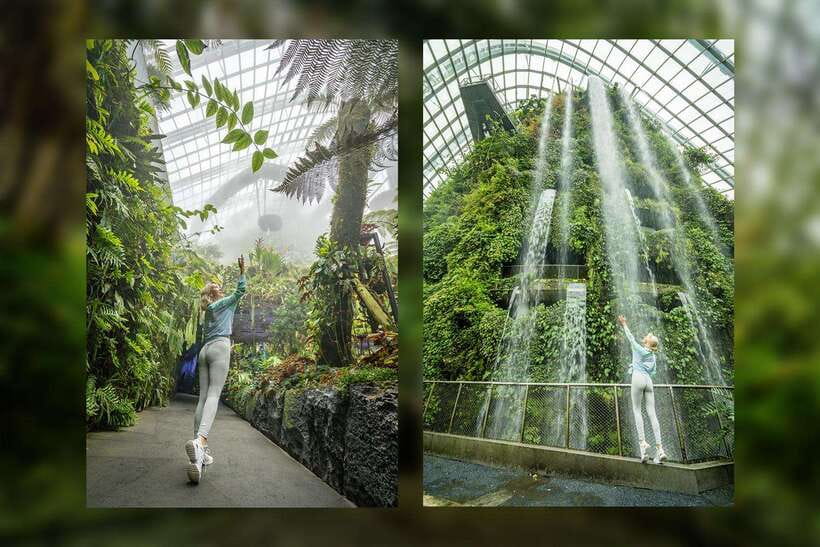
Why add it? Because it changes the visual story. Gardens by the Bay and the Supertrees are largely outdoor “big structure” photos. Cloud Forest shifts you into a different feel—cooler, more enclosed, and focused on textures and plant-like forms. If you like diversity in your set of photos (not just one kind of background repeated), Cloud Forest is a smart way to add that.
This option also helps if the weather is uncooperative. Even though your session still includes outdoor walking, Cloud Forest gives you a controlled environment for shooting. That’s useful when daylight is harsh or rainy light makes it harder to get clean skyline shots.
One note to keep expectations realistic: since the session has a set duration (60 or 90 minutes), time for Cloud Forest depends on the pace of your group and how smoothly the outdoor stops go. If you’re booking for a tightly scheduled trip, decide early whether Cloud Forest is a must for you.
The best time-ending shot: water and sunset mood
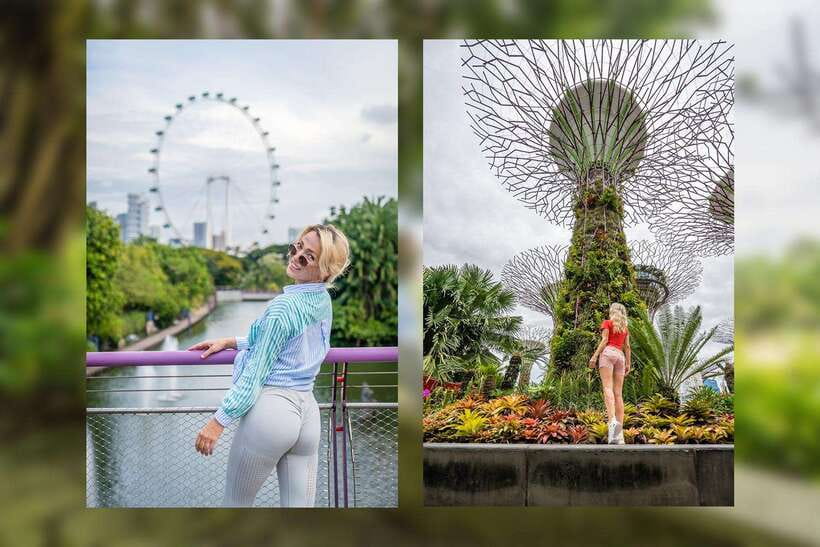
The route is designed to end near a water setting—Water Lily Pond or Dragonfly Lake—for a parting shot that leans sunset-style. That’s a great way to finish because water reflects light and helps make images feel cinematic without needing filters.
This ending matters because you’ll have spent most of your time earlier building “structure” photos: bridges, hotel edges, and tall trees. The water scene shifts your images into softer tones and easier compositions for casual group moments.
If you’re someone who usually only thinks about landmark photos, this ending helps you get at least a few that feel less posed and more like a memory. It also gives your group a moment to slow down after walking.
Practical tip: wear comfortable shoes. The route is sightseeing plus photography, not a sit-and-stare tour. You’ll likely do more walking than you expect because each stop needs time for repositioning and shots.
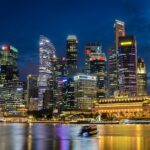
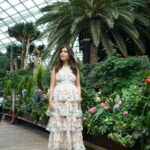
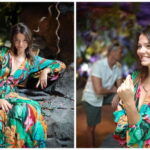
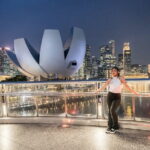
Photo delivery: what you’re really paying for
Here’s the part people care about after the trip: the photos.
You’ll receive a minimum of 50 colour-corrected digital photos per hour of shoot. So if you book 90 minutes, you should expect at least 75 colour-corrected images. The process includes a 7 working day delivery window and an online gallery for download.
Two big value points here:
- Colour correction is included, so you’re not stuck doing editing work later just to make photos look consistent.
- You get a solid volume of images for variety—different angles, small changes in pose, and a few “keepers” you’ll likely want to print.
Also, raw files are not included. That’s normal for many professional photo services, but it matters if you’re the type who edits heavily yourself.
From the experience outcomes I’ve seen, the best sessions aren’t only about taking pictures. They’re about getting you enough good options that you’re not obsessing over which one is best. A large set of colour-corrected images usually makes this easier.
Value and pricing: $284 for a private group up to 10
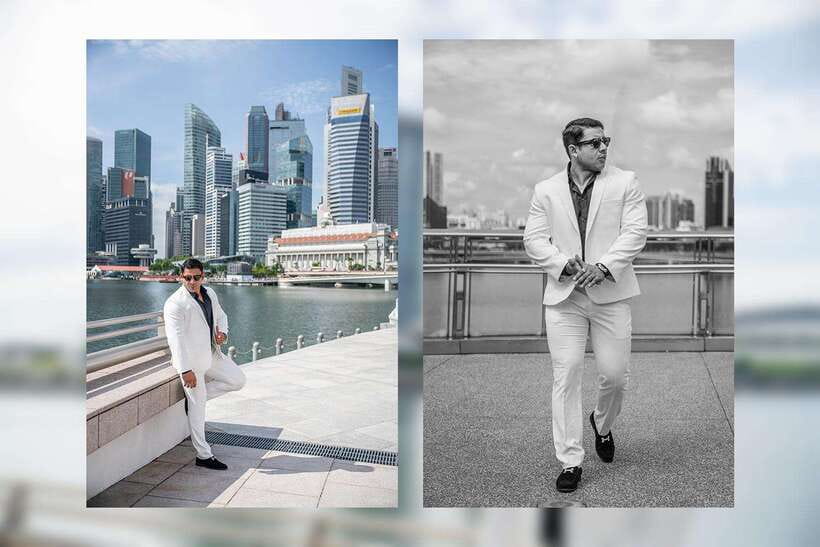
At $284 per group up to 10, this session is priced like a private experience—not like a couple-only deal. That’s a big deal in Singapore where iconic locations are crowded and individual photo services can add up fast.
Think of it as paying for two things:
- A plan that puts you at the right places for skyline and garden shots (with guidance)
- Professional post-processing, including colour correction and fast delivery
Is it cheaper than hiring a friend with a camera? Yes, if you’re only comparing ticket-style costs. But you’re also paying for direction, timing, and a finished set you can share quickly.
This works best when you have a group size where sharing the cost makes sense: families (including kids), friend groups, and small multigenerational parties. It’s also a good fit if you want photos that look like Singapore, not like a random day out.
Who this suits best (and who might rethink it)
This is a strong match if you want:
- A structured photo plan through Singapore’s most photogenic downtown areas
- A photographer who can guide posing and placement while you walk
- A quick turnaround with colour-corrected digital photos in about a week
You might consider another option if:
- You only want a few photos and you’re happy editing your own shots later
- You’re expecting all entry tickets to be included (Cloud Forest tickets are not)
- You’re traveling with very tight mobility needs beyond basic accessibility needs
The session is wheelchair accessible and conducted in English with a private group setup, which is helpful for planning. And since Jolyn is used to working with different group compositions, you’re unlikely to feel like the session is built only for couples.
Simple planning tips so your photos come out better
Small things can make your final set look dramatically more polished. Here’s how I’d prepare.
- Wear comfortable shoes. You’ll be walking and repositioning at multiple stops.
- Bring an umbrella. Even if it’s clear when you leave, Singapore weather can change fast.
- Have water with you. You’re sightseeing while shooting.
- Bring a credit card for any paid attractions like Cloud Forest.
If you have special requests—extra emphasis on family photos, specific skyline angles, or a different pacing for kids—send those ahead. The plan is designed to include iconic shots, but the photographer can still respond to what your group wants most.
Should you book Singapore Photography: Marina Bay Sands & Gardens by the Bay?
Book it if you want a high-ROI photo set from Singapore’s most recognizable spots, without spending hours figuring out where to stand. The mix of Helix Bridge, Marina Bay Sands, Supertrees, and an optional Cloud Forest gives you variety that many single-location shoots can’t match. Add the included colour correction and 7-working-day gallery delivery, and you’re set for sharing soon after your trip.
Skip or rethink if your priority is only one or two shots and you don’t want any extra attraction costs. Also, if you’re sensitive to weather disruptions, remember that rainy days can change how much you can realistically cover on foot.
FAQ
How long is the photo session?
You can book a 60-minute or 90-minute photo session.
Where do we meet?
You meet at the Helix Bridge section right in front of the Marina Bay Sands (MBS) entrance.
Are entrance tickets included for Cloud Forest?
No. Entrance tickets to paid attractions like Cloud Forest are not included.
How many photos will I receive?
You’ll get a minimum of 50 colour-corrected digital photos per hour of shoot.
How soon will I receive the photos?
Delivery time is 7 working days, with photos provided through an online gallery.
Is this tour private and wheelchair accessible?
Yes, it’s a private group (up to 10) and it’s wheelchair accessible, with English speaking support.