Quebec City is a camera magnet. This 2-hour photo tour takes you from Place d’Armes into the best-walk areas of Old Quebec, with a photographer coaching you on settings and angles as you go. I love that it’s small-group (max 6), which means you actually get feedback instead of just following along, and I like that the pace is built for making images, not racing to landmarks.
One thing to plan for: you’ll be near Breakneck Steps (L’Escalier Casse-Cou), so it’s not the right fit if stairs or mobility are a challenge.
In my kind of travel, I’d rather learn how to see than just collect photos. Here, a guide like François can work with what you have—many people come with just phones—and still give practical directions you can use right away.
In This Review
- Key highlights you’ll feel right away
- Why a guided Quebec City photo tour works better than solo wandering
- Meet at Place d’Armes: the easiest starting point in Old Quebec
- Old Quebec Stop: turning iconic stone streets into sharper photos
- Quartier Petit Champlain: making tight streets look deep
- Breakneck Steps (L’Escalier Casse-Cou): dramatic angles, real steps
- What you learn from the photographer (settings, angles, and speed)
- Price and value: why $104.58 can make sense
- What to bring (and what not to overpack)
- Best time slots and weather: how to pick your booking window
- Who should book this Quebec City photo tour
- Should you book this Quebec City photo tour?
- FAQ
- FAQ
- How long is the Quebec City Photo Tour?
- Where does the tour start and end?
- Is the tour for phones as well as cameras?
- What’s included in the price?
- What stops will we visit during the walk?
- Is there a maximum group size?
- What if weather is bad on the day?
Key highlights you’ll feel right away
- Max 6 people means more time for your questions and your shots
- Old Quebec + Petit Champlain in one walk so you don’t waste daylight switching plans
- Direct coaching on angles and settings for photos that look more intentional
- Built-in “shooting stops” rather than a long lecture
- Phone-friendly guidance if that’s your camera
- Stairs included via the Casse-Cou steps area, great for photos but not for everyone
Why a guided Quebec City photo tour works better than solo wandering
Quebec City’s streets are pretty on their own. But a guided photo walk turns that pretty into something you can repeat later—back home, when you try to recreate the look.
This experience focuses on real photo skills: how to frame a scene, how to choose an angle that makes buildings look taller or streets feel deeper, and how to adjust your camera (or phone) so the image matches what you’re seeing. It’s not about owning fancy gear. It’s about understanding what to do when the light changes, the street turns tight, or you’re standing in a spot where everyone takes the same postcard shot.
I also like the structure: three specific stops give you a clear reason to stop, look, and shoot. You’re not just walking. You’re practicing.
Meet at Place d’Armes: the easiest starting point in Old Quebec
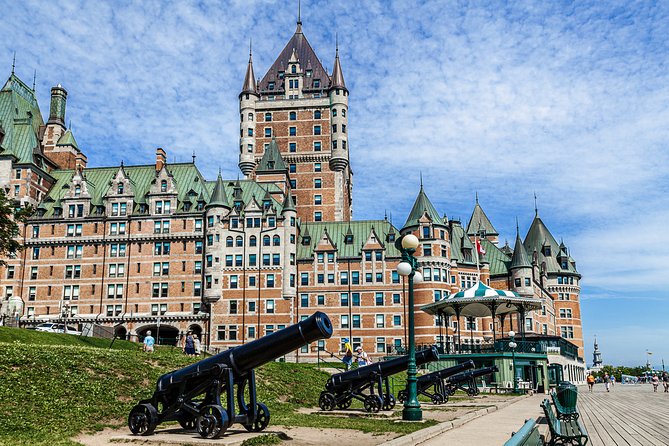
The tour starts at Place d’Armes in Quebec City, right in the Old-Quebec orbit. That matters because you can arrive on foot or via public transportation without complicated transfers. No hotel pickup or drop-off is included, so you’ll want to plan to reach the meeting point yourself.
The time windows are also convenient. Tours run daily (Monday through Sunday) in slots like 10:00 AM–12:00 PM, 12:30 PM–2:30 PM, and 3:00 PM–5:00 PM. I like morning and early afternoon for photos because you get workable light on stone and colorful facades, and you avoid late-evening crowds.
Since the walk is about 2 hours, you’re unlikely to end up exhausted. It’s enough time to make progress with your camera skills, but short enough that you still feel flexible afterward—grab lunch, wander more streets, or just go back for a second look with your new eye.
Old Quebec Stop: turning iconic stone streets into sharper photos
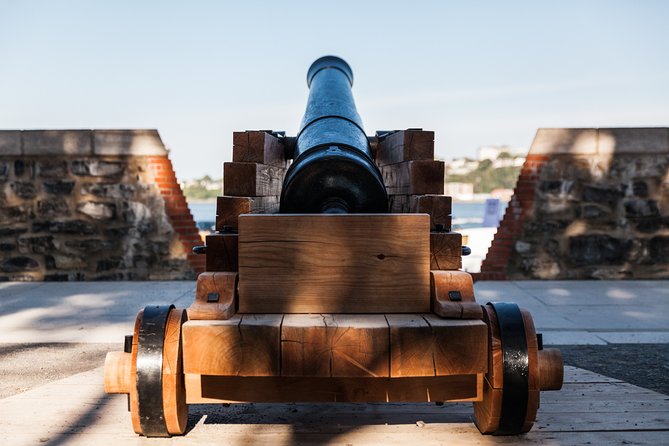
Your first major stop is Old Quebec. This is where you’ll see a lot of the classic views people come for: stone buildings, dramatic corners, and streets that funnel your attention toward the next turn.
For photo coaching, this kind of area is ideal. Why? Because you get repeated opportunities to apply the same lesson in slightly different angles. If your photographer tells you to change your viewpoint—lower your camera for stronger foreground, or step sideways to avoid distractions—you can test it quickly right there.
Expect the guide to talk through practical items like:
- Settings or phone adjustments based on what you’re seeing
- Angle choices (where you stand matters as much as what you frame)
- How to get cleaner compositions without lots of background clutter
One of the strongest parts of this tour is that you’re not just shown examples. You’re encouraged to take shots, compare them, and adjust. That makes the learning feel quick instead of theoretical.
Potential drawback: Old Quebec streets can be uneven and busy. Even if the pace stays comfortable, you may still need basic walking comfort. If you’re hoping for totally flat, stroller-friendly ground, this isn’t that.
Quartier Petit Champlain: making tight streets look deep
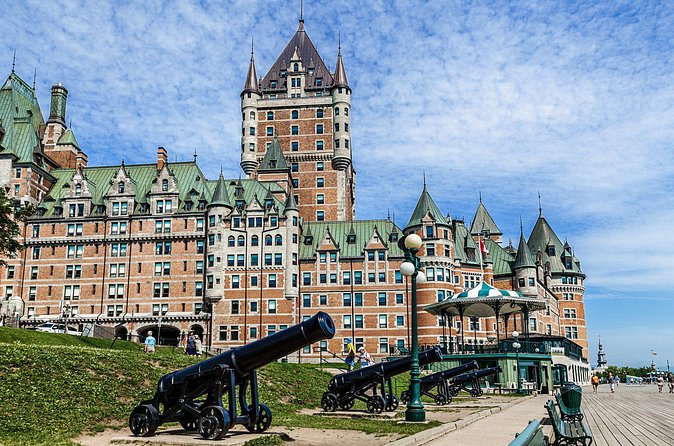
Next is Quartier Petit Champlain. This area has that charming “small streets, big character” feel—perfect for photos, but also tricky if you’re trying to fit everything into one frame.
Tight streets are where photo instruction pays off. Instead of shooting the scene from whatever spot you happen to find, you’ll learn how to choose a viewpoint that creates depth. That could mean lining up buildings so the street feels longer, or positioning yourself so signage and storefronts don’t take over the image.
Petit Champlain is also a good place to practice light. Depending on your time slot, you may deal with brighter spots and deeper shadows under awnings or between buildings. A photographer can help you decide what to prioritize: exposure that keeps details in stone, or a darker background that makes a subject pop.
If you’re using a phone, this is still useful. Phones often struggle with contrast and glare, especially in older stone areas. The guidance here is exactly the sort that helps you correct what your device wants to do automatically.
Small-group tip: with a group size capped at 6, it’s easier for the guide to notice when your photo problem is common (like crooked horizons, distracting backgrounds, or blurry shots) and fix it right there for everyone.
Breakneck Steps (L’Escalier Casse-Cou): dramatic angles, real steps
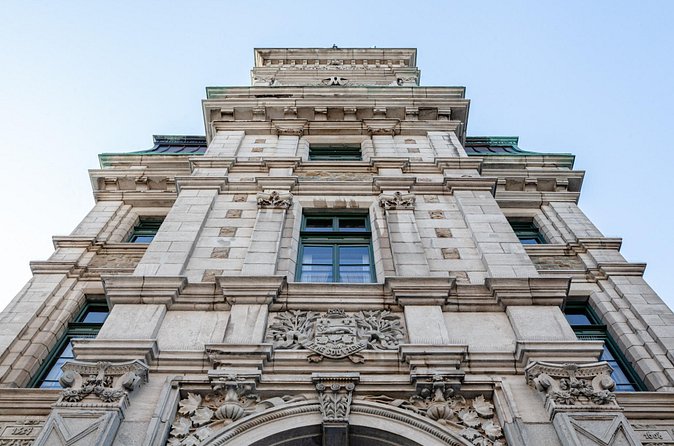
Then you hit the area around Breakneck Steps (L’Escalier Casse-Cou). This is one of Quebec City’s most photographed stair moments, and it’s built for making images that feel like you’re moving through the scene rather than simply standing in front of it.
The photo opportunity is clear: stairs naturally create leading lines, and the structure gives you built-in perspective. But your body also needs to handle it. The tour is marked as not recommended for people with mobility problems and also not recommended if you have problems on stairs.
Here’s how I’d approach it if you go: plan to shoot from a few spots rather than trying to capture everything while climbing. You can usually get stronger compositions by:
- shooting from the bottom toward the rise (big perspective)
- shooting from a side angle to include stone geometry
- taking a quick pause to stabilize your camera before firing
Even if you’re not a stair climber, you can still capture the feel of Casse-Cou through smarter positioning. But if stairs are difficult for you, skip this tour and choose a flat, street-level photo option instead.
What you learn from the photographer (settings, angles, and speed)
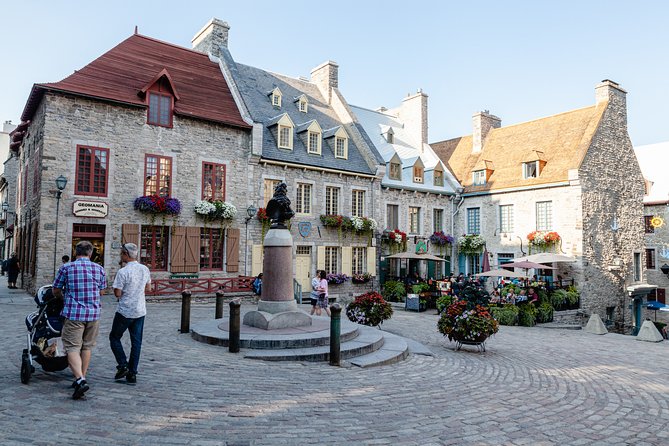
The coaching is the heart of this experience. Your photographer explains how to improve your photography skills—think settings, angles, and practical ways to get better results without overthinking.
What I appreciate is that the tour supports both beginners and more experienced shooters. If you’re a casual traveler using a phone, you’re still likely to leave with usable tactics. One highly rated session highlighted how the guide stayed patient and helpful even when the group used phones only. That’s important because most photo tours quietly assume you have a certain camera type.
And if you are more advanced, a guided shoot through three strong locations can still help. You can test your instincts, then compare your results after a quick prompt from the guide. Two hours is short—but it’s enough time to apply a method more than once.
Here’s the learning style you’ll probably notice:
- Quick explanation (how to change one variable)
- Practice moments (take shots immediately)
- Feedback while walking (adjust the next frame)
That rhythm is why people come back from photo tours with images they actually like, not just proof they were there.
Price and value: why $104.58 can make sense
At $104.58 per person, this is not a budget activity. But value isn’t only about cost—it’s about what you buy with your time.
You’re paying for:
- a professional photographer
- coaching on how to take better pictures
- a structured 2-hour route through high-photo-density areas
- small-group sizing (max 6), which helps the instruction feel personal
If you’re the kind of traveler who often takes photos that look fine but not great, this tour can be a fast upgrade. You get direct guidance that’s hard to learn from a guidebook. And you can apply it immediately on-site—no waiting for tutorials, no guessing which settings matter most in real lighting.
If you’re already comfortable with exposure and composition, you might still benefit from the “shot prompts” and the chance to work through Quebec City’s specific angles. But the cost is easiest to justify if you want help seeing and shooting smarter.
What to bring (and what not to overpack)
The tour provides the professional photographer. You bring your own camera—there’s no camera included.
That said, you don’t need to show up with top-tier gear to enjoy the guidance. Many people use phones, and the instruction is the point, not the device.
Bring:
- your phone or camera and any normal charger/battery
- comfortable walking shoes (this is a walking photo tour)
- a light layer if you’re going in cooler months, since you’ll be outside during the whole session
Also, mentally prepare for stop-and-shoot time. When you hear the prompt, be ready to move and frame quickly. If you’re slow to switch from walking to photographing, you’ll miss some of the best coaching moments.
Best time slots and weather: how to pick your booking window
This experience depends on weather. If conditions are poor, you’ll be offered a different date or a full refund. That’s fair because street photo coaching needs visibility and workable light.
Within the listed daily slots, I’d choose based on what you want:
- Late morning / early afternoon can give steady lighting on facades
- Late afternoon can add softer shadows for stair-and-stone textures
Since the tour is only about 2 hours, even a small improvement in lighting can affect your final photos a lot. If you have flexible dates, pick the slot that matches your forecast best.
Who should book this Quebec City photo tour
This is a strong fit if you want:
- a short, focused way to photograph Old Quebec and Petit Champlain
- help learning photo basics like angles and settings
- a small-group experience that keeps things practical
- a guide who can work with both phones and cameras
It’s also ideal for people who like structured walking with clear goals. You get stops, you shoot at each one, and you leave with images that feel more intentional.
Skip it if:
- stairs are a problem for you (the Casse-Cou area is part of the route)
- you need a completely flat, low-movement experience
Also note: travelers should have a moderate physical fitness level, so plan on normal walking and some stair-area proximity.
Should you book this Quebec City photo tour?
I’d book it if you want better photos without spending days figuring out your camera settings. The combination of small group, a professional photographer, and a route that hits the right scenes (Old Quebec, Petit Champlain, and Casse-Cou) makes the learning feel efficient. At two hours, it’s short enough to fit into a busy Quebec City plan, yet structured enough to change how you shoot.
I wouldn’t book it if you’re worried about stairs or mobility limits. The tour’s photo payoff includes the stair area, and that’s not something to gamble on if your comfort is uncertain.
FAQ
FAQ
How long is the Quebec City Photo Tour?
It runs for about 2 hours.
Where does the tour start and end?
The tour starts at Place d’Armes, Québec City, QC G1R 3X2 and ends back at the meeting point.
Is the tour for phones as well as cameras?
A camera is not included, but the experience includes a professional photographer who explains how to improve photography skills. One highly rated session notes the guide was accommodating for people using phones only.
What’s included in the price?
The price includes a professional photographer. A camera, and pick-up/drop-off at your hotel, are not included.
What stops will we visit during the walk?
The stops are Old Quebec, Quartier Petit Champlain, and Breakneck Steps (L’Escalier Casse-Cou).
Is there a maximum group size?
Yes. The tour has a maximum of 6 travelers.
What if weather is bad on the day?
This experience requires good weather. If it’s canceled due to poor weather, you’ll be offered a different date or a full refund.