REVIEW · QUEENSTOWN
Private Full Day Photo Tour of Queenstown | Skippers | Glenorchy | Wanaka |Otago
Book on Viator →Operated by Aiste Photo Tours & Shoots · Bookable on Viator
Queenstown is more than views. This private photo tour turns the Southern Lakes into a day of real camera practice, guided by Aiste Photo Tours & Shoots. I like that you get hands-on coaching for manual settings, not just a drive to pretty places.
One more thing I really appreciate: you also leave with 5–10 complimentary professional photographs, so your best images aren’t only up to luck or a lucky timing window.
The main drawback to consider is that this experience depends on good weather. If clouds or rain mess with light, you’ll need to accept route adjustments or a different date.
In This Review
- Key highlights to look for
- Why this Queenstown photo tour beats a random self-drive
- The day’s rhythm: 8 hours with a flexible route
- Meet the guide: local female photographer coaching you can actually use
- Your flexible route: Queenstown, Skippers Canyon, Arrowtown, Glenorchy, Wanaka, and Kinloch
- Stop 1: Queenstown
- Stop 2: Skippers Canyon
- Stop 3: Arrowtown Village
- Stop 4: Glenorchy
- Stop 5: Wanaka
- Stop 6: Kinloch
- Manual settings coaching: how you’ll actually improve during the day
- The photo bonus and the comfort details that keep the day enjoyable
- Who this tour fits best (and who should think twice)
- Price and value: what you’re paying for
- Should you book this Queenstown full-day photo tour?
- FAQ
- How long is the Queenstown private photo tour?
- Is lunch included?
- Do I get any professional photos from the tour?
- Is this tour private?
- Will the guide teach manual camera settings?
- What vehicle is used for the tour?
- Where will we go during the day?
- What happens if the weather is bad?
- FAQ
- What times does the tour run?
- Is pickup offered?
- Is there a group discount?
- Is a mobile ticket used?
- Is the tour suitable for beginners?
- Does the tour allow service animals?
- Is travel insurance included?
- Can I cancel if I need to?
Key highlights to look for
- Private, small-group feel (2–4 people) with a photographer guide who can shift the plan to your pace
- Manual camera settings tutoring tailored to absolute beginners through advanced shooters
- A full day in a 4WD with WiFi plus coffee/tea and a snack-and-lunch plan
- Skippers Canyon and other signature stops, with you able to choose which longer-distance area(s) to prioritize
- 5–10 complimentary pro photos included, so you get a real confidence boost after the tour
- Flexible itinerary and starting time, so you’re not locked into a rigid checklist
Why this Queenstown photo tour beats a random self-drive
A good photo day needs two things: great scenes and smart timing. Queenstown and the surrounding area have no shortage of dramatic backdrops, but the difference is knowing how to photograph them—especially when light changes fast over lakes and mountain valleys.
This tour is built around that idea. You’re not just transported. You’re coached while you shoot, then guided between stops so you can reset and try again. That matters because many visitors spend their day chasing views and end up with a camera full of near-misses. Here, you’re working through techniques like manual camera settings in a real-world setting—on the road, on viewpoints, and in places where compositions actually vary.
You can also read our reviews of more tours and experiences in Queenstown.
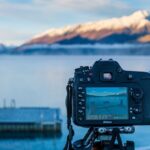
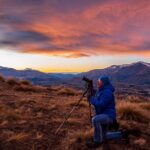
The day’s rhythm: 8 hours with a flexible route
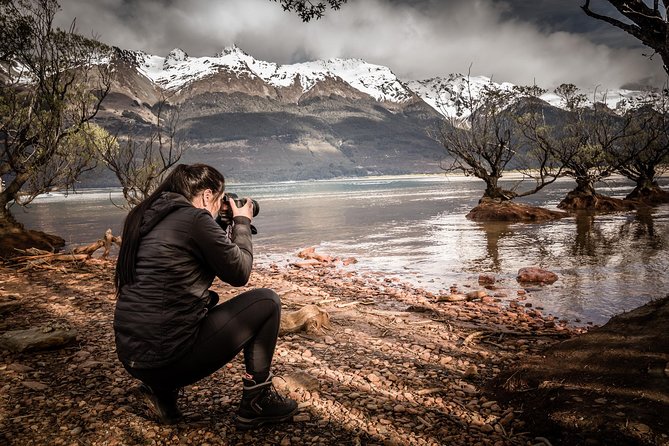
The tour runs for about 8 hours and is designed as a smooth, full-day loop from Queenstown into the wider Southern Lakes region. You can also choose your starting time, which is a bigger deal than it sounds. In this part of New Zealand, sunrise and late afternoon light can turn ordinary scenery into something that looks like it belongs in a photo book.
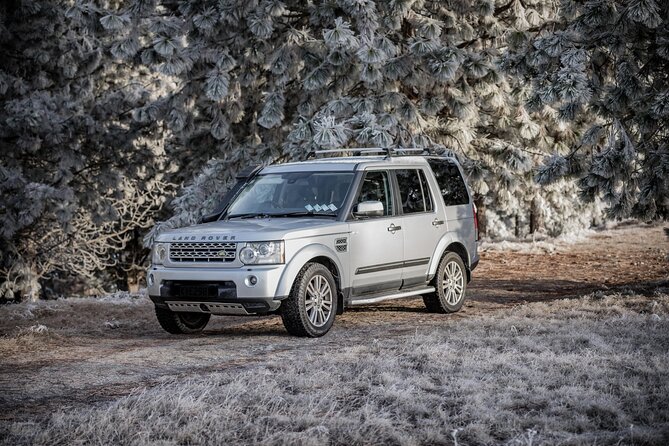
You’ll be traveling in an air-conditioned 4WD vehicle with WiFi on board, which helps keep the day practical. WiFi is useful if you want to quickly review shots, transfer files, or check the timing of sunset/sunrise patterns while you’re still in motion. The vehicle format also makes the day feel more like a focused road trip than a series of separate mini-adventures.
And because it’s private for your group, you don’t have to hold up a larger bus-group pace. The guide can slow down when you find a composition you like or speed up if the light is fading.
Meet the guide: local female photographer coaching you can actually use
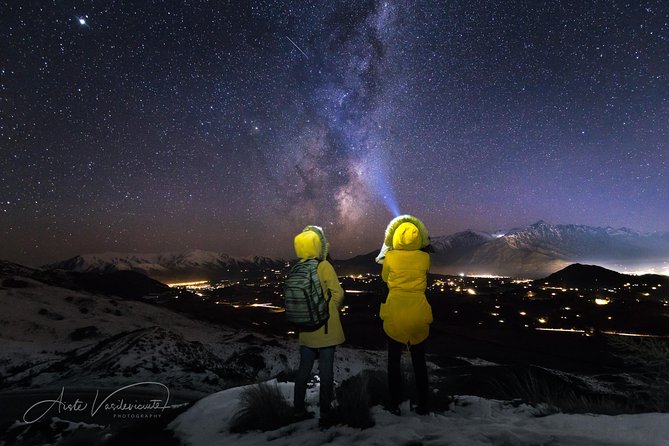
This experience is guided by a local female photographer from Aiste Photo Tours & Shoots. The reviews consistently highlight that Aiste goes the extra mile to make the experience feel personal and genuinely fun—not stiff or overly technical.
What I love about the coaching approach is how it’s structured. You get instruction while moving between locations and while you’re actively photographing. That’s the part that helps most: you don’t just learn settings in theory. You learn them while you can see the effects immediately on the scene in front of you.
You’ll also learn around manual camera settings, with tutoring tailored to your level. That means beginners aren’t forced into advanced jargon, and more experienced photographers aren’t stuck repeating basics. The goal is to help you take control of exposure and not just point-and-shoot your way through a beautiful day.
One more reassuring detail: the guide holds a first aid certificate, which is a small comfort when you’re spending a full day on the road and out at viewpoints.
Your flexible route: Queenstown, Skippers Canyon, Arrowtown, Glenorchy, Wanaka, and Kinloch
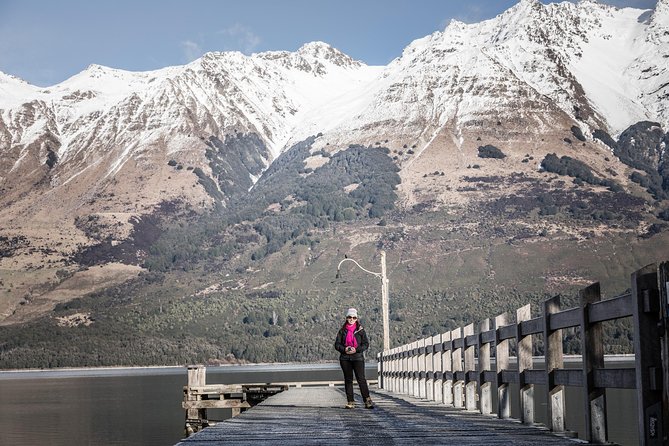
The itinerary is flexible, and the tour’s power is that you can choose what kind of day you want. Destinations like Skippers Canyon, Glenorchy, and Wanaka take about an hour of driving from Queenstown, so you’ll generally spend time selecting which longer-distance areas to prioritize.
A common pattern is starting in Queenstown, then stacking one or two “bigger scenery” locations, plus a stop or two closer to town. Your guide can shape the route based on the light and your preferences, and you can spend more or less time in each place.
Below is a clear sense of what each stop usually delivers—plus a few practical considerations.
Stop 1: Queenstown
Queenstown is your warm-up and your set-up. You start here so you can get your camera settings dialed in before the longer drives and more remote areas. I find this is smart because you’ll likely spend the rest of the day under shifting light—starting calm, then getting more dramatic.
Practical advantage: you’re not immediately rushed out of the gate. You can test exposure settings, practice compositions, and get comfortable with the guide’s feedback style.
Possible drawback: if you’re already comfortable photographing in the city, you may want to push more time toward the farther scenery. The route flexibility matters here.
Stop 2: Skippers Canyon
Skippers Canyon is where the day can feel like it ramps up. Reviews describe the drive as exhilarating, and that fits the experience’s vibe: sharp scenery, road curves, and constant opportunities for changing frames.
What makes this stop especially good for photographers is that you can shoot in layers. You’ve got foreground detail, mid-ground road or vegetation, and background mountains. That lets you practice depth-of-field choices and exposure strategies without needing a studio.
Consideration: because this is more of a “big scenery + motion” area, you’ll want to pay attention to timing. If you want clean images of moving elements, quick reactions matter, so the coaching during the drive is a real help.
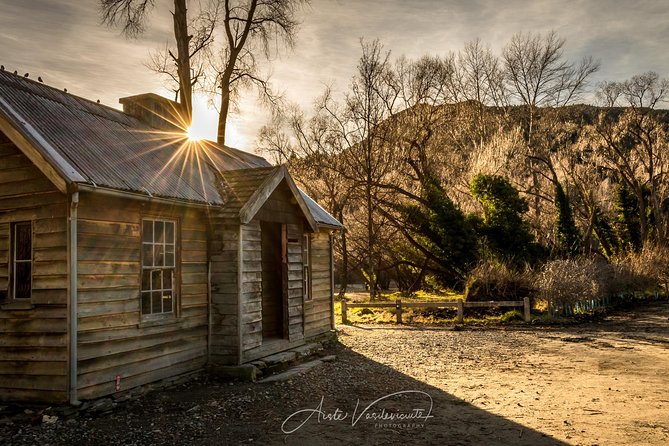
Stop 3: Arrowtown Village
Arrowtown Village brings a different flavor. It’s not the same raw mountain drama as the canyon and high-country feel, but that’s exactly why it’s valuable. A day like this shouldn’t only be extremes; you also want texture, heritage-style details, and slower compositions.
Arrowtown is a great place to practice controlled framing—think about balancing bright sky with darker architectural areas, or finding ways to keep the background from washing out your subject.
Possible drawback: if you’re chasing only dramatic viewpoints, you might not feel the “wow” factor instantly. Still, it’s a useful contrast stop and often where some of the most visually interesting images come from.
Stop 4: Glenorchy
Glenorchy is a classic move for anyone wanting moody water-and-mountain scenes. The area tends to deliver strong compositions that reward careful exposure and composition choices.
For photography, this kind of location is perfect for practicing what you learned about manual settings. Lakes and surrounding hills can trick your camera’s metering, especially when the sky is brighter. Coaching here helps you avoid blown highlights and muddy shadows.
Consideration: because Glenorchy-type scenery can look amazing in specific light, cloudy weather can flatten the contrast. If the weather shifts, the guide can help you aim for angles and exposures that still look good.
Stop 5: Wanaka
Wanaka offers another different look within the Southern Lakes region. If Glenorchy leans toward dramatic and atmospheric, Wanaka can feel more open and spacious, with plenty of opportunities for wide-angle frames and calmer composition work.
This is also a good spot to work on your sequencing. By this point, you’ve already practiced manual control in earlier stops, so you can focus on refining your style—how you want your horizon line to sit, how you want the water/sky relationship to read, and how you want your subject scale to feel.
Possible drawback: Wanaka is popular. That doesn’t ruin it, but it can mean you’ll want to shoot with intention rather than just photographing what’s in front of you.
Stop 6: Kinloch
Kinloch is the kind of stop that can turn your day from scenic into memorable. It supports compositions that feel more quiet and out-of-the-way, especially compared to strictly town-based shooting.
Photography benefit: Kinloch can give you room to slow down and work on cleaner backgrounds, more minimal framing, and calmer angles. It’s also a good place to re-try shots you didn’t get right earlier—using the settings you tuned with your guide’s feedback.
Consideration: this stop can be time-sensitive because you’re stacking multiple drives. If you want a longer stay here, the flexible route lets your guide adjust how much time you spend in other areas.
Manual settings coaching: how you’ll actually improve during the day
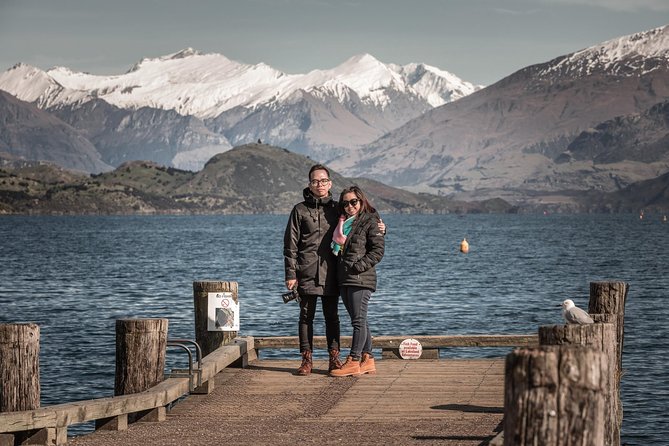
The tour promises tutoring in manual camera settings, and the key phrase is tailored. This isn’t just a lecture where you nod along. You’ll get coaching between traveling and while photographing, so you can test what you learn while the scene is still in front of you.
Here’s what that means in practical terms for you:
- If you’re a beginner, you’ll likely focus on making the camera behave instead of fighting it.
- If you’re more advanced, you can refine choices like exposure behavior and how your settings affect highlights and shadow detail.
- If you’re somewhere in the middle, you’ll get targeted help so you stop wasting shots on trial-and-error.
The guide being local also matters. They know where the lighting tends to play well across the day and how to move you to the best viewpoints without turning the entire schedule into a rushed sprint.
The photo bonus and the comfort details that keep the day enjoyable
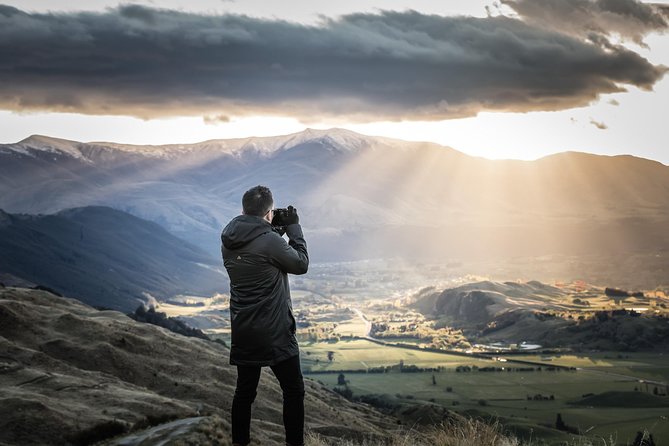
You get coffee, tea, and bottled water, plus picnic-style lunch and snacks. That sounds like a small detail, but it changes the whole experience. Full-day tours often become tiring around the middle, right when you most want energy for shooting. Keeping you fed and hydrated helps you stay focused, not just survive.
Then there’s the standout photography payoff: 5–10 complimentary professional photographs included. This is one of the smartest value features on the list. Even if you’re an excellent photographer, a professional eye can pull images that you might overlook—angles, timing, or exposure choices that are hard to nail alone while you’re managing your own camera settings.
It’s also comforting if you’re new to manual modes. Getting those stronger images as part of the package gives you a reference for what “good” looks like from your day.
Who this tour fits best (and who should think twice)
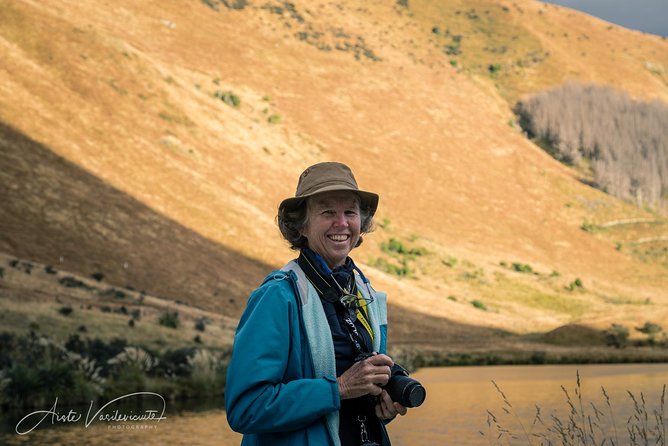
This is a strong match if you:
- Want a private, photographer-led day rather than a crowded checklist
- Are interested in learning manual camera settings in a real environment
- Like to shoot across multiple types of scenery—town details, canyon drama, lake-and-mountain viewpoints
- Prefer a small group (2–4 people) where you won’t feel rushed
It might be less ideal if you:
- Only want a laid-back sightseeing day and aren’t interested in adjusting your settings or taking direction
- Are the type who gets frustrated with changeable conditions, since this experience depends on good weather for its best results
If you’re hoping to get that classic Southern Lakes look, this tour’s mix of Queenstown plus nearby and longer-distance stops gives you a lot of chances to land the shots you came for.
Price and value: what you’re paying for
At $322.70 per person for a private full day, the pricing isn’t “cheap,” but it also isn’t trying to compete with generic tours. You’re paying for a few concrete things:
- A local photographer guide who provides instruction, not just a route
- A private 4WD ride across multiple locations
- Food and drinks (coffee/tea/water, plus lunch and snacks) that keep you in shooting mode
- The photo bonus of 5–10 complimentary professional images
What makes it feel good value-wise is the coaching plus the pro photo deliverable. If you’ve spent money before on tours where you got “views but not results,” this approach is different. Even if your personal shots are a mixed bag, you’re still leaving with a set of polished images from the day.
Also, the tour is often booked far in advance (on average around 123 days ahead), which usually points to steady demand. If you have a specific travel window, I’d treat it as something to plan early rather than something you can easily drop in last minute.
Should you book this Queenstown full-day photo tour?
If you care about photography more than you care about checking off landmarks, I think you’ll enjoy this. The big win is the combo of small-group privacy, real manual settings tutoring, and the professional photo bonus that helps your results feel satisfying even if conditions or skill level vary.
Book it if you want more than pretty pictures—you want a better process for getting them. Just be ready for the one honest caveat: weather matters here, and the day works best when light cooperates.
FAQ
How long is the Queenstown private photo tour?
It runs for about 8 hours.
Is lunch included?
Yes. You’ll get a light lunch plus picnic-style lunch and snacks, along with coffee, tea, and bottled water.
Do I get any professional photos from the tour?
Yes. You receive 5–10 complimentary professional photographs included.
Is this tour private?
Yes. It’s private and only your group participates, typically 2–4 people.
Will the guide teach manual camera settings?
Yes. You’ll get tutoring, including guidance on manual camera settings, tailored to your level.
What vehicle is used for the tour?
You travel in an air-conditioned 4WD vehicle with WiFi on board.
Where will we go during the day?
The itinerary is flexible, but common stops include Queenstown, Skippers Canyon, Arrowtown Village, Glenorchy, Wanaka, and Kinloch.
What happens if the weather is bad?
This experience requires good weather. If it’s canceled due to poor weather, you’ll be offered a different date or a full refund.
FAQ
What times does the tour run?
The operating hours vary by date. For many dates it runs from 6:00 AM to 11:30 PM, with seasonal changes later in the year.
Is pickup offered?
Yes, pickup is offered.
Is there a group discount?
Yes, group discounts are available.
Is a mobile ticket used?
Yes, you receive a mobile ticket.
Is the tour suitable for beginners?
Yes. The tutoring is tailored to everyone’s level, from absolute beginners to advanced photographers.
Does the tour allow service animals?
Yes, service animals are allowed.
Is travel insurance included?
No. Personal insurance is not included.
Can I cancel if I need to?
You can cancel up to 24 hours in advance for a full refund, but cancellations with less than 24 hours notice aren’t refunded.