REVIEW · OSAKA
Osaka: Private Vibrant Nighttime Photoshoot (Dotonbori)
Book on GetYourGuide →Operated by PhoenixJP合同会社 · Bookable on GetYourGuide
If neon streets could talk, Dotonbori would be first in line. This private nighttime photoshoot has you working through iconic Osaka scenes like the Glico Sign and Hozenji Yokocho, with a photographer guiding your poses so you look natural (not like a deer in headlights). I like that it’s not just point-and-shoot sightseeing; you get direction, timing, and multiple angles packed into a short walk.
My other favorite part is the follow-through: you’ll receive a big bundle of images plus a set of polished, high-quality edits (and the team aims to deliver fast). The one drawback to consider is that the edited turnaround can slip a bit during busy seasons, so if you need photos by a very specific deadline, plan a little buffer.
In This Review
- Key things I’d bank on before you book
- Why Dotonbori at night makes sense for photos (and not just sightseeing)
- Meeting point and how the walk usually feels
- The route you’ll likely follow: neon headline stops first
- Glico Sign: the iconic Osaka anchor
- Ebisubashi Bridge: where the energy concentrates
- Hozenji Yokocho and the lantern alley contrast
- America Mura: street culture photos with a different flavor
- The hidden smaller streets around Dotonbori
- Posing and photo technique: why the photographer guidance matters
- What you actually get: photos, edits, and turnaround timing
- Want raw files?
- Value: does $109 per group make sense?
- Who this photoshoot is best for
- The small details I think you should know
- Should you book it? My straight advice
- FAQ
- FAQ
- How long is the Osaka Dotonbori private nighttime photoshoot?
- Where does the tour start?
- How many locations will we visit during the session?
- What photos will I receive?
- When will I receive the edited photos?
- Are raw files included?
- How long can I download the photos?
- What languages are available?
- Is it okay if I cancel or want to pay later?
- Is the shoot wheelchair accessible and is it a private group?
Key things I’d bank on before you book
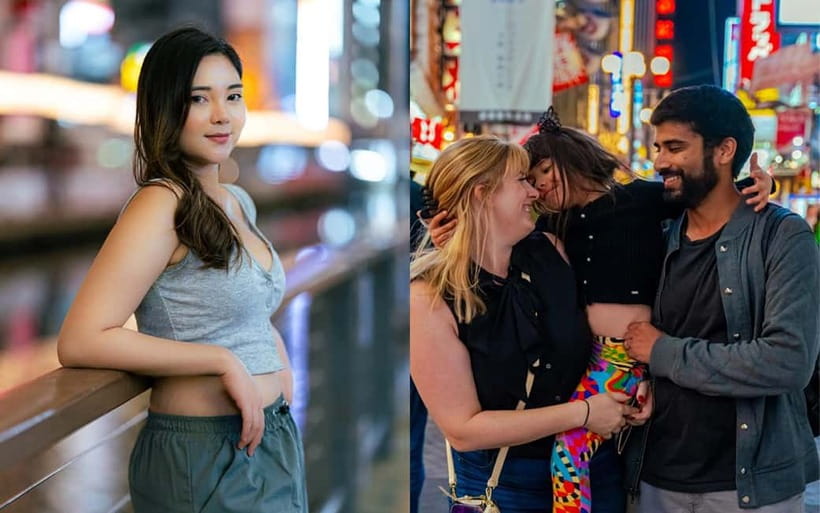
- A private shoot with real posing guidance for couples, solo travelers, and families
- Up to 5 photo locations in about 1.5 hours, with flexibility for your preferences
- Iconic neon anchors like the Glico Sign and the Ebisubashi Bridge area
- Lantern-lit contrast at Hozenji Yokocho for moodier, more traditional photos
- Street-culture shots in America Mura plus extra small “in-between” streets
- A photo package built for keeping memories, with a 2-week download window
Why Dotonbori at night makes sense for photos (and not just sightseeing)
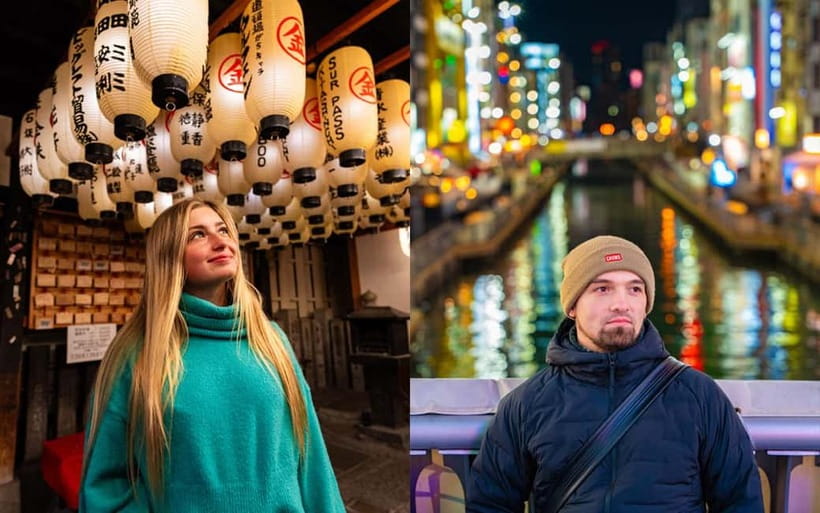
Osaka’s Dotonbori is basically a ready-made set after dark. You’ve got bright signage, busy sidewalks, and wet-looking surfaces that can reflect lights—great conditions for photos that feel like the place, not like a generic Instagram backdrop.
What I like most is the mix of styles you can hit in one session. One minute you’re in full neon mode near Ebisubashi and the Glico Sign; the next minute you’re in a quieter, lantern-lit alley at Hozenji Yokocho. That contrast is exactly what makes a set of photos feel like a story.
And since this is private, you’re not stuck competing for space or waiting your turn. Your photographer can adjust positioning in real time so you get angles that work even when the street is busy.
You can also read our reviews of more tours and experiences in Osaka.
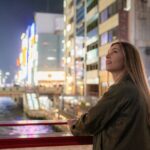
Meeting point and how the walk usually feels
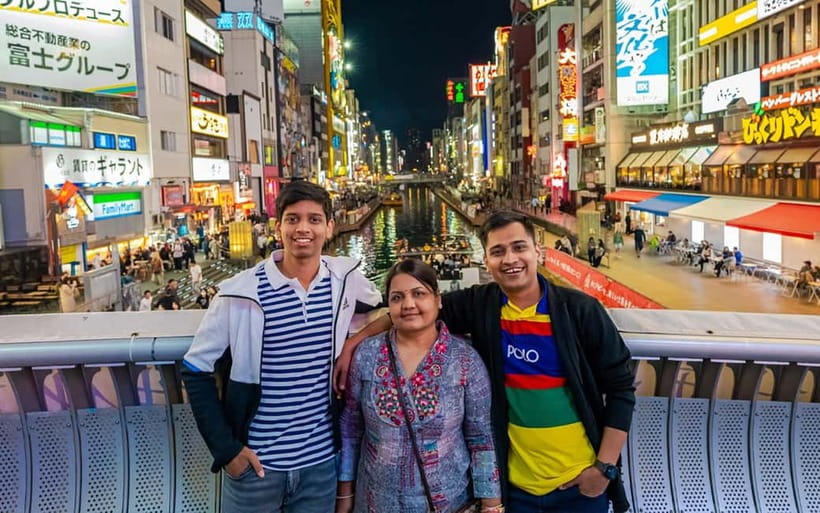
You start at 大阪市消防局中央消防署道頓堀出張所 (Osaka City Fire Department Central Fire Station, Dotonbori Branch). From there, the shoot focuses on Dotonbori’s nightlife district and typically gets into the core photo area around Ebisubashi Bridge, which acts like a central hub for the whole route.
The pace is walking-heavy, since the goal is to move between different visual “zones.” The schedule is flexible: the experience is offered for 90 minutes to 4 hours, so you can choose a faster sprint through the key scenes or take a slower pace with more time per stop. There’s also a break built in, so you’re not constantly sprinting with your camera face on.
Practical note: wear shoes you trust. You’ll be on foot a lot, and nighttime streets can mean slick patches and long stretches without a place to sit.
The route you’ll likely follow: neon headline stops first
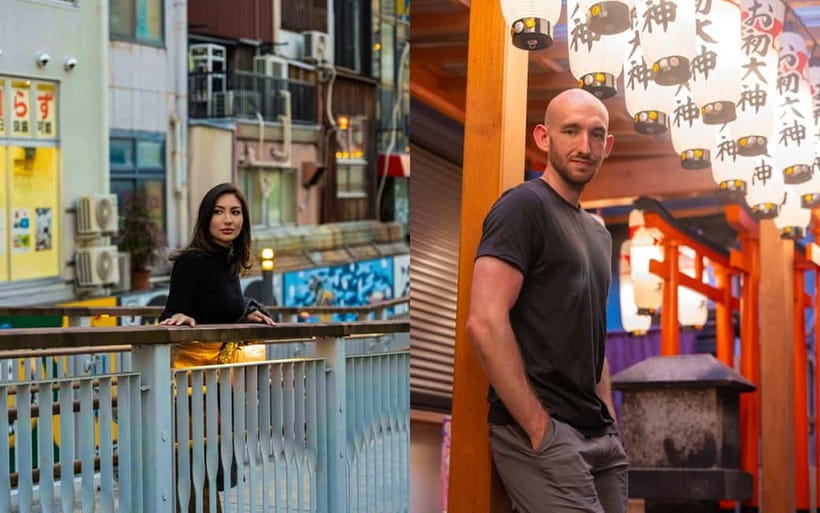
Most sessions revolve around a handful of signature locations—usually around 5 spots within about 1.5 hours—then expand with additional nearby streets if you have time and want more variety.
Here’s how the “headline” stops usually play out and why they matter:
Glico Sign: the iconic Osaka anchor
The Glico Sign is the kind of landmark people recognize instantly, and it’s easy to see why. It gives you that unmistakable Osaka look in one frame, and the surrounding streets offer multiple angles so you don’t just get the same photo everyone posts.
A good photographer also helps you avoid the common mistake: standing too far back. With neon, closer subjects can turn a flat billboard photo into something that feels like you’re inside the scene.
Ebisubashi Bridge: where the energy concentrates
Ebisubashi Bridge sits right at the heart of Dotonbori’s nightlife vibe. This is often where you’ll get your first “big look” images—wide frames that include the signage and tight frames that focus on you with the lights doing the background work.
It’s also a good place to set your photo pace. After your first few shots, your photographer can start fine-tuning your angles so you look confident, not stiff.

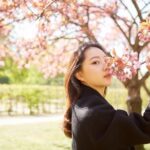
Hozenji Yokocho and the lantern alley contrast
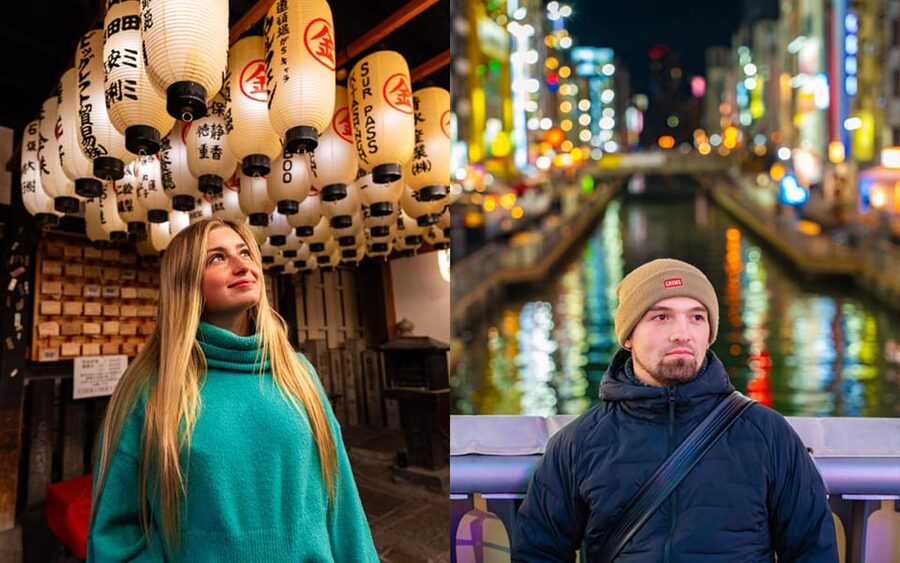
If you want your Osaka photos to feel more than neon screenshots, Hozenji Yokocho is the move. The alley’s lantern-lit atmosphere gives you a warmer, quieter mood—like the district slows down just for a few blocks.
This stop is especially valuable for couples and solo travelers who want portraits that feel intimate. Wide neon signs can be visually loud; the lantern alleys let you stand out more clearly, with softer light shaping your face and outfit.
Also, this is where a guide’s local know-how shows. The difference between a good alley photo and a great one is often where you stand and which direction you face so the lantern glow supports you, not fights you.
America Mura: street culture photos with a different flavor
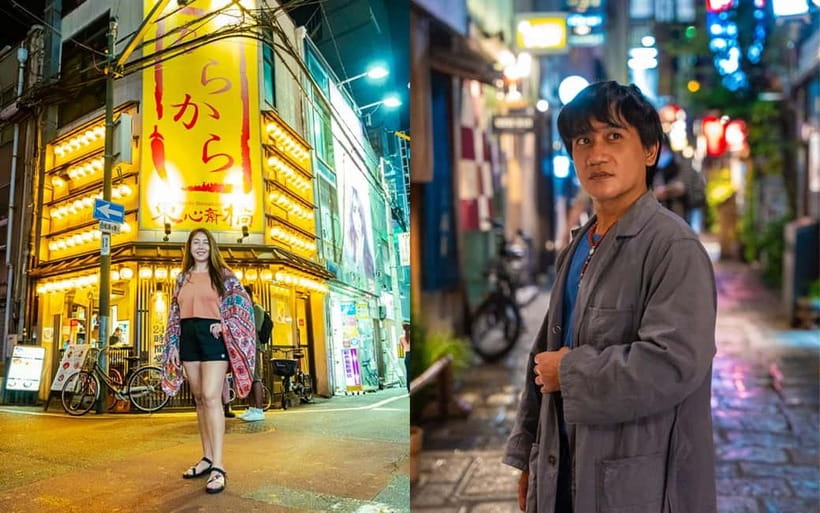
America Mura (often written as America Mura in English) brings a different texture to the session. Think more street-culture energy and more visual variety than the neon-meets-food-center zones.
I like that it helps balance the set. If all your photos are in the exact same lighting style, the album can start to feel repetitive. America Mura is a change-up, and it gives you more options for outfits too—casual street looks can photograph really well here.
And because this is private, your photographer can match your vibe. Want something cooler and edgy? Want something more relaxed? You can steer it.
The hidden smaller streets around Dotonbori
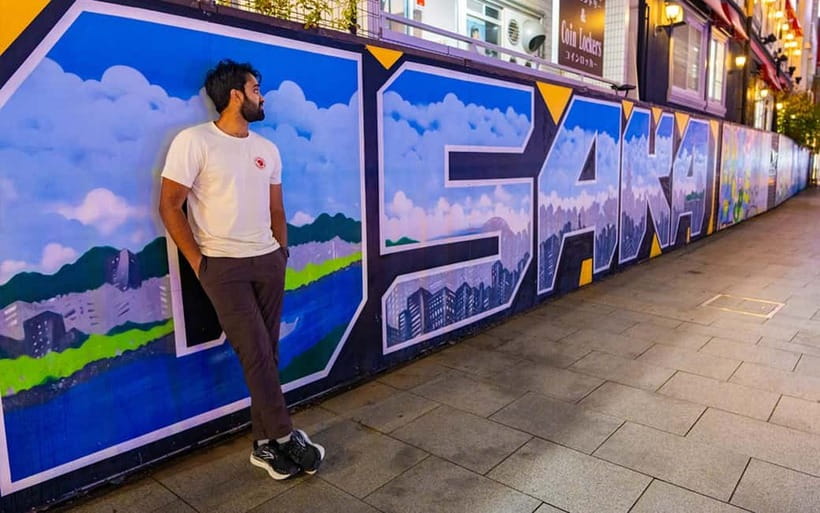
Beyond the big named spots, the experience includes other hidden spots around this area—small cozy streets and in-between lanes that help you avoid the “everyone’s at the same spot” problem.
These are the photos that tend to feel most personal later, because they look like you discovered a corner of Osaka instead of just hitting the main attractions. Even when they’re near famous areas, small changes in street layout and background elements can completely shift the mood of a photo.
From the feedback I’ve seen, the team is also good at building variety without turning the shoot into a rushed checklist. You’re not just ticking boxes; you’re collecting different looks.
Posing and photo technique: why the photographer guidance matters
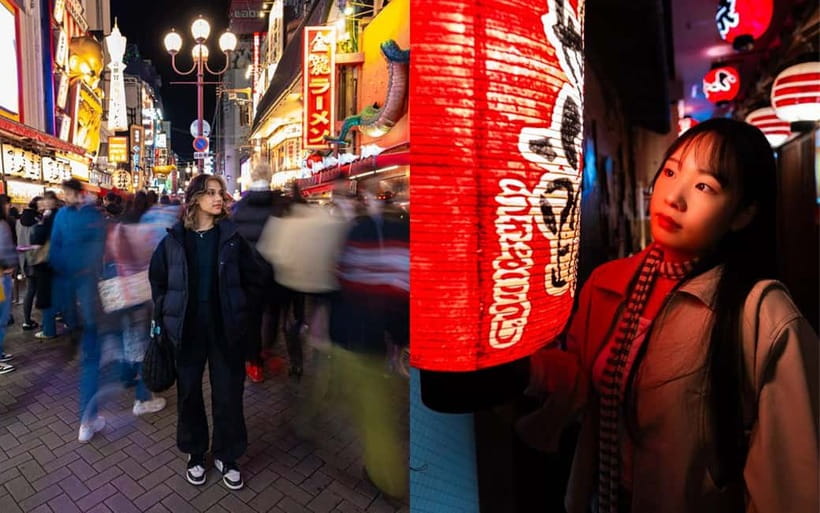
The reviews make one thing clear: the best part isn’t only the locations—it’s the photographer’s coaching. People repeatedly mention being supported from the moment they meet, and getting practical direction on posing and angles.
That matters because nighttime photos can be unforgiving. If you freeze up or hold your body in a way that doesn’t suit the camera angle, you’ll still get pictures—but not the ones you want to frame.
In particular, you’ll likely see a pattern in how sessions go:
- Your photographer places you for the first few shots so you can relax into it
- Then they guide you through different angles (close, mid, and slightly wider)
- They keep working until the photo feels like you, not a forced performance
Names mentioned in the experience include Mina and Josh, and the common thread is confidence-building. People highlight how the photographers are friendly, patient, and focused on getting the shot right instead of rushing you through.
Also: expect a lot of frames. One of the reasons the edited set tends to look strong is that you’re generating plenty of usable material in motion, lighting changes, and different stances.
What you actually get: photos, edits, and turnaround timing
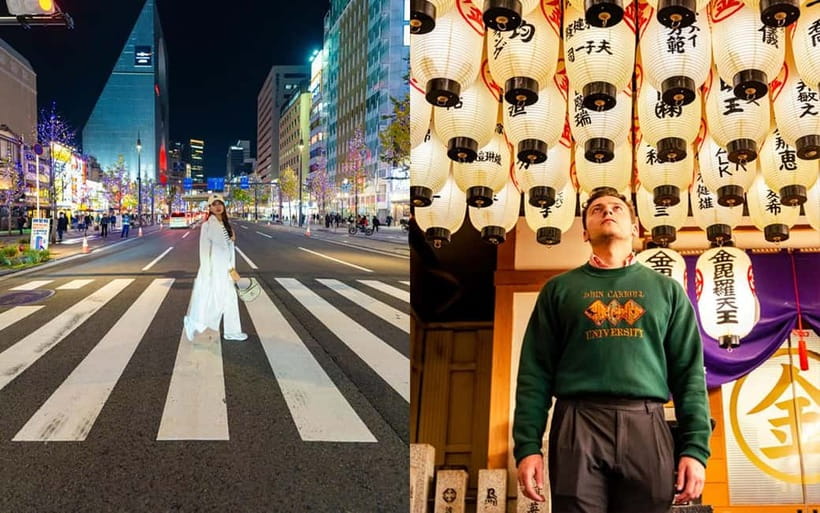
This isn’t a “one good photo and peace out” package. The experience is set up with two layers of deliverables:
- All photoshoot images (~200 per hour) in standard-quality JPG format
- 30 professionally edited, high-quality JPG photographs
That’s a smart structure. You get the full raw-ish story in standard JPGs, and then you get a smaller set of polished picks that should be your main album starters.
Timing is also pretty favorable: the team aims to deliver edited photos within 24 hours, but delays can happen during busy seasons. If you’re traveling with a tight schedule, I’d still give yourself some breathing room.
Download access lasts 2 weeks after the link is sent. After that, files are deleted, so don’t wait until the end of the trip to save everything.
Want raw files?
Raw files aren’t included. If you want them, it’s available for an extra ¥10,000 per booking.
Value: does $109 per group make sense?
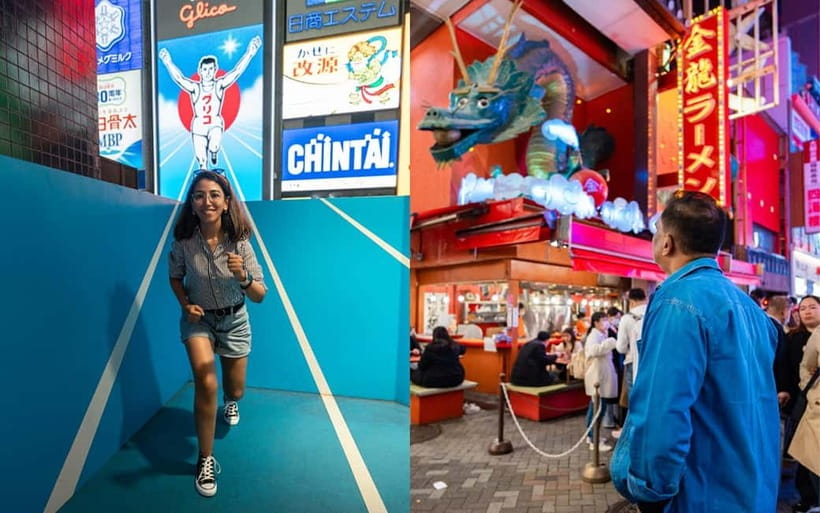
The price is listed as $109 per group up to 1. In plain terms, this is positioned as a private experience where you’re paying for (1) a dedicated guide/photographer and (2) a real photo output, not just a walk.
For solo travelers, couples, and families, it often pays off because otherwise you’d spend time hunting for good lighting and begging strangers to take photos that turn out blurry. Here, you’re paying someone to solve those problems: posing, positioning, and producing a usable set you can actually keep.
You’re also getting a lot more than just edited highlights: the standard JPG bundle comes in at around ~200 images per hour. That increases your odds of loving multiple shots, not only the one perfect poster picture.
If you’re traveling with others, the real “value win” is coordination. A photographer can shoot both together and separately, so you don’t end up with one half of the group constantly switching roles from subject to photographer.
Who this photoshoot is best for
This experience is a great fit if you:
- Want night photos in Dotonbori without playing photo-roulette with your phone
- Like the mix of neon landmarks and lantern alley mood
- Want guidance if you don’t usually feel photogenic
- Are traveling as a solo traveler, couple, family, or group
It’s especially appealing if you have limited time in Osaka. Several people describe doing it as a smart use of an evening, because you can get a lot of variety without spending hours organizing anything.
If you’re the type who only wants a couple casual snaps for social media, you might find this more than you need. But if your goal is an album you’ll actually treasure, it’s a strong investment.
The small details I think you should know
- The shoot is built around walking, so comfortable footwear matters.
- The route typically includes named stops like the Glico Sign, Ebisubashi Bridge, Hozenji Yokocho, and America Mura, plus extra smaller streets.
- If you add any paid-entry sites (rare in this area, but possible), admission fees are handled by you for paid sites, including the photographer’s admission fee.
- The guide language options include English, Arabic, Japanese, and Spanish.
Should you book it? My straight advice
Yes, I’d book it if you want night photos that look like Osaka—not like random city selfies. The combination of iconic Dotonbori landmarks, lantern-lit contrast at Hozenji Yokocho, and consistent coaching for posing makes a huge difference.
I’d hesitate only if you need perfect photo delivery by a very specific hour, since the target is 24 hours but can slip during peak times. Also, if your budget is extremely tight, remember this is private, not a mass tour—so the value depends on how much you’ll use those images afterward.
FAQ
FAQ
How long is the Osaka Dotonbori private nighttime photoshoot?
It runs for 90 minutes to 4 hours, depending on availability and how long you choose to book.
Where does the tour start?
The starting location is 大阪市消防局中央消防署道頓堀出張所. The journey focuses on Dotonbori and typically gets going around Ebisubashi Bridge.
How many locations will we visit during the session?
You’ll typically visit about 5 iconic locations within 1.5 hours, but the route can be adjusted based on what you want to see.
What photos will I receive?
You get all photoshoot images (around 200 per hour) in standard-quality JPG format, plus 30 professionally edited high-quality JPG photos.
When will I receive the edited photos?
The provider aims to deliver edited photos within 24 hours, though delays can happen during busy seasons.
Are raw files included?
No. Raw files are available for an extra ¥10,000 per booking.
How long can I download the photos?
Your downloadable photo link stays active for 2 weeks, then the files are deleted.
What languages are available?
The live guide is available in English, Arabic, Japanese, and Spanish.
Is it okay if I cancel or want to pay later?
Yes. You can cancel up to 24 hours in advance for a full refund, and you can reserve now and pay later.
Is the shoot wheelchair accessible and is it a private group?
Yes—this experience is wheelchair accessible and offered as a private group.