REVIEW · OSAKA
Osaka Night Photography Workshop
Book on GetYourGuide →Operated by Shoot Travel Japan · Bookable on GetYourGuide
Street lights turn Osaka into a classroom. This Osaka night photography workshop is interesting because you’re not just walking and shooting. You get step-by-step coaching that works for total beginners and seasoned photographers, plus you practice real skills like the exposure triangle and tripod control. My favorite parts are the hands-on manual guidance and the chance to get photo review and feedback in the middle of the outing. The main drawback to plan around is time: 3 hours can mean a lot of walking, so comfortable shoes are not optional.
I also like that the pacing is flexible and matched to your level. On top of that, Irven Lewis Photography is known for adjusting to what you want to photograph, even if you’re chasing spots that aren’t the usual default. One more thing to consider: food isn’t included, so you’ll want to eat before you start.
This workshop is built around night shooting in Osaka, with a route that typically starts at Dotonbori, then goes to Nipponbashi, on to Shinsekai, and finally toward Tennōji by train. Along the way, you’ll work on composition, framing, timing, and light-trail style images, with an optional focus on illuminated scenes if you choose.
In This Review
- Key things I’d plan around
- Why Osaka at night makes better photos fast
- Meet Irven Lewis and the coaching style that actually helps
- The core skills: exposure triangle, composition, tripod control
- The Osaka route: Dotonbori, Nipponbashi, Shinsekai, and Tennōji
- Dotonbori: start where the city shows its energy
- Nipponbashi: a change of pace for shooting discipline
- Shinsekai: nostalgic streets for story-driven frames
- Tennōji: finish with more night opportunity after the train
- Optional light trails and illuminated scenes: when to say yes
- Price and value: what $200 buys you in real terms
- What to bring so you can focus on photos, not hassles
- Who should book this Osaka night photography workshop
- Should you book it
- FAQ
- What is the duration of the Osaka night photography workshop?
- Where does the tour start and what areas does it cover?
- Is the tour only for people with traditional cameras?
- Do you get coaching for manual settings and exposure?
- Is food included?
- What should I bring?
- Is an English guide provided?
Key things I’d plan around
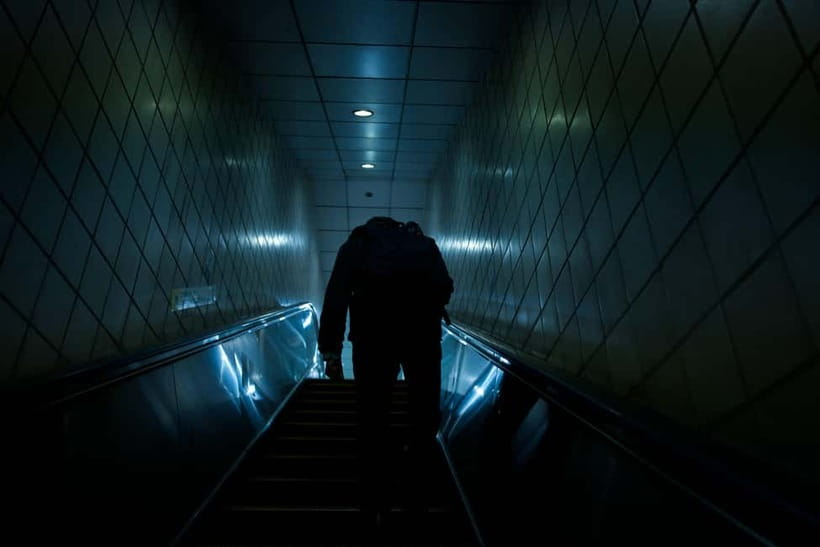
- Manual mode coaching that matches your level, from first camera basics to advanced street and night techniques
- Tripod practice that teaches control, not just “how to set it down”
- A focused Osaka route through Dotonbori, Nipponbashi, Shinsekai, and Tennōji
- Light-trail and timing skills so your night photos look intentional
- Photo review and feedback that helps you correct issues on the spot
- Support for DSLR, mirrorless, or smartphone, so you’re not stuck learning with the wrong tools
Why Osaka at night makes better photos fast
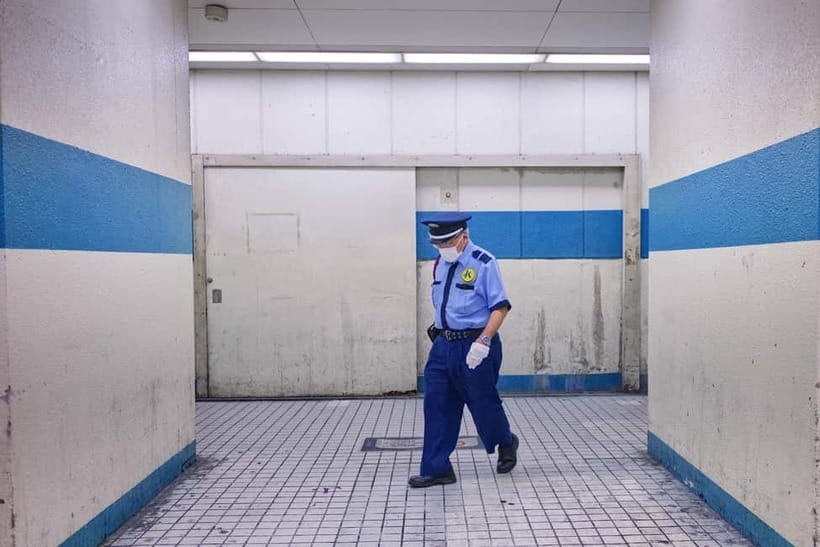
Osaka at night is a gift for photographers because the city gives you lots to work with in a short time: darker scenes, stronger contrast, and plenty of opportunities to test how your camera handles light. That’s exactly why this workshop works so well. You’re building practical instincts for low light instead of guessing settings and hoping.
The tour also has a clear teaching philosophy: learn the rules (exposure triangle, composition, framing), then break them with control. You’re not just told what to shoot. You’re taught why the settings matter, so your photos improve even when you leave the tour.
Night shooting also punishes common mistakes quickly. If your shutter speed is off or your ISO is wildly high, it shows. If your framing is cluttered, it shows. The upside is that the feedback loop is quick.
You can also read our reviews of more tours and experiences in Osaka.
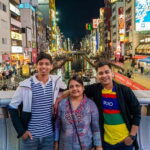
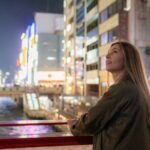
Meet Irven Lewis and the coaching style that actually helps
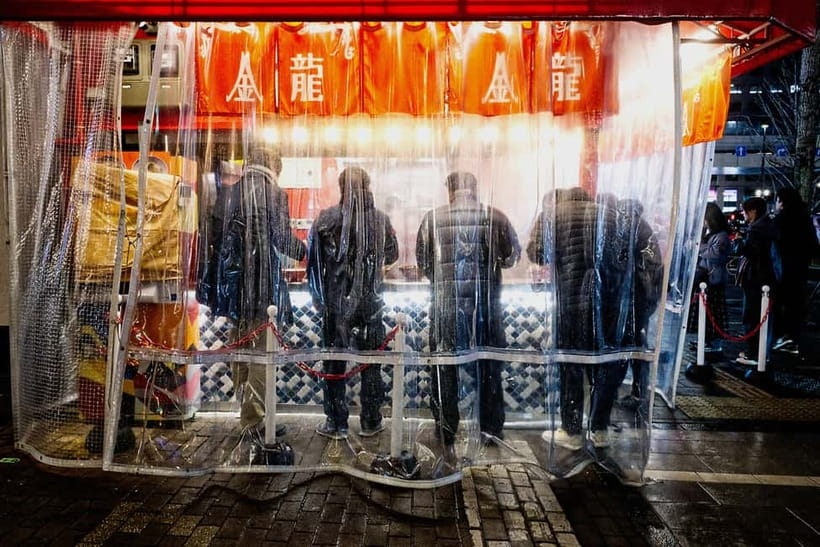
This is led in English by a live guide, Irven Lewis (Shoot Travel Japan). The teaching is hands-on and step-by-step, and that matters because night photography is where most people get stuck. You might know your camera’s menus in daylight, but night turns every dial into a guess.
What I like about this kind of workshop coaching is that it’s designed to work across skill levels. Absolute beginners get the fundamentals: camera basics, manual settings, and how to think in terms of exposure. Pros get help too, because you’re not waiting for a beginner pace. You’re being pointed toward better photo decisions and practical techniques for night and street work.
A detail that stands out from past participants’ experiences is that Irven is game for customizing the outing. If you ask for different shot styles or places you don’t usually see on a standard run, he’s willing to adjust. That flexibility is valuable because it turns the tour from a generic photo walk into something closer to a mentoring session.
One practical note: you’ll likely cover a lot of ground. People have mentioned power running low because the itinerary moves and shooting opportunities keep coming. That’s not a criticism. It’s just a reminder that you should arrive prepared.
The core skills: exposure triangle, composition, tripod control
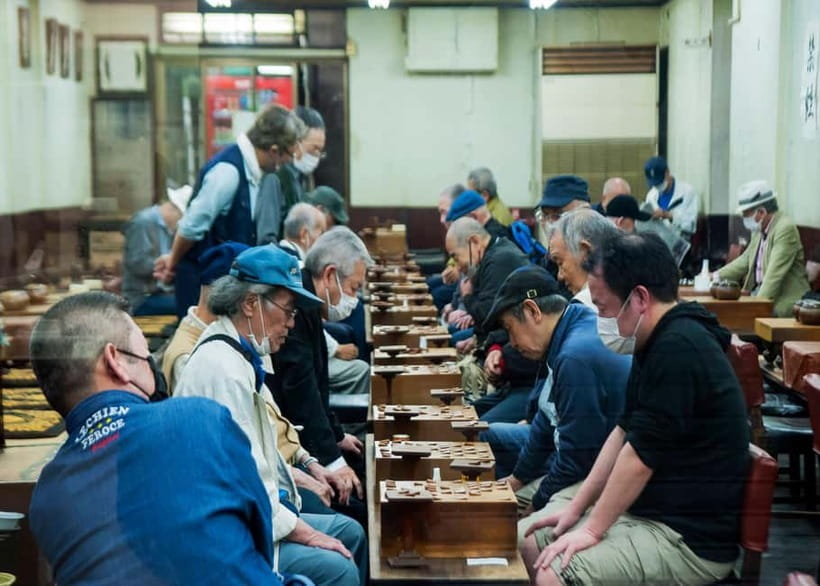
The workshop focuses on a set of photo skills that actually translate into better pictures anywhere. The center of it is the exposure triangle: aperture, ISO, and shutter speed. Instead of treating them like separate settings, you’ll learn how changing one affects the others at night, where light levels force you to make tradeoffs.
Here’s what you’ll practice and why it’s useful:
- Exposure triangle at night: You’ll work on how to set shutter speed for motion blur and longer exposures, how aperture affects sharpness and depth-of-field, and how ISO impacts noise. Night photos are often “too dark” or “too noisy.” This training helps you steer around both.
- Tripod technique: The tour specifically includes tripod work. That’s important because long exposures and light-trail style shots look best with stable support. You’ll learn how to set up and control your tripod instead of letting it become an awkward accessory.
- Composition and framing: At night, it’s tempting to shoot whatever looks bright. You’ll learn to frame intentionally, so your photos have structure even when the scene is busy.
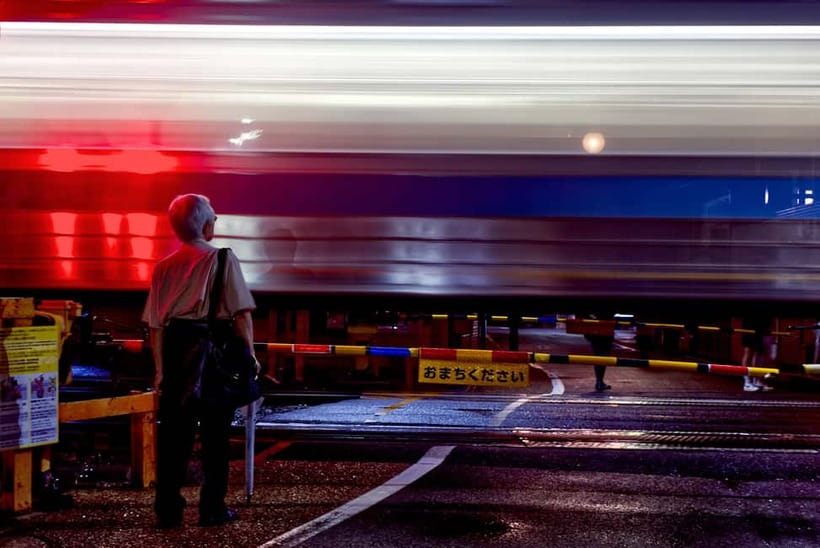
- Light trails and timing: You’ll focus on timing, including how to plan your shutter duration and when to press the button so the trails and illuminated elements look deliberate.
- Feedback and photo review: You don’t just get pointers in the moment. The tour includes critique so you can fix common problems like missed focus, cluttered framing, or exposure that’s drifting too far in one direction.
If you want a simple goal for this workshop, aim to leave knowing how to choose settings rather than memorize settings. That’s the difference between taking one good night photo and building repeatable results.
The Osaka route: Dotonbori, Nipponbashi, Shinsekai, and Tennōji
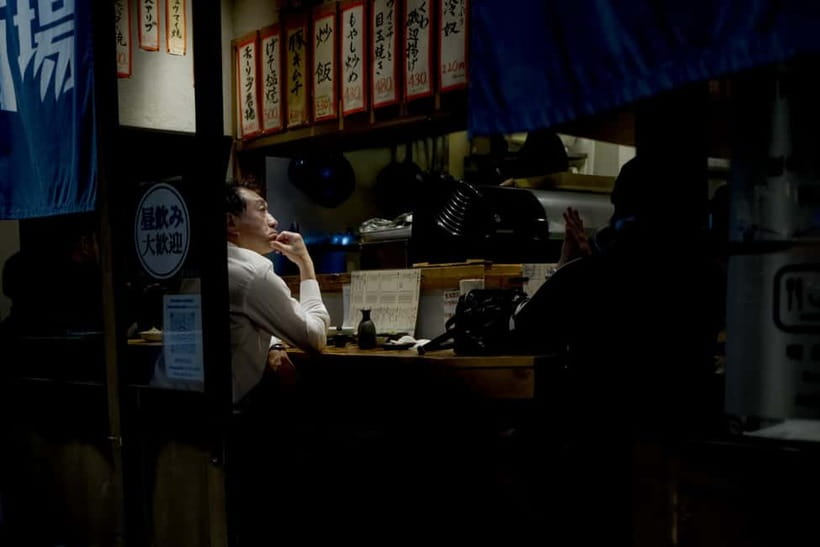
The tour’s flow is designed for variety in night subjects and shooting situations. You start near Dotonbori, then move through Nipponbashi and Shinsekai, and finish around Tennōji after a train segment. That sequencing matters because it forces you to adjust your approach as the visual environment changes.
Dotonbori: start where the city shows its energy
You’ll begin at Dotonbori, where the streets are described as lively. For photography, “lively” usually means more movement and more changing light. That’s ideal for practicing faster shutter decisions, exposure adjustments, and composition that holds up even when people are passing through the frame.
This is also a strong starting point for beginners. You get early coaching while you’re still fresh, before you’ve made too many setting mistakes. If you’re nervous about night photography, this first stop helps you get your bearings and start turning the camera into a tool instead of a mystery box.



Nipponbashi: a change of pace for shooting discipline
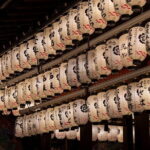
Next comes Nipponbashi. The value of this stop in a night workshop is variety. You’ll practice how to re-frame when the scene shifts, and you’ll keep applying manual control instead of slipping back into auto mode when something looks complicated.
For smartphone shooters and compact camera users, this is where the coaching can be especially helpful. Night scenes often push phones into noisy or smeary results if you don’t understand what your device is doing. The workshop approach pushes you to stay deliberate with exposure choices, even if the final image depends on your camera’s limits.
Shinsekai: nostalgic streets for story-driven frames
Shinsekai is where the tour leans into a more nostalgic vibe. That matters because night photography isn’t only about technical perfection. It’s also about storytelling. A changing neighborhood style gives you different subject types and different ways to use light trails, longer exposures, and framing.
If you’re chasing street photography, Shinsekai is a good place to practice photographing without constantly “hunting.” You’ll be guided on where to shoot and what subjects make strong photos, which helps you avoid the common beginner problem of pointing the camera at everything and capturing nothing with intent.
Tennōji: finish with more night opportunity after the train
The route ends at Tennōji after catching a train. That final transition is more than logistics. It gives you a reset zone where you can apply what you learned with fresh eyes, and it typically brings more photo options so your last frames aren’t rushed.
This is also where tripod skills can pay off if you choose to use them. Night scenes often reward steadier shots, especially when you’re working on light-trail timing and sharper exposures.
Optional light trails and illuminated scenes: when to say yes
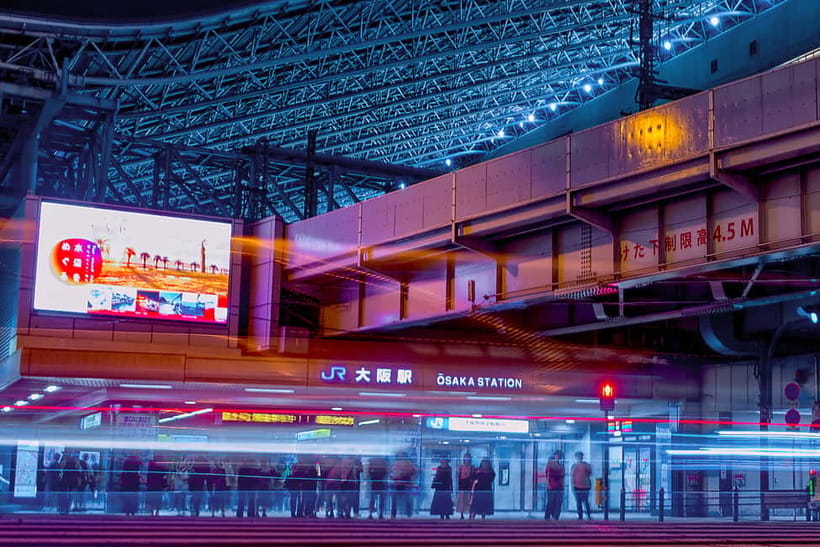
One of the standout additions is an optional evening session focused on light trails and illuminated scenes. You’ll also hear the word timing throughout the workshop, and that’s your key to making long-exposure images look planned instead of accidental.
If you’re new to this, consider choosing the optional push. It’s the fastest way to see the difference between “my camera can do long exposure” and “I know how to get the trail look I want.” You’ll practice how long to expose and when to capture motion so the scene draws your viewer’s eye.
If you’re already comfortable with long exposures, you can use that time to refine your framing and exposure control. Either way, it turns your night photos into something more distinctive than simple snapshots of city lights.
Price and value: what $200 buys you in real terms
At $200 per person for a 3-hour session, the price can feel like a lot if you think of it as a guided walk. But that’s not what you’re paying for.
You’re paying for:
- Step-by-step coaching tailored to your level, from manual settings basics to advanced techniques
- Tripod instruction tied to night shooting outcomes
- A structured exposure learning path using the exposure triangle, composition, and timing
- Photo review and feedback that helps you correct mistakes
- A route with multiple night environments instead of one static location
- Support for DSLR, mirrorless, or smartphone, which means your skills improve without forcing you to change gear
The best value in this kind of workshop usually shows up in the moments you stop guessing. When you can confidently choose shutter speed and ISO for the shot you want, you start producing better images on your own the rest of your trip.
The one cost to plan for is also simple: food isn’t included. Also, if you’re using a tripod and shooting a lot of frames, bring what you need to stay powered. People have noted that the route can cover so much ground that batteries can run low, so having spares is a smart move.
What to bring so you can focus on photos, not hassles
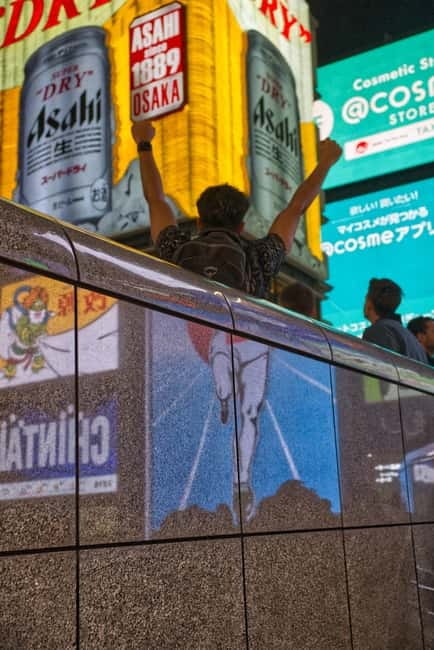
The tour asks for comfortable shoes, and that’s solid advice because you’ll be walking enough that sore feet will steal your attention. Beyond that, think in terms of night shooting survival.
Here’s what I recommend you bring:
- A way to keep your camera charged, especially if you’re shooting constantly in manual mode
- Any tripod you plan to use (the workshop includes tripod work, but your comfort with your own setup helps)
- Your normal cleaning basics (a small cloth helps if you’re shooting near street level)
- A fully charged device for those who are using smartphone cameras, since night shooting can drain power quickly
If you’re sensitive to cold night air, dress like you’ll stand still at times. Tripod sessions mean waiting between shots.
Who should book this Osaka night photography workshop
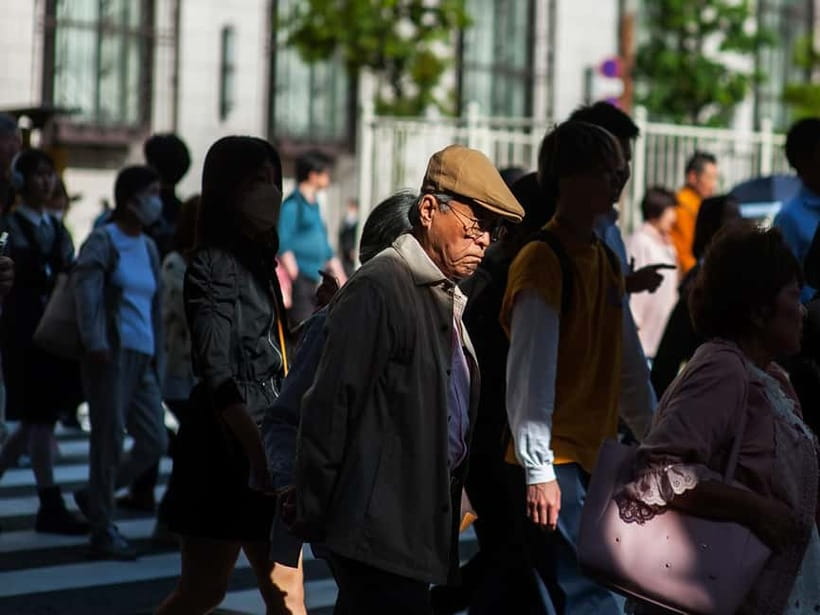
This workshop is a strong fit if you fall into either of these groups:
Absolute beginners
You’ll learn camera basics and manual settings in a guided way. You won’t be left to drown in low-light trial and error.
Working photographers who want direction
You’ll get a guide who helps you find photo spots around Osaka and teaches practical technique choices at night. Even if you’re experienced, a good guide can help you move faster toward strong compositions.
It’s also a fit if you want a private-group experience in English, with an itinerary that can adapt to your interests and pace. Flexible route options are useful when you’re not sure whether you want street candids, more technical tripod work, or light-trail style images.
If you’re the type who only wants one “perfect” location and zero walking, you might find the pace too much. The workshop is built to cover multiple areas and practice skills repeatedly.
Should you book it
Book this Osaka Night Photography Workshop if you want your night photos to improve in a measurable way by the end of 3 hours. The combination of manual mode coaching, tripod practice, and photo review is the real value, not just the locations.
Skip it if you’re looking for a relaxed, slow sightseeing session where you don’t need instruction and you don’t want to think about settings at night. The tour is designed for learning. That’s what makes it work.
FAQ
What is the duration of the Osaka night photography workshop?
The workshop lasts 3 hours.
Where does the tour start and what areas does it cover?
It starts at Dotonbori, then goes to Nipponbashi, continues to Shinsekai, and finishes near Tennōji (with a train segment included).
Is the tour only for people with traditional cameras?
No. The workshop supports DSLR, mirrorless, and smartphone users.
Do you get coaching for manual settings and exposure?
Yes. You’ll work on taking control of your camera’s manual settings, including the exposure triangle: aperture, ISO, and shutter speed, plus composition and framing.
Is food included?
No. Food is not included.
What should I bring?
Bring comfortable shoes. If you plan to shoot a lot, also be ready for night shooting that may use more battery power.
Is an English guide provided?
Yes. The live tour guide speaks English, and the group is a private group.