REVIEW · LISBON
Lisbon by Night: Golden and Blue Hour Photography Walk
Book on Viator →Operated by Photograph Lisbon · Bookable on Viator
Lisbon at night turns photos into stories. This Golden and Blue Hour photography walk is built for one goal: getting you great images after the sun drops, without the usual crowd chaos, and with a small private group feel. You’ll hit a string of viewpoint spots and street-level scenes where the light changes fast, so your photos look like Lisbon, not like a random walk with a camera.
I love that you’re guided by a professional photographer, and you’re not just handed scenery. The guide (Carlos Reveles in one recent review) mixes shooting tips with what to look for and why, so the images connect to place. I also like that the pace is focused—each stop gives you a short window to work on golden hour, blue hour, and night techniques, plus optional feedback if you want it.
One drawback: the tour is weather-dependent. It requires good weather, and if conditions are rough you may have to adapt your shots or reschedule—also, the experience does not include a tripod or other gear, which matters for long-exposure work.
In This Review
- Key highlights worth your attention
- The point of this walk: photos that look like Lisbon at night
- Getting oriented fast: starting at Rua da Senhora do Monte
- Miradouro da Senhora do Monte: sunset, then lamps and river ambience
- Miradouro da Graça: framing Lisbon’s night city look
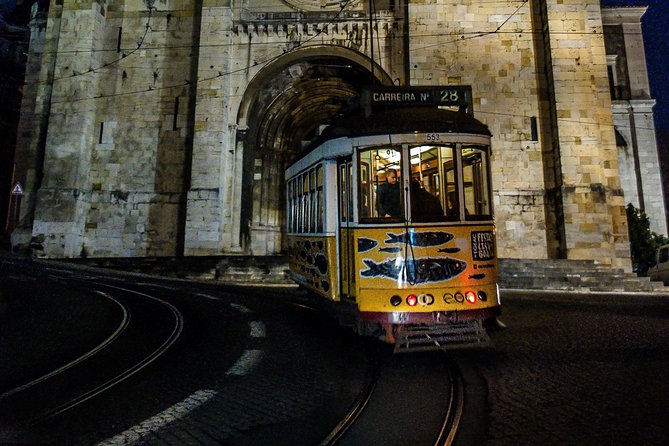
- Miradouro das Portas do Sol: cobblestones, tram tracks, and light trails
- Lisbon Cathedral: long exposures and light painting with headlights
- Igreja de Santa Maria Madalena and Rua da Conceição: trams, light trails, and the ending shot
- What the professional guide actually adds (and why it shows)
- Price and value: $171.52 for two hours of night photography coaching
- Gear and camera expectations: what’s not included
- Where to start editing: building a photo set, not one perfect picture
- Who this tour suits best (and who might not)
- Should you book Lisbon by Night: Golden and Blue Hour Photography Walk?
- FAQ
- How long is the Lisbon by Night photography walk?
- Is this tour private or shared?
- What language is the tour offered in?
- Where does the tour start and end?
- What’s included in the price?
- What’s not included?
- Do I need hotel pickup?
- Is there admission cost for the stops?
- What if the weather is bad?
Key highlights worth your attention
- Private and not overcrowded, so you can take your time and redo a shot
- A pro photographer guide (Carlos Reveles has led this kind of walk) who can coach your results
- Timed viewpoints for sunset first, then night lamps and dark-city tones
- Night techniques in real locations like long exposures and light painting effects
- Street-level photo opportunities with cobblestones, trams, and light trails
- Optional photo feedback while you’re still on-site, not weeks later
The point of this walk: photos that look like Lisbon at night
This isn’t a generic “see the sights” stroll. It’s a purpose-built night photography walk with a clear learning rhythm: start with sunset, then transition into blue hour, then work the night scenes where street lights do the heavy lifting.
That timing matters more than you’d think. At golden hour, you get warm glow and softer contrast. During blue hour, Lisbon’s shadows and street lighting start to balance in a way that feels cinematic. Then at night, you’re basically composing with headlights, lamps, tram tracks, and long-exposure light trails.
You’ll also like the practical vibe. Instead of vague advice like find good light, you get guidance on what to shoot and how to approach the scene. One review mentioned the guide stayed determined even when rain hit, and even offered a reschedule the next day. That’s reassuring if you’re traveling with limited time.
You can also read our reviews of more tours and experiences in Lisbon.

Getting oriented fast: starting at Rua da Senhora do Monte
The walk begins at Rua da Senhora do Monte 50 (1170-253 Lisboa). If you’re trying to make dinner plans afterward, I’d treat this as a tight two-hour block, not a half-day hang. There’s no hotel pickup, so you’ll need to reach the start point on your own.
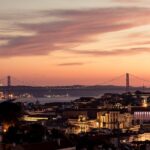
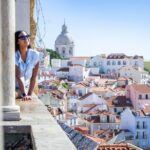
Right at the beginning, you’re pointed toward Miradouro da Senhora do Monte. This is where you start stacking your photos in layers: first you catch the sunset, then you return your attention to the river direction and the city glow as night settles in.
Why this first stop works: you’re getting the early-to-late transition in one place. That means you can practice the “same viewpoint, different light” idea, which is how you build confidence fast—especially if you want both a warm sunset shot and a cooler night shot.
What to watch for: as the sky darkens, lamps and distant lights become your guiding lines. If you like long exposures, this kind of city viewpoint is where you can start experimenting without feeling like you’re in the middle of traffic.
Miradouro da Senhora do Monte: sunset, then lamps and river ambience
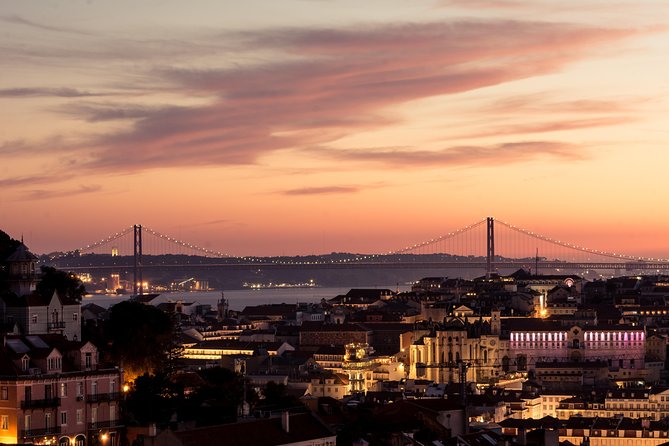
Expect about 15 minutes here. That short timing isn’t a downside; it’s actually a helpful constraint. It nudges you to decide quickly: do I want a sunset frame, a night city frame, or both?
This is also a great stop for people who want recognizable Lisbon views without spending hours repositioning. The scenery here is meant to show off that “after-dark Lisbon” look—sky shifts, lights turn on, and the river-area ambience changes noticeably.
Practical photo angle: work toward “layering.” Try one shot that includes more sky for context, and another that prioritizes city lights. If you’re playing with night settings, give yourself a couple tries, because street light strength can trick your camera’s exposure.
Small consideration: since it’s a viewpoint, you’ll want to stay aware of footing. In low light, stairs and edges can be slippery if weather turns.
Miradouro da Graça: framing Lisbon’s night city look
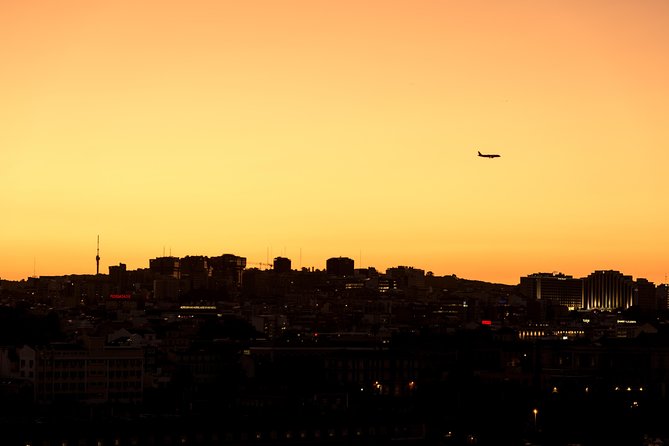
Next stop is Miradouro da Graça (Sophia de Mello Breyner Andresen). It’s another 15-minute block, and it’s aimed at giving you a clean city-at-night perspective.
This stop feels like a bridge. After Senhora do Monte, you’re still in viewpoint mode, but now the emphasis is more on the night city look—how Lisbon reads once the sky is darker and the lights start doing the storytelling.
If you want photos with that “how does Lisbon look when it’s not daytime?” feeling, this is your place to experiment with blue hour timing. Blue hour is often where street scenes start looking balanced: not too bright, not too black.
What you can learn quickly here: how to simplify your composition. A good night shot often means fewer elements, stronger leading lines, and controlled light sources. A guide can help you spot what to leave out.
Miradouro das Portas do Sol: cobblestones, tram tracks, and light trails
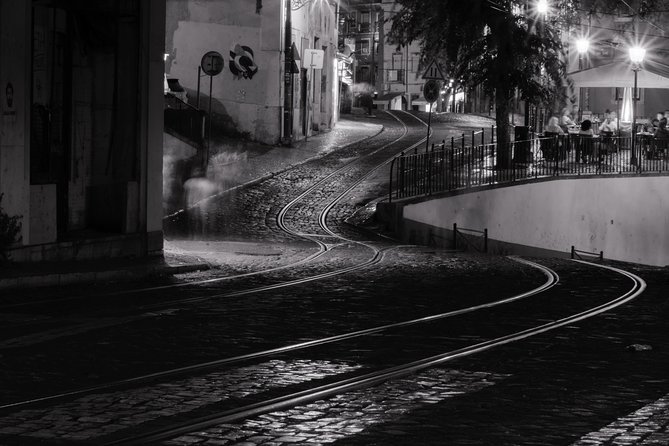
Then you move to Miradouro Das Portas Do Sol. Here the goal shifts from wide viewpoint city vibes to more street-level visual textures, with a specific focus on cobblestone streets and tram tracks.
You’ll also get an opportunity for shots involving vehicle headlights dragging through the scene. That’s the kind of night effect you can’t fake with one quick click. It usually takes experimenting with exposure time and timing—waiting for the right vehicle movement, then capturing it.
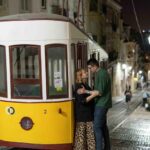
Why this stop is so valuable: it adds motion. Night photography gets interesting when the city is doing something—trams moving, cars passing, lights streaking. You’re turning Lisbon from a static postcard into a moving light sketch.
Potential snag: if you want long exposures, you’ll need steady support. Since the tour doesn’t include a tripod or gear, you should plan to use what you normally travel with, or at least stabilize your camera in a safe, legal way. (If you’re handholding at slower speeds, don’t expect miracles.)



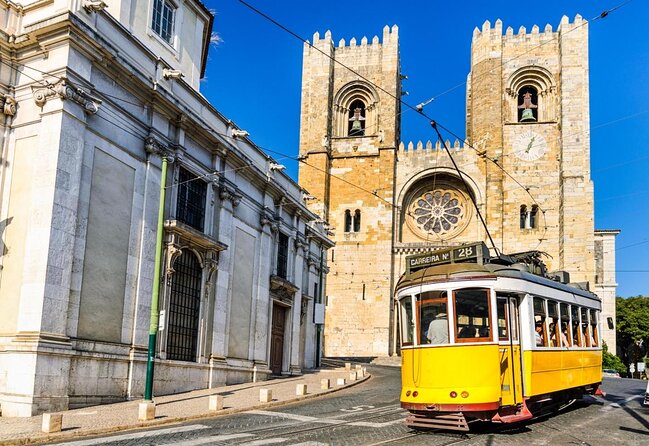
Lisbon Cathedral: long exposures and light painting with headlights
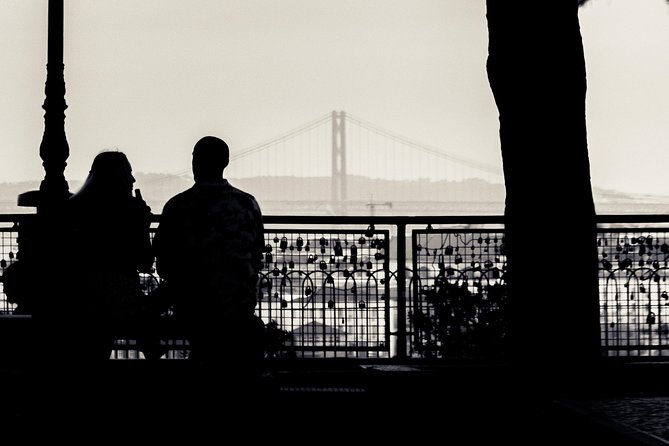
One more 15-minute stop brings you to Lisbon Cathedral. This is where the tour leans into more advanced night effects—specifically long exposures and light painting using vehicle headlights.
Light painting sounds fancy, but the core idea is simple: you guide the viewer’s eye by placing moving light across the frame. With headlights, you’re basically letting traffic draw arcs or streaks where it passes.
What you’ll get out of it: a chance to translate technique into output. Even if you’re not a technical photographer, you’ll leave with a better sense of how to approach night settings in a real urban environment.
How to get better shots in the moment: don’t chase every passing car. Pick a target area in the frame, then wait. When the headlight movement matches the composition you want, take several frames in a row. One will usually be the keeper.
Consideration: churches and cathedrals can be busy and sensitive to disruption. Keep your pace quiet and respectful, and follow the guide’s instructions about where to stand.
Igreja de Santa Maria Madalena and Rua da Conceição: trams, light trails, and the ending shot
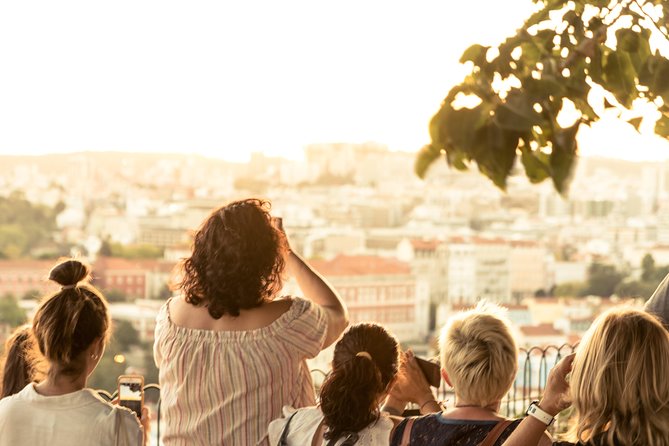
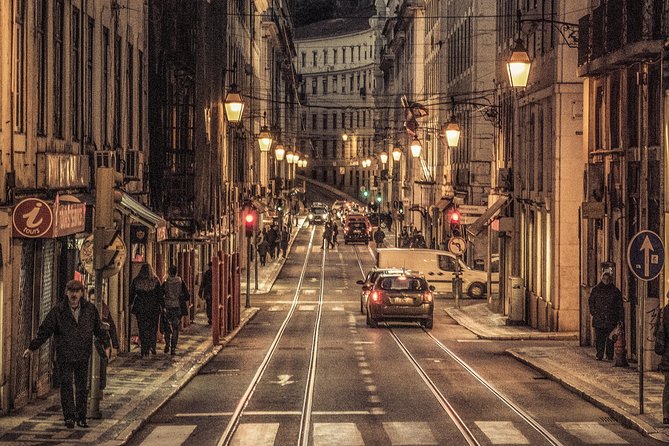
The walk ends at Church of Saint Mary Magdalene, Largo Madalena 1 (1100-226 Lisboa). Before you finish, you also get time for shots on Rua da Conceição, including tram elements and light trails.
This ending matters because it ties the whole experience together. You go from viewpoints down into street textures and movement. By the final stop, you should have a mix of:
- wide night-city scenes
- street-level details (cobbles and lines)
- motion effects (light trails)
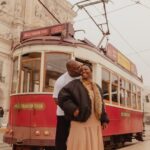
Why Rua da Conceição is a smart closer: trams and moving lights create predictable “photo rhythm.” You can anticipate movement patterns more easily than you can in random street corners.
Also, ending at a church gives you a natural boundary. You’ll know where the shoot ends, and you can start thinking about your next plan—dessert, a ride back, or editing your first batch.
What the professional guide actually adds (and why it shows)
The biggest advantage here is coaching. A viewpoint can look gorgeous in real life, but your camera turns it into a flat image if you don’t know what to change. The guide’s role is to help you make those changes quickly.
In one review, Carlos Reveles was praised not just for photo know-how, but for knowledge of the best locations to capture interesting photographs and the history behind places. That combination matters. When you understand the setting, you shoot with intention instead of randomness.
You’ll also appreciate that feedback can be optional. If you want course-correcting while you’re still standing there, that’s the moment to do it. Waiting until after the tour is where good shots get lost.
A small reality check: this is still a walking tour. You’re not doing a private studio session or a portrait shoot. If you’re hoping for a full-on equipment setup or long time at one spot, this format might feel short. But for learning and variety in two hours, it’s a sensible approach.
Price and value: $171.52 for two hours of night photography coaching
At $171.52 per person for an approximately 2-hour private experience, you’re paying for three things:
1) a professional photography guide
2) a focused route that hits multiple night-ready scenes
3) instruction tied to golden hour and blue hour timing
You’re not paying for fancy inclusions like equipment or a portrait session. So the value depends on your goals. If you want to improve fast, get specific night techniques, and come away with a set of images you can actually use (not just “nice views”), the price can make sense.
If you’re the kind of traveler who wants to wander without direction, then you might feel boxed in by the timed stop structure. But if you enjoy the idea of being guided to strong photo angles and coached on how to set up your shots, this is the right kind of investment.
Also, private matters. No overcrowding means you can take a second attempt without feeling rushed by a crowd.
Gear and camera expectations: what’s not included
This tour does not include a tripod or other photography equipment. That’s a key planning detail.
If you already travel with a tripod or you like long exposures, bring it. If you don’t, you can still get results, but expect more learning moments around stabilization and timing. For example, long-exposure city light streaks can be harder without support.
Also consider basics:
- Make sure your device battery is charged, especially after sunset.
- Bring a comfortable way to carry your gear while walking between viewpoints and streets.
- If weather is uncertain, be ready to adapt. The experience requires good weather, but rain situations have been handled with care, including continuing when conditions shifted.
Where to start editing: building a photo set, not one perfect picture
One of the best ways to get value from a timed photo walk is to plan what you want before you start importing photos. Aim for a set that matches the stages of the night:
- one golden hour frame
- one blue hour or early-night frame
- one or two “motion” shots with light trails/headlights
- one street-texture shot with tram elements or cobblestones
Because each stop has a different visual goal, your final set should look varied even if you’re working with the same camera settings. That variety is what makes the whole walk feel worth it when you’re back home sorting files at midnight.
Who this tour suits best (and who might not)
This experience fits you if:
- you want night photography tips from a real photographer, not just a scenic walk
- you like structure and short practice windows
- you travel with a camera (or any device you want to learn technique with) and want better results
- you prefer a private group feel without crowds
It may not fit you as well if:
- you want lots of free time to explore on your own
- you’re only interested in casual sightseeing and not willing to follow the shooting guidance
- you don’t plan to bring any stabilization support and want guaranteed long-exposure outcomes
Should you book Lisbon by Night: Golden and Blue Hour Photography Walk?
If your goal is better night photos with guidance that’s actually tied to where you are standing, I think you should book it. The private nature helps you move at a comfortable pace, and the route covers the exact mix of Lisbon light you want: sunset into blue hour, city lamps, cobblestones and tram tracks, then effects like long exposures and headlight light painting.
Two things will make or break your experience: weather and your gear expectations. If conditions cooperate and you come prepared without expecting the tour to supply a tripod, you’ll leave with a sharper sense of how to shoot Lisbon after dark—and probably a folder full of keepers.
If you’re flexible on timing and you like the idea of learning while you walk, this is a strong choice for a first or mid-trip night in Lisbon.
FAQ
How long is the Lisbon by Night photography walk?
It lasts about 2 hours.
Is this tour private or shared?
It’s private. Only your group participates.
What language is the tour offered in?
The tour is offered in English.
Where does the tour start and end?
It starts at Rua da Senhora do Monte 50, 1170-253 Lisboa, Portugal, and ends at Church of Saint Mary Magdalene, Largo Madalena 1, 1100-226 Lisboa, Portugal.
What’s included in the price?
You get a guided photography walking tour, a professional local photographer, tips for golden hour/blue hour/night photography, and optional photo feedback during the tour.
What’s not included?
Hotel pickup and drop-off, meals and drinks, a portrait session, and a tripod or other photography equipment are not included.
Do I need hotel pickup?
No. There’s no hotel pickup or drop-off.
Is there admission cost for the stops?
Admission tickets are listed as free for each stop.
What if the weather is bad?
The experience requires good weather. If it’s canceled due to poor weather, you’ll be offered a different date or a full refund, and there’s free cancellation up to 24 hours in advance for a full refund.