REVIEW · SIRKKA
Levi: Northern Lights Hunting – Photography Tour
Book on GetYourGuide →Operated by Beyond Arctic · Bookable on GetYourGuide
The Arctic night is short. The Aurora is fast. That tension is exactly why this Northern Lights hunting and photography tour in Levi feels so exciting. You start with a real-world briefing on weather and Aurora forecasts, then head out with a professional photographer guide to chase the lights across 2–3 locations picked for both visibility and photo potential. What I like most is the hands-on photography coaching plus the fact you’re not just standing around hoping. One caution: there’s never a guaranteed Aurora, and if clouds or snowfall block the view, the tour still pivots to night photography in good conditions.
What really makes this tour worth your time is the way the team thinks like Aurora hunters, not just tour operators. You travel by minivan with live local info feeding into the drive, and you can be sent far enough from Levi to improve your odds when the sky looks better elsewhere. I also like that the price is built around doing this properly for night photos: headlamps, a tripod (or a smart phone mount), hot drinks, and edited images after the tour. Still, the possible drawback is real: night-sky photos depend on your equipment, and they specifically recommend bringing your own DSLR.
If you’re the type who wants more than a quick Aurora photo-op—if you want a plan, guidance, and repeat chances—this is a strong option. It’s also small enough (max 8 participants) that you can get personalized help when you’re setting up in the dark. If your priority is simply seeing the lights with zero effort and you only have a phone, you might find the results less reliable.
In This Review
- Key Points Worth Signing Up For
- Why Levi Works for Aurora Hunting (and Why This Tour Focuses There)
- Small-Group Minivan Hunting: What Your Night Actually Looks Like
- The Photography Coaching That Separates This From a Basic Aurora Tour
- Stop-by-Stop: Pickup, Secret Photo Walks, and Camp Time
- Stop 1: Sirkka pickup (starting the hunt)
- Stop 2: Secret stop with a 45-minute walk
- Stop 3: Secret stop with break, walk, and camp activities
- Stop 4: Back to Sirkka
- Aurora Odds, Weather Reality, and What Happens if the Lights Don’t Cooperate
- The Value Math: $165 for a Pro Hunt, Gear, and Edited Photos
- Who This Tour Fits Best (And Who Might Want a Different Style)
- Practical Packing Tips for Night Photography in Levi
- What Makes the Guides Matter (Heidi as a Real Example)
- Should You Book This Levi Northern Lights Photography Tour?
- FAQ
- How long is the Levi Northern Lights hunting and photography tour?
- What is the group size?
- Where do I meet if I’m staying in central Levi?
- Do you pick up from accommodations outside central Levi?
- How many locations will we visit during the night?
- What do we do if the Northern Lights are not visible?
- What camera gear do they provide?
- Should I bring my own camera?
- Do I get photos after the tour?
- What’s the minimum age?
Key Points Worth Signing Up For
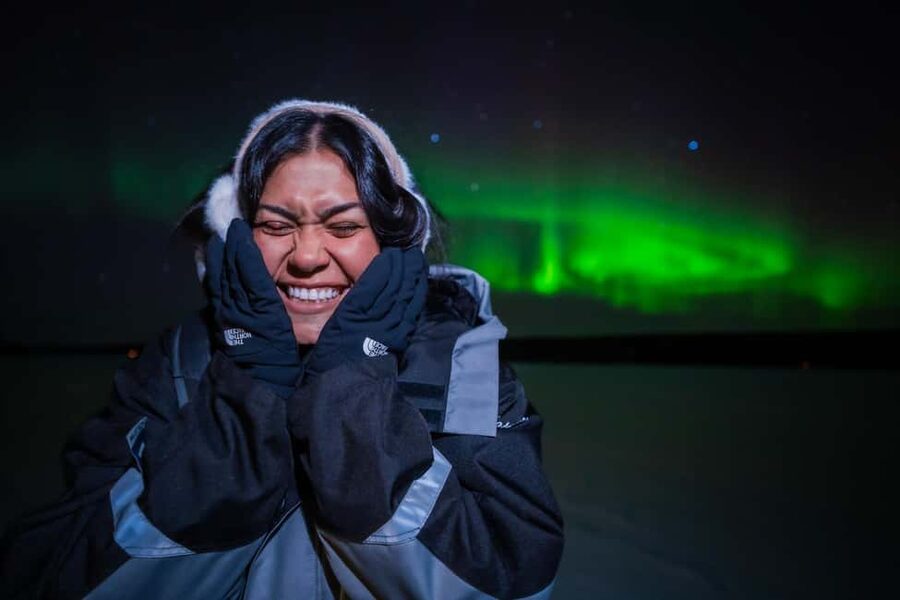
- Pro photography guide: camera setup help so your shots actually work in the dark
- 2–3 Aurora locations: you change plans based on cloud cover and opportunity
- Live driving intelligence: a minivan strategy powered by current local info
- Photo gear included: headlamps plus tripod or smart phone mount
- Edited photos after: you leave with finished images, not just memories
- Small group size: up to 8 people keeps the experience focused
Why Levi Works for Aurora Hunting (and Why This Tour Focuses There)
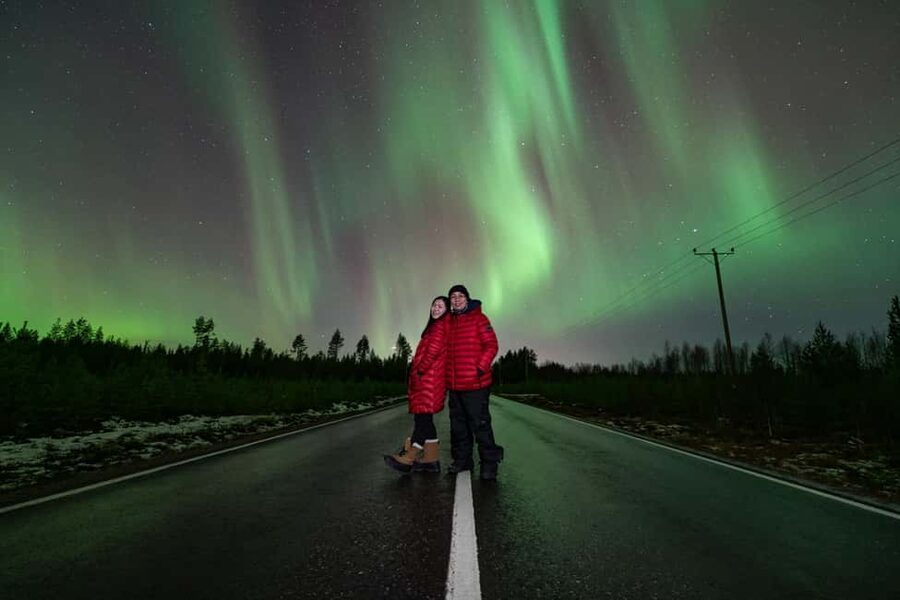
Levi is a practical base for Aurora season because it gives you easy access to a network of dark-sky spots around Northern Lapland. The big advantage here is not that Levi is magically the best place—it’s that it’s a convenient starting point for a team that can relocate quickly when conditions shift. This tour is built around that reality. You’re not locked into one viewpoint.
The tour also treats Aurora hunting as an outdoor photography job. That means they plan for what the sky might do next, not just what it did five minutes ago. Northern Lights can be subtle before they brighten, and your ability to photograph depends on exposure settings and stable framing. A “stand still and hope” approach usually fails for night photography. This one is designed to help you get usable images even when the sky is only partly cooperative.
You can also read our reviews of more tours and experiences in Sirkka.
Small-Group Minivan Hunting: What Your Night Actually Looks Like
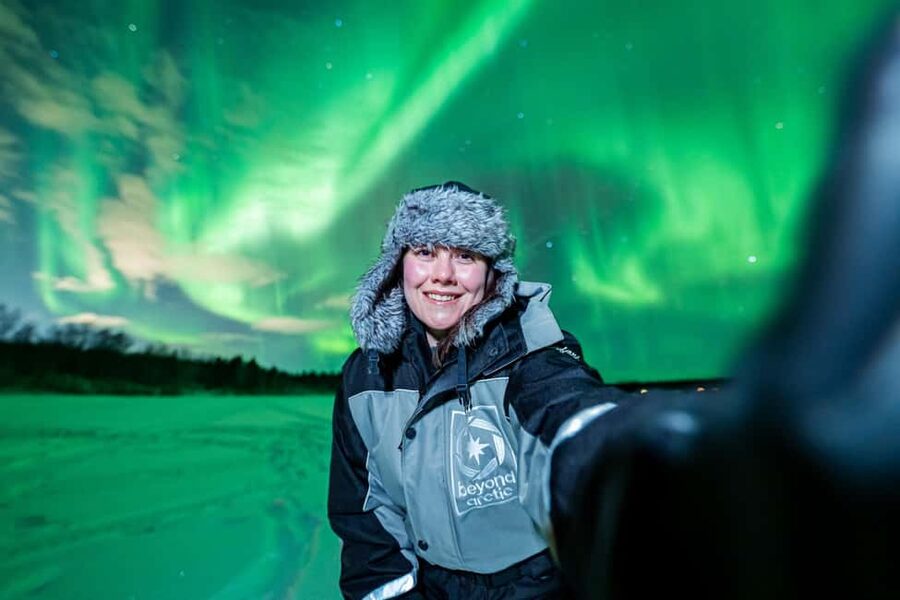
This experience runs about 4.5 hours, with hotel pickup in central Levi and nearby accommodations. Once you meet the group, you get a briefing covering current weather, Aurora forecasts, and where you’re going next. Then the real work begins.
You travel in a minivan, and you typically hit two to three different locations during the night. The stops are not random. They’re chosen for a mix of:
- likely Aurora visibility based on current local conditions
- photographic opportunity (dark surroundings, workable viewpoints)
- the ability to set up quickly and safely in winter darkness
A helpful detail is the tour’s mindset: Aurora hunting isn’t a single-stop event here. If there’s a chance the lights could be visible farther away—like a spot that might be about 100 km away when conditions improve—the team will make that call. That’s how odds increase. It’s also why this tour feels more like a coordinated hunt and less like a sightseeing drive.
The group stays small: up to 8 participants. That matters when you’re handling tripods, adjusting camera settings, and trying to photograph something unpredictable in cold temperatures. In a large group, you end up copying what someone else is doing and hoping it matches your setup. Here, you have a better chance of getting your own questions answered.
The Photography Coaching That Separates This From a Basic Aurora Tour
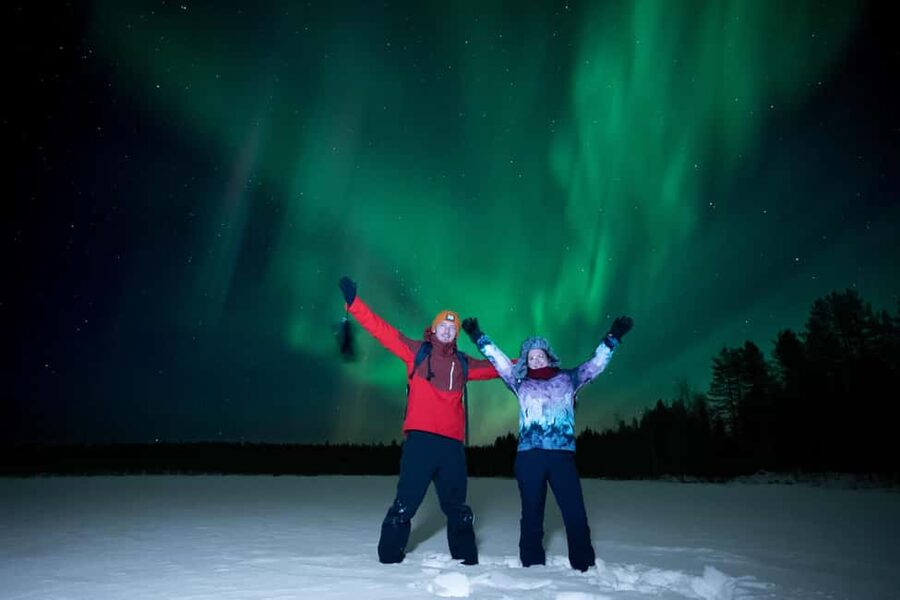
If you’ve ever tried to take a night-sky photo on auto mode, you already know the problem: the camera struggles to meter correctly in the dark, and you end up with blurry stars or a dark frame with a faint glow. This tour is built to address that directly.
You get professional instructions for photographing the Northern Lights, including help preparing your camera for night use. At the first stop, the guide assists you with setup before you start shooting. That early guidance is key. The Aurora can change fast, and you don’t want to lose the first active moments because you’re still wrestling with settings.
A strong part of the experience is that they supply tripod support: you’ll get a tripod for your camera and a mount for a smart phone. That helps a lot with stability and framing. Headlamps are included too, which seems minor until you’re setting up gear on icy ground and need to keep your hands free.
One more practical point: the tour team strongly recommends that you bring your own DSLR camera. They can’t promise that compact cameras or phones will capture good Northern Lights photos. That doesn’t mean you’re barred from trying—just that your chances improve dramatically with the gear the guide expects you to use.
And while the lights are the star, the goal isn’t just to get anything. It’s to get images you’d want to look at again. The tour’s focus on technique is what makes the experience feel like photography, not just Aurora chasing.
Stop-by-Stop: Pickup, Secret Photo Walks, and Camp Time
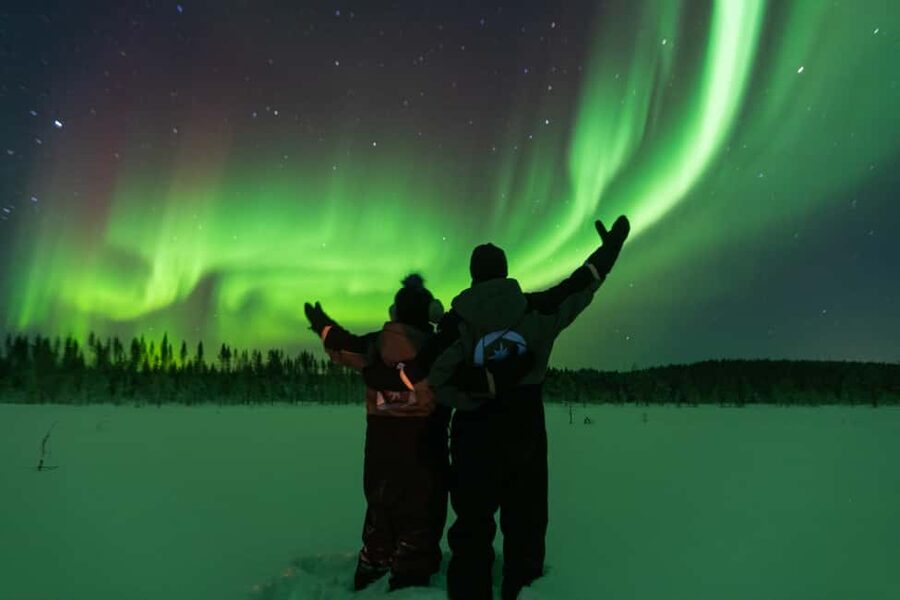
Your night starts with a pickup connected to Sirkka. Guests staying in central Levi meet at the Beyond Arctic Levi office in Myllyjoentie 2, 99130 Sirkka, with a meeting time set 15 minutes before departure. If you’re outside central Levi, pickup happens at your accommodation within 10 kilometers, and your meeting time is adjusted based on your location.
From there, the tour runs a simple rhythm that photographers will appreciate: drive, set up, shoot, walk, break, shoot again.
Stop 1: Sirkka pickup (starting the hunt)
This is where you get oriented and roll out together. You’re not thrown into the cold without context. The briefing before you start moving helps you understand what to expect and what the plan is if conditions change.
Stop 2: Secret stop with a 45-minute walk
Next comes a photo stop and walk for about 45 minutes. This portion is useful because it gives you time to find a good shooting spot, settle your tripod, and practice your settings. It also helps you avoid the common mistake of rushing to frame the sky while your exposure settings are still wrong.
This is where headlamps and warm layers matter. Even with pro guidance, you’re still working outside at night.
Stop 3: Secret stop with break, walk, and camp activities
The third stop is longer and includes break time, another photo stop and walk, plus camp activities for about 1.5 hours. Breaks are not just for comfort here—they give you time to review your shots and adjust your approach before the next chance.
One reason I appreciate this structure is that the best Aurora photos often come from calm, consistent shooting. You’re not sprinting from one viewpoint to another forever. You get time on the ground when the sky is behaving.
Also, the “camp” part isn’t just symbolic. In at least one memorable night, the evening included warm juice plus cookies and marshmallows—exactly the kind of small comfort that makes cold waiting feel easier.
Stop 4: Back to Sirkka
You finish by returning to Sirkka. The whole flow is paced for a 4.5-hour window, which keeps the experience intense but not exhausting.
Aurora Odds, Weather Reality, and What Happens if the Lights Don’t Cooperate
Northern Lights are stunning, but they are not predictable. This tour is honest about that. Even with the best plan, heavy clouds or snowfall can block visibility. The team does everything they can to improve odds—using local knowledge, Aurora forecast background research, and a live information feed to guide the minivan route—but the sky still calls the shots.
Here’s the smart part: if the lights are not visible, the night doesn’t end in disappointment. You’ll focus on night photography in Arctic nature at locations that are ideal for night shooting. That means you’re still learning and creating images, rather than standing around waiting for a miracle.
One review experience also highlights how the guide can adjust and work harder: one guide named Heidi took a group to spots beyond Levi when the first location didn’t deliver. The result after that was absolutely incredible Aurora viewing and strong photography outcomes.
If your plan is built around certainty—if you need the Aurora photo no matter what—this type of tour will always carry some uncertainty. But if you’re open to the possibility of making the best of a cloudy night, the fallback plan is genuinely useful.
The Value Math: $165 for a Pro Hunt, Gear, and Edited Photos
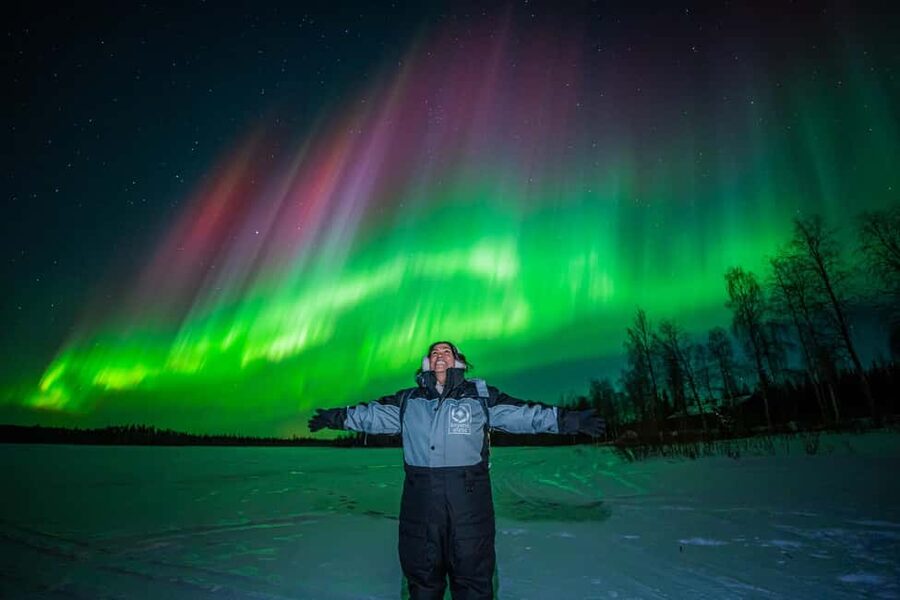
At $165 per person for about 4.5 hours, this tour sits in the practical mid-range for Aurora photography experiences. The value isn’t just the Aurora hunt. It’s what’s wrapped into the price.
What you’re paying for that DIY often fails at:
- a professional photography guide teaching night-sky technique
- multiple location scouting during the night (not one fixed viewpoint)
- included gear basics: headlamps and tripod/phone mount
- included comfort: hot drinks
- added output: a collection of edited photos after the tour
Edited images are a big deal. You might capture a strong frame during the night, but Aurora photography often needs cleanup—exposure balancing, noise control, and color tuning. Getting edited results means you don’t leave with only half-finished files and vague satisfaction.
Could you do Aurora hunting on your own for less? Sure. But you’ll likely spend more time stuck at one spot, more energy figuring out settings cold, and more effort searching for dark-sky angles. This tour compresses that learning and location work into a single organized night.
Who This Tour Fits Best (And Who Might Want a Different Style)
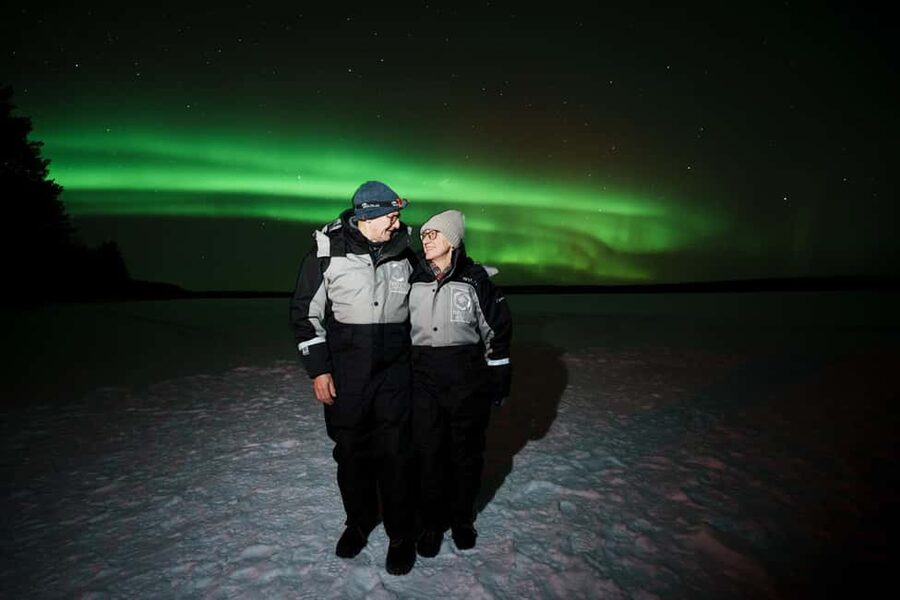
This tour is best for people who:
- want Northern Lights photos, not just a look at the sky
- like the idea of professional guidance in real conditions
- are comfortable being outside at night and walking on winter ground
- have the right camera expectations and can bring a DSLR if possible
It’s also explicitly not suitable for children under 10 because the tour is photography-based and fairly demanding. If you’re traveling with kids who can handle the cold and the walk-and-shoot rhythm, the minimum age helps set the bar.
If you only want easy viewing with minimal setup, you might feel the time spent on instructions and photo work is more intense than you expected. Likewise, if you refuse to bring a DSLR and you’re banking on phone-only Aurora shots, the tour’s own guidance suggests your results may be limited.
But for photographers—new or experienced—this is a strong match. You’ll get structure, coaching, and a team that actually searches.
Practical Packing Tips for Night Photography in Levi
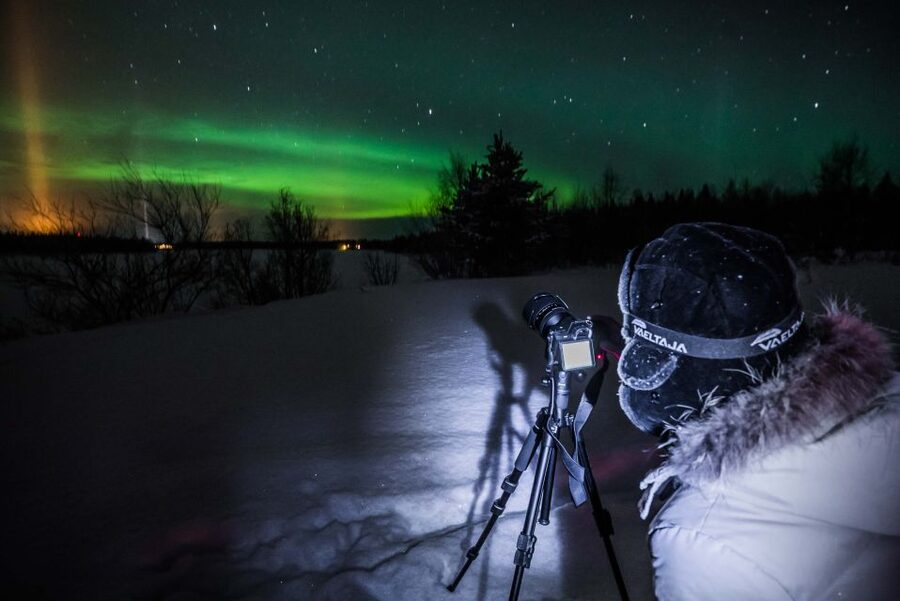
You’ll be outside in a cold Arctic environment at night, and your comfort affects your success. Here’s what matters most for a smooth experience:
- Warm layers: you’ll walk and pause in the cold while shooting
- Gloves and hat: cold hands ruin tripod setups fast
- Sturdy winter boots: you’ll be on uneven snow or icy ground at photo stops
- Bring your camera if you have one, ideally a DSLR
- Let your camera be ready before Aurora activity happens (the guide will help, but you still need to arrive prepared)
And remember: they recommend bringing your own DSLR because they can’t guarantee the quality of night photos with compact cameras or phones. Even if you use the smartphone mount they provide, treat that as an extra tool, not your only option.
What Makes the Guides Matter (Heidi as a Real Example)
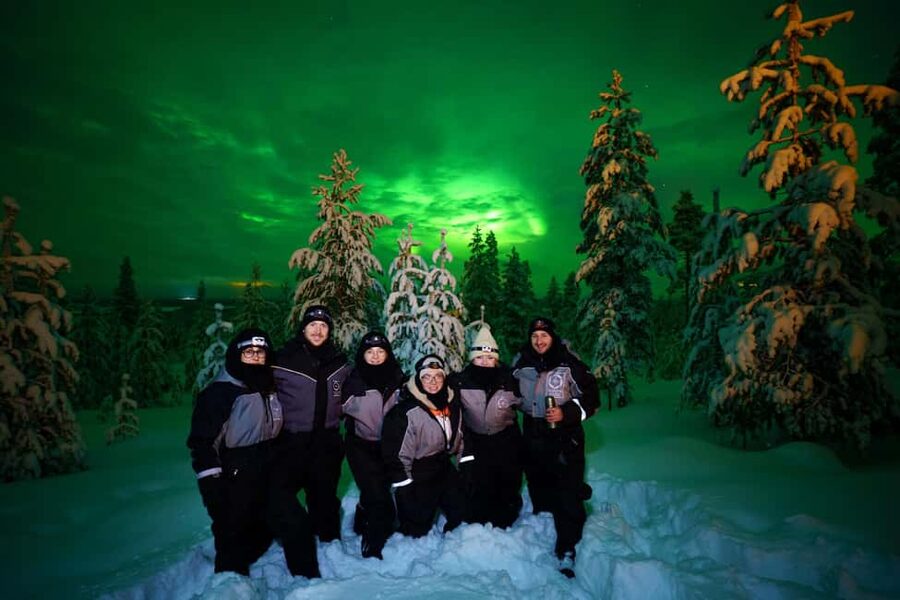
This kind of tour rises or falls on the guide. Here, the guides aren’t just route planners—they’re photography leaders.
One review story highlights a guide named Heidi who kept the mission moving. The first stop didn’t work out for Aurora, but Heidi didn’t call it a night. She drove further and then delivered amazing Aurora viewing later on. The photography side was also described as strong, with the guide teaching techniques that helped produce stunning images of people surrounded by Aurora light.
That same story also included a personal-touch detail: the guide supported a symbolic request, helping scatter ashes for a departed loved one. The point for you is not that this is always offered—it’s that the guides here can be flexible and human, not robotic.
Good guidance changes everything: when to set up, when to move, how to frame the sky, and how to keep shooting when conditions wobble.
Should You Book This Levi Northern Lights Photography Tour?
I’d book this if you want a real Aurora-hunting plan plus photo coaching and you’re happy to chase the sky with a small group. The included tripod support, headlamps, hot drinks, and edited photos are the kind of practical extras that usually cost extra when you DIY. And the multiple-location approach gives you more than one shot at clear skies.
I’d think twice if:
- you’re only using a phone and expect perfect Aurora photos anyway
- you hate walking in cold darkness and want a purely passive experience
- you need a guaranteed Aurora sighting (nobody can promise that)
If you treat the Aurora as a chance to photograph the night—not a guaranteed performance—this tour offers strong value and a more focused path to images you’ll actually keep.
FAQ
How long is the Levi Northern Lights hunting and photography tour?
The tour lasts about 4.5 hours.
What is the group size?
It’s a small group limited to 8 participants.
Where do I meet if I’m staying in central Levi?
For central Levi stays, the meeting point is the Beyond Arctic Levi office in Myllyjoentie 2, 99130 Sirkka, next to the Tourist information. Meet 15 minutes before the tour.
Do you pick up from accommodations outside central Levi?
Yes. Pickup is included for accommodations within 10 kilometers of the Beyond Arctic Levi office, and the meeting time is sent based on your location (usually 20–45 minutes before the tour start).
How many locations will we visit during the night?
You normally visit 2–3 different locations, chosen based on local weather conditions and photographic opportunities.
What do we do if the Northern Lights are not visible?
If the lights can’t be found due to heavy clouds or snowfall, you’ll focus on night photography in Arctic nature at locations ideal for night shooting.
What camera gear do they provide?
They include headlamps and either a tripod for your camera or a mount for a smart phone.
Should I bring my own camera?
They highly recommend bringing your own DSLR camera, since they cannot guarantee good night photos with compact cameras or phone cameras.
Do I get photos after the tour?
Yes. You receive a collection of edited photos after the tour.
What’s the minimum age?
The minimum age is 10 years old.