REVIEW · BIRMINGHAM
Photography Walking Tour in Birmingham
Book on Viator →Operated by PicTours · Bookable on Viator
You can learn to shoot Birmingham in 90 minutes. This guided photo walk turns everyday streets into a mini photoshoot, with stops placed at major landmarks and short lessons you can use on the spot for phone photos around Birmingham.
I love the composition coaching. You’ll get hands-on advice on things like grid lines, contrast, highlights, and shadows. The one drawback to keep in mind is that a professional camera is not included, so the value depends on whether you’re willing to experiment with your own phone camera.
In This Review
- Key highlights to know before you go
- A 90-minute Birmingham photo walk for phone users
- Stop 1: Victoria Square and getting your first angles right
- Stop 2 and 3: Chamberlain Square framing, then the Library’s foreground/background
- Stop 4: International Convention Centre street photography with focus and depth
- Stop 5: Brindley Place symmetry using canal leading lines
- Stop 6 and 7: Ikon Gallery reflections and The Cube’s perfect viewpoint
- Beyond the main stops: extra angles your guide may suggest nearby
- Phone editing lessons: grid lines, contrast, and smarter shadows
- Guide styles: Paul, Sancha, and Howard’s different approaches
- Price and value at $6.84: what you actually get
- Practical tips that make the tour easier (and better)
- Should you book this photography walking tour?
- FAQ
- How long is the Birmingham photography walking tour?
- What’s included in the price?
- What does the tour teach you?
- Where does the tour start and end?
- What time does the tour begin?
- Is the tour in English?
- How large is the group?
- Does it depend on weather?
- Is there free cancellation?
Key highlights to know before you go
- Phone-first photo coaching with practical settings you can try immediately
- A landmark route that stays walkable while hitting recognizable Birmingham sites
- Stop-by-stop composition lessons (framing, foreground/background, depth, symmetry)
- Reflection and geometry tricks using your phone’s camera in clever ways
- Small group size (max 15) that keeps the pace friendly and questions possible
A 90-minute Birmingham photo walk for phone users
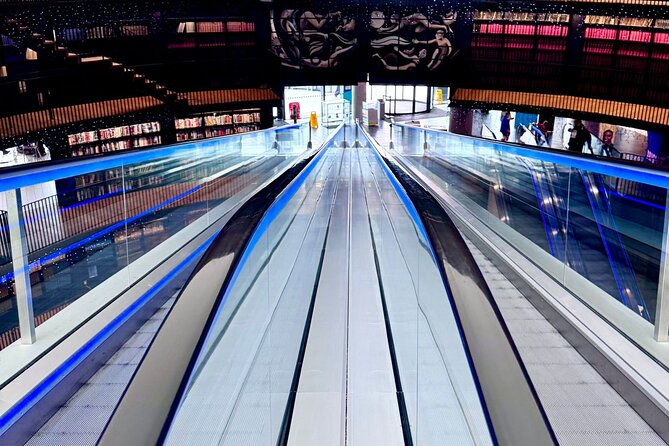
This is a tight, focused 1 hour 30 minute experience built around learning by doing. It runs in English, uses a mobile ticket, and keeps the group small (up to 15 people), which helps because you’re shooting constantly and not just listening.
The price is $6.84 per person, which is low enough that you’re really paying for guidance, not equipment or “paid” attractions. Your guide is included, and the tour route is designed around places where you can concentrate on framing and camera behavior rather than lining up for entry fees.
The big setup note: a professional camera isn’t included. That’s not a deal-breaker, but it does change who this tour is best for. If you’ve got an iPhone or Android and you’re ready to try settings, you’ll likely get a lot from the lesson style.
You’ll start at Birmingham Museum & Art Gallery (Chamberlain Sq, Birmingham B3 3DH) at 11:00 am and end at 196 Wharfside St, Birmingham B1 1RN. It’s also set up as a walking experience near public transportation, and service animals are allowed.
Stop 1: Victoria Square and getting your first angles right
Victoria Square is the natural “warm-up” stop because it’s one of the most recognizable anchors in central Birmingham. You start here for a reason: you’ll learn how to approach angles early, and your guide introduces themselves while you get a feel for the route.
This stop is short (about 10 minutes), so the lesson style tends to be fast and actionable. Expect guidance on how to place yourself in relation to the statue and nearby civic buildings, and how to frame them so your photo looks intentional rather than accidental.
A realistic consideration here is timing. If you get stuck trying to perfect one image, you can slow your group. The tour is built around multiple short windows, so treat each location like a quick practice session and move on.
Stop 2 and 3: Chamberlain Square framing, then the Library’s foreground/background
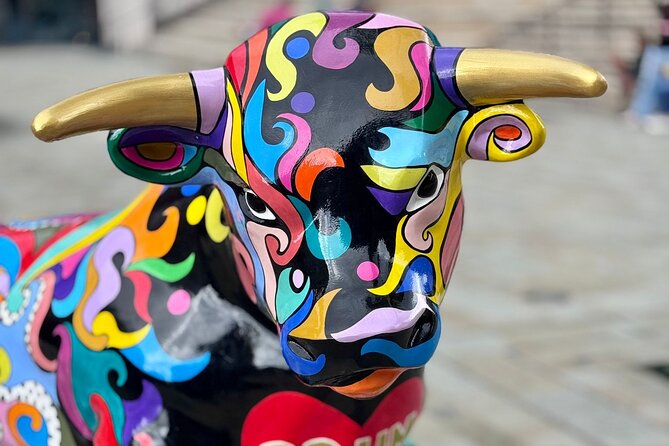
Next up is Chamberlain Square (about 10 minutes). This stop is about framing—learning how to treat a building as the subject instead of just capturing a “pretty view.” You’ll also get instruction on how to use framing concepts alongside what you’re seeing around you, so your photos start to look composed.
Then you move to the Library of Birmingham (about 15 minutes). This is where the lesson shifts from framing to depth, using foreground and background. The Library is a great teaching tool because you can often include layers—elements close to you, the main structure, and distance—without needing a long walk or a car.
If you like photos that feel more dimensional, this is the kind of stop that helps. You’re training your eye to ask two questions: what’s closest, and what’s doing the heavy lifting in the background.
One small caveat: the best shots here depend on how you position yourself and what’s in front of you. If the area around your preferred viewpoint is busy, you may have to adjust quickly to keep your shot moving with the group.
Stop 4: International Convention Centre street photography with focus and depth
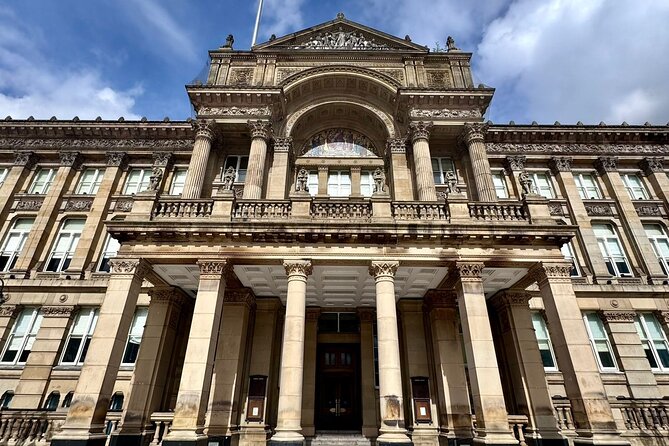
At the International Convention Centre Birmingham stop (about 15 minutes), the focus turns to street photography techniques, especially using focus and depth. This is where your phone skills start to matter more than your location skills, because the building and surrounding streets give you shapes to work with—but the “make it work” part is your settings and your positioning.
The idea is simple: you want one part of the scene to be the clear subject, while other parts support it. With phone cameras, that usually means being deliberate about what you tap to focus on, and how you manage separation between foreground and background.
This is also a stop where you can experiment. Try a couple of shots that place you in different positions relative to the building. Even small steps can change how the scene reads on screen.
Stop 5: Brindley Place symmetry using canal leading lines
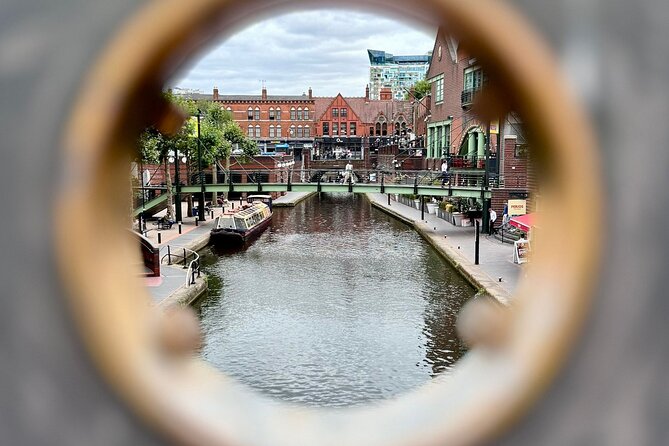
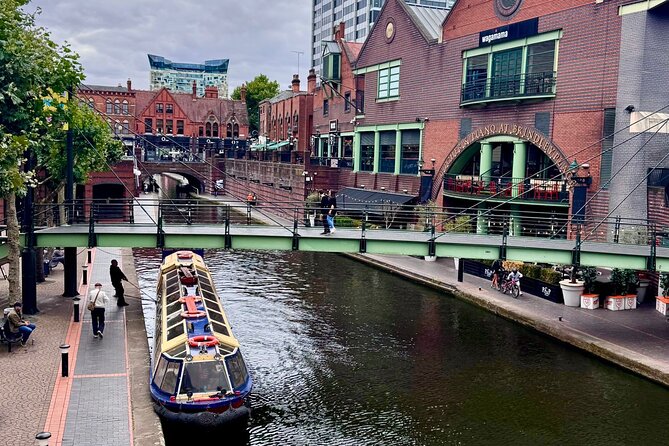
Brindley Place (about 15 minutes) is a classic setting for symmetry and leading lines. The canal gives you visual structure, and the architecture around it helps you line up reflections, curves, and repeated shapes.
What I like about teaching symmetry here is that it doesn’t feel abstract. You can see the “mirror” logic directly in the canal and nearby edges. Your job is to align your shot so those lines guide the viewer toward the main element.
If you tend to hold your phone too level or too close, this is a good lesson for breaking that habit. Try moving your stance slightly, then re-check whether the photo looks balanced or slightly off. One small adjustment can fix the whole composition.
Stop 6 and 7: Ikon Gallery reflections and The Cube’s perfect viewpoint
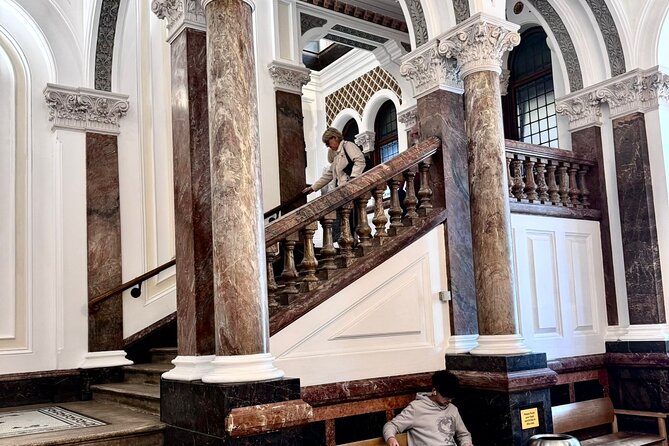
At Ikon Gallery (about 10 minutes), you learn about reflection shots using the back of your phone camera. This is a fun stop because it turns “ordinary glass or surface” into a tool. The lesson is basically about how reflections change your composition and how you can use them to add story and visual interest.
Then comes The Cube (about 10 minutes). This is the “icon shot” stop, where the lesson becomes finding the best angle for Birmingham’s Cube. If you’ve ever tried to photograph a bold, boxy landmark and ended up with a photo that looks flat, this is the moment to fix that with viewpoint planning.
The Cube teaches a practical rule: iconic shapes need careful positioning. You’re not just trying to include it—you’re trying to photograph it so the geometry makes sense.
Beyond the main stops: extra angles your guide may suggest nearby
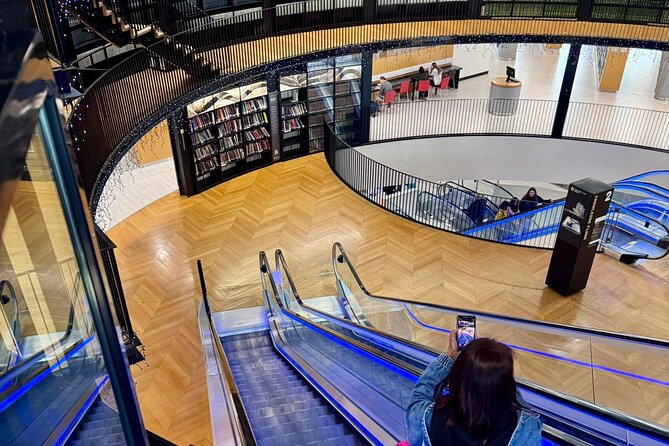
The route is built around the seven named stops, but guides often add quick, nearby photo targets if the light and timing work. In past experiences, guides have pointed people toward additional spots like Colmore Row, the Library roof terrace, Pigeon Park, and the Black Sabbath Bridge.
One especially memorable extra detail some guides have used is a hidden-camera setup with a QR code that can show live footage of you. You might also get additional canal angles around Brindley Place beyond the core symmetry lesson.
Keep your expectations flexible here. These “bonus” moments can make your photos feel less generic, but they depend on timing and how the group is moving.
Phone editing lessons: grid lines, contrast, and smarter shadows
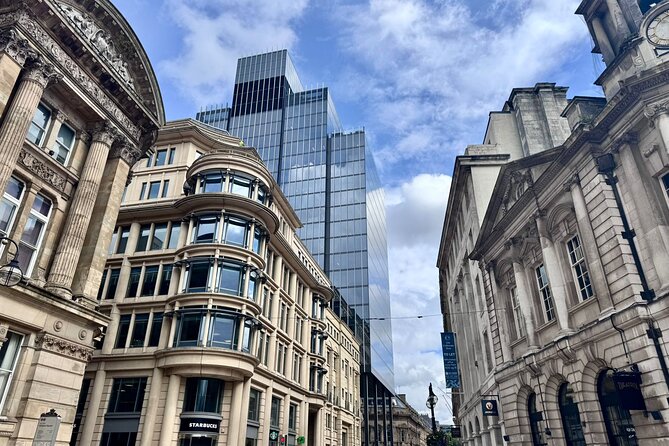
The tour isn’t only about where to stand. It also trains you to adjust what you capture using phone editing tools.
A standout tip is enabling the grid setting to help you center or align your subject. You’ll also get guidance on editing basics like contrast, highlights, and shadows—terms that sound technical until you see how they affect a photo’s mood. Once you understand what each slider does, you stop guessing and start shaping the image.
Some guides also talk about style choices, including using black and white for abstract-looking architecture shots. That matters because Birmingham has a lot of shapes that work well once color stops being the main driver.
And for reflection photography, the editing mindset changes slightly. You’re not only improving the exposure; you’re deciding what reflection element should dominate—normal subject or mirror effect.
Guide styles: Paul, Sancha, and Howard’s different approaches
The guide makes a big difference on a tour like this because the lesson comes through coaching, not just route knowledge.
For example, Paul has been described as very friendly and chatty, with a strong focus on iPhone editing. He also brought in historical facts tied to Victoria Square’s statue and nearby council/town hall buildings, then moved into practical editing concepts like contrast, highlights, and shadows as you walked.
Sancha has been noted for making people feel at ease while trying new phone camera angles. That matters on this kind of tour because you’re asking yourself to experiment in public, and a relaxed guide helps.
Howard has been praised for mixing city context with photo guidance, answering questions easily and sharing quirky anecdotes. If you like learning why a place looks the way it does, that city-story layer can make the photos feel more meaningful.
Price and value at $6.84: what you actually get
At $6.84, the value is coming from three places:
1) A guided plan with multiple photo lessons in 90 minutes
Instead of paying for “a walk,” you’re paying for coaching at several different compositions: framing, foreground/background, focus/depth, symmetry, reflections, and landmark angles.
2) Free entry at each listed stop
The tour notes free admission at the stop locations. That matters because it keeps your total cost predictable and prevents the experience from turning into a budget surprise.
3) Skill transfer you can use again
Even if you only take a few photos, you’ll learn phone habits you can repeat at other cities. The grid tip, the contrast/highlights/shadows mindset, and reflection framing can all travel with you.
The main value “watch-out” is the phone-camera dependency. Since a professional camera isn’t included, you’ll need a phone that can handle basic camera controls, and you should be open to trying settings you might normally ignore.
Practical tips that make the tour easier (and better)
Because this is a weather-dependent outdoor walk, plan around good weather. If the day is poor, the experience may be rescheduled or refunded, since that’s how it’s set up.
Also, since the tour is near public transportation and starts in central Birmingham, it helps to arrive ready to move at 11:00 am. The stops are timed in short windows, so lateness can shrink your practice time.
Most people can participate, and the group is kept to a maximum of 15. That usually creates a better flow for taking photos, asking questions, and not feeling rushed every time you stop.
Finally, if you’re the type who likes to shoot in “set it and forget it” mode, you might find the coaching a bit more demanding. On the other hand, if you want your phone photos to look more intentional, this tour’s pacing and lesson structure are built for that goal.
Should you book this photography walking tour?
I’d book it if you want a low-cost, high-feedback way to learn phone photography techniques in a single morning. The combination of landmark stops plus clear composition lessons makes it a smart use of time, especially if it’s your first visit to Birmingham or you want to see familiar places with new eyes.
I’d think twice if you’re expecting camera gear or a full production photoshoot. The tour is about technique and angles, and it’s phone-first. If that matches what you want, you’ll likely leave with better photos and a repeatable set of habits for the next city.
FAQ
How long is the Birmingham photography walking tour?
It runs for approximately 1 hour 30 minutes.
What’s included in the price?
You get a guide. A professional camera is not included.
What does the tour teach you?
You’ll learn photography techniques focused on phone use, including getting better angles, framing, foreground vs background, street photography with focus and depth, symmetry with leading lines, reflection shots, and finding strong viewpoints for The Cube.
Where does the tour start and end?
It starts at Birmingham Museum & Art Gallery, Chamberlain Sq, Birmingham B3 3DH and ends at 196 Wharfside St, Birmingham B1 1RN.
What time does the tour begin?
Start time is 11:00 am.
Is the tour in English?
Yes, it’s offered in English.
How large is the group?
The tour has a maximum of 15 travelers.
Does it depend on weather?
Yes. It requires good weather, and if it’s canceled due to poor weather you’ll be offered a different date or a full refund.
Is there free cancellation?
Yes. You can cancel up to 24 hours in advance for a full refund.