REVIEW · PARIS
Paris Photography Masterclass – Private Photography Lesson
Book on Viator →Operated by Aperture Tours · Bookable on Viator
Paris teaches your eye fast. This private 3-hour photo masterclass strings together major viewpoints and turns them into real practice, with guides like Clara coaching people through composition and camera settings (especially after dark). I like the walking route that keeps you moving from Notre-Dame to the Louvre, the Eiffel Tower, and Place de la Concorde, and I like the private instruction for up to four people so your feedback doesn’t get diluted. One thing to consider: you’ll need to bring your own DSLR, and each stop is about 30 minutes, so you won’t have unlimited time to linger.
You can pick departure times from morning to early evening, and the lesson runs in all weather, which is key in Paris. If you want long exposures (light trails, creamy night textures), ask about a tripod, since it’s available on request.
In This Review
- Key highlights worth planning for
- A 3-hour Paris photo lesson for every skill level
- Meeting at Pont Marie and ending near Place de la Concorde
- Notre-Dame in 30 minutes: framing a cathedral that won’t sit still
- Louvre courtyards and the pyramid: using symmetry without getting bored
- Eiffel Tower over the Seine: timing your settings for real Paris light
- Place de la Concorde: turning a big square into clean compositions
- What you actually learn from the photographer guide
- Night, rain, and the “keep shooting” mindset
- Price and value: what $205.59 really buys
- Gear checklist: DSLR first, tripod optional
- Should you book this Paris Photography Masterclass?
- FAQ
- How long is the Paris Photography Masterclass?
- Is this a private tour?
- What language is the tour offered in?
- What camera should I bring?
- Is a tripod included?
- Do I need tickets to photograph at the stops?
- Where do we meet and where do we end?
- Does the tour run in bad weather?
- Can I cancel for a full refund?
Key highlights worth planning for
- Private, up to 4 people so your guide can correct your settings and framing in real time
- A classic landmark loop that’s built for photography, not just sightseeing
- On-the-ground teaching focused on composition, lighting, and camera settings
- Night/low-light confidence with guidance that can push you off Auto settings
- Tripod available on request for long exposure effects
- English-speaking guidance with a mobile ticket for easy entry
A 3-hour Paris photo lesson for every skill level
This is one of those rare Paris activities where you’re not just looking at the city—you’re learning how to see it through your camera. The format is simple: you walk key spots, stop long enough to practice, and get direct feedback from a professional photographer guide.
I like that the experience is positioned for everyone, from beginners to advanced shooters. That matters because the hardest part of photography lessons isn’t the view—it’s getting your settings and composition to behave the way you want. In the past, some people left feeling they learned more in one session than from other classes, and that lines up with the structure here: short shooting windows plus focused coaching.
You can also read our reviews of more tours and experiences in Paris.

Meeting at Pont Marie and ending near Place de la Concorde
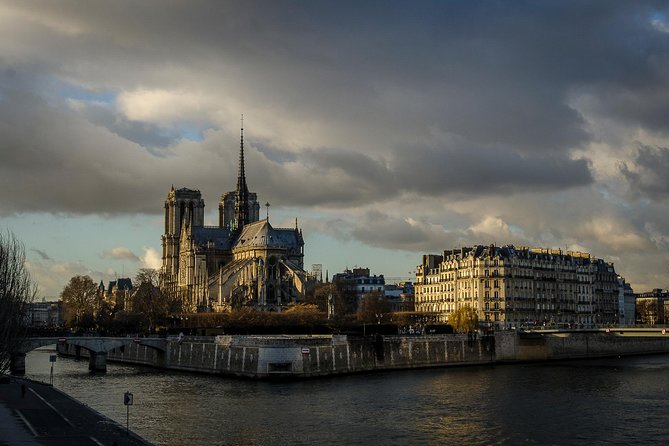
You start at 3 Pont Marie (75004), and you’ll typically end near Place de la Concorde at the Concorde–Quai des Tuileries area (75008). The exact finish changes based on how fast your group moves, which is a polite way of saying you’re doing real walking, not a sit-and-stare tour.
This matters for two reasons. First, you’ll want comfortable shoes and a camera strap you can trust for city sidewalks. Second, the route is designed to keep you shooting without wasting time on getting from point A to point B—transportation isn’t included.
The good news: it’s near public transportation, so you can usually thread it into your day without major hassle. Also, you’re limited to a small booking size (max four people), which helps keep the pace and attention level high.
Notre-Dame in 30 minutes: framing a cathedral that won’t sit still
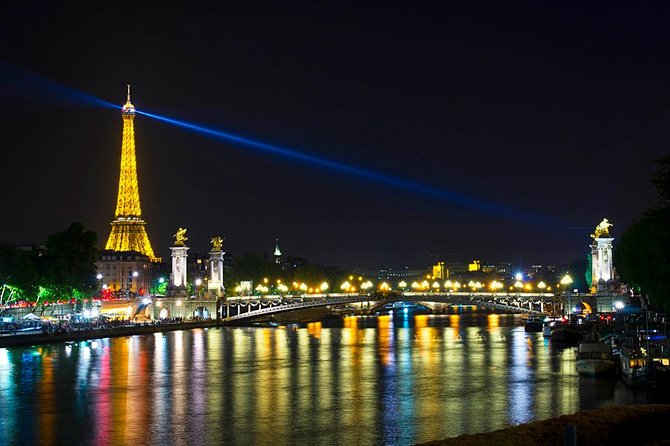
Your first stop is Cathedrale Notre-Dame de Paris. You get about 30 minutes, and the areas you’re photographing are listed as ticket-free.
This is a smart opening for the lesson. Notre-Dame is huge, full of angles, and packed with visual “temptations” (verticals, arches, statues, sky changes). If you’re learning composition, this is the kind of subject that instantly shows you what’s going wrong when you hold the camera too level or forget the foreground.
What you’ll practice at this stop:
- Choosing a viewpoint that controls the height lines
- Building a shot with depth, not just a straight-on wall of stone
- Working with lighting so the details don’t flatten out
One practical drawback: with popular landmarks, you’re sharing space. That means you’ll likely work around crowds and shifting lines of sight, so pay attention to what your guide suggests for angles that still work even when the perfect spot is occupied.
Louvre courtyards and the pyramid: using symmetry without getting bored
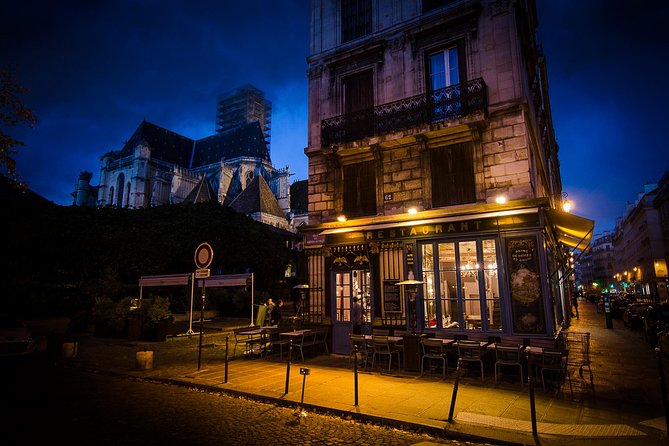
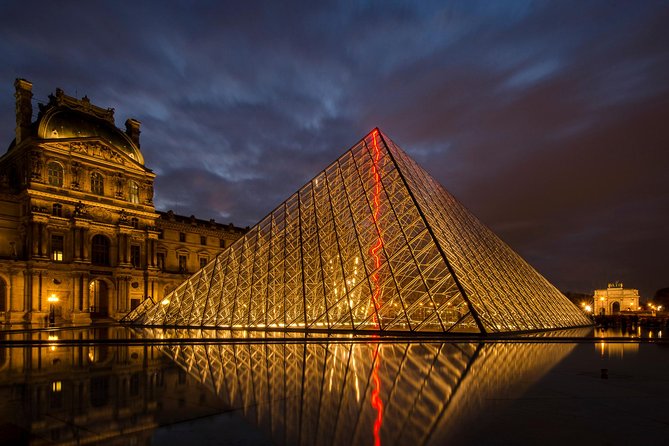
Next up is the Louvre Museum area, specifically the courtyards and the pyramid. Again, it’s about 30 minutes and listed as ticket-free.
The Louvre is a photographer’s stress test because it tempts you to shoot everything at once. The curving courtyards, straight colonnades, and that pyramid all compete for attention. This stop is where coaching really pays off, because you’ll learn how to pick one idea—symmetry, reflections, leading lines—and commit.
What I’d focus on if I were you:
- Use the pyramid as your anchor, then frame the rest to support it
- Look for reflections and surfaces that add layers (glass, stone edges, water features where available)
- Keep an eye on exposure, especially if the sky is changing every few minutes
A short warning: 30 minutes goes fast here. If you’re still learning camera basics, prioritize one or two compositions and get them right rather than rushing through 50 mediocre frames. That’s also how you’ll get the most out of your guide’s corrections.
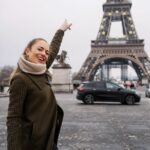
Eiffel Tower over the Seine: timing your settings for real Paris light
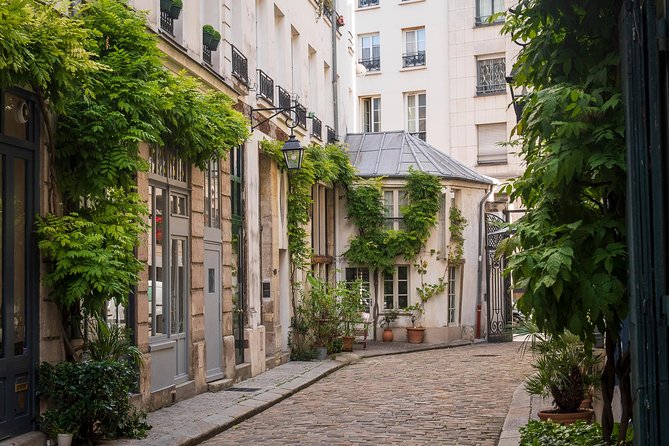
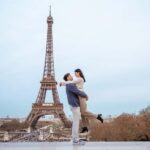
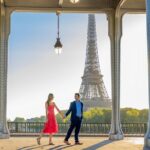
The Eiffel Tower stop is built around one of the best photographic backdrops in the city: the tower over the Seine. You get about 30 minutes here too, and the focus is on views, not ticketed access.
This is where a lot of people learn the difference between point-and-shoot and intentional photography. The Eiffel Tower is bright against the sky, and in many conditions it’s easy to end up with blown highlights or underexposed shadows. If your guide talks about lighting and camera settings, this is exactly what they’re preparing you for.
In many lessons like this, you’ll practice:
- Adjusting exposure so the structure stays detailed
- Using composition to control how much sky and water you include
- Understanding when to switch from automatic modes to manual or aperture priority
A nice detail from past participants: some guides helped people move toward manual settings quickly. One person even described getting comfortable enough to shoot on manual within the first hour. If that’s your goal, the Eiffel Tower segment is a good place to test it, because you’ll see results right away as your background brightness changes.
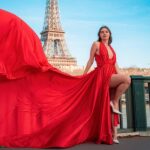

Place de la Concorde: turning a big square into clean compositions
Your final scheduled stop is Place de la Concorde. You’ll spend around 30 minutes, focusing on views of the Champs-Élysées side and the fountains in the square.
This stop is less about one famous object and more about structure—lines, balance, and scale. Big public squares can look impressive in photos but fall flat if your framing is sloppy. You can end up with a shot that’s technically correct but doesn’t feel intentional.
What you can practice here:
- Including a strong foreground element so the shot doesn’t feel empty
- Using the geometry of the square to guide the viewer’s eye
- Experimenting with where you place the horizon and major lines
Also, because this is the end stretch, it’s a good moment to ask questions that you’ve been saving. If you’re confused about exposure settings or how to compose quickly, your guide can usually help you fix it before the session wraps.
What you actually learn from the photographer guide
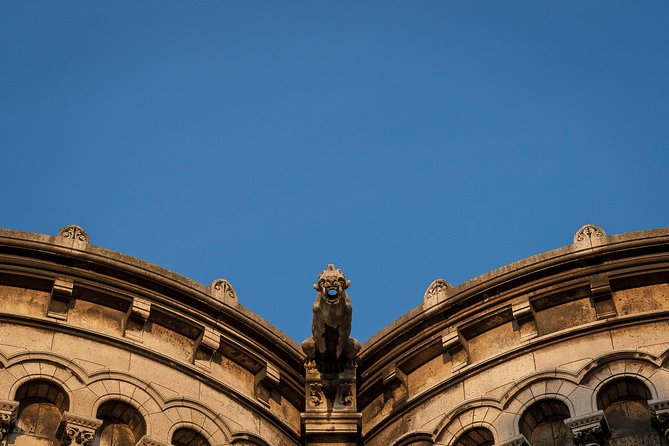
The biggest value of this tour isn’t the list of landmarks. It’s the feedback loop: shoot, get corrections, shoot again. That’s why it tends to feel like a real masterclass rather than a walk with photo stops.
Here are themes that show up again and again in how guides teach:
- Composition coaching: how to build a frame so it looks deliberate, not accidental
- Lighting explanations: how to read brightness in the street and translate it to your camera
- Camera settings: how to set exposure so you’re not stuck on automatic decisions
- Confidence building: how to plan a shot before you press the shutter
Some people specifically reported getting help with nighttime photography—composition, lighting, and camera settings in a clear, approachable way. Others described patience and flexibility when it came to matching the pace of family members or different comfort levels. One solo traveler even mentioned using an iPhone 15 Pro Max and learning how to use native app features to adjust exposure beyond automatic settings in low light. If you’re using a phone instead of a DSLR, it’s worth asking your guide what they can help with, since approaches may vary.
If you’re a beginner, don’t worry about having the perfect camera setup at the start. The lesson is designed to meet you where you are and help you make changes you can actually repeat later.
Night, rain, and the “keep shooting” mindset
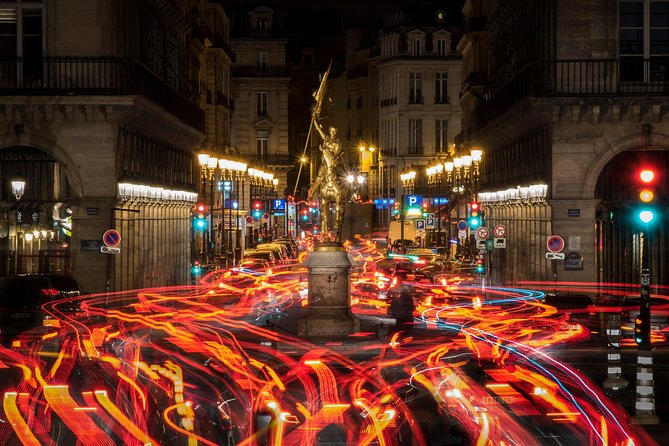
Paris weather can be dramatic. The tour operates in all weather conditions, so you should dress for the day you’re given, not the day you hoped for.
What helps is that your guide can adapt the plan to keep you shooting. For example, if rain makes certain areas hard to work in, you might shift toward nearby cover or use transit to keep moving without losing momentum. One family described starting in pouring rain and still learning a lot by adjusting the flow around the day’s conditions.
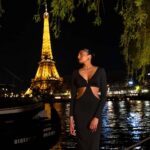
If you’re going for night photography or low light, this experience is particularly useful because you’ll be coached on how to think about exposure and composition under dimmer conditions. Also keep in mind the gear side: the tripod is not automatically listed as included, but it’s available upon request. If you want long exposure effects, request it early so you’re not trying to solve the problem while the light is changing.
Price and value: what $205.59 really buys
At $205.59 per person for about 3 hours, this isn’t a bargain-bin activity. But it can be good value if you want coaching instead of just pictures.
Here’s why the price can make sense:
- You get a professional photographer guide plus a local guide
- It’s private for your group of up to four, so you’re not waiting to get advice
- The teaching is hands-on: settings, composition, and lighting corrections where you can apply them immediately
- You cover multiple major photography subjects in one session, without needing to plan routes yourself
Also, there’s mention of group discounts, and the tour is typically booked about a month in advance. That’s not proof of quality by itself, but it does suggest the timing works for people who plan ahead and want a focused photography upgrade during their limited Paris window.
The one price-related consideration: because transportation to and from attractions isn’t included, you should be comfortable walking and handling your own way between city stops before and after.
Gear checklist: DSLR first, tripod optional
The experience specifically asks you to bring your own DSLR camera. That’s a clear expectation, and it’s tied to how many of the teaching cues are likely explained and demonstrated.
What’s less clear (but still useful): tripod availability. The tour notes that a tripod is available upon request, which lines up with reports of long exposure practice and light-trail style effects. If you’re aiming for that look, message ahead or ask at the start.
If you’re traveling with a phone camera, don’t assume you’ll get the same setup. But there is evidence from past participants that guides can help with phone settings too, especially for low-light exposure control. If this matters to you, ask directly what level of phone assistance you should expect.
Should you book this Paris Photography Masterclass?
Book it if you want real feedback and faster improvement. A private session with a photographer guide is best for you if you’re tired of getting photos that look random, and you want to learn how to choose angles, control exposure, and build a shot you can reproduce later.
You might skip it if you mainly want a guided sightseeing walk where the guide handles everything and you mostly watch. Since you’ll bring your own DSLR and each stop is about 30 minutes, this works best when you’re ready to shoot, ask questions, and iterate on the spot.
If you can handle walking for a few hours, dress for variable weather, and come with curiosity about settings and composition, this is one of the smarter ways to spend a short Paris trip—because you leave not only with images, but with skills you can use next time you see a skyline.
FAQ
How long is the Paris Photography Masterclass?
It runs for about 3 hours.
Is this a private tour?
Yes. It’s a private tour/activity, and the maximum group size is 4 people per booking.
What language is the tour offered in?
The tour is offered in English.
What camera should I bring?
You should bring your own DSLR camera.
Is a tripod included?
A tripod is not listed as included, but it’s available upon request.
Do I need tickets to photograph at the stops?
Admission tickets are listed as free for the scheduled photography stops.
Where do we meet and where do we end?
You start at 3 Pont Marie, 75004 Paris, France. You typically end near Place de la Concorde at the Concorde–Quai des Tuileries area, 75008 Paris, and the exact end varies with walking pace.
Does the tour run in bad weather?
Yes, it operates in all weather conditions. You should dress appropriately.
Can I cancel for a full refund?
Yes. You can cancel up to 24 hours in advance for a full refund.