REVIEW · HONG KONG SAR
Hong Kong Photography Masterclass – Private Photography Lesson
Book on Viator →Operated by Aperture Tours · Bookable on Viator
Hong Kong looks best after dark, and this private photo masterclass is built around that idea. You’ll start in Tsim Sha Tsui, work street-level scenes like Nathan Road, and end up at Victoria Peak for skyline shots that really need a tripod. What I like most is the hands-on focus on night techniques and the way the photographer guides you through real locations, not generic photo theory.
I also like that you’re not stuck on a rigid route. In a past session, guide Bharat was flexible with where to go, so the lesson felt pressure-free and more like solving photography problems together. The one drawback to consider: your price covers the guides, but a tripod isn’t included, and you need to bring your own camera.
In This Review
- Key takeaways before you go
- A private lesson in Hong Kong that goes beyond taking photos
- Starting at the Former Kowloon-Canton Railway Clock Tower: setting up your night eye
- Tsim Sha Tsui Promenade and Nathan Road: where long exposure and light trails make sense
- Temple Street Night Market and Graham Street Market: photographing details without losing the story
- Hong Kong Island and the skyline: learning angles, not just subjects
- Peak and Victoria Peak: your tripod moment for long exposures and crisp skyline shots
- The techniques you actually practice (and how to use them immediately)
- Price and logistics: what $170 buys you, and where extra cost shows up
- Who this Hong Kong photography masterclass fits best
- Should you book the Hong Kong Photography Masterclass?
Key takeaways before you go
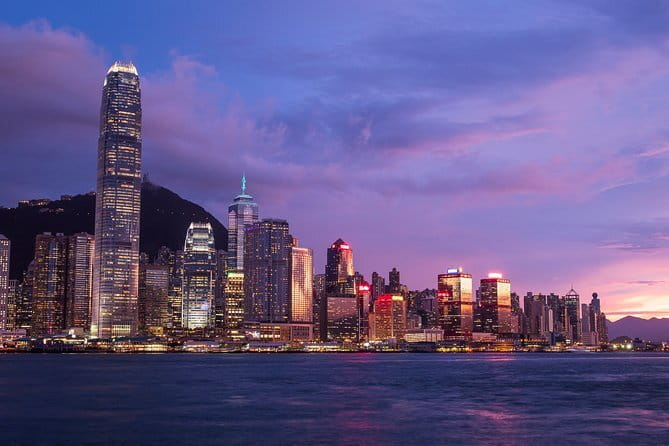
- Night settings get practical fast: long exposure, light trails, light painting, and high ISO are part of the core lesson.
- You shoot where the light is: promenade views, neon streets, and market color all get camera attention.
- Tripod matters: it’s specifically recommended for the low-light work, and rental is available.
- Market scenes teach composition: details, people, and signage are folded into the lesson.
- Flexible pacing: the guide can adjust the route so you keep momentum and don’t feel rushed.
A private lesson in Hong Kong that goes beyond taking photos
If you’ve ever left a photo outing thinking you got plenty of pictures but not better, this is the opposite. The whole experience is designed to teach you how to control night images—how to decide what shutter speed does, what higher ISO trades off, and how to make light behave instead of just letting it smear.
The format also matters. This is a private tour, so you can ask questions as you go and get feedback that matches your camera and your comfort level. If you’re a beginner, you’ll still have a clear path: “try this, then see what changed.” If you’re more advanced, you’ll get targeted reminders to tighten up settings and composition.
And yes, Hong Kong is an ideal classroom. You’ve got deep contrast—dark streets, bright signs, and the harbor reflecting light. That makes it a playground for learning long exposure and light trails without you needing to invent a subject.
You can also read our reviews of more tours and experiences in Hong Kong SAR.
Starting at the Former Kowloon-Canton Railway Clock Tower: setting up your night eye
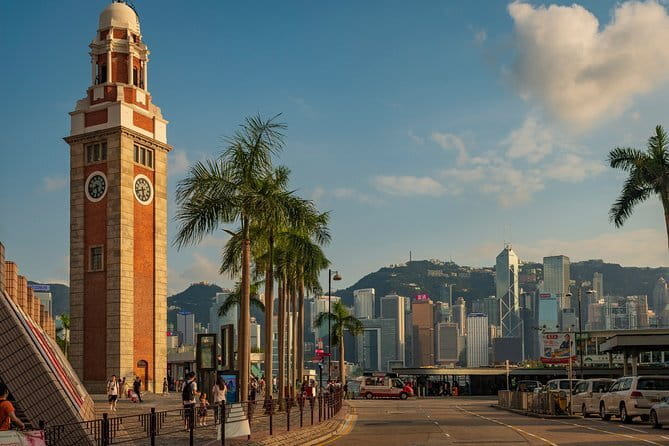
The meeting point is the Former Kowloon-Canton Railway Clock Tower at 10 Salisbury Rd in Tsim Sha Tsui. It’s a smart start because you’re already in an area where you can test your camera settings quickly and build a routine before you move into the busier photo spots.
From here, you’ll transition from planning your shots to actually shooting them with guidance. In practice, this is where you learn what to look for at night: strong lines, glowing edges, repeated signage, and reflections. You also get your first chance to think about stability—because once you start doing long exposures, your camera support and timing become the whole game.
If you’re bringing a tripod, this is the moment to make sure it’s set up quickly. If you’re renting, check you can carry it comfortably and place it without wrestling with equipment. Night photography rewards gear that works smoothly.
Tsim Sha Tsui Promenade and Nathan Road: where long exposure and light trails make sense
Next up is the Tsim Sha Tsui Promenade. This is a practical choice for a night class because the harbor gives you consistent light sources and strong viewing angles. Even if you’re new to long exposure, you can experiment with how shutter speed changes light intensity and motion.
From there, you head to Nathan Road, which is the kind of street where neon signage turns into a built-in lighting system. For your photos, that means plenty of subjects: storefront light, crossing patterns, and graphic text you can use to build composition. For your technique, it means you can practice balancing brightness so your images don’t blow out.
This portion of the lesson is where I’d focus on learning one thing at a time. Instead of trying to nail everything, try repeating the same scene with small setting changes. You’ll learn faster when you can clearly connect cause and effect: slower shutter speed equals more motion blur and smoother light trails, while higher ISO can help you capture more detail at the cost of noise.
Temple Street Night Market and Graham Street Market: photographing details without losing the story
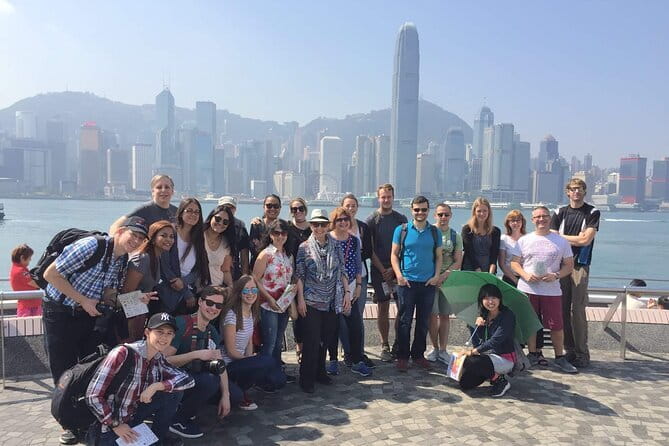
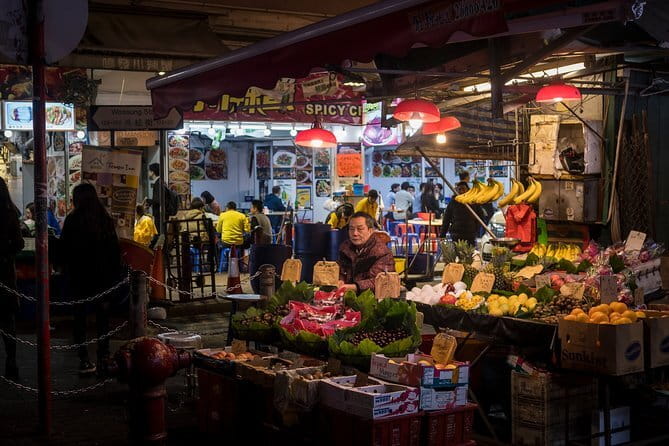
Markets at night are where photography turns from “settings” into “choice.” Temple Street Night Market is full of lights and visual texture, which is great for teaching you how to frame close details and still keep the scene readable.
The key value here is learning to control clutter. Markets naturally generate too much information for one photo. A good lesson helps you decide what the viewer should notice: maybe a sign, a vendor area, or the way faces and lighting interact. You’re also learning how to manage exposure when you’re surrounded by bright points—because the camera will want to average everything unless you guide it.
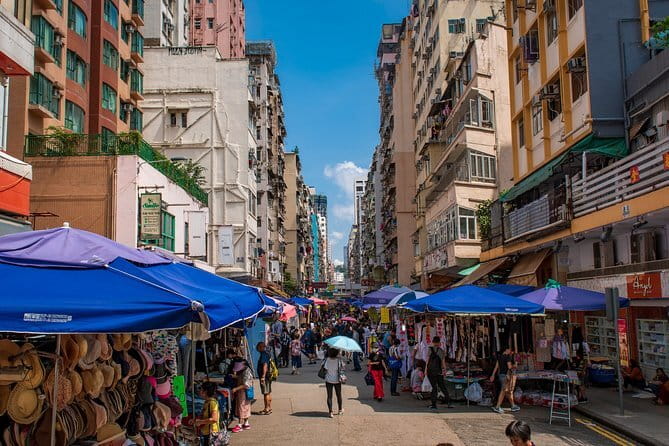
Then you move to Graham Street Market. This keeps the lesson grounded in street-level visuals and gives you another chance to work with varied lighting. If Nathan Road is mostly about bold neon, market streets let you practice micro-composition: signage edges, hands, textures, and small moments that still look sharp in night conditions.
The practical tip I’d carry from this kind of stop sequence: pick a single subject before you start shooting. With the market energy everywhere, it’s easy to change direction every few seconds. Having one subject keeps you from falling into random clicks.
Hong Kong Island and the skyline: learning angles, not just subjects
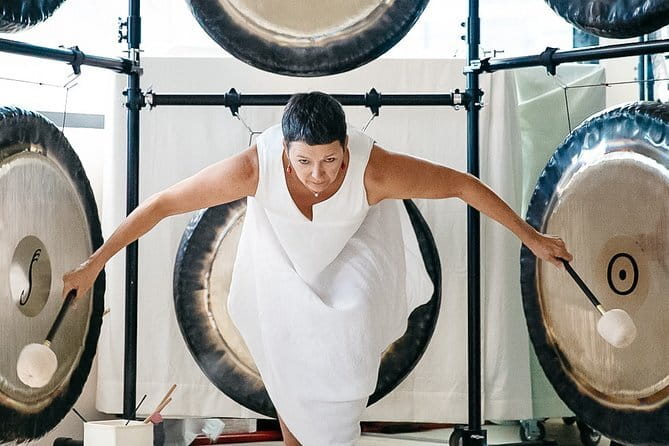
After the market scenes, you shift toward Hong Kong Island and then into a skyline-focused moment. This part matters because a lot of night photographers make the same mistake: they chase the biggest view without thinking about the frame.
When you get skyline angles, you learn to work with layers. Foreground detail helps your image feel grounded. Midground buildings give structure. The harbor and distant towers add depth. With night photography, depth is everything, and it often comes down to where you place the camera, not only what you set on the dial.
There’s also a lesson opportunity in reflections and contrast. Hong Kong’s lights bounce and repeat, so you’ll learn how those secondary light sources can either strengthen a photo or ruin it by adding confusion. A good guide helps you keep your frame intentional.
If you’re using a phone, this is also where you can discover the limits of handheld night shots. The class pushes more challenging techniques, and skyline work is where a tripod and longer exposures can make a bigger difference than you expect.
Peak and Victoria Peak: your tripod moment for long exposures and crisp skyline shots
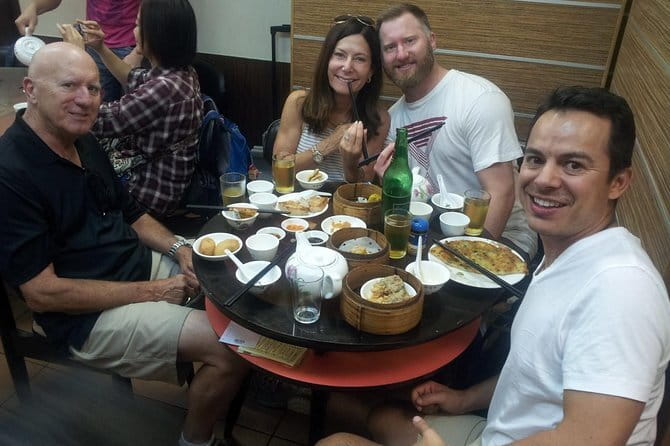
The tour then heads to the Peak and Victoria Peak. This is the payoff area. Up here, the city’s lights have space to stretch into the sky, and the harbor view turns into the kind of scene that long exposure techniques are made for.
This stop is built for the techniques named in the lesson: long exposure, light trails, and shots that benefit from high ISO when you’re trying to balance shutter speed and brightness. With skyline imagery, you’ll care about sharpness and stability. That means tripod setup, careful framing, and being patient enough to let the exposure do its job.
I like that the tour explicitly calls out tripod use for nighttime imagery. It signals that you won’t just learn settings in theory—you’ll apply them where they matter. If you rent a tripod, plan for a clean setup and a calm rhythm: compose, lock in, shoot, review quickly, adjust, repeat.
Also, don’t rush your final frames. At viewpoint locations, you can spend time refining what makes your skyline shot feel balanced. A little re-framing can turn a “cool view” into a photo that feels designed.
The techniques you actually practice (and how to use them immediately)
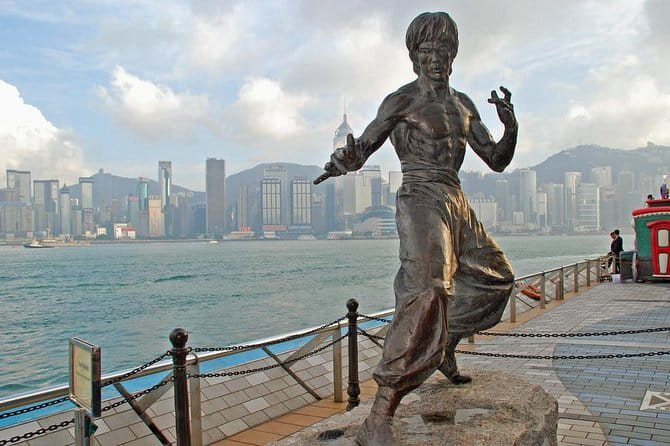
This masterclass isn’t just a walking tour with a camera. It’s a night lesson built around four core skills.
Long exposure teaches you to slow down the shutter so moving lights draw lines instead of blur. It also forces you to think about stability and exposure balance. You’ll get practice using your camera for motion and light clarity, not just general darkness.
Light trails are the natural next step once you understand long exposure. Instead of trying to freeze every moment, you learn how to let motion paint the frame. In a neon-heavy city, this is a clear, rewarding technique because the subject is literally all around you.
Light painting takes it further. The idea is controlled light addition during a longer exposure. It can be as simple as manipulating light sources within the scene, but you still need the right timing and setup. A guide is helpful here because it’s easy to waste time with “nearly” working results.
High ISO shooting is about capturing enough brightness when you’re balancing shutter speed and motion. You’ll learn that raising ISO isn’t free—it affects noise and grain—but it can be the difference between a usable image and a blurry one. This technique comes in handy when you want to keep shutter speed faster without losing too much detail.
One more thing you’ll likely appreciate: night photography is slower than daytime. That means you learn how to work methodically—compose, set, shoot, check, adjust. If you’ve ever felt overwhelmed after dark, this kind of structure is a relief.
Price and logistics: what $170 buys you, and where extra cost shows up
At $170 per person for about 3 hours, the value depends on your goal. If you want a few tips and a scenic stroll, you could probably find cheaper options. If you want real instruction on night settings tied to iconic Hong Kong locations, this pricing makes more sense—especially because it’s private and you get a professional photographer guiding the process.
What you should budget for:
- A tripod isn’t included, though rental is available.
- Your camera isn’t included, so you’ll bring what you already own.
There’s also a practical upside: you get a mobile ticket and the tour is near public transportation. And because it’s private, the pacing can be adjusted to your group’s comfort.
If you’re traveling with a friend and want to split costs, a private session can feel even more reasonable. Group discounts exist, which can help if you’re coordinating with other photographers or camera buffs.
Who this Hong Kong photography masterclass fits best
This experience is a strong match if you want to improve fast with real night practice. It’s also ideal if you’re interested in both skyline photography and street scenes like markets and neon streets.
You’ll likely get the most out of it if:
- You’re willing to shoot at night and use a tripod when needed.
- You want to learn long exposure and light trail techniques, not just take photos.
- You like getting feedback and adjusting your approach while you’re still in the location.
If you’re only interested in daytime sightseeing or you hate carrying gear, you might find the night-focused structure less comfortable. Night photography comes with extra steps—stability, patience, and sometimes more gear than you planned.
Should you book the Hong Kong Photography Masterclass?
I’d book it if your goal is clear: learn night photography techniques in Hong Kong’s best light. The stop choices make sense for training your eye—promenade views for skyline work, Nathan Road for neon contrast, and markets for close-up story and detail. The focus on long exposure, light trails, light painting, and high ISO is exactly the kind of skill set you can’t really teach yourself quickly without getting stuck.
I’d hesitate only if you don’t want to handle a tripod and you’re hoping the tour includes all your gear. Between the tripod rental and bringing your own camera, you’ll get the best experience when you show up ready to shoot.
If you want a night class that feels like problem-solving in real places, this one is a solid bet.