REVIEW · FLORENCE
Florence by Night Photo Tour with a Professional Photographer
Book on Viator →Operated by YourDreamPictures by Eva Perocsenyi · Bookable on Viator
Florence glows after sunset; you learn to shoot. This Florence by Night Photo Tour turns the city’s most famous landmarks into a practical, hands-on photo lesson as the sky shifts from blue hour to true night. You move through iconic spots like the Cathedral of Santa Maria del Fiore and Ponte Vecchio with a professional photographer leading the way.
I love that the coaching works for real beginners and also for people who already know their way around settings. I also like that Eva helps with both traditional cameras and mobile shooting, including using phone features instead of just saying, aim and hope. One consideration: this is a photo-focused walk, not a guided art-and-history tour, so if you want deep explanations of the sights, you may find it lighter on that front.
In This Review
- Key takeaways before you go
- Why night photography in Florence is different (and better)
- Price and value: what $156.03 really buys
- Timing, walking pace, and the meeting point on Via de’ Tornabuoni
- Photo coaching that actually helps your camera and your phone
- Stop-by-stop: what to shoot at each Florence night landmark
- Santa Maria del Fiore (Duomo): blue-hour color and dramatic angles
- Uffizi area: lines, facades, and architectural storytelling
- Ponte Vecchio: reflections and a built-in leading line
- Piazza della Signoria: statues, shadows, and open-space framing
- Piazza della Repubblica: streetlight glow and nighttime atmosphere
- The 3-hour option with View: adding Piazzale Michelangelo
- What this tour does well for beginners and phone shooters
- Practical prep so you don’t fight your gear
- Who should book this (and who might want a different experience)
- Should you book the Florence by Night Photo Tour?
- FAQ
- How long is the Florence by Night Photo Tour?
- Is this tour private?
- Where is the meeting point?
- Do I need to bring my own camera or cellphone?
- Does the tour include photo equipment or guided photo shooting?
- What if the weather is poor?
Key takeaways before you go
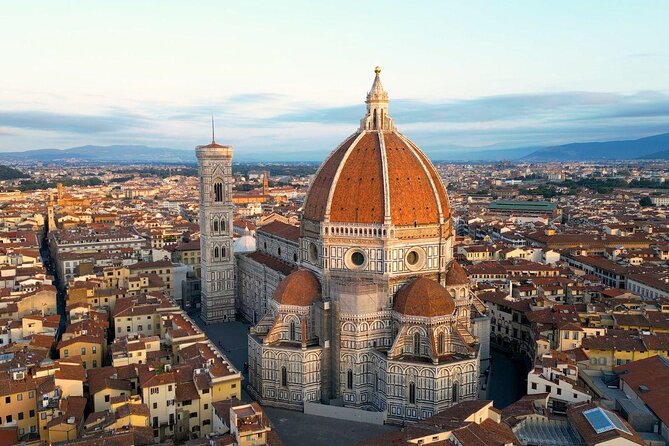
- Blue hour timing after sunset helps you catch changing colors over the Duomo.
- Photography tips for any skill level so you’re not stuck guessing.
- Phones and cameras both welcome, including help with built-in phone functions.
- Famous Florence stops plus a few more fun angles for compositions beyond the postcard view.
- Weather matters, because the tour needs good conditions for night walking and shooting.
- No photo equipment or guided shooting is provided, so you’ll rely on your own gear and take your own photos.
Why night photography in Florence is different (and better)
Daytime Florence can feel like a highlight reel. At night, it becomes something else: quieter, more graphic, and full of light tricks you can actually photograph. You’ll be out after sunset when the sky still has color, then continue into the darker stretch where warm lamps and street reflections take over.
This tour is built around that shift. The 2-hour downtown option starts right after sunset, so you’ll get that in-between phase people chase on their own. If you pick the longer tour, you also get the chance to time views toward sunset, which changes with the season. That matters because Florence’s “look” depends on the light, and photography is basically light with decisions.
You can also read our reviews of more tours and experiences in Florence.
Price and value: what $156.03 really buys
At $156.03 per person for about 2 hours, this is not a cheap “walk and take photos” add-on. You’re paying for three things that are hard to replicate alone: a professional photographer guide, targeted photo technique, and access to strong shooting positions at the right moments.
You also get value because the tour is private for your group. Private doesn’t automatically mean fancy. It means less waiting, more attention, and more time to work through your questions about your camera or phone. Reviews also point to Eva being patient, which is huge when you’re learning in low light and your screen is doing its best to hide details.
Timing, walking pace, and the meeting point on Via de’ Tornabuoni
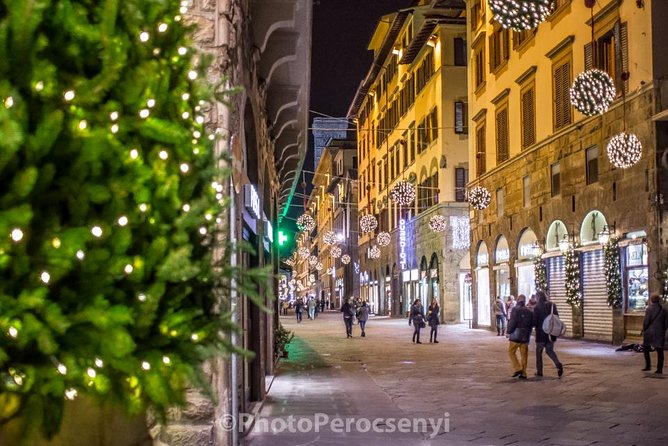
This tour meets at Omega Via de’ Tornabuoni, 25, 50123 Firenze FI, and it returns to the same place at the end. That matters because you’re not playing guess-the-neighborhood with a half-lit city. The meeting point is in a walking area, not reachable by car, so plan to arrive on foot or by using Florence’s normal transit patterns.
Physical pace is listed as moderate fitness, which I read as: you should be comfortable walking several blocks, standing in place for photo moments, and moving again before your light window disappears. Night tours also tend to mean uneven streets and tight spaces near landmarks, so comfy shoes are not optional.
Photo coaching that actually helps your camera and your phone
The big win here is that you’re not just shown where to stand. Eva gives practical instruction and then pushes you to try it. That’s the difference between a sightseeing stroll and a photo lesson.
From the reviews, the coaching style is hands-on and patient. People mention help with architectural images, teaching composition ideas that are out of the usual straight-on postcard view, and working with different devices. One review specifically calls out learning how to use a phone’s built-in functions, not just downloading an app and hoping.
Also, the tour does not provide equipment. The guide isn’t replacing your camera with something magical. You bring your own gear—camera or cellphone—and you use it. If you’re bringing a phone, charge it fully. If you’re bringing a camera, check your battery before you meet.
Stop-by-stop: what to shoot at each Florence night landmark
You’ll hit several classic locations in a focused route. Here’s what each stop is good for, and what you might want to watch out for.

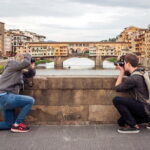
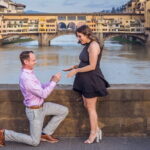
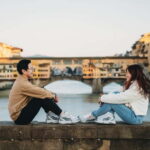
Santa Maria del Fiore (Duomo): blue-hour color and dramatic angles
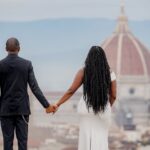
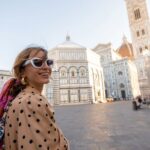
The tour begins at the Cathedral of Santa Maria del Fiore, which is exactly where you want to be at the start of your night. During blue hour, the sky adds a cool tone behind the warm stone, and that contrast is a big part of why the photos look magical.
Practical tip: don’t only shoot the “main view.” Night photography rewards trying higher/lower angles and different framing distances. Reviews mention that the blue hour moment over the Duomo is a standout, so treat the first part of the tour as your light-training ground.
Possible drawback: crowds and tight viewpoints can limit where you can stand. Come ready to adjust quickly and follow the guide to the best workable positions.
Uffizi area: lines, facades, and architectural storytelling
Next comes the Uffizi area. You may not be going into museum rooms on this type of photo walk, but the building’s exterior and surrounding streets are great for architectural shots. At night, you get cleaner lines and stronger contrast between illuminated stone and darker surrounding streets.
Photo angle ideas you might try: use geometry (straight lines, corners, and symmetry), and consider framing with nearby edges so the building becomes part of a story rather than your only subject. Eva’s background as both a local guide and a photographer shows in the way people describe unusual compositions and better perspectives.
Ponte Vecchio: reflections and a built-in leading line
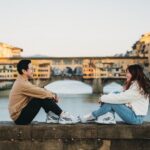
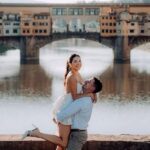
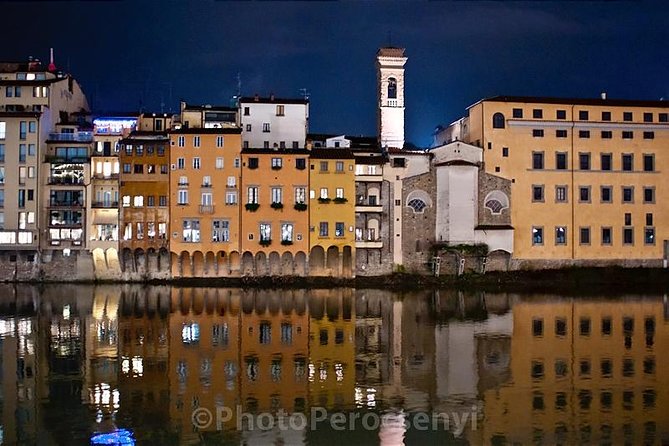
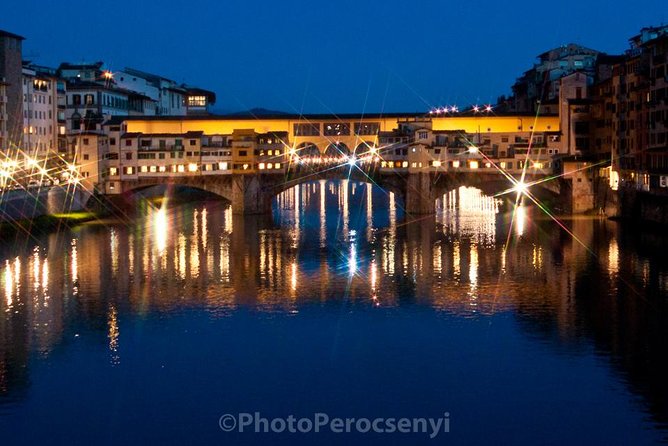
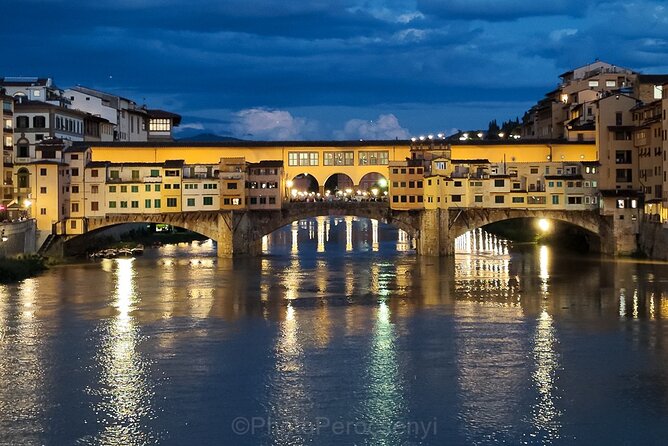
Then you reach Ponte Vecchio, one of Florence’s best “light-on-water” subjects. Bridges turn lights into patterns. Even if you don’t get perfect reflections, the structure gives you a natural leading line that guides the eye through your frame.
At night, timing matters. The light can look good instantly, then shift as people move and the scene changes. When you’re working with a phone, you may need to tap and hold or adjust exposure depending on what your device allows. When you’re working with a camera, you’ll likely want to keep shutter speed and steadiness in mind.
Piazza della Signoria: statues, shadows, and open-space framing
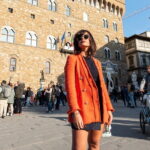
Piazza della Signoria is where your photos can go from “subject” to “scene.” You’ll have space to frame wider compositions, and you can use shadows and lighting effects to bring out textures in stone.
This stop is also helpful if you want variety. Reviews mention learning compositional ideas beyond the standard shot, and big plazas are where those ideas make sense. Try wide-and-simple for establishing shots, then step in closer for details if the crowd flow allows.
Piazza della Repubblica: streetlight glow and nighttime atmosphere
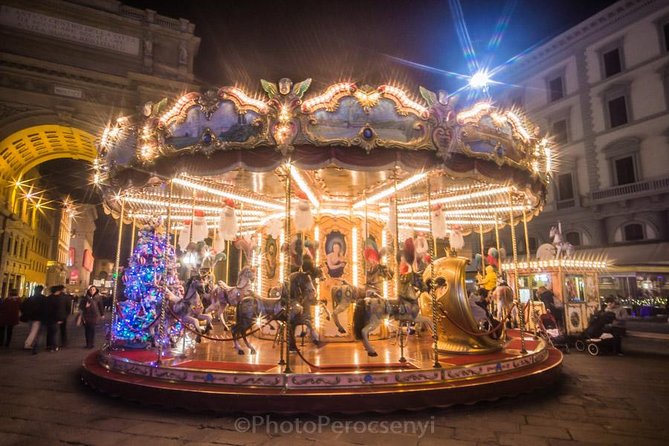
Finally, Piazza della Repubblica gives you a different flavor: softer, streetlight-lit ambience that can produce moody portraits or “Florence at night” context shots. It’s useful for practicing how to handle mixed lighting, where some parts of the scene are bright and others are darker.
If you like images that feel cinematic, this is often where you get them. If you prefer clean, minimal photos, you’ll want to wait for gaps between pedestrians and then lock your framing.
The 3-hour option with View: adding Piazzale Michelangelo
There’s a longer 3-hour evening tour that includes an option to go up to Piazzale Michelangelo. This is a real upgrade if you want an overlook and skyline-style photos rather than only street-level compositions.
Because sunset timing shifts by season, the tour description notes that your sunset window can vary. That’s a good thing in practice: it tells you the guide is thinking about light timing, not just marching you to a viewpoint. For you, it means you’ll likely get a better chance of that “city lights coming up” look, especially if you’re willing to wait a few minutes for the right moment.
What to consider: viewpoints can be windy and cold after dark, and stairs/paths add effort. This is still listed as moderate fitness, but the longer route means more walking and more time standing.
What this tour does well for beginners and phone shooters
A lot of tours are built for people with the “right” camera. This one is more flexible. Reviews repeatedly mention that Eva helps people using new cameras and also works with phones, even helping with built-in functions. That’s a big deal because night shooting on phones often fails from simple settings issues, not from lack of creativity.
The coaching also seems structured. People describe the guide summarizing learning points and suggesting what to do next after the tour. That’s practical: you don’t leave with just a memory. You leave with a short list of things to try on your own during the rest of your Florence days.
One more subtle plus: architecture and landmarks can be tricky at night because you deal with lights, contrast, and movement. Reviews mention help with architectural images and unusual compositions. That’s a good sign you’ll get guidance that’s specific to the kind of subject you actually came to photograph.
Practical prep so you don’t fight your gear
No equipment is provided, so do this homework and you’ll enjoy the tour more.
- Bring a fully charged phone/camera battery. Night drains power fast.
- Bring whatever you use to keep steady (if you already have a small tripod or grip, bring it). You might not be able to use it everywhere, but you can adapt.
- Clear your phone storage so your photos don’t fail mid-session.
- Use a simple plan before you arrive: decide if you’ll shoot mostly wide scenes, close details, or people-with-landmark frames. Your time is short.
- Dress for the season and night air. You’ll be outside at least 2 hours, and longer if you choose the 3-hour option.
Also, remember the tour is not described as providing photo shooting for you. You’re the shooter. The guide’s job is to teach you how to aim your choices.
Who should book this (and who might want a different experience)
This tour makes the most sense if you:
- want night photography tips in a real Florence setting
- are learning with either a phone or a camera
- like being guided to good positions while you practice on-site
- enjoy landmark photography but want it to look more intentional than postcard
It may not fit as well if you:
- mainly want museum-style art history or a narrated tour of stories behind the monuments
- expect someone to handle photography for you
- have trouble walking moderate distances at night
Should you book the Florence by Night Photo Tour?
If you’re the type who wants better photos without guessing, I’d book it. The price is reasonable for what you actually receive: a professional photographer guide, focused night timing, and instruction that works across phone and camera gear. The fact that people highlight learning points, patience with beginners, and the blue hour payoff tells me this tour is built for results, not just a route.
My final nudge: bring your own camera or phone, come ready to try settings and framing, and treat the first stop as your practice kickoff. If you do that, you’ll leave with more than a few photos—you’ll leave with a better way to see Florence after dark.
FAQ
How long is the Florence by Night Photo Tour?
There are 2-hour and 3-hour options. The 2-hour downtown tour starts right after sunset, and the 3-hour evening tour adds more time and includes an option to go up to Piazzale Michelangelo.
Is this tour private?
Yes. The activity is private, and only your group participates.
Where is the meeting point?
You meet at Omega Via de’ Tornabuoni, 25, 50123 Firenze FI, Italy. The tour ends back at the same meeting point.
Do I need to bring my own camera or cellphone?
Yes. Photo equipment is not provided, so you should bring your camera or cellphone.
Does the tour include photo equipment or guided photo shooting?
No. Photo shooting is not included, and equipment isn’t provided. The tour provides a professional photographer guide and photo tips, but you’ll take your own pictures.
What if the weather is poor?
This experience requires good weather. If it’s canceled due to poor weather, you’ll be offered a different date or a full refund.